This topic details how to select one of the Controller Clusters as the leader, and configure GSLB on it.
In the sample topology, the Santa Clara site with address 10.10.25.10 is selected as the GSLB leader.
Procedure
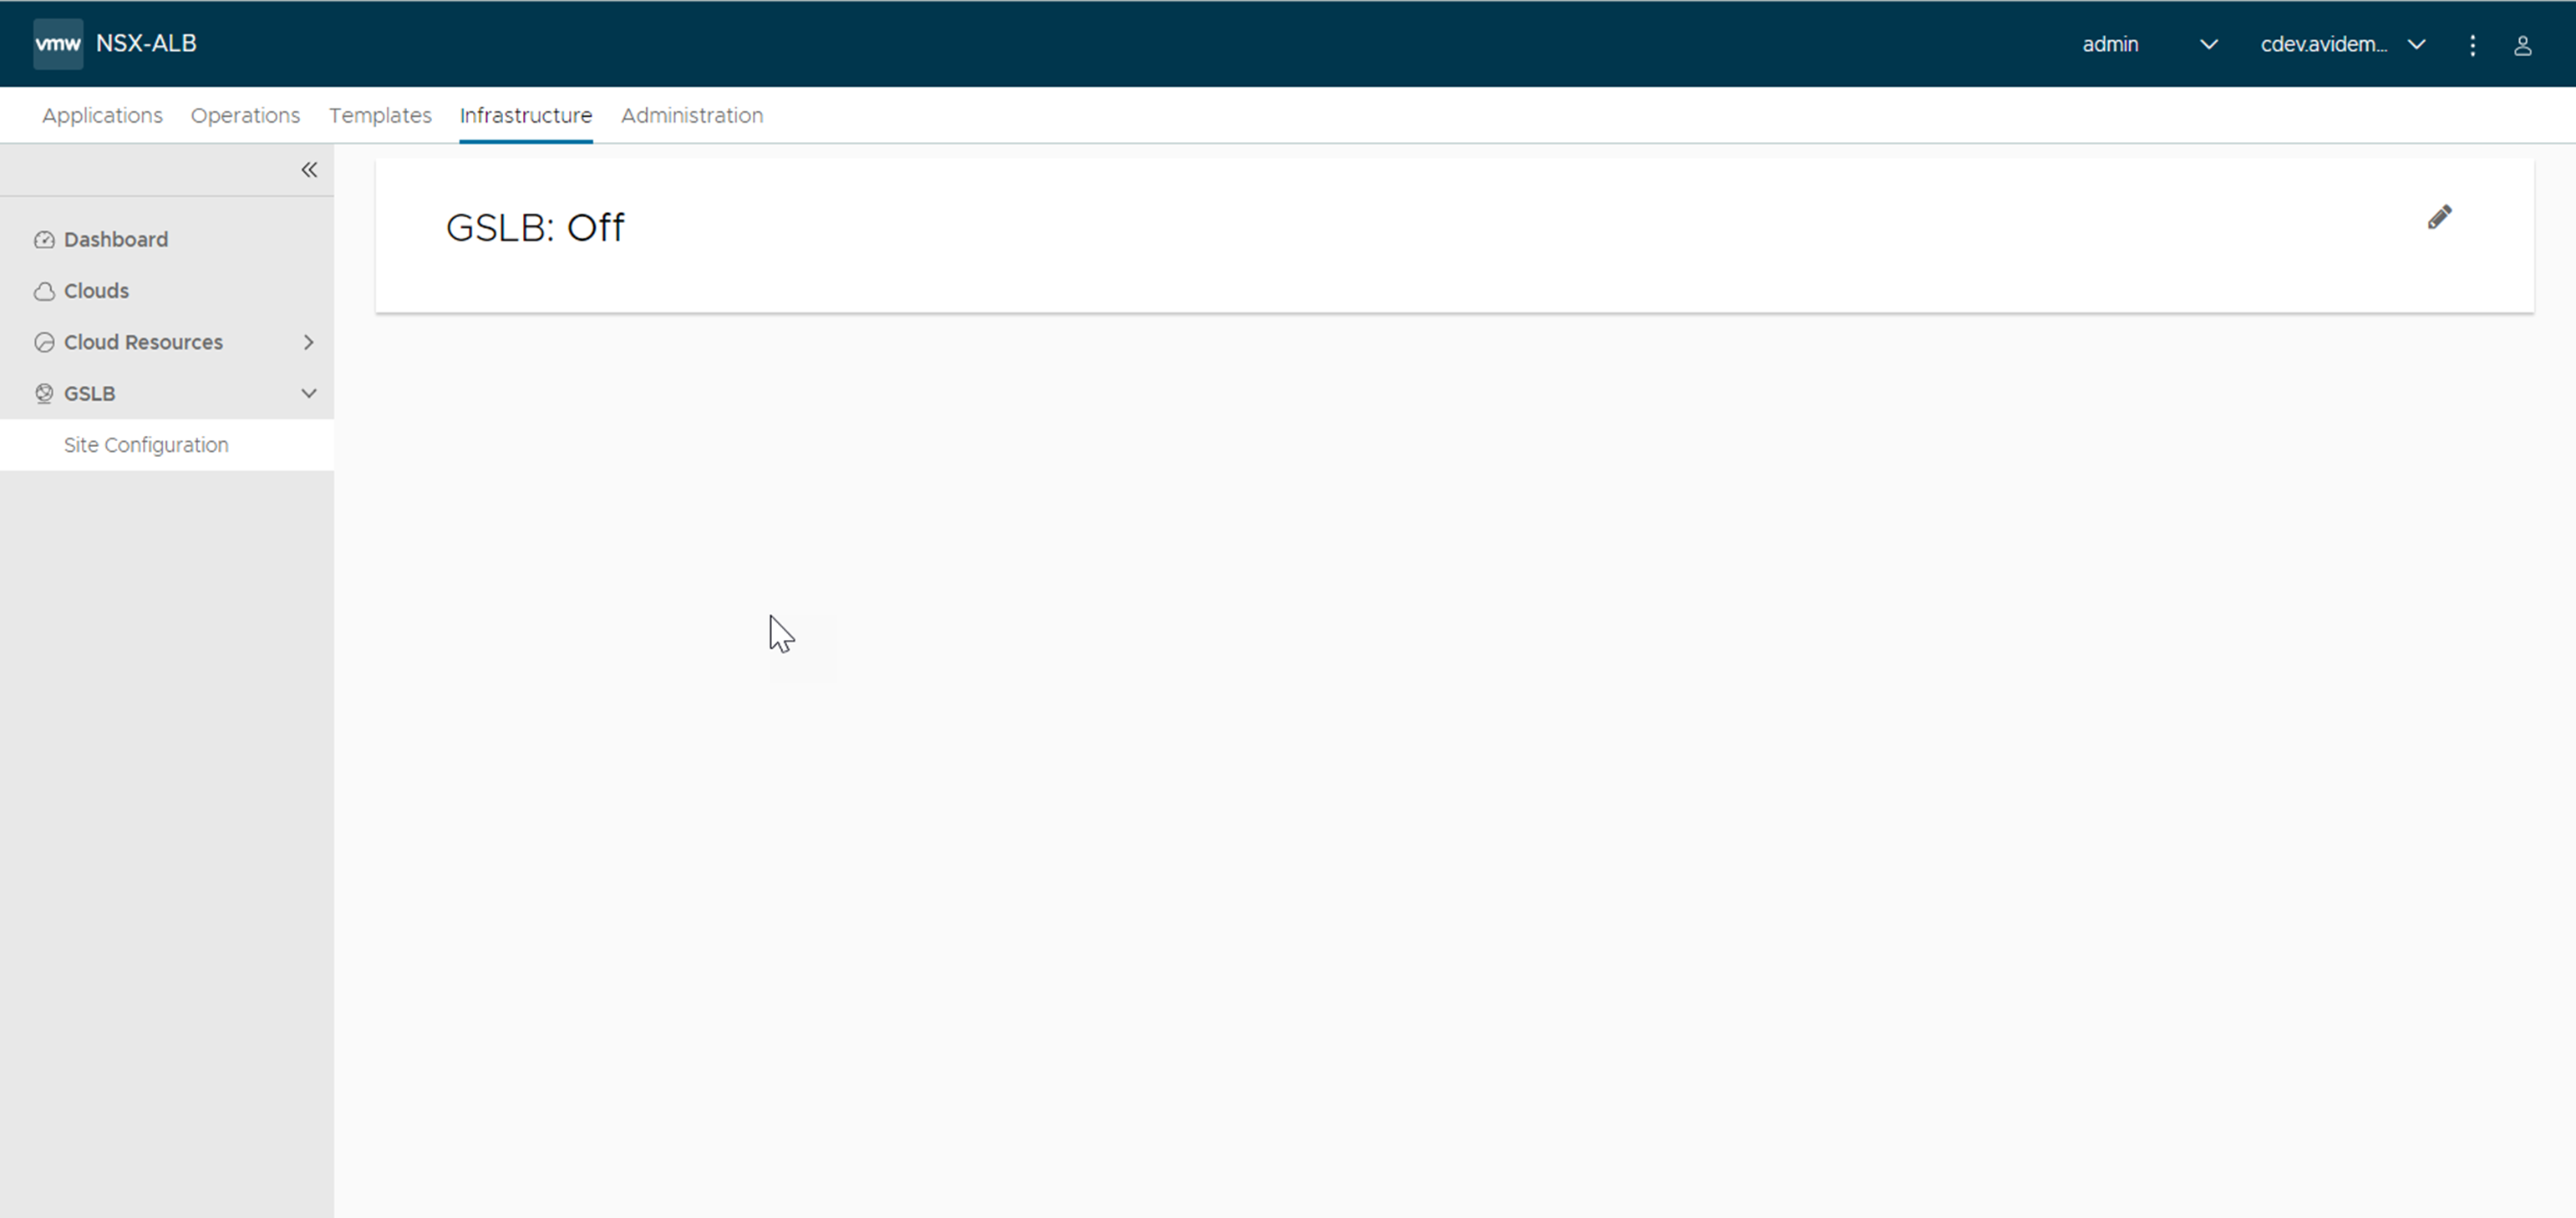
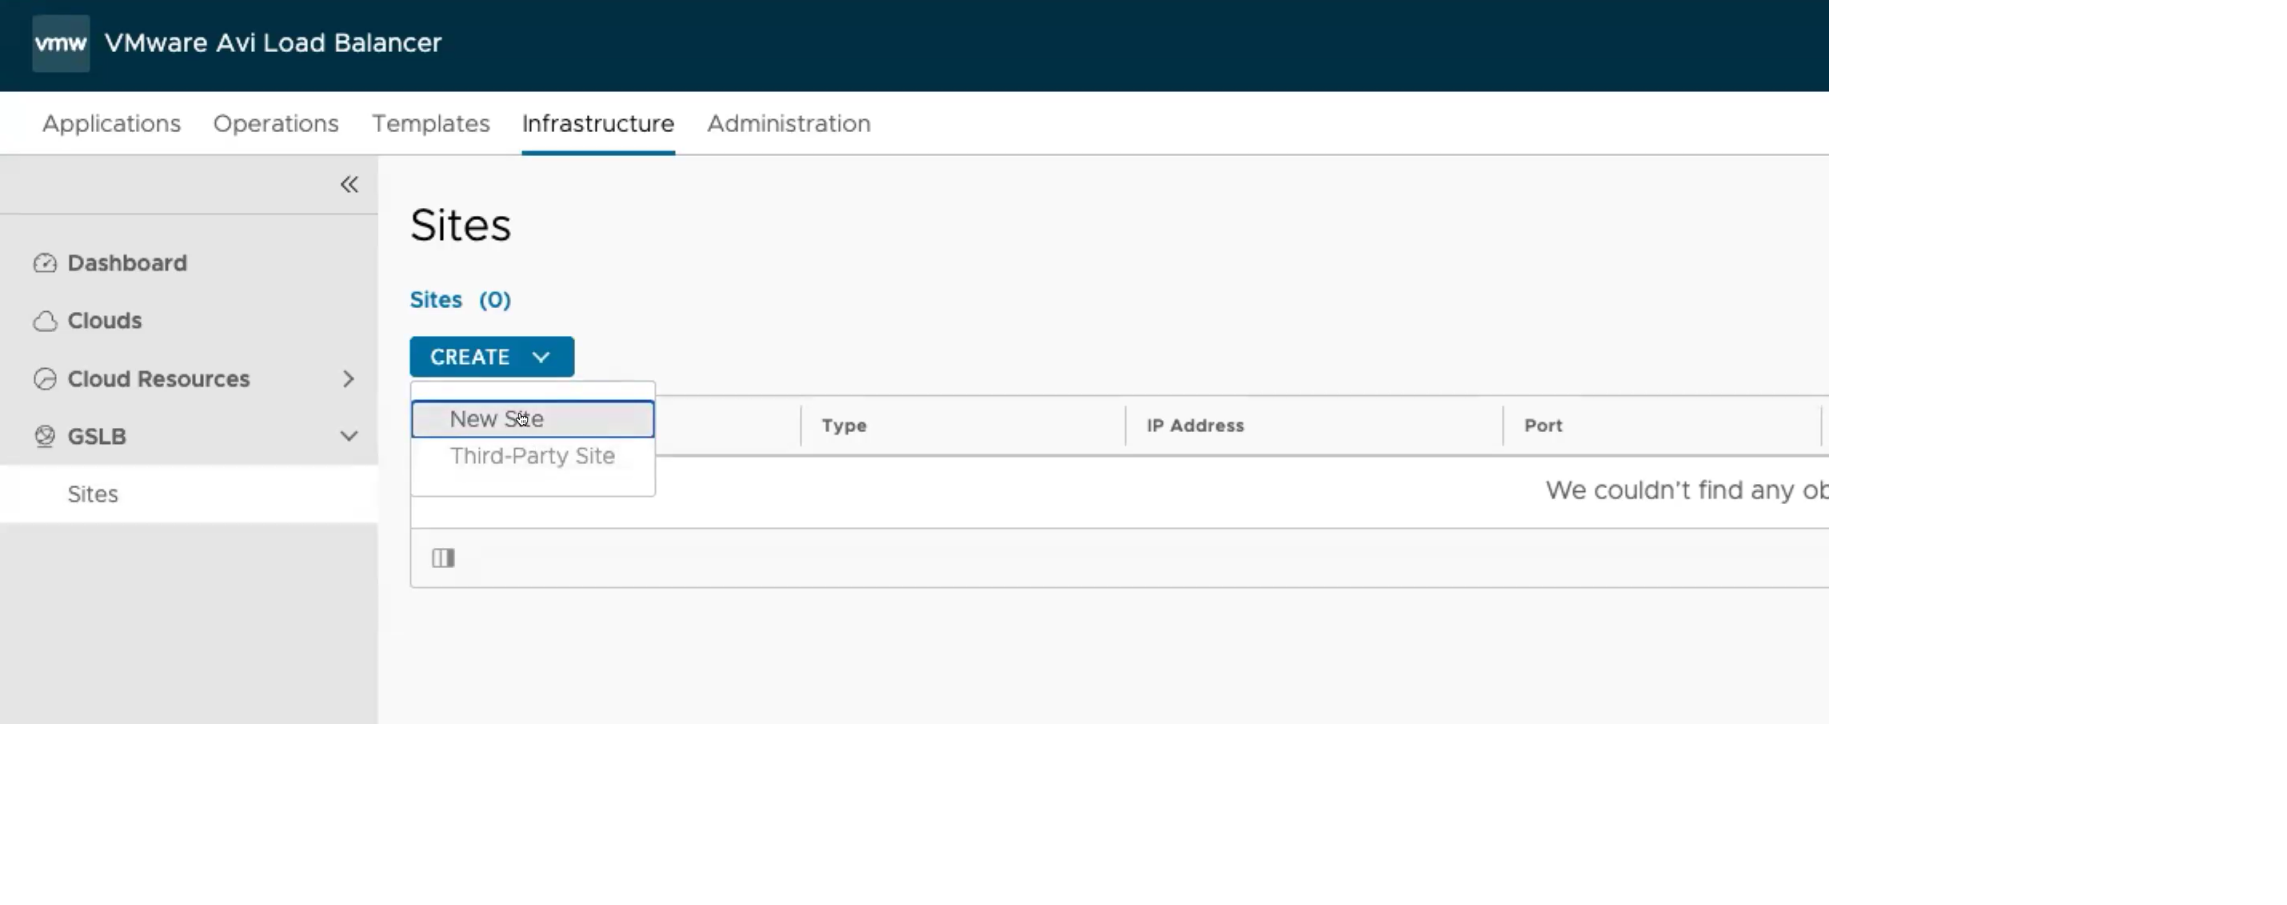
- Navigate to .
- Click CREATE and select the New Site option.
The Avi Load Balancer correctly assumes that the Controller, particularly the leader-member, will become an active member when GSLB is first activated.

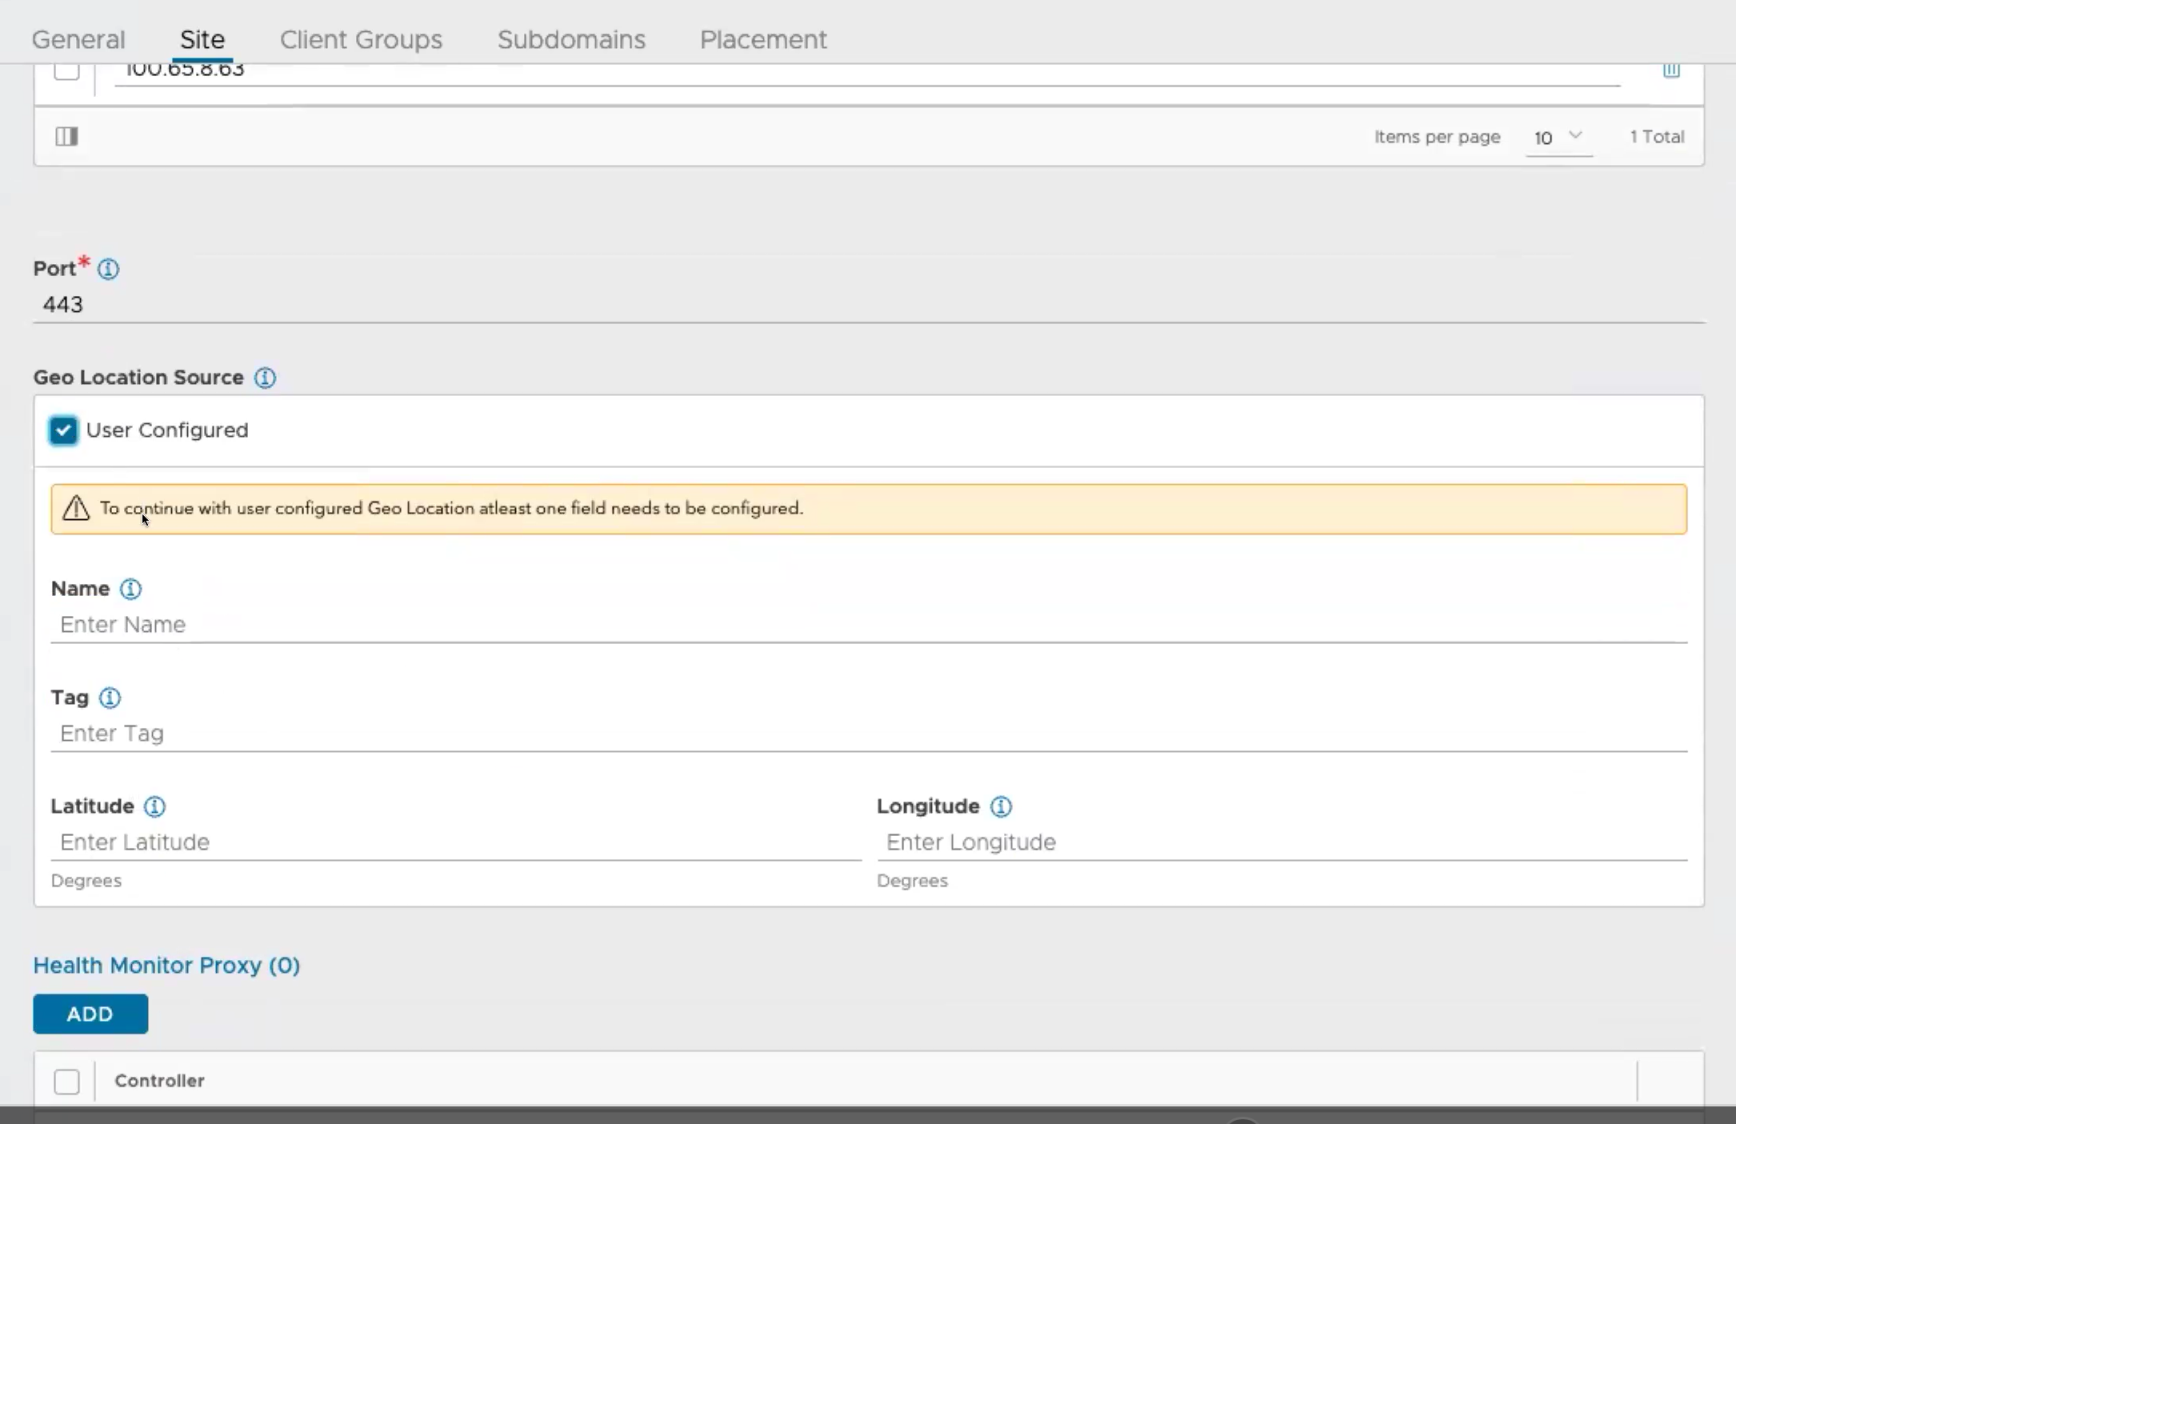
- You can configure the Client Group IP Address Type and Health Monitor Proxy. For more details, see NAT-aware Public-Private GSLB Configuration and Configuring GSLB Health Monitors using NSX Advanced Load Balancer UI.
To configure a Geo Location Source, enter the relevant fields such as Name, Tag, Latitude, and Longitude. Latitude and Longitude are represented as degrees and minutes. The Latitude range is from -90.0 (south) to +90.0 (north) and the Longitude range is from -180.0 (west) to +180.0 (east). The precision of the entered value is limited to four decimal digits.
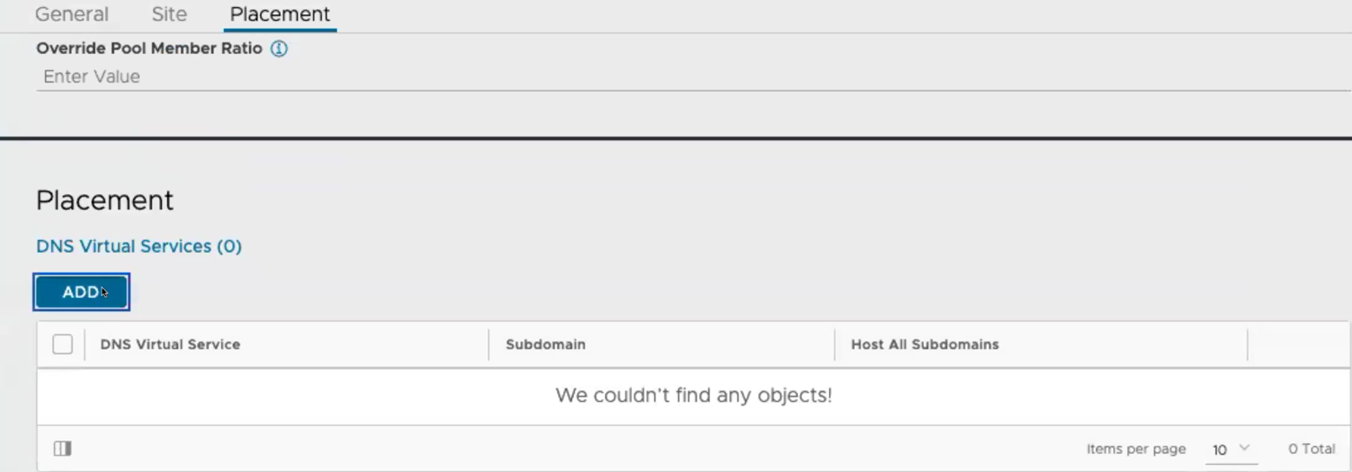
Click the ADD option available under Placement > DNS Virtual Services to select an existing DNS virtual service. To create a new DNS virtual service, use the create option available under Application > Virtual Service.
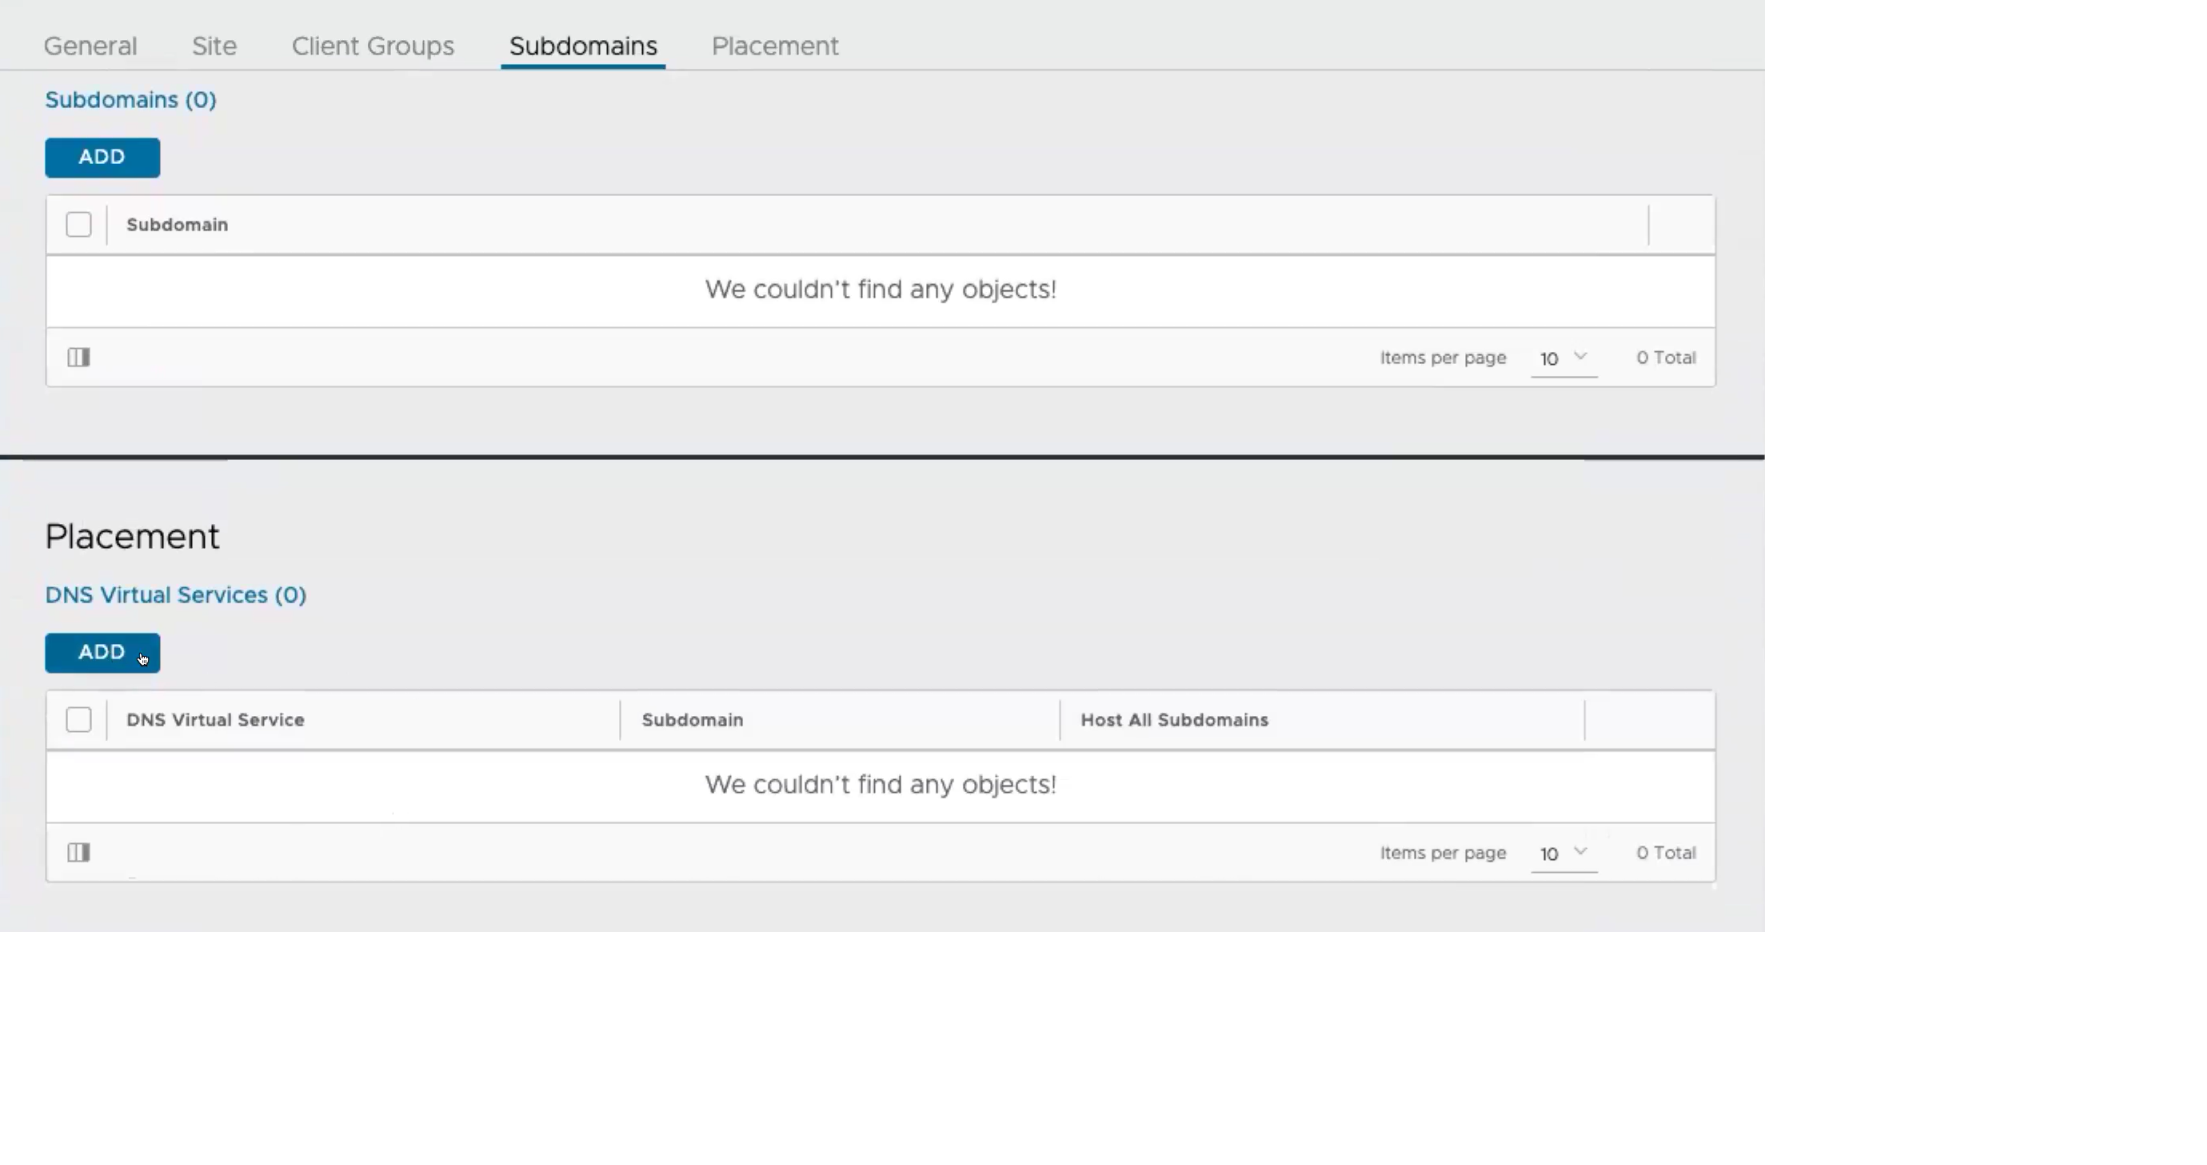
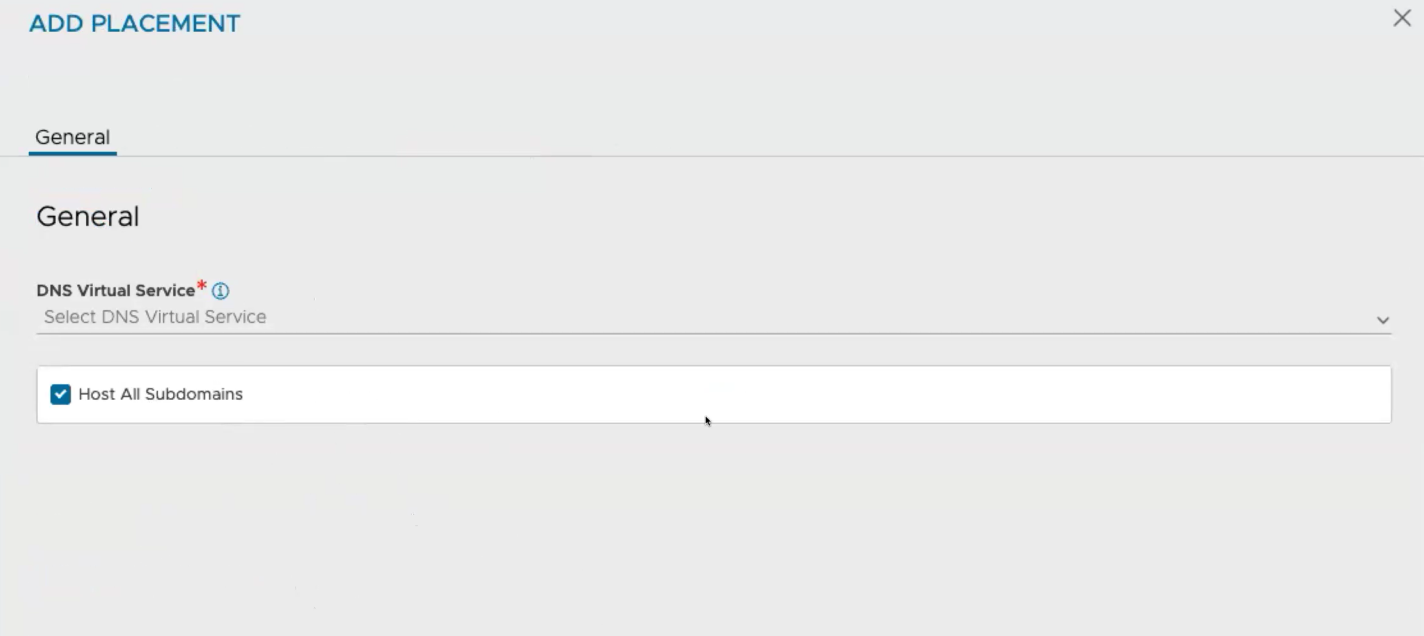
Uncheck the Host All Subdomains option to select or add specific subdomains as shown below.
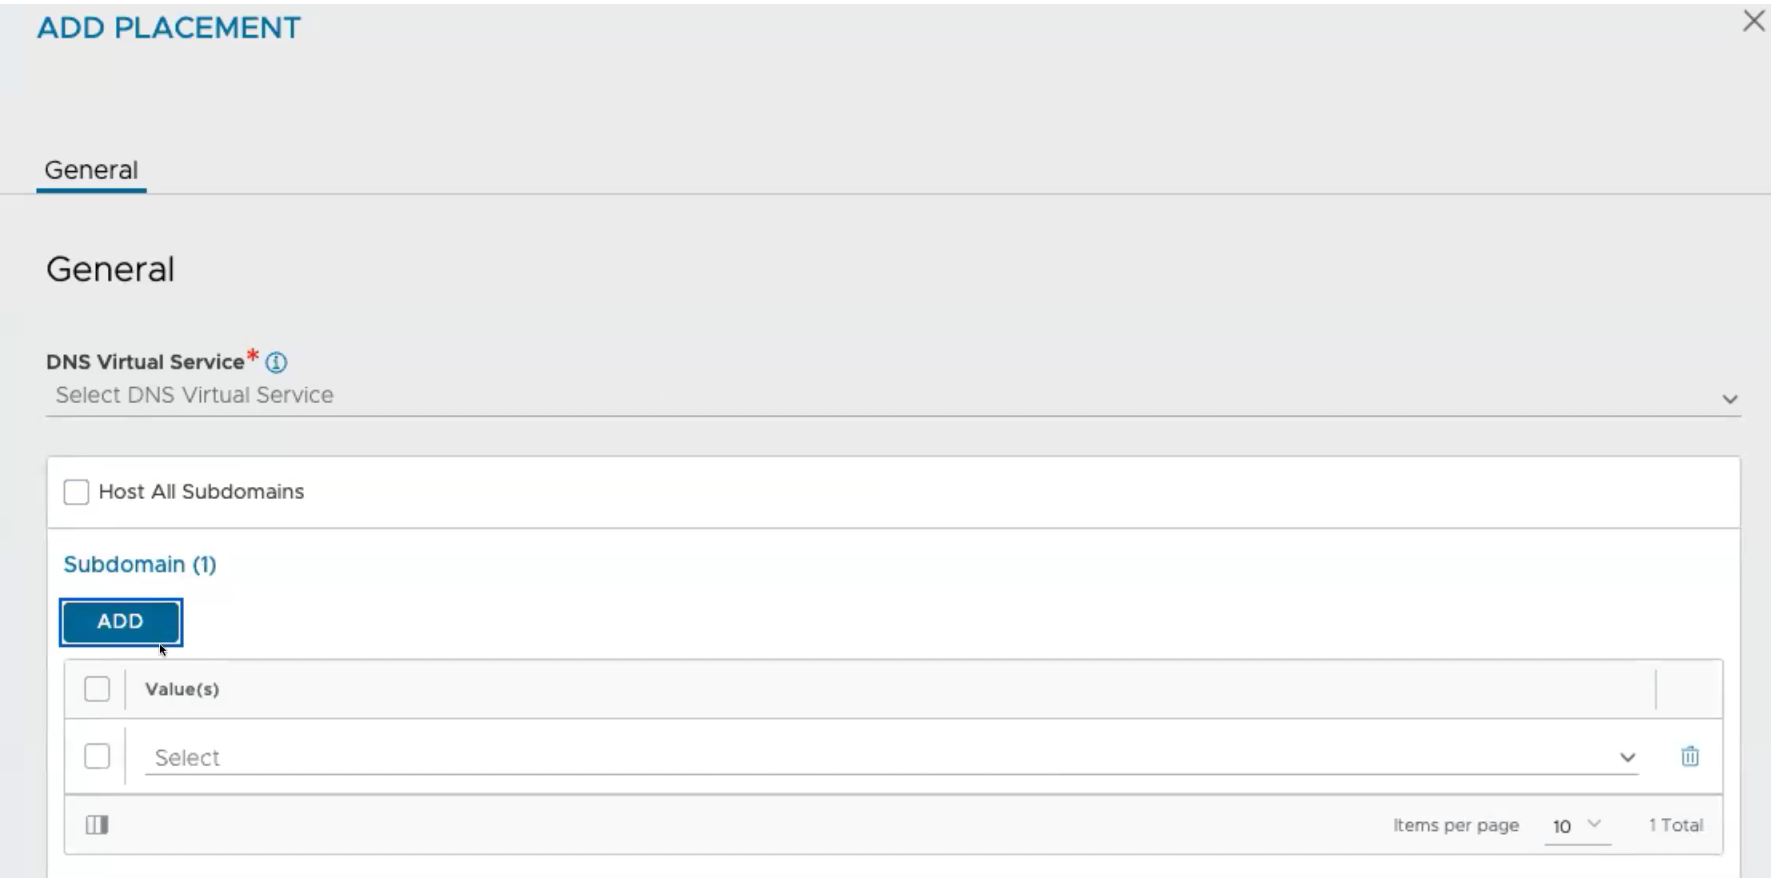
Select the ADD option under the Subdomains section to add a subdomain for the GSLB site.
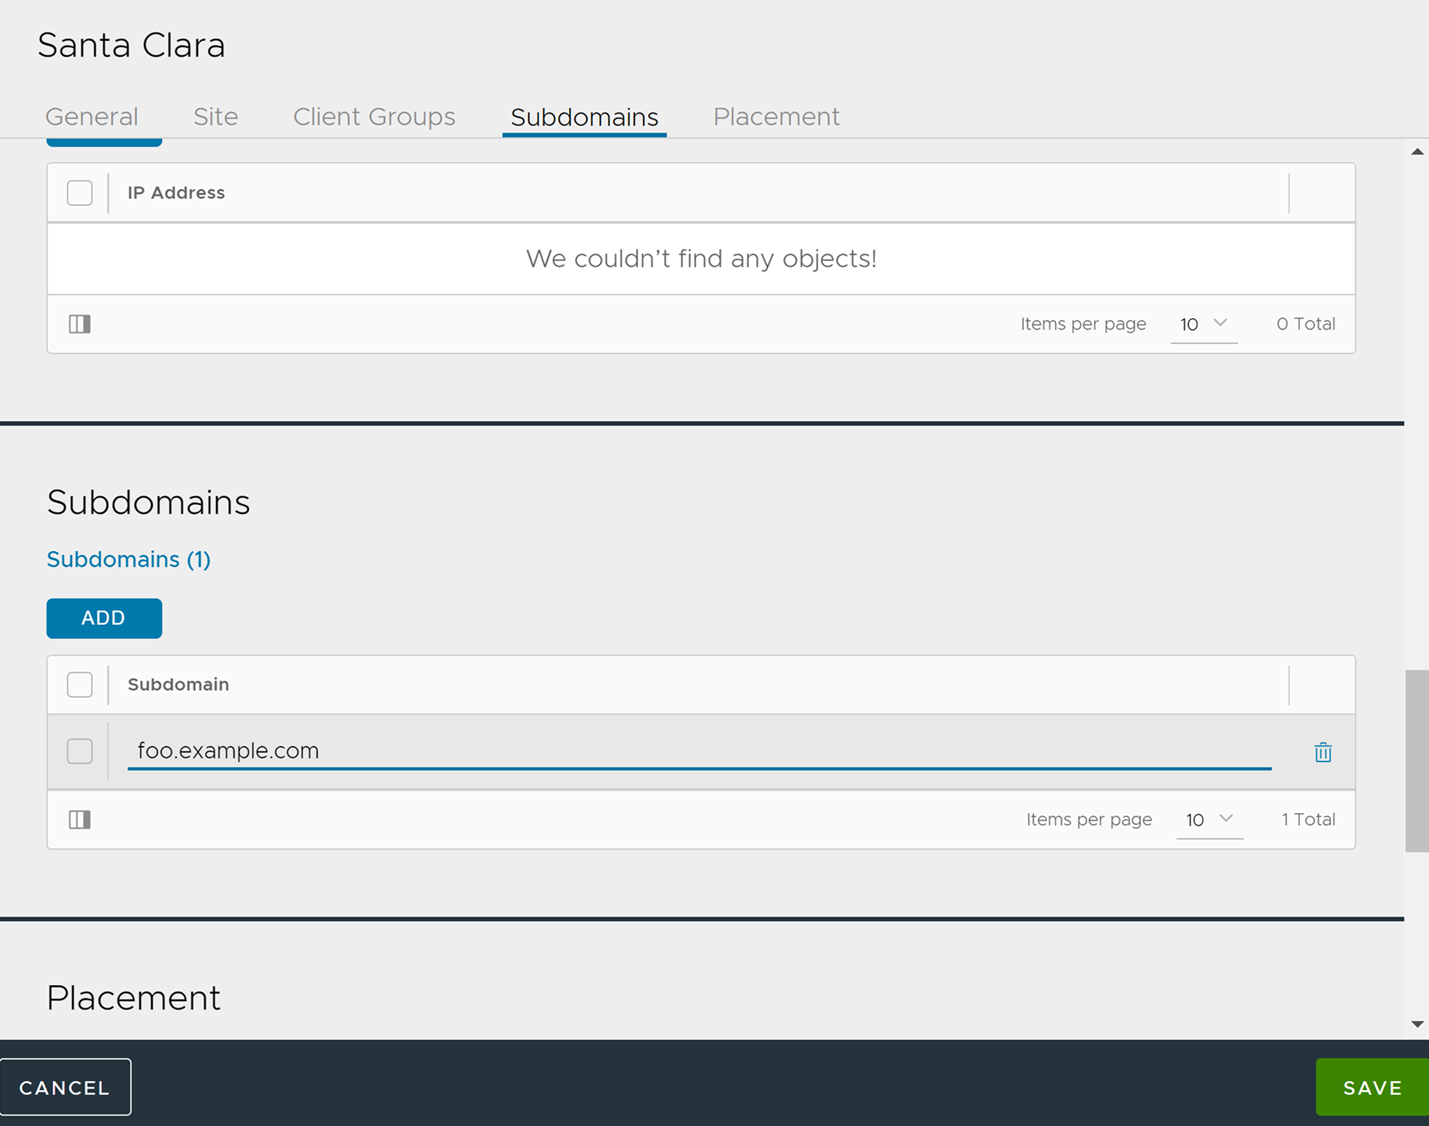
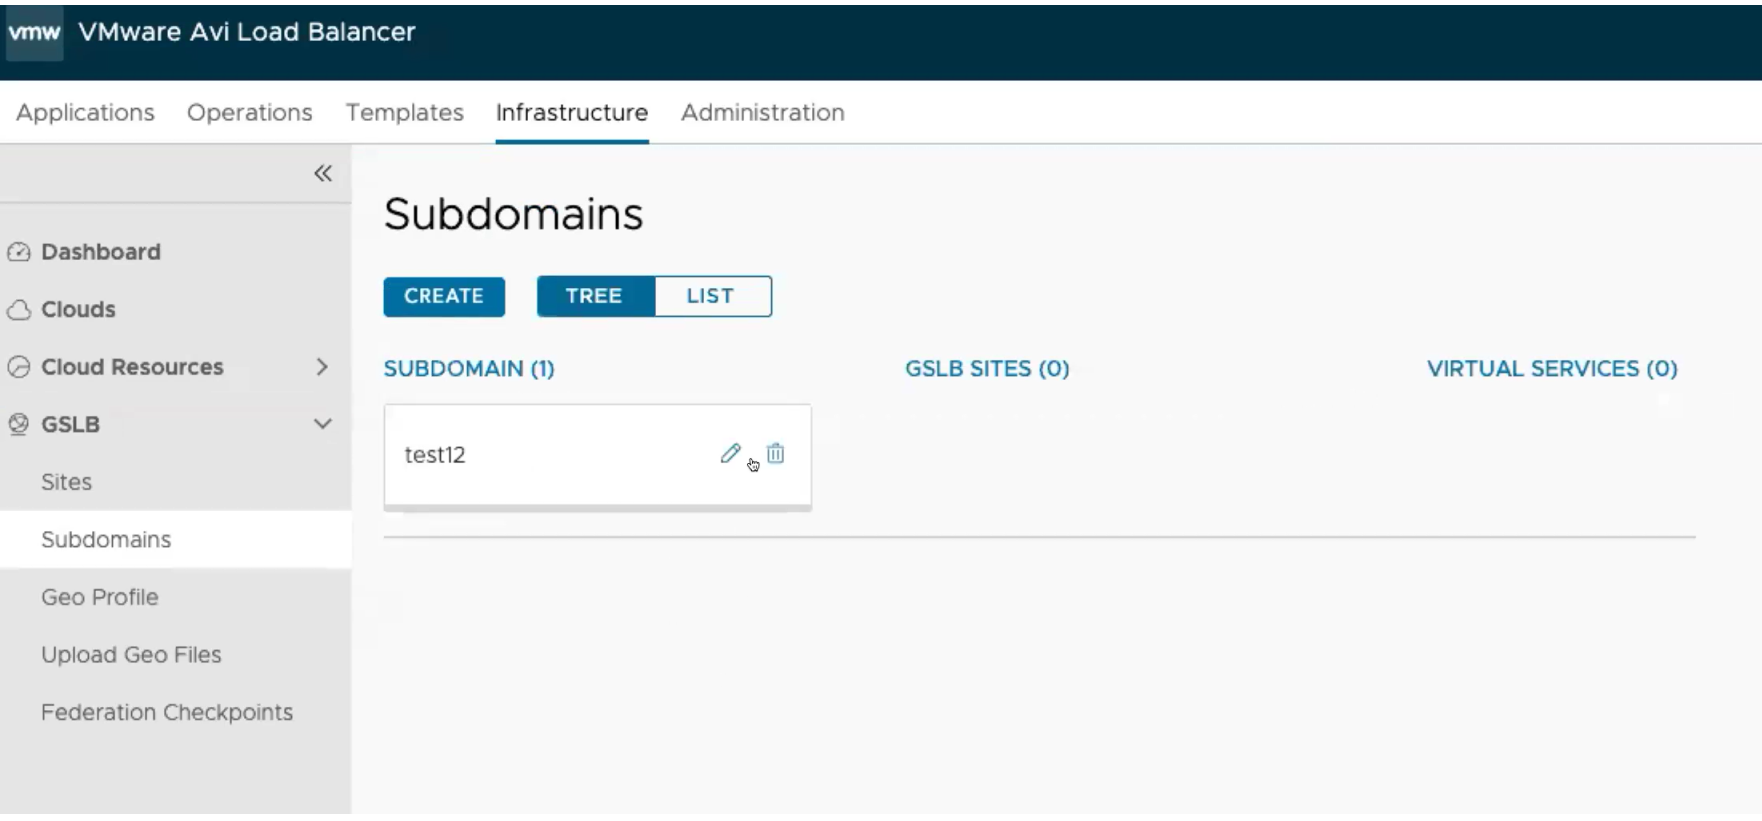
Once the leader site is created, Subdomains are available as a separate tab in the left navigation section under Infrastruture > GSLB as shown below. You can add new subdomains from this tab directly. The two types of views (tree and list) are available to check the list of subdomains available.
In the case of passive sites that do not have a DNS virtual service, click Save to save the site configuration.
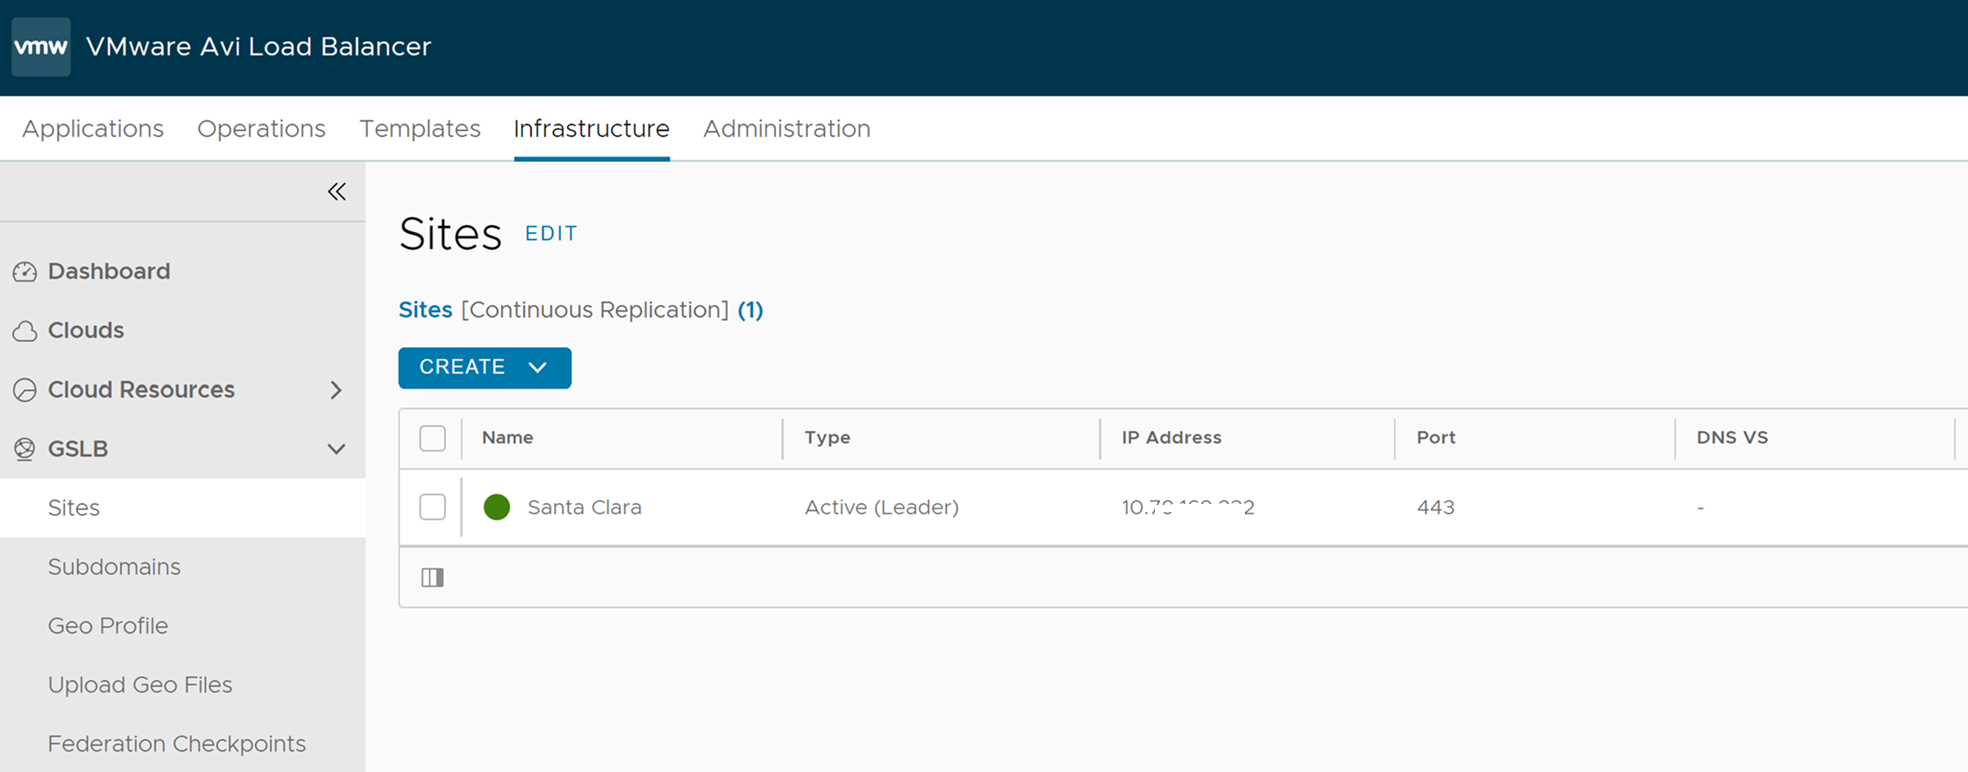
- Click SAVE to complete the site configuration. On successful configuration, the field Type is marked as Active (Leader), indicating that it is the leader site.
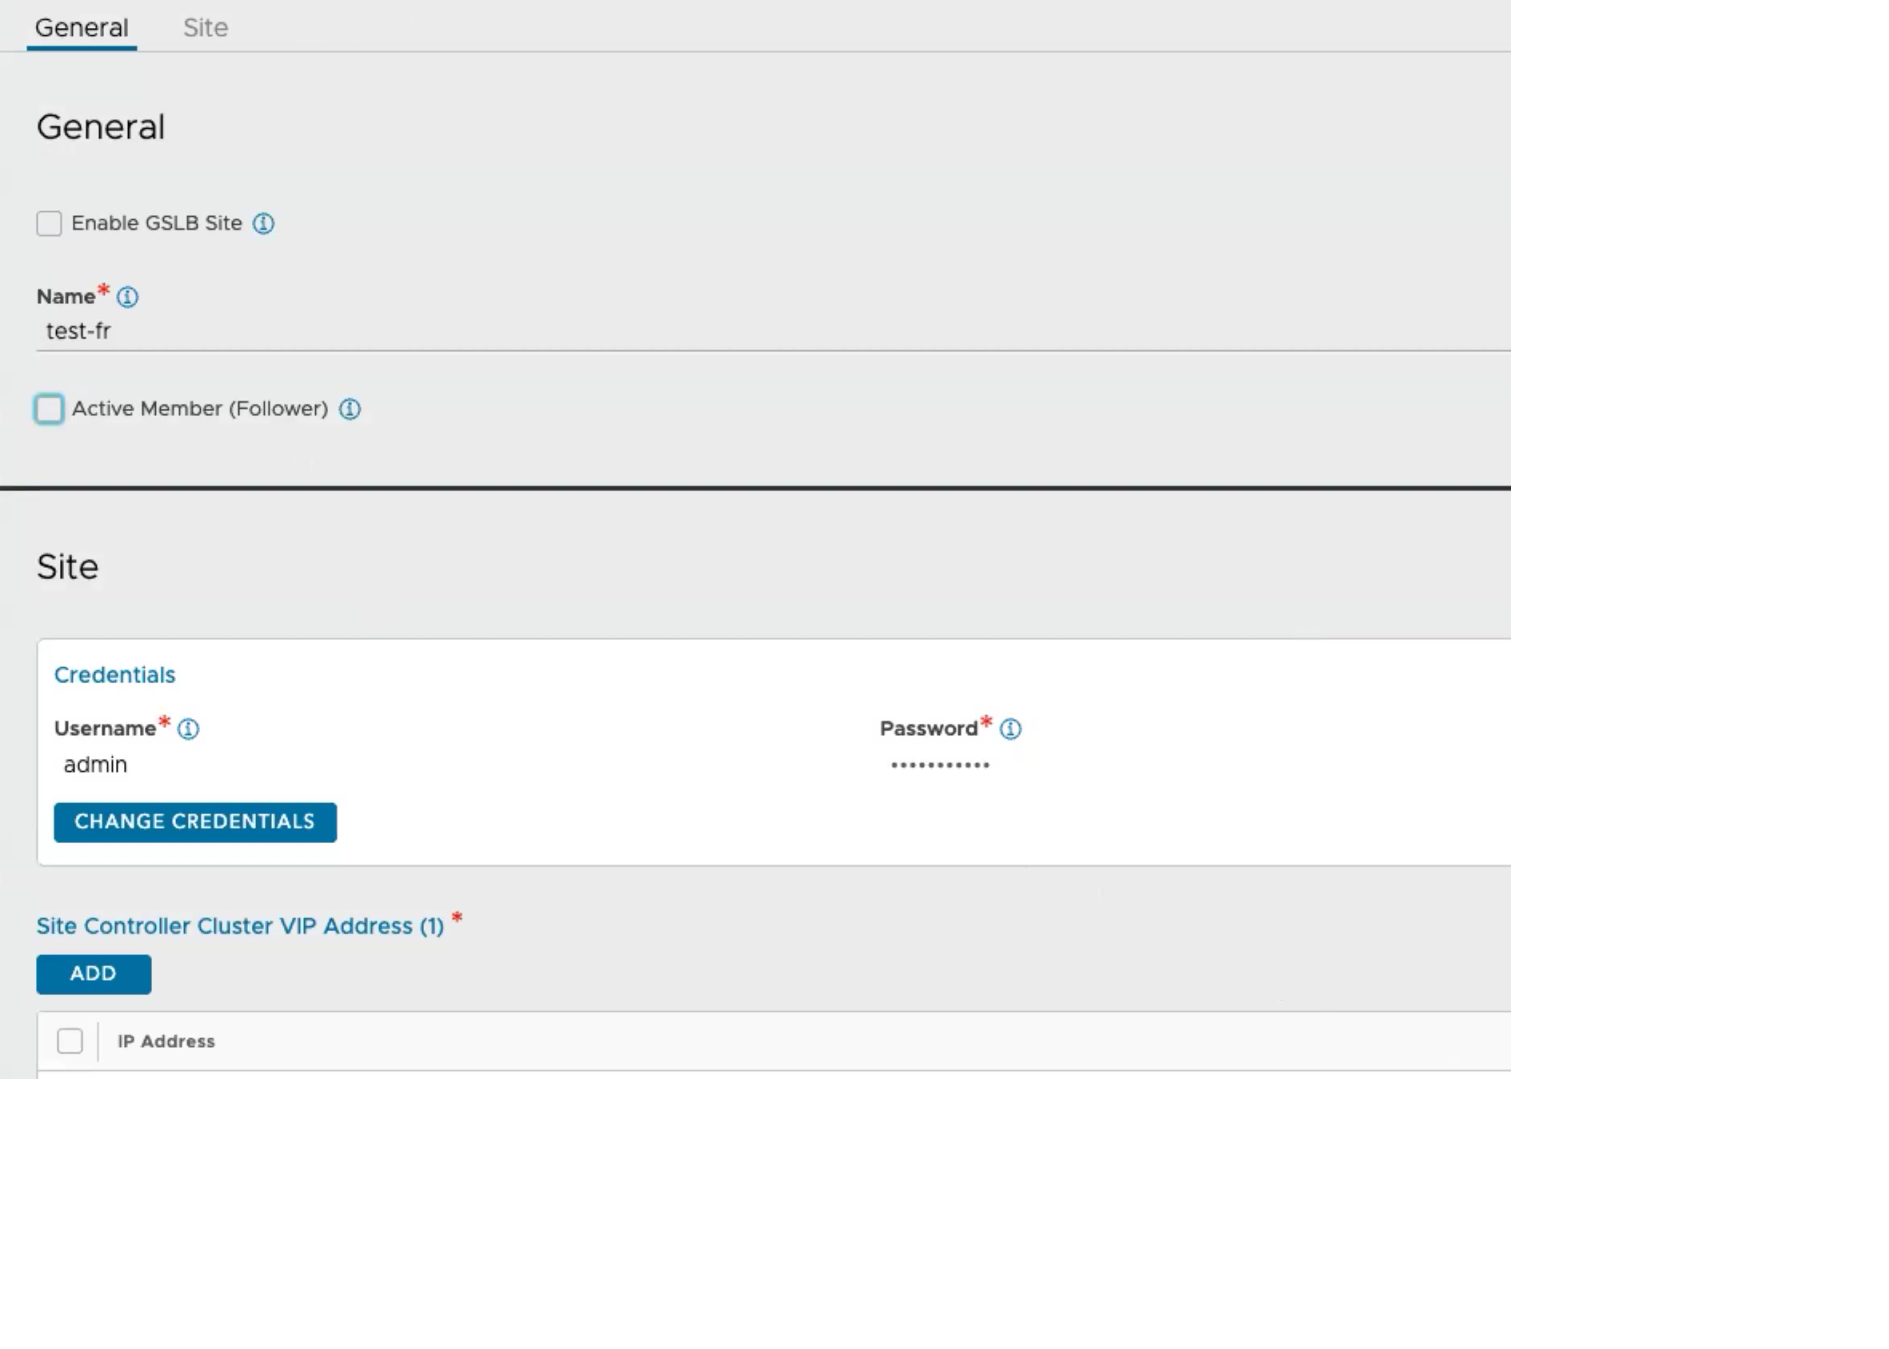
- Add the second site by clicking Add New Site. The New GSLB Site screen appears. Enter the details as shown below.
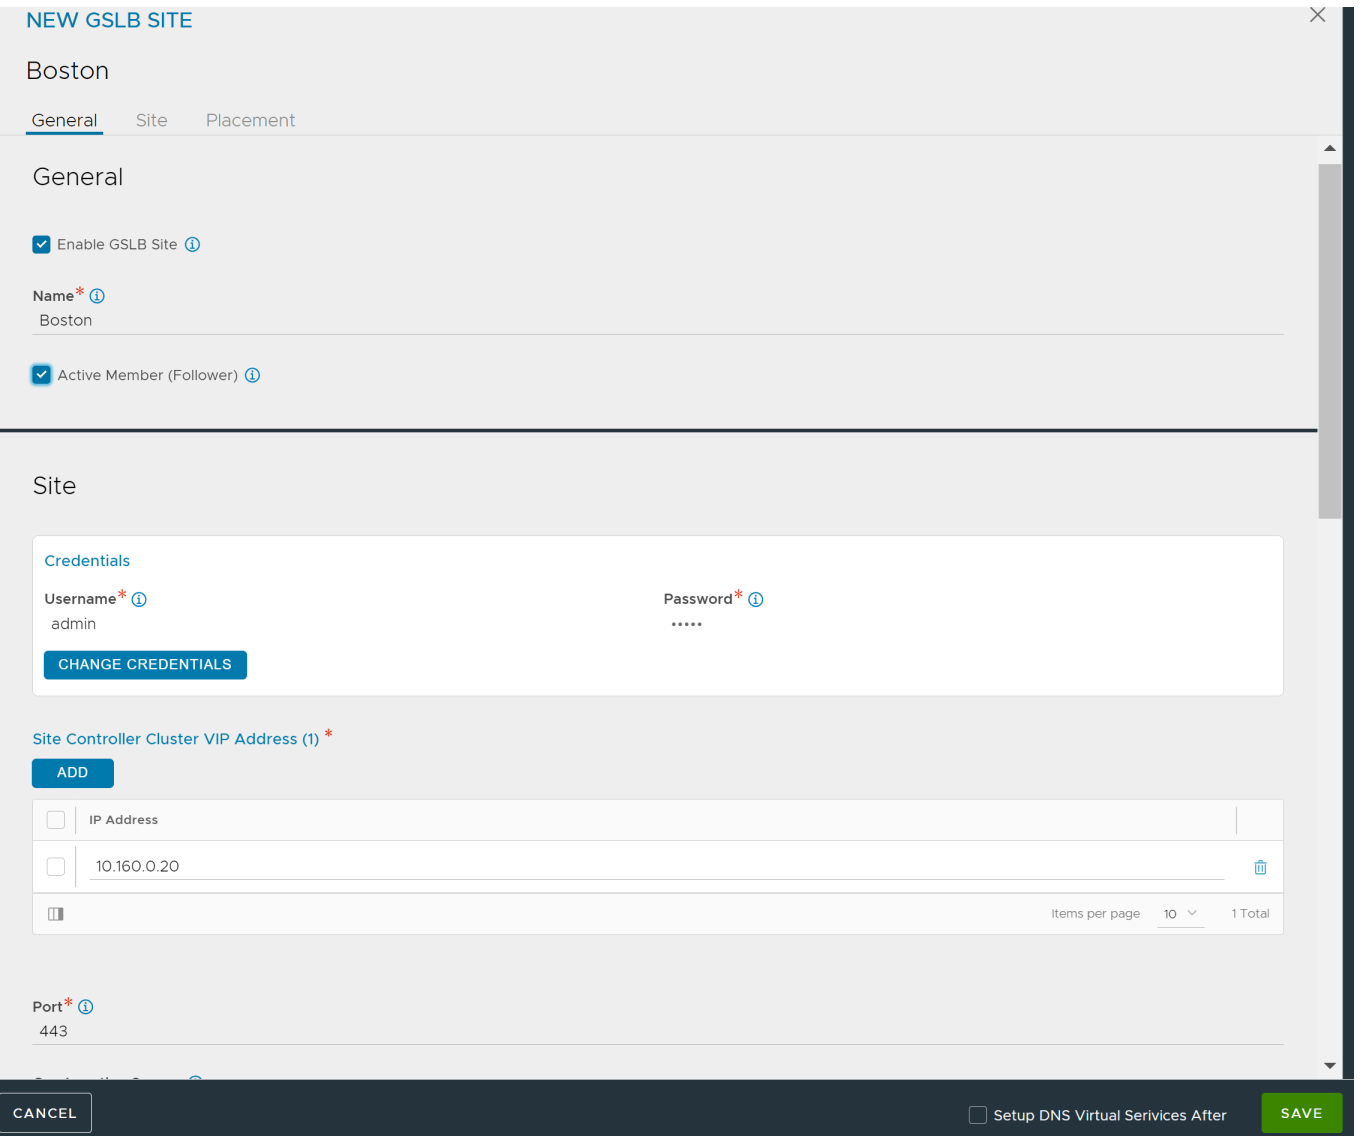
To indicate that the site is active, ensure that the check box Active Member is selected.
To add a DNS virtual service for an active follower site, select the Setup DNS Virtual Services After option and save the site configuration first.

Once the follower site configuration is saved, the option to add DNS virtual services is activated as shown below.
To configure a new DNS virtual service, navigate to Application > Virtual Service and create a new DNS virtaul service.
For passive sites that do not have a DNS virtual service, click Save to save the site configuration.
At this point, the two sites are communicating with each other and configuration synchronization is enabled.
To change an active site to a passive site, disable the Enable GSLB Site checkbox and the Active Member (Follower) checkbox.