This section explains how to configure the Service Account.
Creating a Service Account for the Controller in the Controller Project
To create a service account,
Navigate to in the GCP Console page. Click CREATE SERVICE ACCOUNT.
Enter a Service account name. Based on the Service account name, a Service account ID gets generated.
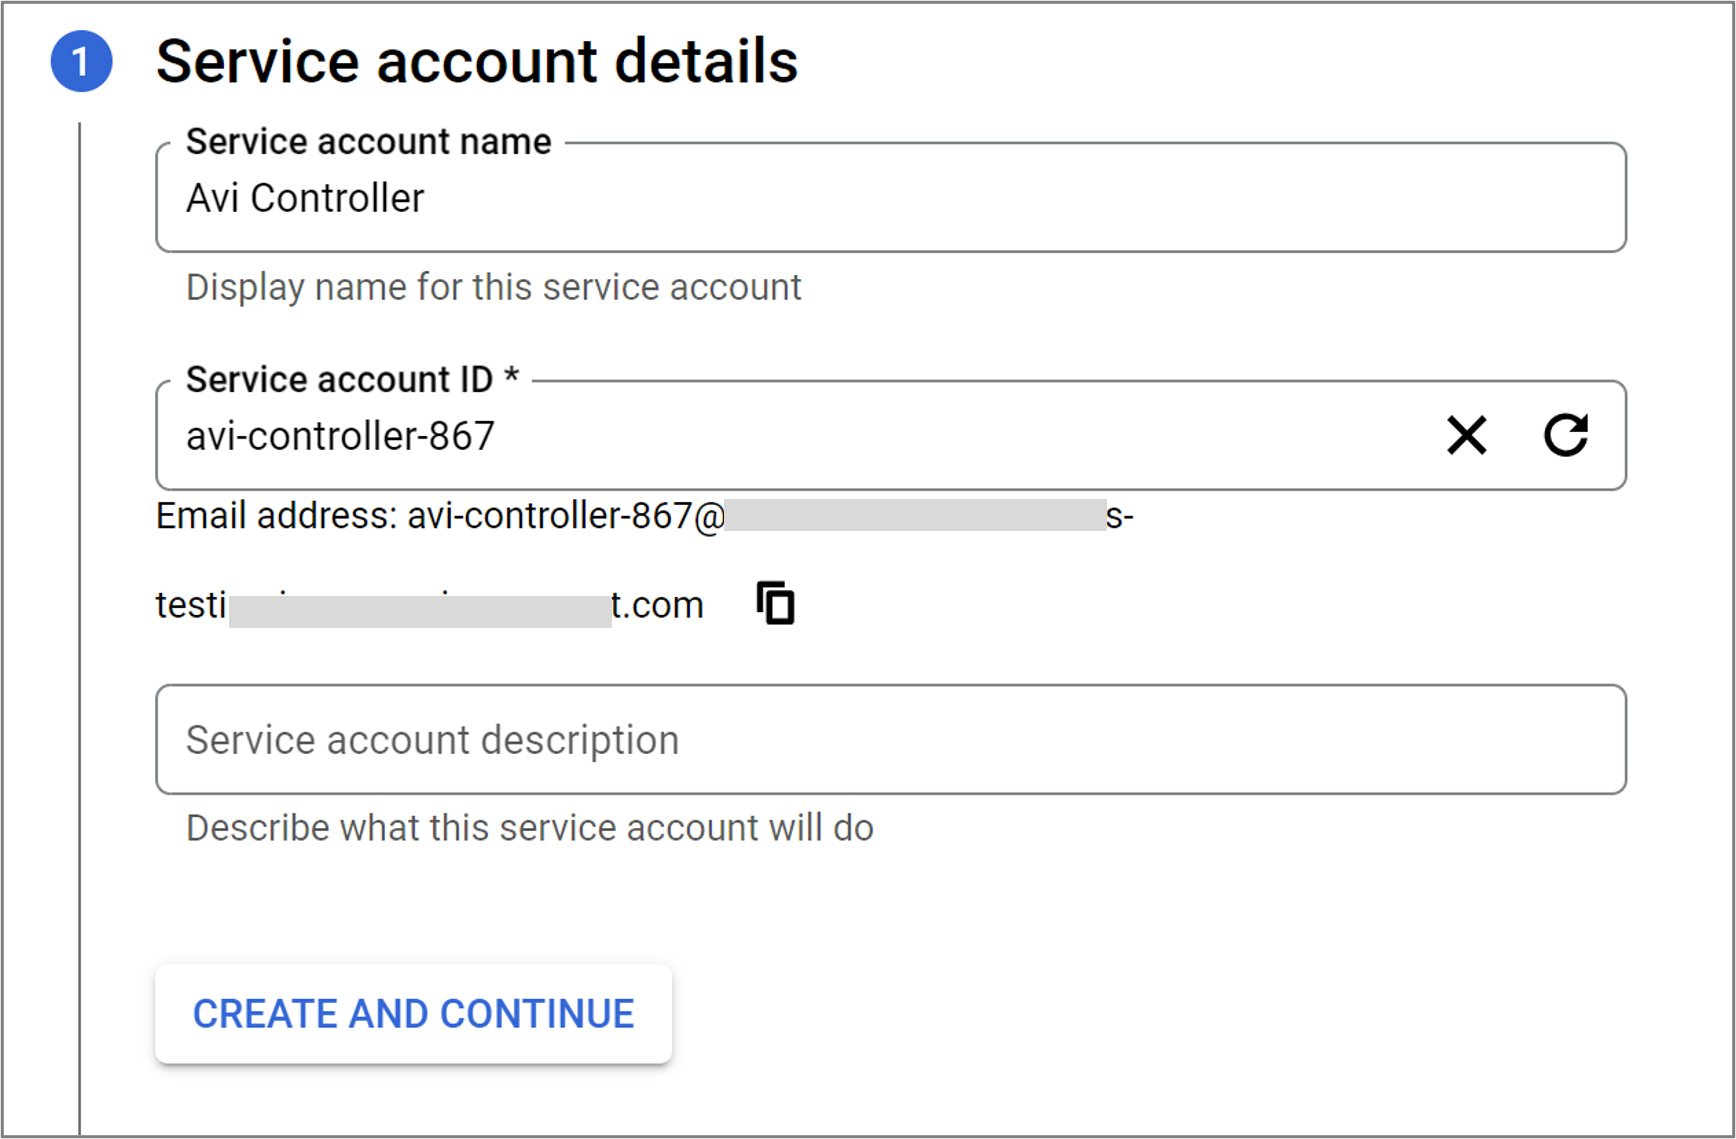
Click CREATE AND CONTINUE.
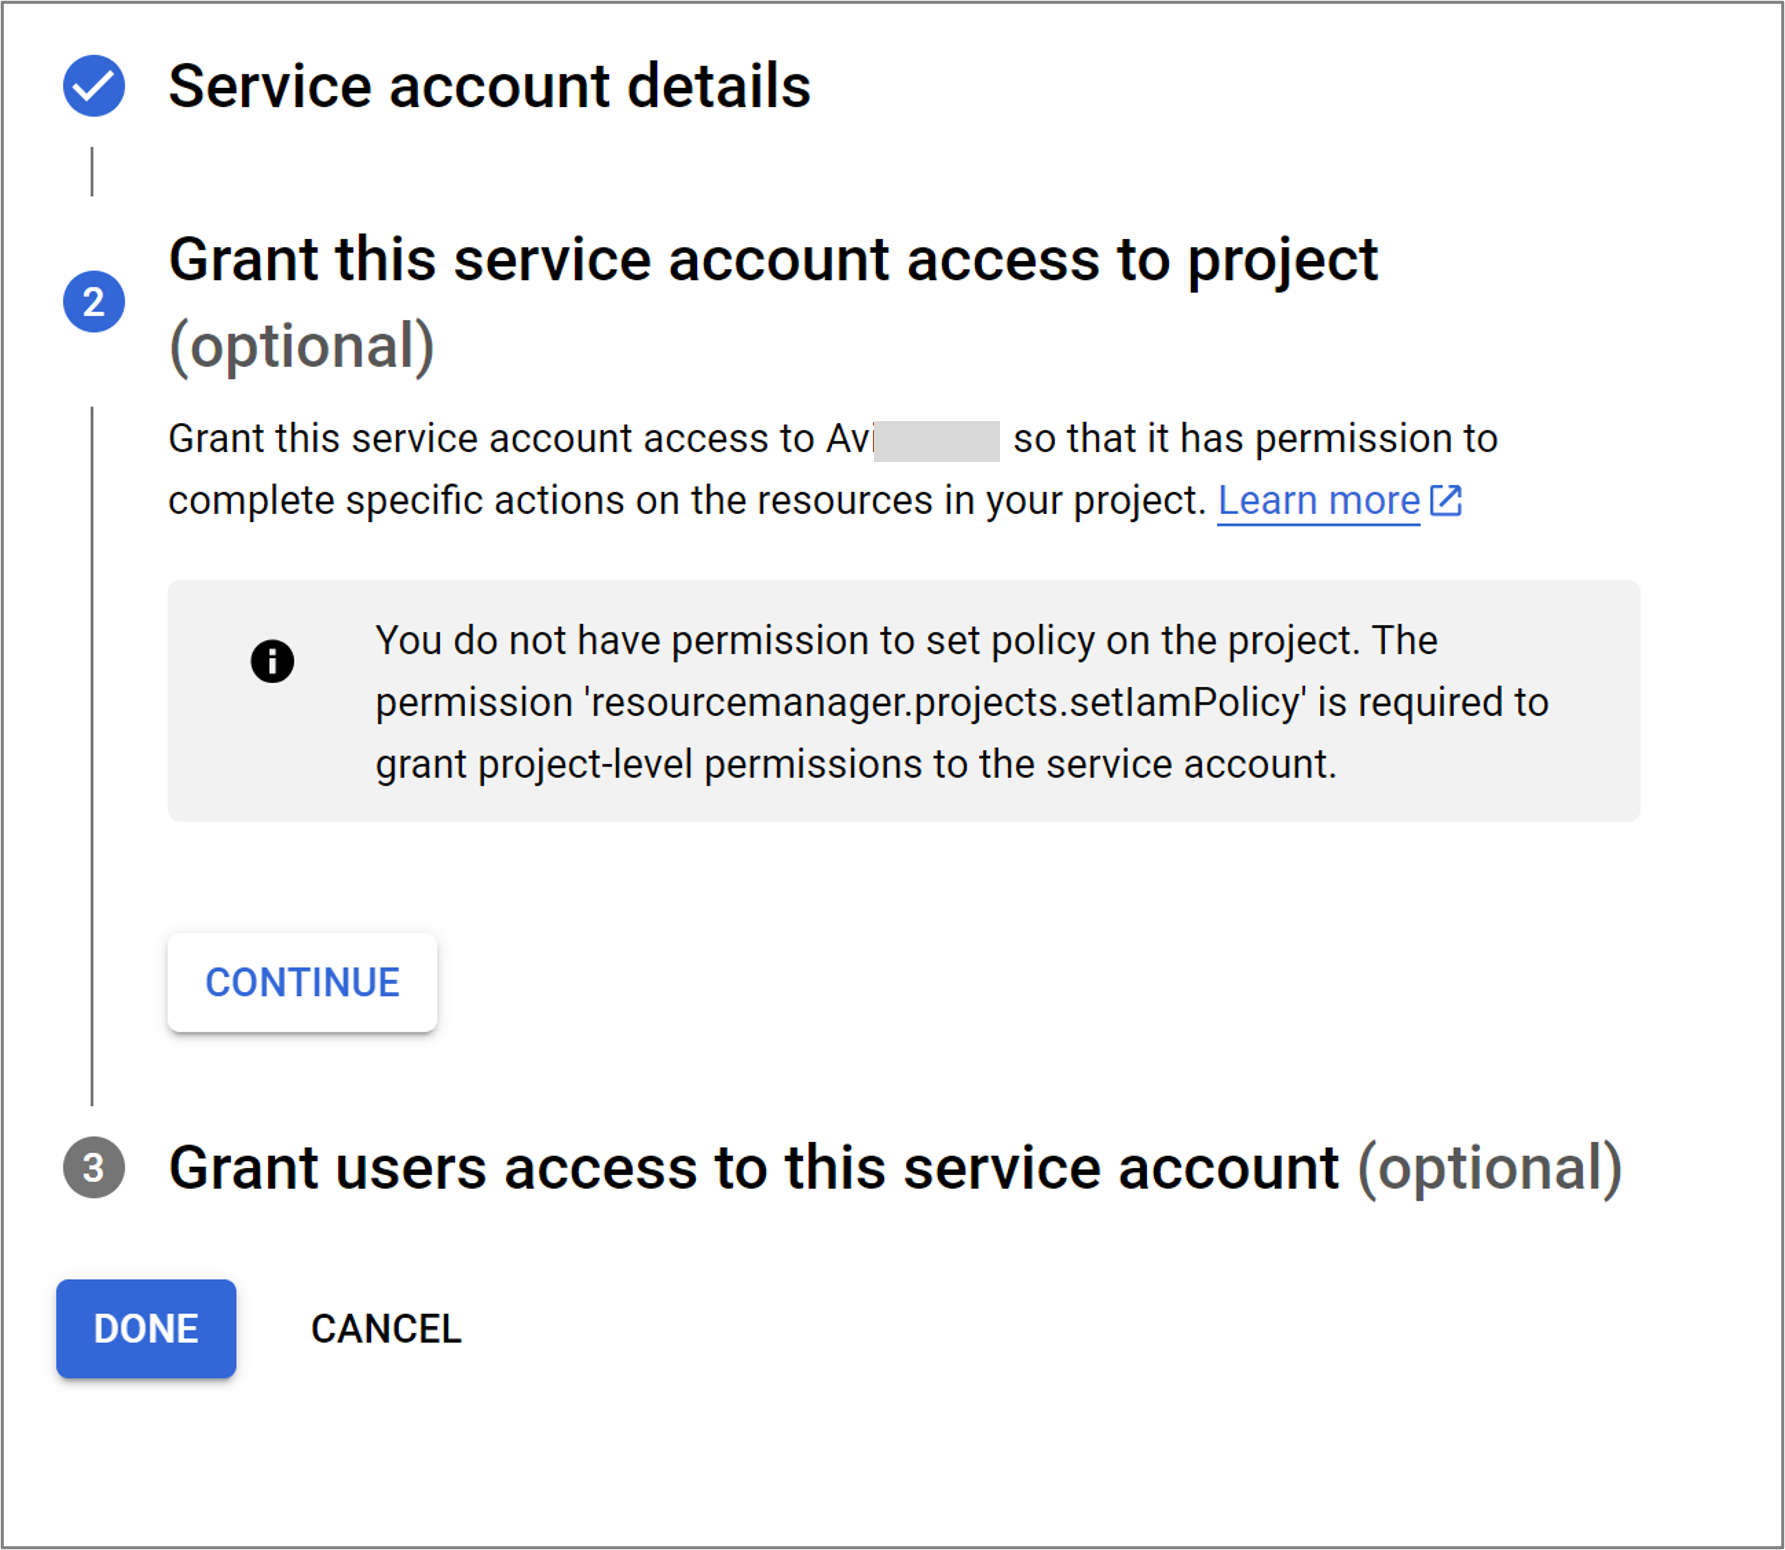
Click CONTINUE to allow specific users or groups to use the service account.
Select the Service account users role and the Service account admins role.
Click DONE.
Creating the Role for the Controller in the Network (XPN) Project and Assigning the Role to a Member
Creating Role for the Controller in the Network (XPN) Project
Create a role for the service account created in the XPN project and assign networking permissions to the role.
To create a role,
Navigate to in the GCP Console for the XPN project and click CREATE ROLE.
Enter the Title, Description, ID.
Select if the role is in Alpha, Beta, available, or deactivated stage from Role launch stage drop-down menu.
Add permissions by clicking ADD PERMISSIONS button. Select the required permissions and click ADD button.
Click CREATE.
Adding the Service Account as a Member to the Network (XPN) Project
Add the service account that was created as a member to the XPN project, with AviNetworkAdminRole.
Open the IAM page in the GCP console for the XPN project.
Click Add.
Select the Service Account as the New Member.
Select the Role with the desired permissions.
Click Save.
Creating a Role for the Controller in the Service Engine Project and Add as a Member
Creating a Role for the Controller in the Service Engine Project
Create a role for the service account and assign permissions required to create load balancers.
Adding as a Member
Add the following permissions:
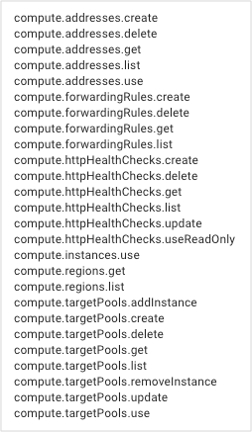
Add the
[email protected]service account created above as a member, to the service engine project with theAviControllerSERolethat was created.
Creating Service Account and Role for Service Engine
These operations are performed in the Service Engine project and are required only if Compute Engine Default Service Account is not available in the project.
Creating a Role for Service Engines
Navigate to the and click CREATE ROLE in the GCP Console for the XPN project.
Click Create Role and enter the Title, and Role ID.
Click Add Permissions and select compute.instances.get.

Creating a Service Account for the Service Engines and Assigning it to the role.
Creating a Service Account for the Service Engines
To create a service account,
Navigate to in the GCP Console and click CREATE SERVICE ACCOUNT.
Enter a service account name. The system will generate the service account ID. Click CREATE AND CONTINUE.
Select a role with desired permissions for the service account.
Make a note of the email ID of the service account.
Click Save.
Assigning it to the Role created above
To add this service account as a member.
Open the IAM page in the GCP console for the required project.
Click Add.
Select the service account as the New Member and select the Role created.
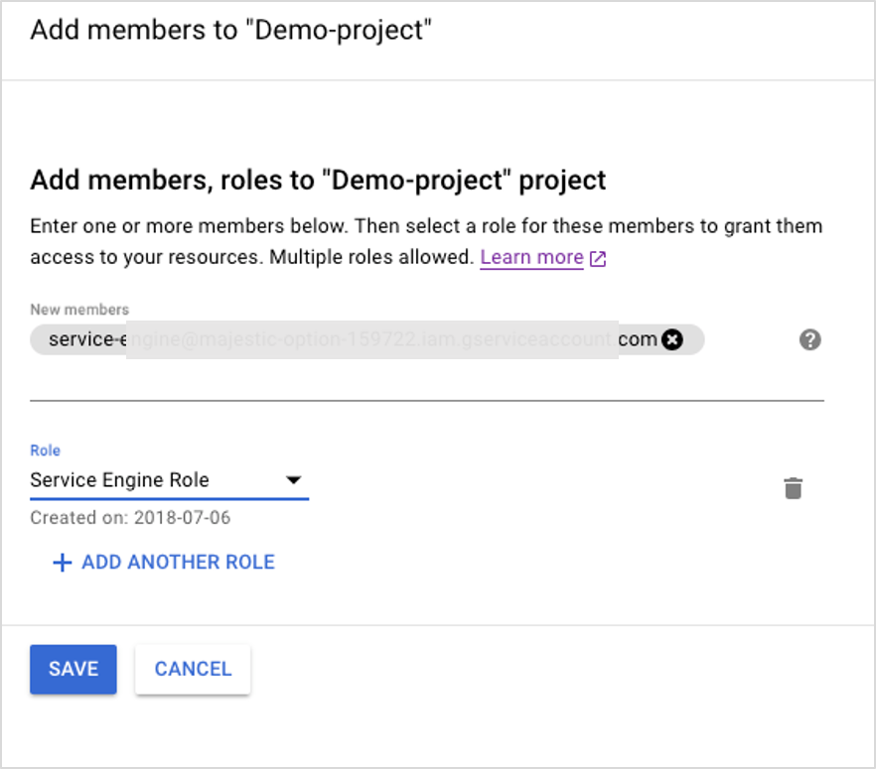
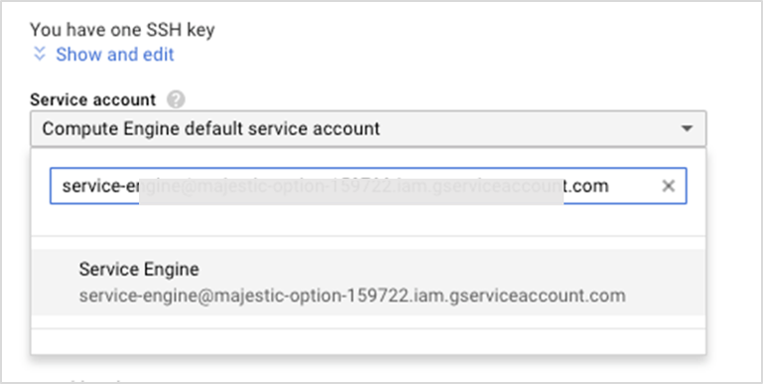
Add this service to the Service Engine Virtual Machine account as shown in the following image:
