The NSX cloud is created from the Avi Load Balancer Controller.
Procedure
- Navigate to .
- Select NSX Cloud option from CREATE drop-down menu.
- Enter the Name of the NSX-T cloud. Select the type of cloud from the drop-down menu.
Note:
NSX Cloud is selected as the Cloud Type by default.
- Enter the Object Name Prefix.
Important:
The prefix string must only have letters, numbers, hyphen and underscore. This field cannot be changed once the cloud is configured. If you include hyphen as part of the prefix, it is converted into underscore.
- Select the Service Engine group to be used as a template in Template Service Engine Group field. This template can be set once the cloud is created.
- Select the Enable DHCP option if SE management segment has DHCP enabled.
- Select the Enable IPv6 Auto Configuration option.
- Select Enable IPv4 and Enable IPv6 to enable IPv4 and IPv6 respectively on the management interface of the Service Engine.
- Enter the NSX-T manager hostname or IP address as the NSX-T Manager Address and select the NSX-T Manager Credentials. You can change credentials by clicking CHANGE CREDENTIALS.
NSX Manager accepts IPv6 address where the Controllers have IPv6 address for primary interface and it is only supported for New cloud object.
- Click Connect to to authenticate with the NSX-T manager.
- Select the Transport Zone required from the drop-down menu. If Virtual LAN (VLAN)-backed logical segments are used instead of Overlay transport zone, see NSX Advanced Load Balancer VLAN Logical Segment.
- In the Management Network Segment, select the Tier-1 Logical Router ID and Segment ID.
Note:
Currently, only Manual is supported as the Logical Segments Config Mode. Hence the option is greyed out. This requires the segment to be pre-created in the NSX manager.
- Under Data Networks, select the tier-1 gateway and logical switch for VIP placement.
- Click Add to select one more tier-1 router and a connected logical segment for VIP placement.
Note:
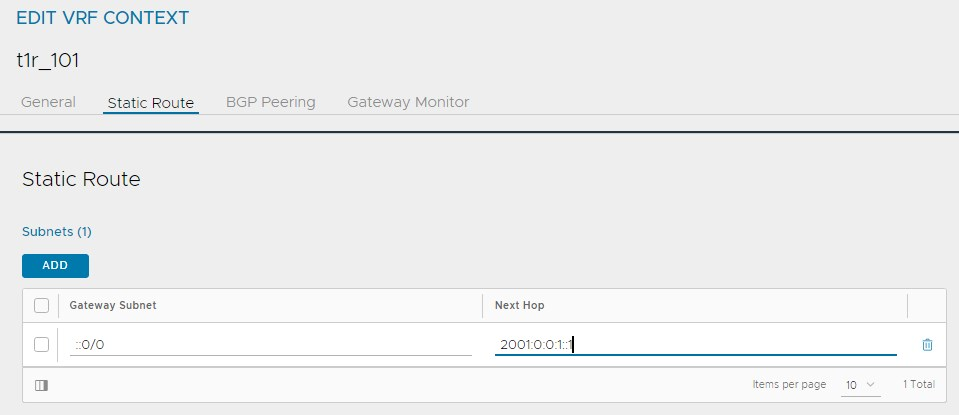
SLAAC based ND profiles are recommended for NSX segments utilized for SE data networks. However, in instances where the "DHCP with Address and DNS through DHCP" ND profile is used, it is recommended to configure a static route with the default gateway as the corresponding Tier-1's IPv6 gateway address.
- Under vCenter Servers, click Add.
- Enter the vCenter Server Name, and configure the credentials.
- Click Connect.
- Select the Content Library and click Done.
- Select the IPAM/DNS Profile, as required.
- Click Save.


