


On encountering an error that prevents it from processing an HTTP request or response, Avi Load Balancer returns a generic error message with a status code to the client. This section discusses customizing this error message.
Customized error response page is different from having Avi Load Balancer return a custom web page using a DataScript or policy when the server returns the error page.
Avi Load Balancer generates error pages for the listed conditions:
A request is blocked due to a Web Application Firewall (WAF) policy match.
HTTP request or response parsing error, such as an invalid request.
Back-end server handshake failure or connection timeout.
Logic failure in a DataScript.
Pool Fail Action
In cases where all servers are down, and the pool servers are unable to return a page, a pool may be configured to return a custom error page.
Navigate to .
Click Edit to edit the pool.
Click Fail Action tab.
In the Fail Action drop-down menu, select HTTP Local Response.
Set the desired return code under Status Code and optionally upload the HTML file in the Upload File field.

By default, the pool fail action is set to Close Connection, and a TCP reset is sent to the client. This action takes effect after an HTTP request is received and before the response. For instance, a WAF security violation triggered by a client request would take precedence. The WAF would send out a 403 error page rather than a page sent by the Pool Fail Action.
DataScript
DataScripts are used to return custom error messages to the client. For this, DataScript needs to detect the error.
A custom error page DataScript is triggered by the RESP_FAILED event, which occurs when Avi Load Balancer cannot process a transaction and return a page to the client.
This event is only executed when Avi Load Balancer generates the error.
If the error is generated by the server, as in the case of the 503 (service unavailable) response, the DataScript must use the HTTP_RESP event to overwrite the page returned by the server. The avi.http.internal_status() function will return the reason for this error. This information is embedded within the returned custom error page. The response is then sent to the client by embedding the custom HTML into the avi.http.response() function. Alternatively, an HTTP redirect could be used through avi.http.redirect().
-- RESP_FAILED
status = avi.http.internal_status()
html = "Your request could not be completed. Please contact support."

if status then html = html .. " Reason: " .. status end
html = html .. ""
avi.http.response(503, {content_type="text/html"}, html)
Error Page Profile
You can configure one or more custom error pages on Avi Load Balancer. Navigate to and click Create.
These pages are simple HTML pages that are defined in the error page body. An error page profile can point to multiple error page bodies. Ensure that each error page profile is associated with a different HTTP status code or a range of status codes.
Custom tokens or variables are dynamic data generated by Avi Load Balancer that can be inserted into the returned page. These variables must be separated by a space, after and before. The Avi Load Balancer parser will reject other string ($) characters contained within the HTML of an error page. The following are the available variables:
$status – Returns the status code that Avi Load Balancer returns to the client.
$request_id – Returns a unique identifier that Avi Load Balancer assigns to the specific request or response. This identifier is also included in the logs. When this identifier is returned to the client, the specific transaction can be located in the logs to find the reason for the error. A common use case is that of WAF, which can block a client request for a wide range of violations. By locating the request ID in the logs, the administrator can validate if the blocked request or WAF signature must be exempted from blocking future requests.
$vs_name – Returns the name of the virtual service. This name can be different from the connected FQDN clients.
Style sheets, JavaScript, or base64-encoded images can be embedded within a single HTML file as inline objects for robust error pages. Alternatively, the HTML page can include links to another site for retrieving these additional objects.
Custom Error Page Profile
Every virtual service has a user-defined HTML error page (Custom-Error-Page-Profile) for Avi Load Balancer-generated 4xx and 5xx errors. You can update or add specific error page profiles and pages as required.
The Custom-Error-Page (HTML) is packaged in the Controller. The size of this page is ~4KB.
Custom-Error-Page-Profile is currently available only for the Enterprise license tier.
To edit the custom error page profile:
-
From the Avi Load Balancer UI, navigate to .
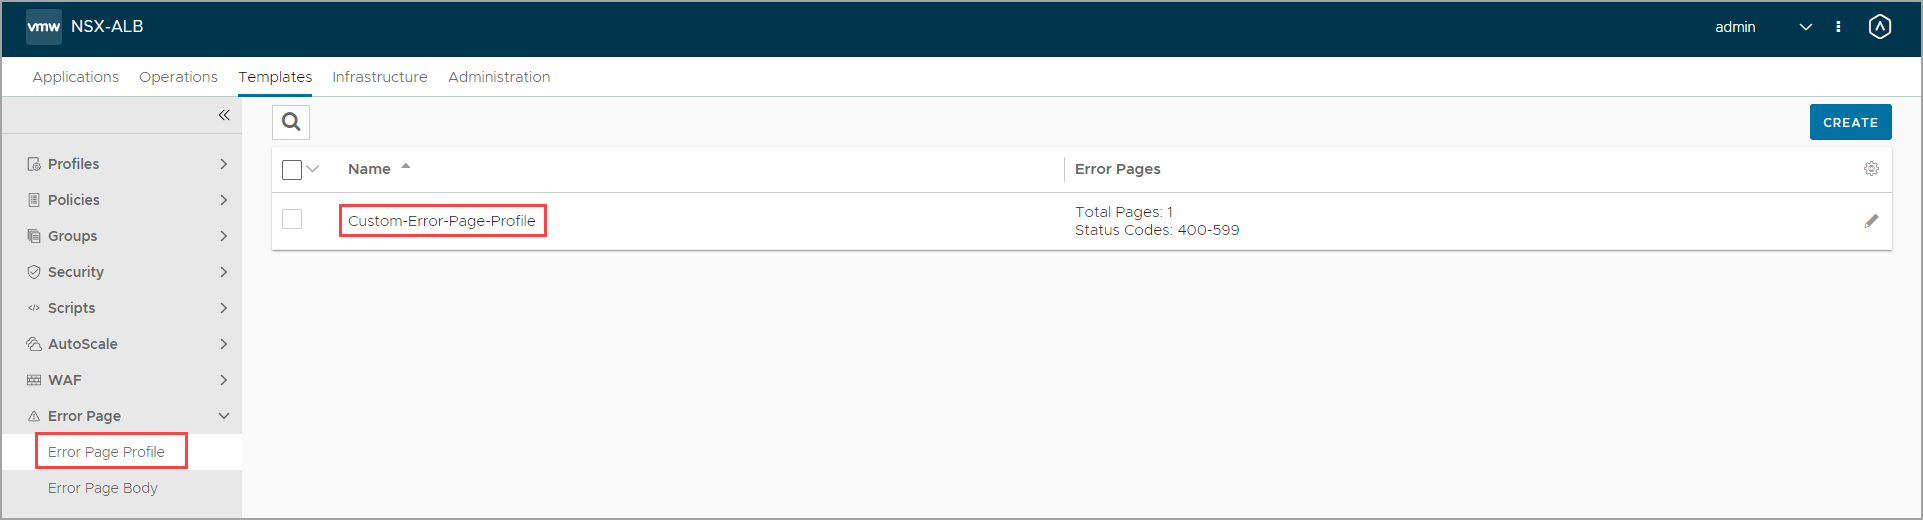
Click the Edit button.
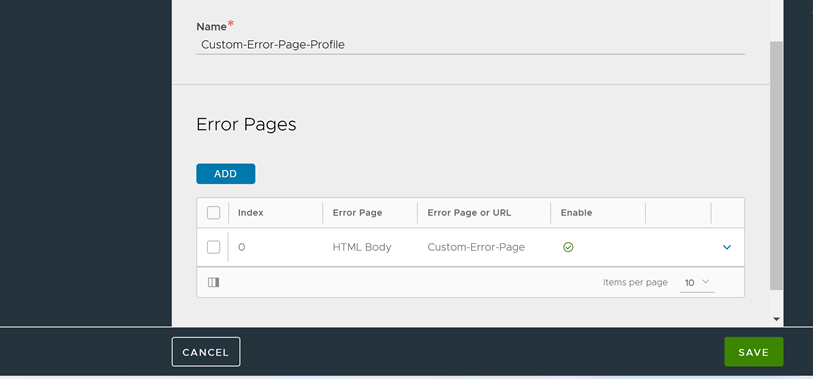
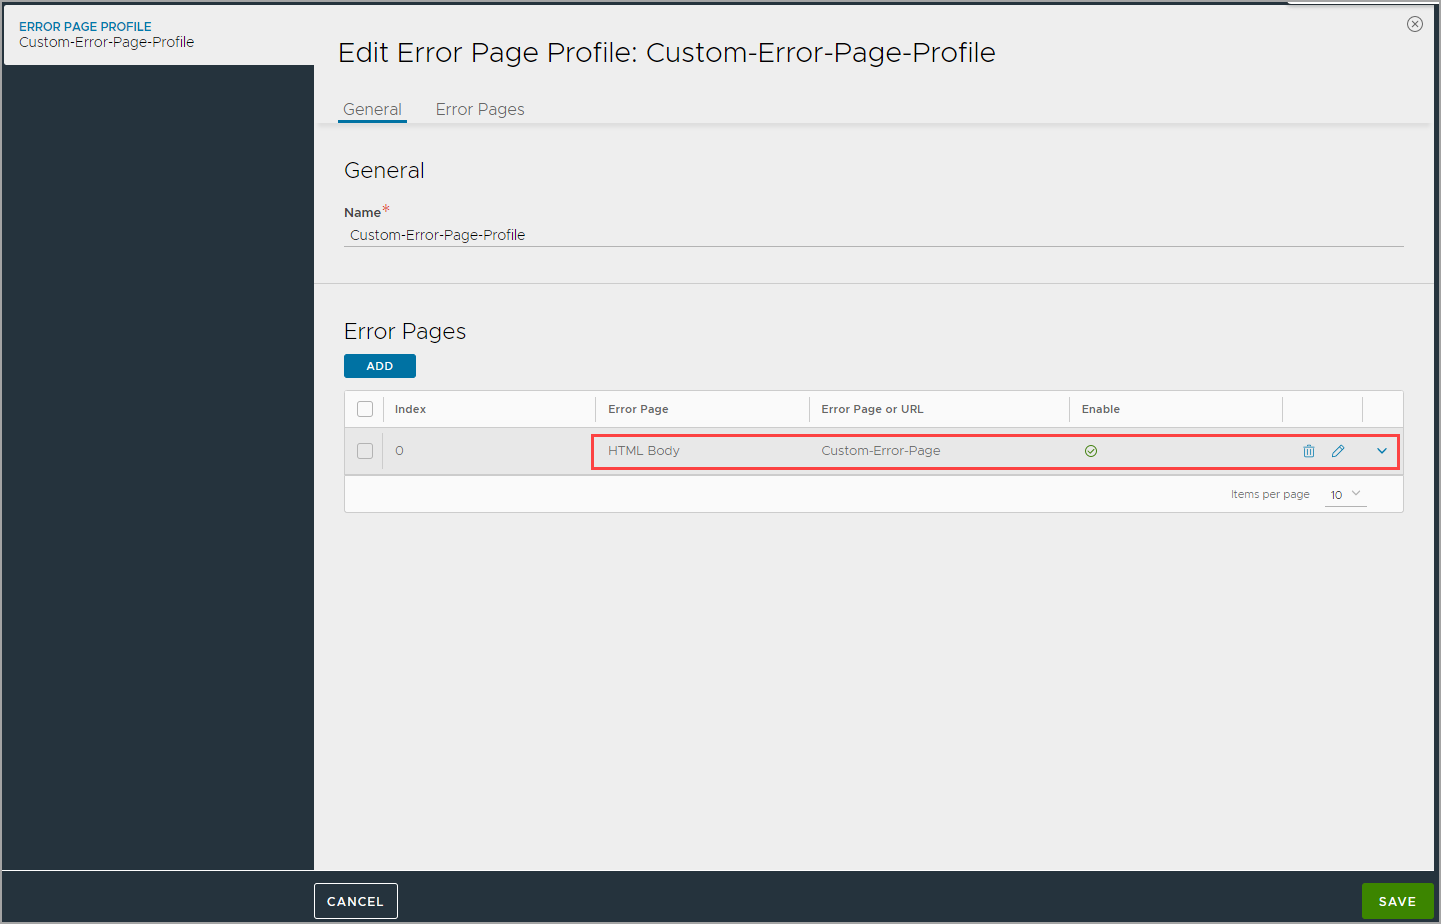
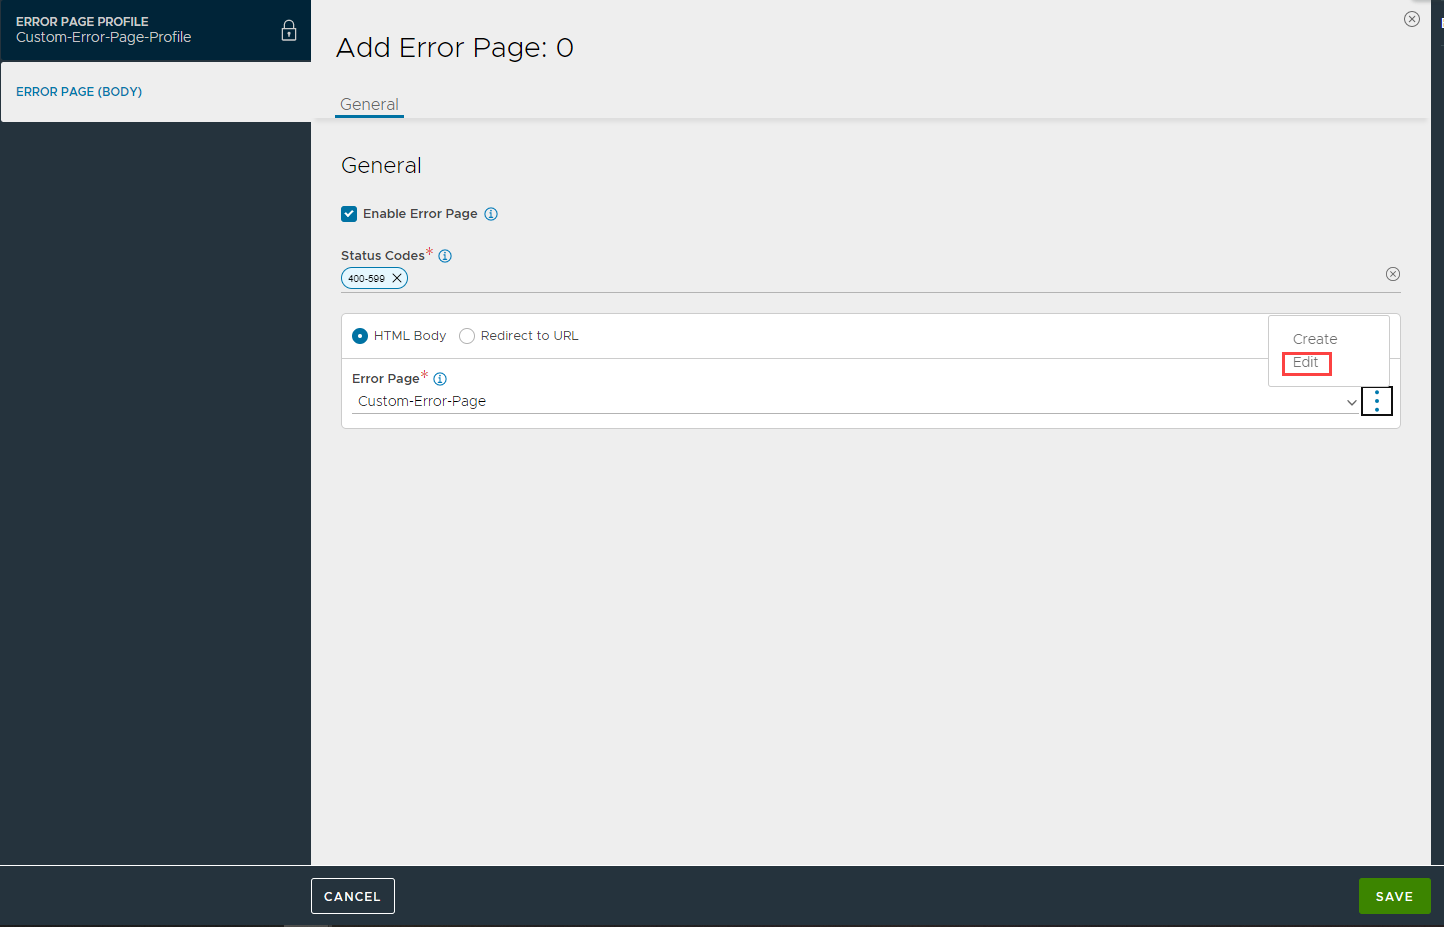
In the Edit Error Page Profile sub-screen, Click Error Pages tab.
Click the Edit icon near HTML Body to modify the body of the error page.
Click the three dotted lines against the Custom Error Page and click the Edit icon.
-
The page body has the logo, response code, application name, and the Request ID defined by default. Edit the HTML content as required.
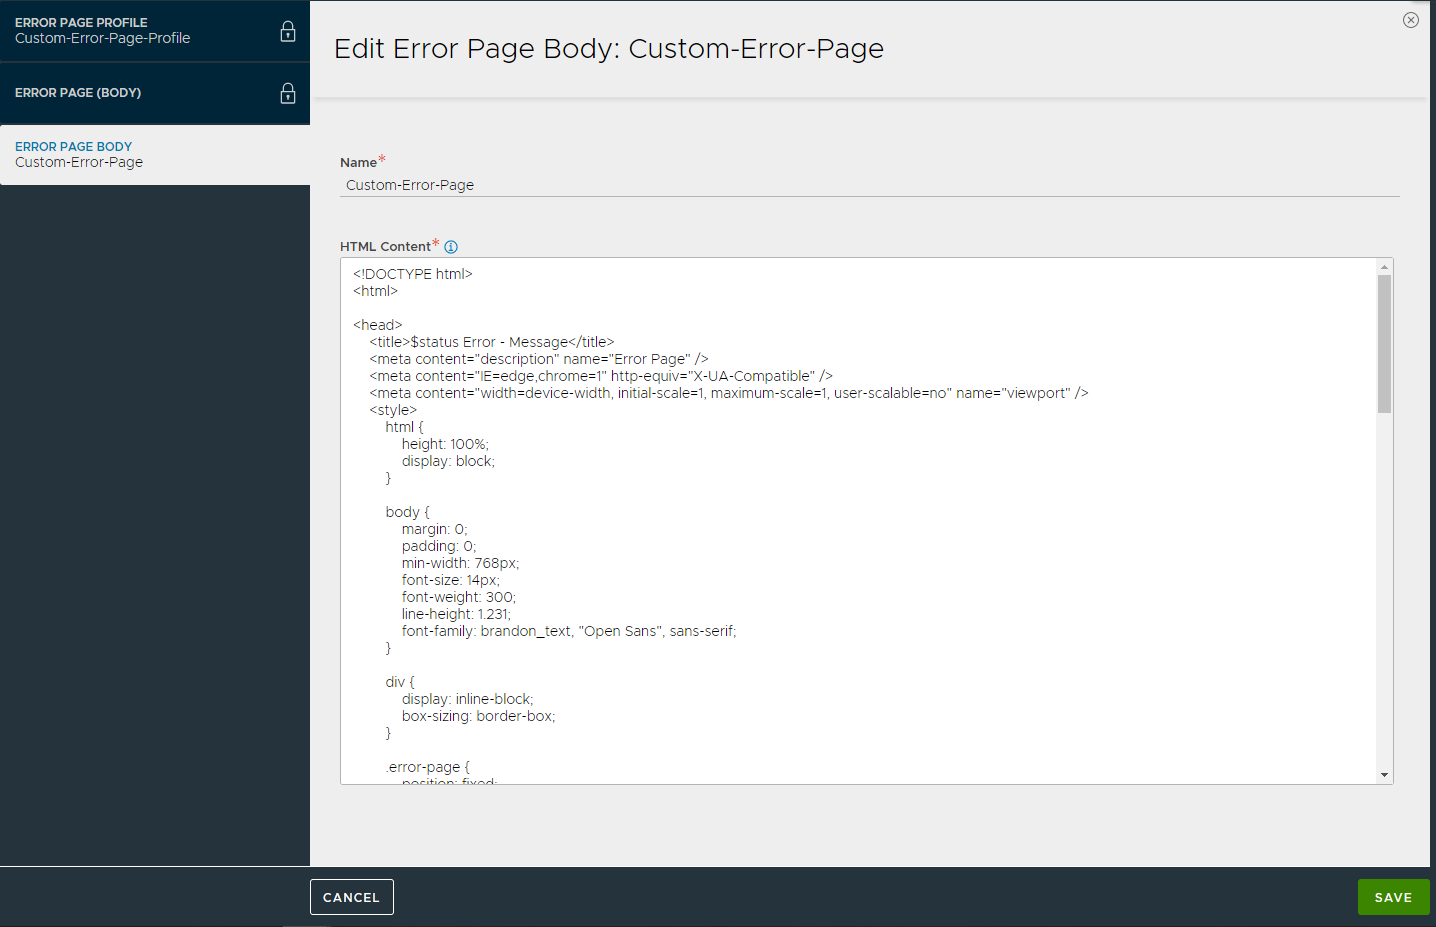
Click Save to update the changes.
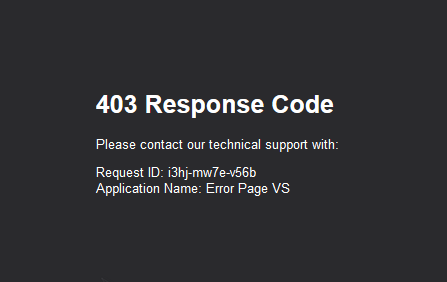
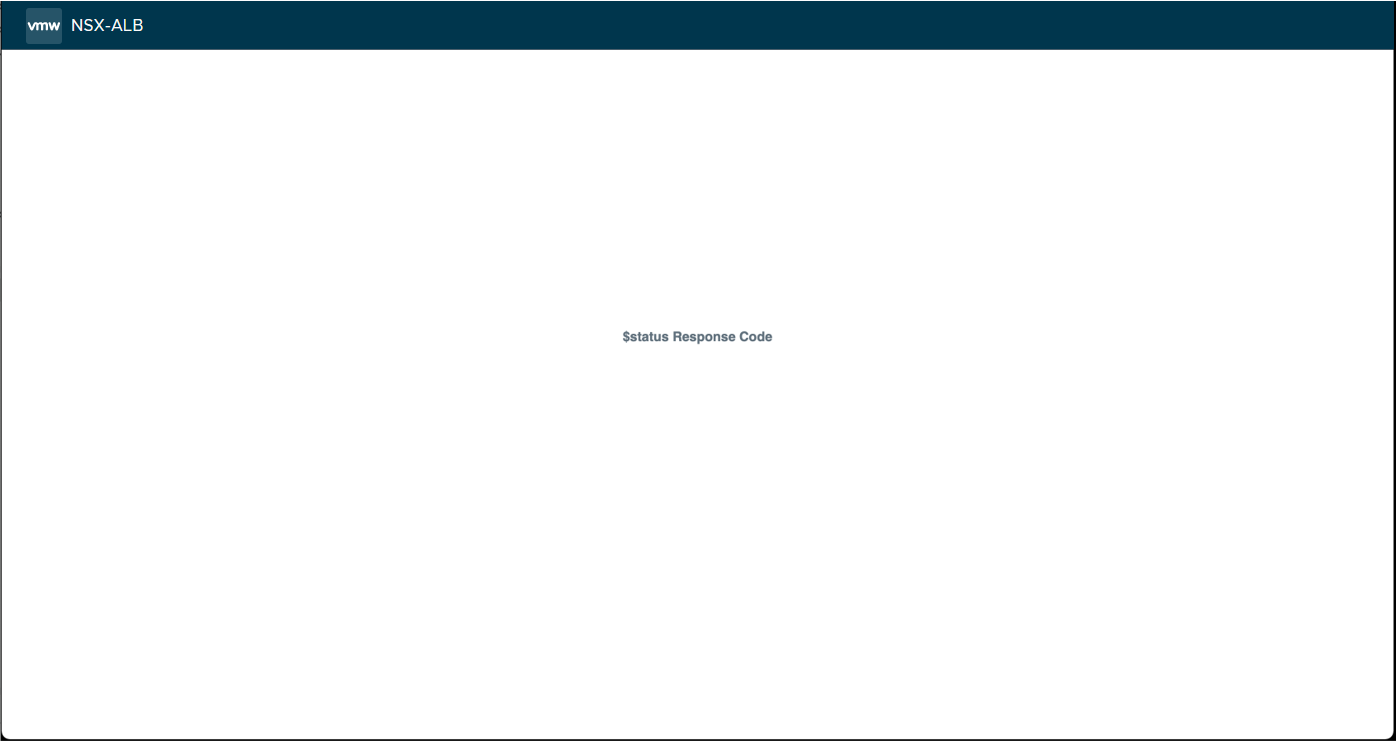
The default custom error page appears as shown below:
Uncomment the line in this page to get the Request ID and virtual service name:
<!-- Please contact our technical support with Request ID: $request_id and Application Name: $vs_name -->
Virtual services, by default, refer to the Custom-Error-Page-Profile.
Returning a JSON Error Page
It is possible to return an error page in JSON format instead of HTML. At this time, configuration is supported through the CLI only. The three major steps are illustrated below:
Create an error page body using the configure command.
[admin:10-10-26-45]: > configure errorpagebody Json-Error-Page-Body
[admin:10-10-26-45]: errorpagebody> format error_page_format_json
[admin:10-10-26-45]: errorpagebody> error_page_body --
Please input the value for field error_page_body (Enter END to terminate input):"{ "request_id":" $request_id ", "application_name":" $vs_name ", "status_code":" $status " }"
END
[admin:10-10-26-45]: errorpagebody> save
+-----------------+----------------------------------------------------------------------------------+
| Field           | Value                                                                            |
+-----------------+----------------------------------------------------------------------------------+
| uuid            | errorpagebody-6a0ee492-30bc-41fc-8105-ec6166f7ae04                               |
| name            | Json-Error-Page-Body                                                             |
| tenant_ref      | admin                                                                            |
| error_page_body | "{ "request_id":" $request_id ", "application_name":" $vs_name ", "stat |
|                 | us_code":" $status " }"                                                       |
| format          | ERROR_PAGE_FORMAT_JSON                                                           |
+-----------------+----------------------------------------------------------------------------------+
Create an Error Page Profile: The below illustrates creation of an error page profile that references the error page body and associates it with the status code that will trigger its return to the client.
[admin:10-10-26-45]: > configure errorpageprofile Json-Error-Profile
[admin:10-10-26-45]: errorpageprofile> error_pages index 0
New object being created
[admin:10-10-26-45]: errorpageprofile:error_pages> enable
[admin:10-10-26-45]: errorpageprofile:error_pages> match match_criteria is_in status_codes 503
[admin:10-10-26-45]: errorpageprofile:error_pages:match> save
[admin:10-10-26-45]: errorpageprofile:error_pages> error_page_body_ref Json-Error-Page-Body
[admin:10-10-26-45]: errorpageprofile:error_pages> save
[admin:10-10-26-45]: errorpageprofile> save
+-----------------------+-------------------------------------------------------+
| Field                 | Value                                                 |
+-----------------------+-------------------------------------------------------+
| uuid                  | errorpageprofile-f8381196-ab7e-4716-96c6-ad99db8beb41 |
| name                  | Json-Error-Profile                                    |
| tenant_ref            | admin                                                 |
| error_pages[1]        |                                                       |
|   index               | 0                                                     |
|   enable              | True                                                  |
|   match               |                                                       |
|     match_criteria    | IS_IN                                                 |
|     status_codes[1]   | 503                                                   |
|   error_page_body_ref | Json-Error-Page-Body                                  |
+-----------------------+-------------------------------------------------------+
[admin:10-10-26-45]: >
Associate the Virtual Service with the Error Page Profile: Imagine the name of the VS is
MyVS. In one CLI command the association between the virtual service and error profile can be made:[admin:10-10-26-45]: > configure virtualservice MyVS error_page_profile_ref Json-Error-Profile
