


Filters let you narrow information displayed in a table so that you can more easily find the data you need. You can select one or more attributes, which correspond to information in table columns, and then enter attribute values on which to search. The operators you can use with the filters (“equal to”, “greater than”, etc.) vary according to the attribute you select. Depending on the filter you choose, its values can be text, numbers, or dates. For attributes that accept date values, the console displays a date box.
To filter results in a table:
-
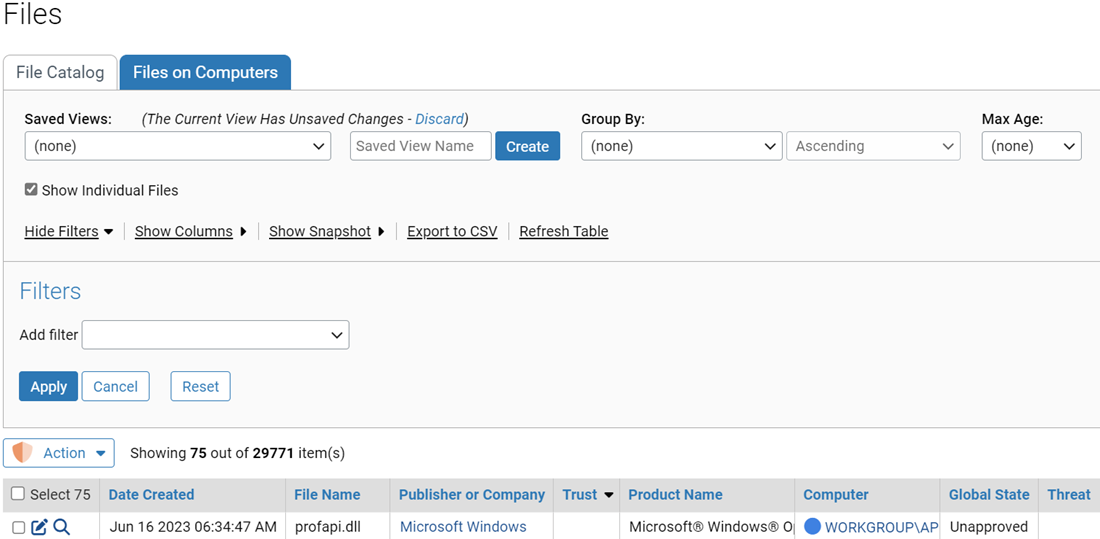
Click Show Filters to open the Filters dialog. The Show Filter link changes to Hide Filter.
-
In the Add Filter menu, select one or more filter attributes you want to use to limit information displayed in the table.
-
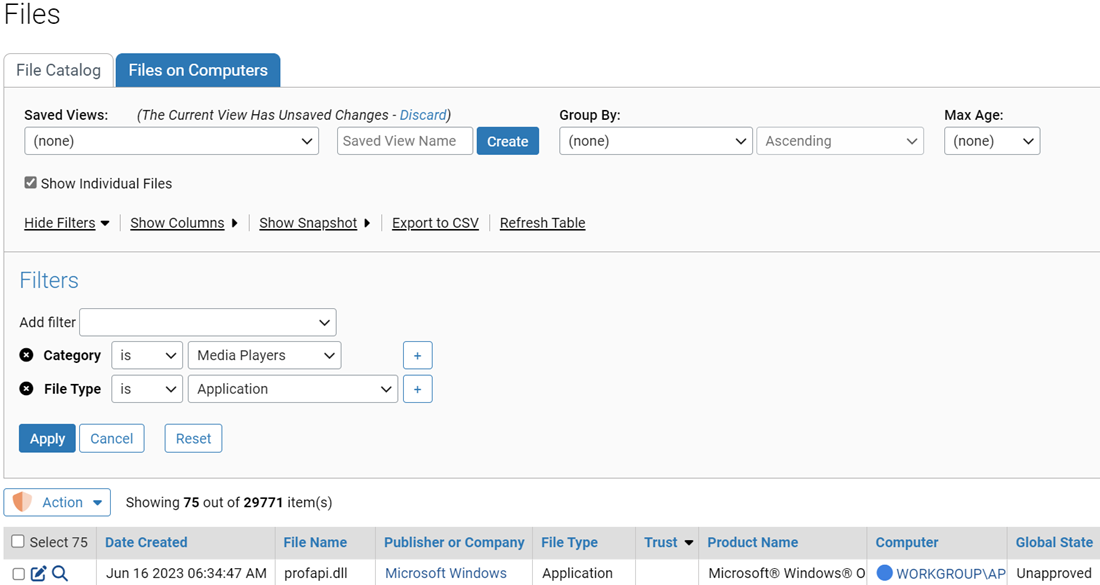
For each filter attribute, select the appropriate operators and enter values (if required).
- To filter results by the selected attributes, click the Apply button.
- To return to a display of unfiltered results, click the Reset button.
- To close the Filters panel, click Hide Filters.
The default operator varies depending upon the attribute you choose, sometimes for performance reasons. For example, “is” is the default operator for File Name in order to limit the amount of data matching the filter.
You usually can add multiple filters of the same type clicking the plus button to the right of an existing filter of that type (or by picking the same filter from the menu again). Two filters of the same type are treated as an either/or operation. For example, if you add a File Name filter for filenames containing “alpha” and another for filenames containing “beta”, the table will show files containing either “alpha” or “beta” in the name.
For the “value” field (the data that you want to match), many filters do auto-completion as you enter in characters. For example, if you type in “Abc” in a Product Name filter with a “is” operator, the console displays a menu of all product names that begin with “Abc”, and you can pick one from the menu rather than typing in the entire name. Auto-completion is generally limited to filters using the “is” or “is not” operator.
Some filter criteria are more efficient than others. In general, a filter that allows searching for an exact match rather than requiring a string analysis will be much faster and have less likelihood of database timeouts. For example, if you want to find all files with a particular extension (such as .exe) using the File Name filter and choosing “ending with .exe” is very inefficient. In this case, use the Extension filter. Searching for a file using the “containing” operator (such as, “File Name contains setup”) is particularly inefficient.
Filters apply only to the level of information currently displayed in a table. For example, if you display a list of file groups (the default) rather than individual files, a filter that looks for First Seen Name containing the text “abc” will only match the names of installer files containing that string. It will not match individual files installed by another file. On the other hand, if you click the Show individual files box with the same filter in effect, any file containing the filter string installed by the installer will appear in the table.
- You can click the Show Filters button and the Show Columns button to show both panels at the same time. This combination might provide more insight into how you would like to modify a particular table.
- To save a view that you would like to use regularly, create a new Saved View. See Default and Saved Views.
