The Action menu on the File Catalog, Files on Computers, and Find Files page provides the following choices for deleting files:
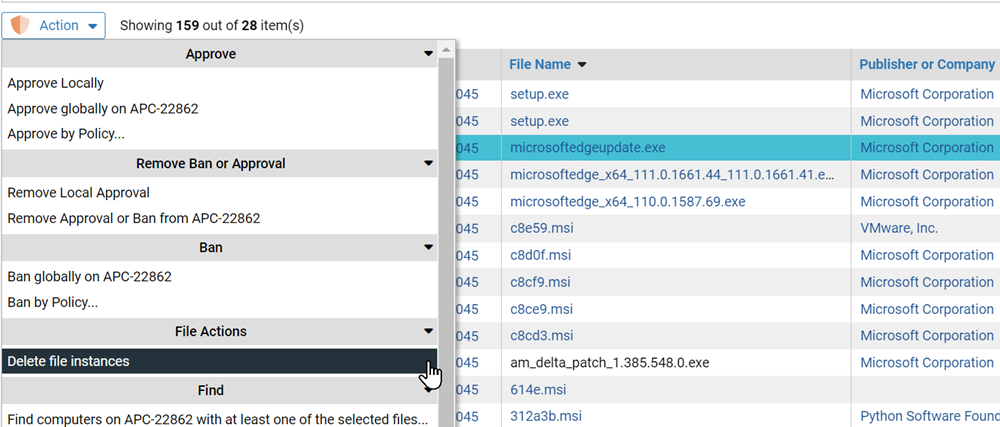
- Delete file instances
- On the Files on Computers and Find Files pages, this command operates only on the computers associated with the files you checked. It submits a request to remove all instances of files matching the hash of the selected files only from the computers associated with the file instances you checked. Instances of the same hash on computers that were not selected will not be deleted.
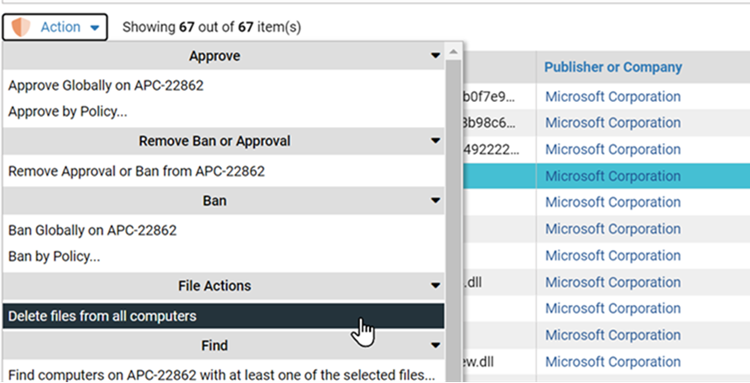
- Delete files from all computers
- On the File Catalog page, this submits a request to delete all instances of files matching the hash of the checked files in the table on all computers reporting to the current server.
The advantage of executing delete file commands from a console table is that you can delete multiple files at once. For example, you might use the table filtering tools to get a list of files meeting certain criteria, check the box next to each file’s name, and request that they be deleted in one operation. However, this also requires carefully checking the list of files before you execute the command so that you avoid deleting a file by accident.
Request Deletion of Selected File Instances
Use this procedure to request deletion of selected file instances via the Files on Computers or Find Files page.
Procedure
- On the Action menu, choose Delete file instances.
Request Deletion of All Instances of Selected Files
Use this procedure request deletion of all instances of selected files via the File Catalog page.
Procedure
- On the Action menu, choose Delete files from all computers.