


To take advantage of a Rapid Config, you must configure it and then enable it.
The actions required for configuration vary depending upon the config:
- In some cases, all configuration settings are built-in, and the only changes a user can make are to enable or deactivate the Rapid Config and change the policies to which it applies.
- If a Rapid Config has editable fields but all of these are either optional fields or already have values, you can enable the config immediately. If a Rapid Config has a setting that could block or report and action, the default is usually “Report”.
- If a Rapid Config has required fields that do not have defaults or values you previously entered, values must be entered into those fields before the config can be enabled.
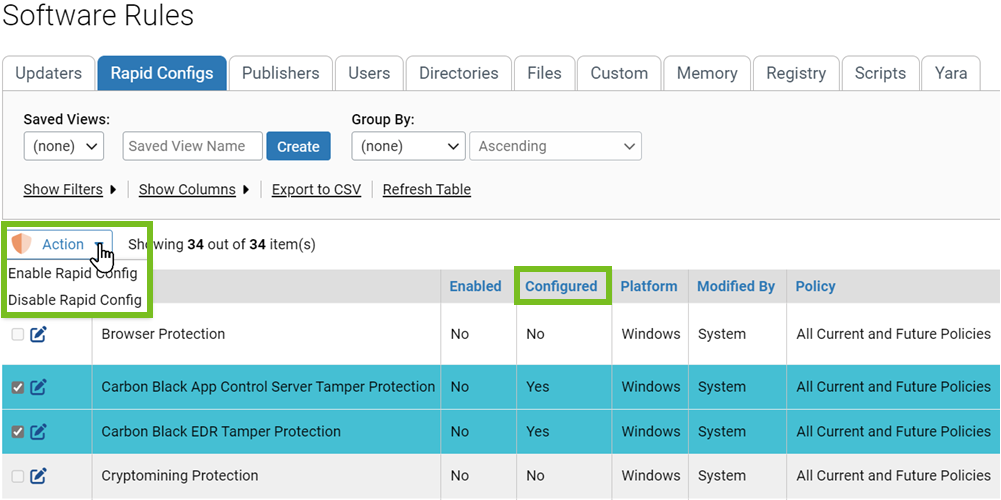
The Rapid Configs table includes a column showing the configuration status of each config. Any config whose Configuration column shows Yes can be enabled directly from the table page. Rapid Configs whose Configuration column shows No cannot be selected on that page (their check boxes are grayed out), and must be configured on the Rapid Config Settings page before being enabled.
Procedure
- To enable a Rapid Config that is already configured but you want to select the policies it applies to, follow the steps.
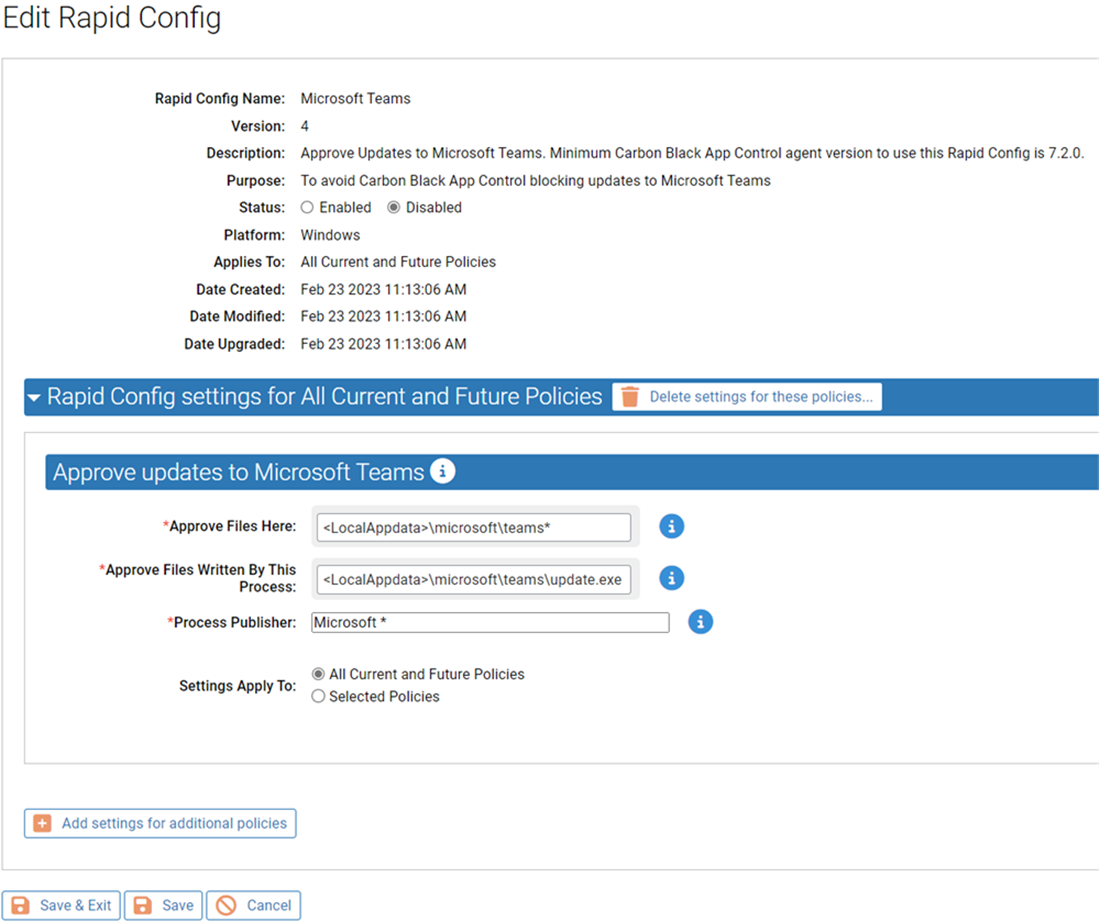
- Click the View Details button next to the configuration you want to edit.
The Edit Rapid Config window displays.
The details of each Rapid Config vary.
 Note: You must fill out all mandatory fields (with a red asterisk) before the config can be enabled. For more information, see Configure and Enable User-Defined Rapid Config.
 - Review the remaining fields and ensure they are correctly configured.
In most cases, these fields are pre-configured.
- When ready, locate the Status field, and click the Enabled radio button.
- In the Settings Apply To field, click the radio button for All Current and Future Policies or Selected Policies.
- If you clicked the Selected Policies option, check the box next to each policy for which you want the Rapid Config to be enabled.
- To keep your changes, click the Save button (to stay on the page) or the Save & Exit button (to return to the table page).
- Click the View Details button next to the configuration you want to edit.
