


Each page and tab has a default view, which is unfiltered and shows data columns assumed to be most commonly of interest. To get exactly the view you want, you might modify several different table parameters. So that you do not have to recreate these modifications every time you view a page, the console allows you to name and save views on most pages. Once you have named a view, you can get to it again simply by choosing it on the Saved Views menu. When you choose (none) on the Saved View menu, you reset the page to the system default view.
ReadOnly accounts cannot create new Saved Views. They can access pre-configured Saved Views and those created by other users.
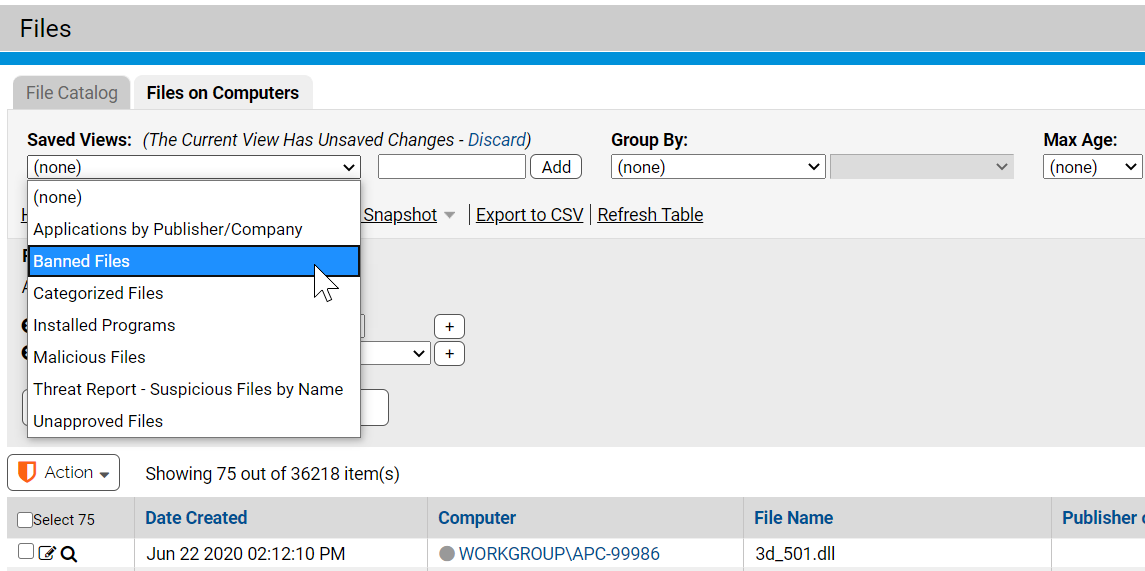
Most console pages come with pre-configured Saved Views in addition to (none). Although you cannot change pre-configured views, you can use them as templates to create your own new Saved Views.
To display a pre-configured Saved View:
- Go to the page and tab (if any) you want to view.
- In the Saved View panel, make a choice from the Saved Views menu. The view is displayed as soon as you release the mouse button.
Depending upon the view you choose, you might see different columns in the table, or only information matching a filter (for example, only files with status “Banned”).
In any view, including (none), you can make your own modifications via the filters and column controls, and also through a variety of other shortcuts on the page that let you set a time period, maximum number of items per page, and grouping. Once you modify a view from its original form, the Saved Views panel shows that you have unsaved changes until you either save the changes or reset the view to another Saved View. Changes to system-provided views must be saved to a different name.

To create and save a view of a console table:
- Go to the page and tab (if any) you want to view.
- If you want to start with an existing view as your template, choose that view from the Saved Views menu.
- Use Show Columns to show the columns you want.
- Use Show Filterto include or exclude items from the table.
- To view only items newer than a particular date or time, use the Maximum Age menu. (You also can create more complex date/time filters on the Filters menu).
-
To show items listed by a group name rather than the item name, choose a Group from the Group By menu and choose the order in which you want them displayed (Ascending or Descending).
Note: EXAMPLE: To group files by Publisher, choose Publisher. The table initially shows the groups, but if you click on a group name, it expands to show the individual items in that group. - On pages that show tables of files, if you want to see individual files installed by an installer rather than the installer file name only, click the Show individual files checkbox in the bottom right of the page.
- If you want more or fewer rows displayed per page, choose a different number from the rows per page menu in the bottom right of the page. If you choose page in the right menu of this line, the change affects only the page you are on (e.g., only the Computers page). If you choose all pages in the right menu of this line, the change affects every page in the console for which you have not specified a length.
-
Once you have exactly the view you want, type a name representing this view into the right box in the Saved View panel and click Add.
Your new view is now saved and available by name from the Saved Views menu.
If you choose, you can set a user preference that does not remember your most recent view of a page, instead resetting to the console default view when you navigate away from a page. See Preference Settings for Console Users for more details. Also, even if your preference is to remember changes, if you do not want any modifications remembered in a particular visit to the page, you can click on the Discard link next to the message about unsaved changes, and this returns the view to its saved format.
