You install a Sensor Gateway on a Windows virtual machine either from a vSphere Client or directly on an ESXi host by using its Web client interface. You can select between installing an OVA file or an OVF file.

Alternatively to the procedure below, to deploy the Sensor Gateway appliance directly on the ESXi host, log in to the ESXi Web Client interface (https://ESXi_host_IP_address_or_hostname), right-click Virtual Machines, and select Create/Register VM. Once you select Deploy a virtual machine from an OVF or OVA file, you can proceed with the installation wizard by referring to step 4 and onwards.

Prerequisites

  • Verify that you have available the API access credentials. For details, see Provision Sensor Gateway API Key.
  • Verify that your environment is configured with the necessary network settings. For details, see Configure a Firewall.
  • Verify that the firewall setup on your virtual machine does not block projects.registry.vmware.com on port 443.

Procedure

  1. Log in to your vCenter Server by using the vSphere Client.
    1. Open a Web browser and enter the URL for your vCenter Server instance: https://vcenter_server_ip_address_or_fqdn
    2. If a warning message about a potential security risk appears, select to continue to the website.
      Browser Action
      Microsoft Edge
      1. Click Details.
      2. Under the message that appears, click Go on to the webpage.
      Mozilla Firefox
      1. Click Advanced.
      2. Under the message that appears, click Accept the risk and continue.
      Google Chrome
      1. Click Advanced.
      2. Under the message that appears, click Proceed to vcenter_server_ip_address_or_fqdn.
    3. On the vSphere Welcome page, select Launch vSphere Client (HTML5).
    4. Enter the credentials of a user who has permissions on vCenter Server and click Login.
      The vSphere Client connects to all the vCenter Server systems on which the specified user has permissions, and you can view and manage the vSphere inventory.
  2. To retrieve the Sensor Gateway appliance installer sgw-va-1.2.0.0-22635557_OVF10.ova, go to the Customer Connect Download page and click Download Now under CBC-CWP-SensorGateway-OVA-122.
  3. Navigate to a cluster within your data center, right-click on an ESXi host, and select Deploy OVF Template.
    Sensor Gateway OVA and OVF files location

    The Deploy OVF Template wizard displays.

  4. Select a template by either of the following options and click Next.
    • To use the copied OVA link address, select URL and paste the address.
    • To use a locally saved OVA file, select Local file and upload the OVA. If you upload an OVF file, you must also upload all VMDK files that relate to the OVF.
  5. Enter a unique name identifier and select the location for your deployed Sensor Gateway virtual machine.
  6. On the next page, select the compute resource you want to use for your deployed Sensor Gateway and click Next.
    Verify that the appliance is compatible with the selected resource.
  7. Review and verify the details for the virtual appliance and click Next.
  8. Read and accept the end-user license agreement, then select Next.
  9. Select a virtual disk format and storage location.
    Virtual Disk Format Advantages Disadvantages
    Thin Provisioned
    • Fastest to provision
    • Allows disk space to be over-committed to VMs
    • Slowest performance due to metadata allocation overhead and additional overhead during initial write operations
    • Over-commitment of storage can lead to application disruption or downtime if resources are actually used
    • Does not support clustering features
    Thick Provisioned Lazy Zeroed
    • Faster to provision than Thick Provisioned Eager Zeroed
    • Better performance than Thin Provisioned
    • Slightly slower to provision than Thin Provisioned
    • Slower performance than Thick Provisioned Eager Zero
    • Does not support clustering features
    Thick Provisioned Eager Zeroed
    • Best performance
    • Overwriting allocated disk space with zeros reduces possible security risks
    • Supports clustering features such as Microsoft Cluster Server (MSCS) and VMware Fault Tolerance
    Longest time to provision
  10. Select a destination network for each source network and click Next.
    You can keep the default.
  11. Configure the deployment settings for the Sensor Gateway virtual machine.
    Option Action Example
    Initial root password Enter a password for the root user account.
    Initial admin password Enter a password for the admin user account.
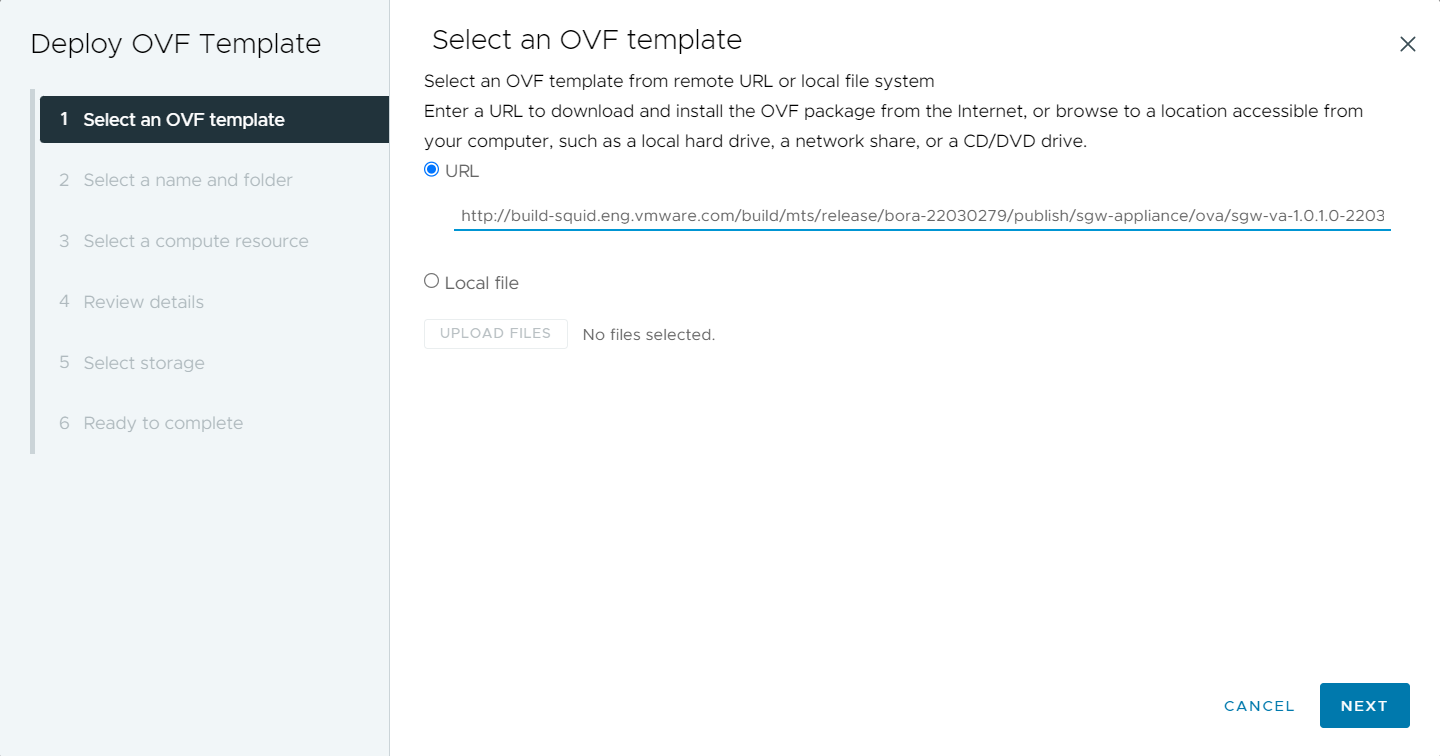
    CBC URL Enter the CBC URL that represents the environment where your services are hosted. Carbon Black Cloud is hosted in several regions and the URL might be different. For a list of Carbon Black Cloud environments, see Carbon Black Cloud Access. https://defense-prod05.conferdeploy.net
    Note: Ensure that the value begins with https://
    API ID To allow authenticated communication between a Sensor Gateway and the Carbon Black Cloud, enter the Carbon Black Cloud API ID and API Secret Key. You generate them in pairs by using the Carbon Black Cloud console. If there is a mismatch, Carbon Black Cloud rejects any communication coming from the Sensor Gateway.
    Note: Due to the use of sensitive data, the vSphere Client prompts for a confirmation twice and hides the value in the UI.
    9Z5QY2ZDAN
    API Secret Key 8UE3SHE470T2LZLJZJ2M98TY
    Important: You must generate a new API ID and API Secret Key for every Sensor Gateway instance.
    Sensor Gateway Entry Point

    (https://<sensor-gateway-node-fqdn>)

    To define how the sensors address the Sensor Gateway, enter a Sensor Gateway entry point. The entry point must match the following:
    • If you use a CA-signed or self-signed certificate, the value must be the same as the common name (CN) given to the certificate.
    • The IP address or the FQDN of the machine must be the same as the CN of the certificate.
    https://sensorgateway.company.com

    This example assumes that the CN of the certificate is sensorgateway.company.com

    Note: Since the Sensor Gateway hosts its services by using SSL, ensure the value begins with https://
    Sensor Gateway Certificate Paste the content, including BEGIN and END lines, of the Sensor Gateway certificate file. It allows the Carbon Black sensor to talk to the Sensor Gateway.
    Sensor Gateway Certificate Private Key Paste the content, including BEGIN and END lines, of the Sensor Gateway certificate private key file in the Password field.
    Note: Due to the use of sensitive data, the vSphere Client prompts for a confirmation twice and hides the value in the UI.
    Sensor Gateway Certificate Chain Paste the content, including BEGIN and END lines, of the Sensor Gateway certificate chain file.
    Sensor Gateway Certificate Passphrase Use the same password you created at the time of certificate generation to protect the private key. The Sensor Gateway uses this password to encrypt its communication with the Carbon Black sensor.
    Note: Due to the use of sensitive data, the vSphere Client prompts for a confirmation twice and hides the value in the UI.
    Proxy Type To have the Sensor Gateway communicate over a proxy, select the proxy type.
    • By default, None
    • HTTP or HTTPS. For each, choose one of the following options:
      • Proxy Host: Provide the FQDN or IP address of the Proxy Host
      • Proxy Port: Provide the port where the Proxy server receives requests

    If you select HTTPS as your proxy type, you must include HTTPS Proxy Certificate.

    Proxy Host Enter the FQDN or IP address of the Proxy Host.
    Proxy Port By default, the Sensor Gateway hosts its services over SSL on port 443. If this port is in use on the virtual machine where you are installing the Sensor Gateway, you can enter a different port.
    HTTPS Proxy Certificate If you selected HTTPS as the proxy type, paste the entire content of the HTTPS proxy certificate file.

    To avoid updating the HTTPS proxy certificate,Carbon Black recommends that you include the issuer of the certificate.

    Default Gateway Optional. Set the default gateway for this virtual machine. Although input is optional, to have a static DNS and static IP allocated to the Sensor Gateway, you must populate these fields. If you leave them blank, the Sensor Gateway aquires its IP address from the DHCP server.
    Domain Name Optional. Enter the domain name for the virtual machine.
    Domain Search Path Optional. Enter the domain names for this virtual machine.
    Domain Name Servers Optional. Enter the IP addresses for this virtual machine that are mapped to the domain names.
    Network 1 IP Address Optional. Set the IP address for the network interface.
    Network 1 Netmask Optional. Set the netmask or prefix for the network interface.
  12. Review your configuration setup and click Finish.

Results

You can monitor the deployment progress under the Recent Tasks tab or by navigating to the Monitor > Tasks page. It takes some time for the deployment to complete.

What to do next

Once the Sensor Gateway virtual machine is imported and deployed, you can power it on. It takes some time for the operation to complete.The deployed Sensor Gateway appliance in a powered on state

After the appliance boots up, if you configured the Sensor Gateway virtual machine successfully, you can see it registered with the Carbon Black Cloud console under the Settings > API Access > Sensor Gateway tab.

If the appliance deployment ends with a failure, use the SGW configurator tool to re-enter the settings and restart the appliance. For details, see Reconfigure the Sensor Gateway Appliance.