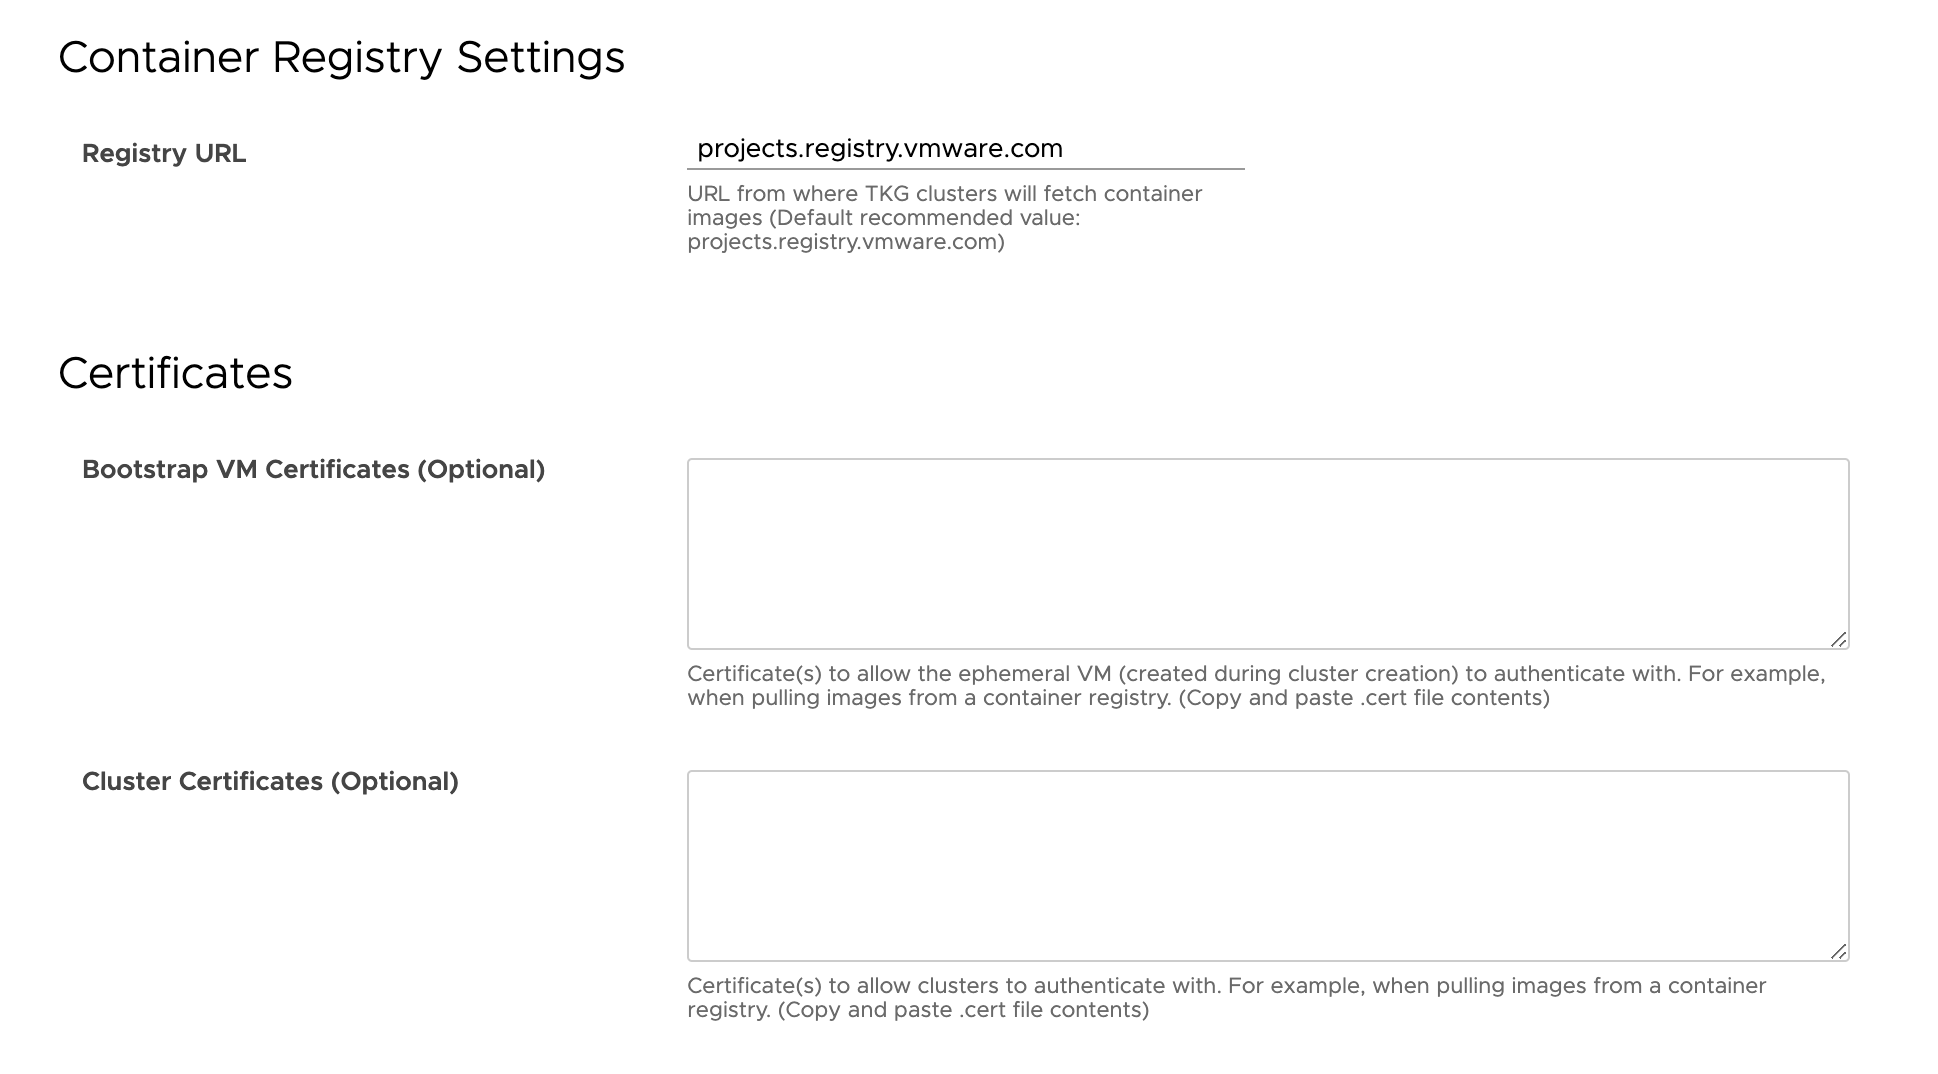
As as a service provider, you must perform the necessary steps to set up a VMware Cloud Director Container Service Extension air-gapped environment, and create a local container registry for tenant users that contains the dependencies that VMware Cloud Director Container Service Extension requires to operate.
Procedure
- Open Docker, and run the following command to pull the
getting-started_airgapped image from http://projects.registry.vmware.com.
- For 4.2:
docker pull projects.registry.vmware.com/vmware-cloud-director/getting-started-airgapped:v0.1.2
- For 4.2.1:
docker pull projects.registry.vmware.com/vmware-cloud-director/getting-started-airgapped:v0.1.3
- For 4.2.2:
docker pull projects.registry.vmware.com/vmware-cloud-director/getting-started-airgapped:v0.1.4
- For 4.2.3:
docker pull projects.registry.vmware.com/vmware-cloud-director/getting-started-airgapped:v0.1.5
- Expand the image to gain access to the scripts and create a local directory.
- For 4.2:
docker create --name "temp_container" projects.registry.vmware.com/vmware-cloud-director/getting-started-airgapped:v0.1.2
docker export "temp_container" -o temp_container.tar
docker container rm "temp_container"
mkdir -p temp_container_fs
tar xvf temp_container.tar -C temp_container_fs
cd ./temp_container_fs/src/artifact
- For 4.2.1:
docker create --name "temp_container" projects.registry.vmware.com/vmware-cloud-director/getting-started-airgapped:v0.1.3
docker export "temp_container" -o temp_container.tar
docker container rm "temp_container"
mkdir -p temp_container_fs
tar xvf temp_container.tar -C temp_container_fs
cd ./temp_container_fs/src/artifact
- For 4.2.2:
docker create --name "temp_container" projects.registry.vmware.com/vmware-cloud-director/getting-started-airgapped:v0.1.4
docker export "temp_container" -o temp_container.tar
docker container rm "temp_container"
mkdir -p temp_container_fs
tar xvf temp_container.tar -C temp_container_fs
cd ./temp_container_fs/src/artifact
- For 4.2.3:
docker create --name "temp_container" projects.registry.vmware.com/vmware-cloud-director/getting-started-airgapped:v0.1.5
docker export "temp_container" -o temp_container.tar
docker container rm "temp_container"
mkdir -p temp_container_fs
tar xvf temp_container.tar -C temp_container_fs
cd ./temp_container_fs/src/artifact
- In this directory, run the following script to publish the dependencies to an organization's local container registry. There is a strict dependency on the path of the registry as displayed below.
./getting_started.sh "dependencies.txt" base.myregistry.company.com
Note:
- The default
dependencies.txt inside the getting-started-airgapped image contains the complete list of containers that are necessary to use VMware Cloud Director Container Service Extension in an air-gapped environment for the supported versions of Tanzu Kubernetes Grid. For supported versions of Tanzu Kubernetes Grid, see the Compatibility section.
- You can edit the
dependencies.txt file to customize what components you want to download. You can supress the processing of an air-gapped component by inserting a # in front of the corresponding line in dependencies.txt.
- It is necessary to upload Tanzu Core Packages from projects.registry.vmware.com to the local container registry. To do this, use the instructions from the appropriate Tanzu Kubernetes Grid release below.
- If Tanzu Kubernetes Grid 2.3.1, 2.4, and 2.5 clusters need to be created, it is necessary to upload the Tanzu Kubernetes Grid 2.3.1, 2.4, and 2.5 CLI plugin to the registry path
<registry_url>/tanzu_cli/plugins/plugin-inventory:latest. For detailed instructions, see Move the Tanzu CLI and CLI Plugins to Your Internet-Restricted Environment.
Note: With
VMware Cloud Director Container Service Extension 4.2 and later, there is a strict dependency on the path where the
Tanzu Kubernetes Grid images are uploaded.
- If the registry base is
base.myregistry.company.com, the Tanzu Kubernetes Grid content should be uploaded into base.myregistry.company.com/tkg.
- If the registry base is
base.myregistry.company.com, the VMware Cloud Director images should be uploaded into base.myregistry.company.com/vmware-cloud-director.
- If the registry base is
base.myregistry.company.com, the Tanzu CLI plugin for TKG 2.3.1, TKG 2.4, and TKG 2.5 should be uploaded into base.myregistry.company.com/tanzu_cli/plugins/plugin-inventory:latest.
This implies that the sub-paths
tkg,
vmware-cloud-director and
tanzu_cli must reside next to eachother.
Results
An air-gapped environment is now set up so the organization can use
VMware Cloud Director Container Service Extension without the requirement of Internet access with all the required resources in a local container registry.
