


After you have downloaded the required software and updated via.properties with your network information, you can upload ISOs and VIBs to the VMware Imaging Appliance service.
Procedure
- In a web browser, log in to the VMware Cloud Builder appliance administration interface: https://Cloud_Builder_VM_FQDN:8445/via.
- Enter the admin credentials you provided when you deployed the VMware Cloud Builder appliance and click Log in.
- Upload an ESXi ISO to the VMware Imaging Appliance.
- In the navigation pane, click Bundle and then click the ESXi ISOs tab.
- Under Select ISO to Add, click Browse to locate and select the ISO file.
- Under Checksum Type, select the type and enter the checksum.
If you are uploading a user-created custom ISO, you can use an MD5 utility to generate a checksum to enter here.
- Click Upload ISO.
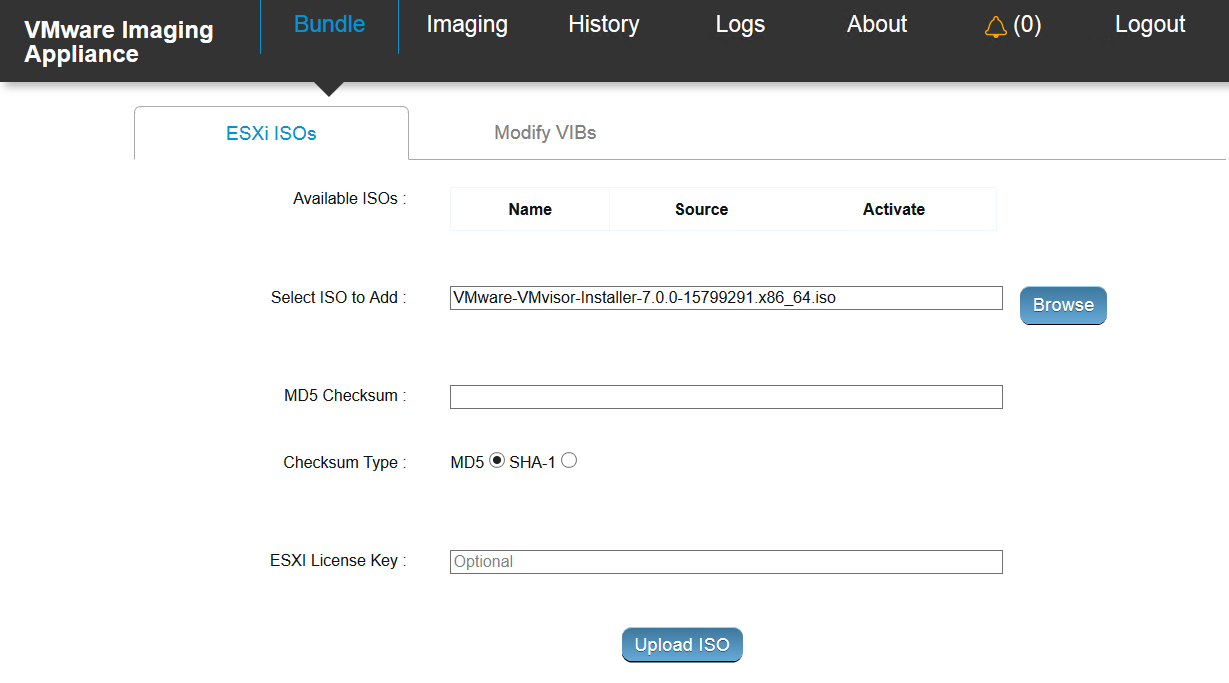
- Once the uploaded ISO appears under Available ISOs, select Activate to make the ISO available for the imaging of servers.
- Upload a VIB to the VMware Imaging Appliance. (Optional)
- In the navigation pane, click Bundle and then click the Modify VIBs tab.
- Under Select VIB, click Browse to locate and select the VIB file.
- Click Upload VIB.

- Once the uploaded VIB appears, select In use to make the VIB available for the imaging of servers.
What to do next
Use the selected ISO and VIB(s) to image servers for use with VMware Cloud Foundation.
