


To install a virtual appliance, perform the following steps:
Procedure
- From the ESXi GUI, right-click Virtual Machines within the Navigator pane and click Create/Register VM.
Figure 1. Initializing VM Creation 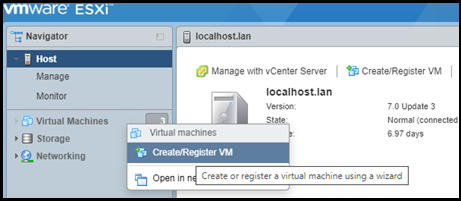
- Click Deploy a virtual machine from an OVF or OVA file and click Next.
Figure 2. ESXi - Deploying VM from Pre-packaged Files 
- Enter a name for the virtual machine and click within the light blue space to navigate to the OVF files or drag and drop the files into the space for uploading. Click Next.
Figure 3. ESXi - Select VM Name and Location 
- Select a fixed storage location with sufficient space to install the VM (VMware recommends 30 GB or more considering 15 - 20% free space for virtual environments) and click Next.
Figure 4. ESXi - Select Storage Location 
- From the Network mappings drop-down menu, select the network for initial HMI (station bus) connection to the VM. Select Thick for Disk provisioning and unselect the Power on automatically option.
Figure 5. ESXi - Disk Provisioning Options 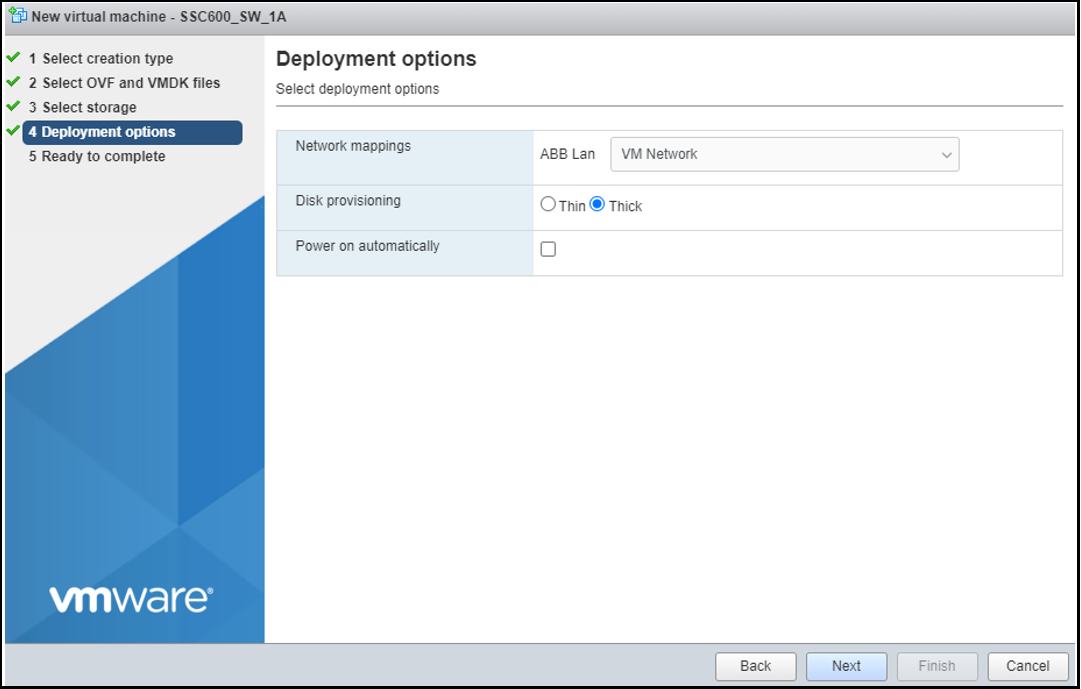
- Review the VM details and click Finish.
Figure 6. ESXi - Review VM Details 
