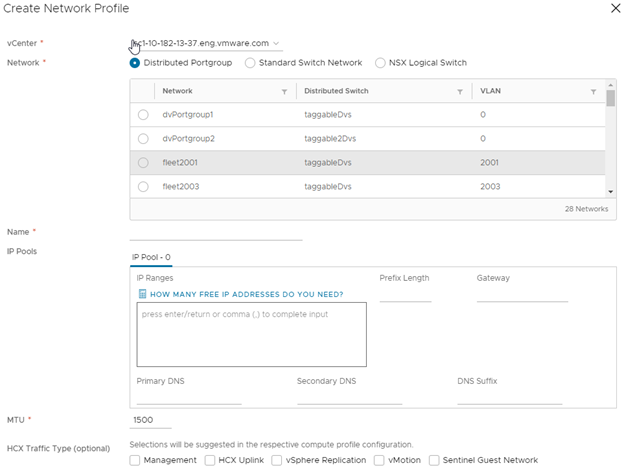
The Network Profile is an abstraction of a Distributed Port group, Standard Port group, or NSX Logical Switch, and the Layer 3 properties of that network. A Network Profile is a sub-component of a complete Compute Profile.
Create a Network Profile for each network you intend to use with the HCX services. The extension selects these network profiles when creating a Compute Profile and assigned one or more of Network Profile functions.
Although a Network Profile can be assigned any of the functions during the Compute Profile configuration, consider creating a separate profile for each function as a best practice.
-
Management Network:
The HCX Interconnect appliances use this network to communicate with management systems like the HCX Manager, vCenter Server, ESXi Management, NSX Manager, DNS, NTP.
-
Uplink Network:
The HCX Interconnect appliances use this network for WAN communications, like TX/RX of transport packets.
-
vMotion Network:
The HCX Interconnect appliances use this network for the traffic exclusive to vMotion protocol operations.Important: The HCX Interconnect uses a Network Profile configuration dedicated to vMotion traffic. This configuration does not include the vMotion NFC traffic. HCX always uses its Management interface for vMotion NFC traffic. -
vSphere Replication Network:
The HCX Interconnect appliances use this network for the traffic exclusive to vSphere Replication.Important: In deployments where ESXi servers use a dedicated VMkernel configuration for vSphere Replication services, the HCX Interconnect uses a Network Profile configuration dedicated to the vSphere Replication traffic. This configuration does not include the vSphere Replication NFC traffic. HCX always uses its Management interface for vSphere Replication NFC traffic. - Guest Network for OS Assisted Migration
The Sentinel Gateway appliances use this vSphere network to connect with non-vSphere virtual machines.
When creating a separate Network Profile for vMotion or vSphere Replication services, although the option is available to configure a GW as a standard Network Profile, traffic for those services will only use the default GW in the Management Network Profile to attempt to access resources in a different subnet. If ESXi resources are not L2 adjacent to the IX appliance on those networks, there is a requirement to configure “Static Routes” as part of the “Advance Configurations” option in the Compute Profile to ensure traffic is directed to the default GW on those networks.
Prerequisites
-
The HCX Manager must be installed and configured.
-
Use the planned network configurations prepared using the checklist described in Getting Started with VMware HCX.
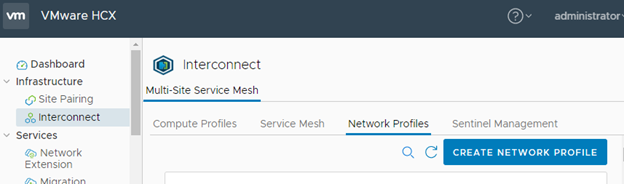
Procedure
- Click Create Network Profile.
- Select a vCenter Server and existing Network.
- Select a vCenter Server from the drop-down menu.
- Select Distributed Port Group, Standard Switch Port Group, NSX Logical Switch, or External Network to filter the available networks by type.
- Select one of the available networks.