


Activate Network Extension High Availability to provide failover protection for extended networks.
Network Extension High Availability activation is initiated only from the source site.
Prerequisites
- In the HCX Compute Profile at all source and destination sites, the Network Extension Appliance Limit is configured for at least two times the number of Network Extension appliances that use Network Extension HA, plus the number of appliances required to support existing non-HA extensions. See Creating a Compute Profile.
For example, you plan to create two new HA extensions in addition to having two existing non-HA extensions from a single source to a single destination site. In this case, the Compute Profile configuration at all source and destination sites must support at least six appliances each, which is two for each HA extension, and two for non-HA extensions.
- At all source and destination sites, all Network Extension appliances required for the HA pairs are deployed prior to creating Network Extension HA groups. These appliances must not have any existing network extensions assigned to them.
For example, you plan to create two new HA extensions to take over for two existing non-HA network extensions from a single source to a single destination site. This example requires that you create four new Network Extension appliances at the source site and four new appliances at the destination site before creating the two Network Extension HA groups.
- In the HCX Service Mesh, the Network Extension Appliance Scale Out Appliance Count is set to provide enough appliances to support network extension objectives, including any Network Extension HA groups. See Creating a Service Mesh.
- Only Network Extension appliances upgraded to HCX 4.3.0 or later can be added to HA Groups.
- In environments with vCenter in Linked Mode, all HCX systems have HCX 4.3.0 or later for HA objects to display correctly.
Procedure
- Select an available Network Extension appliance and click Activate High Availability.
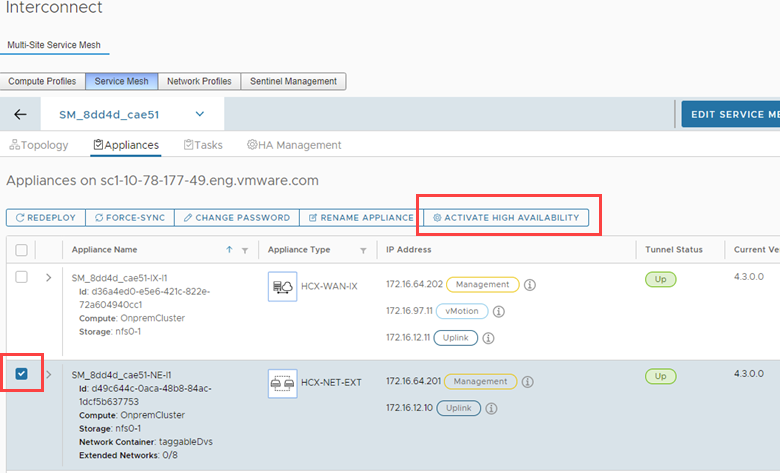
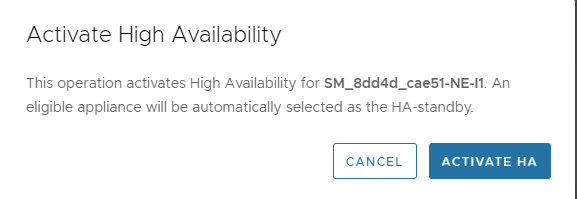
A pop-up window prompts you to confirm activation.
If the Network Extension appliance is already extending a network, or not enough appliances are available to create an HA group, the pop-up window provides information about the issue.
- Click Activate HA.
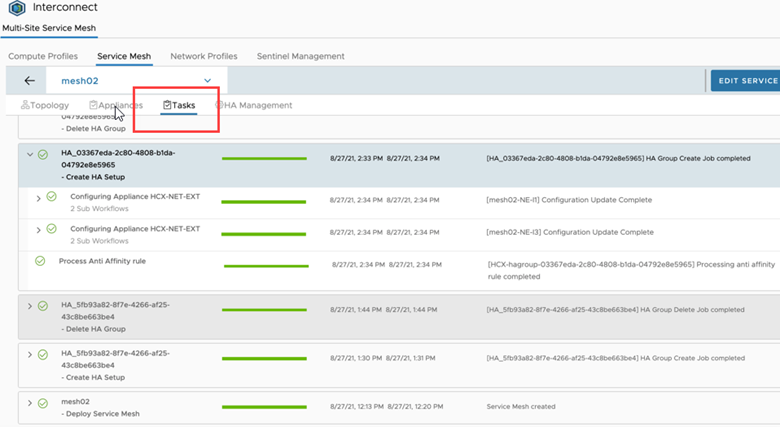
The HCX system starts the process of creating the HA group. The HCX Manager automatically selects the second pair of Network Extension appliances to form the HA group. To view the activation progress, select the Tasks tab.
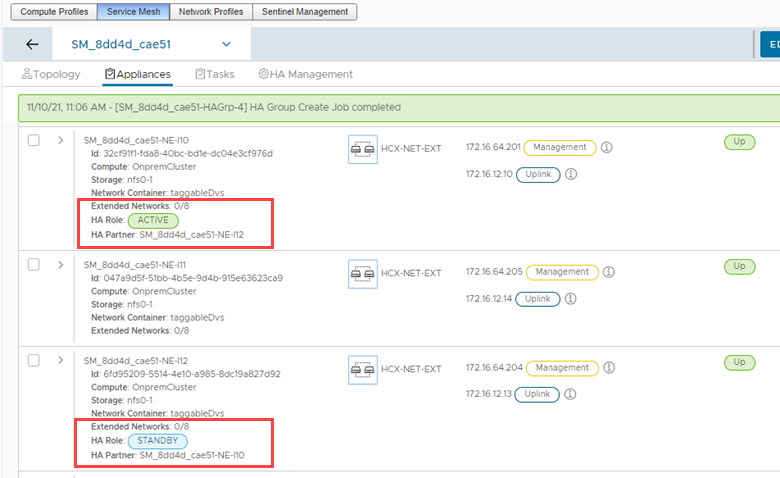
- Review the list of appliances to verify the Active and Standby assignments.
The appliance information shows both the HA group role and the partner appliance in the group.
- To view detailed state and role information about HA groups, click the HA Management tab.
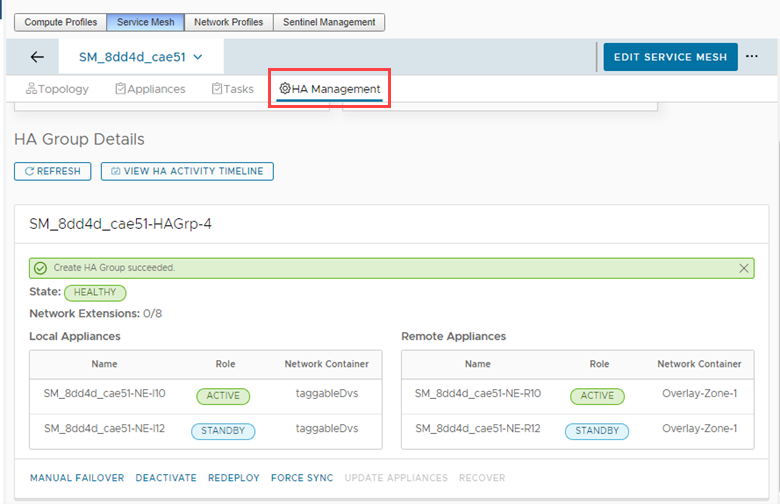
Results
After the group is created, the Active and Standby roles for the local and remote appliances display on the HA Management page.
What to do next
Select a Network Extension HA group when extending networks. See Extending Networks Using VMware HCX.
