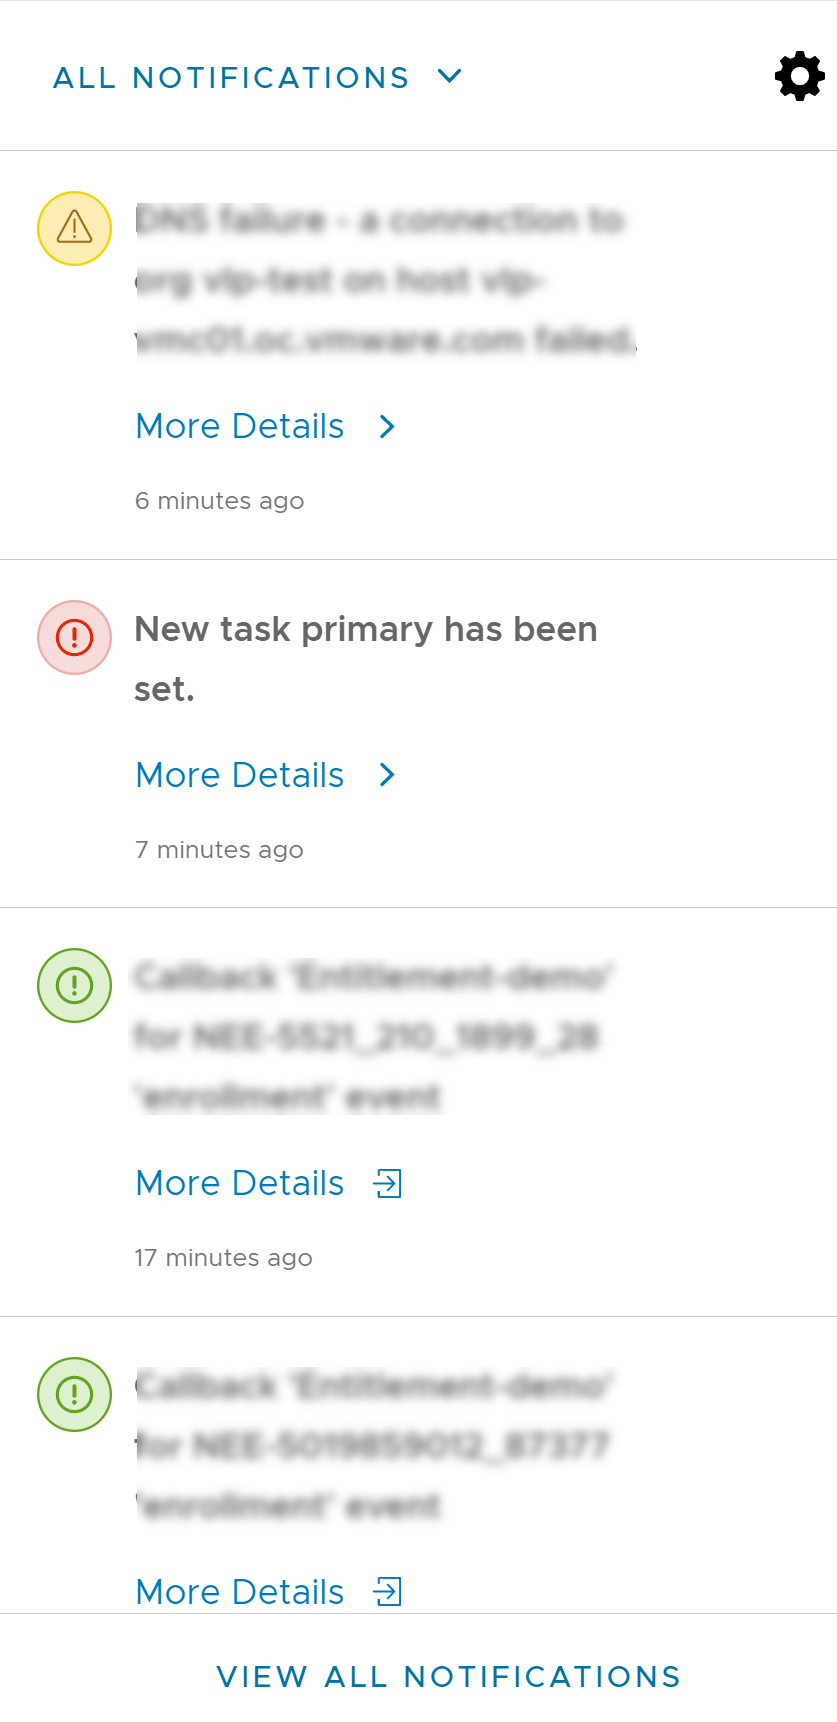
You can view and receive real-time notification alerts from the system. The alerts are categorized based on the severity and priority of the issue such as High, Medium, and Low.
To view all notification alerts for an account, click the  icon on the top of the page header. You can view the list of subscribed notifications from the menu option.

Severity of alerts and the color codes associated with a notification alert are:
Green (low): Low severity notifications refer to information such as daily summaries.
Orange (medium): Medium severity notifications mean that a user is unable to use the system (for examples include failure to start labs or errors deploying vApps).
Red (high): High severity notifications refer to issues that impact multiple users. Typically, a high severity notification stems when a cloud is unavailable.
You can perform the following operations in the Quick Notifications pane:
All Notifications: To view all the notifications.
Unread: To view all the unread notification.
High Priority: To view all high priority notifications.
Medium Priority: To view medium priority notifications
Low Priority: To view low priority notifications.
Flagged: Select notifications that you want to flag and take an appropriate action
More Details: Click the arrow to expand and view the details of a notification alert.
Settings: Click the
 icon to open the Settings option. You can select the alert categories, and specify the number of notification alerts, display time of the alerts and also, subscribe to alerts and receive email notifications.
Do Not Disturb: Move the slider to stop notification alerts.
Advance Settings: To view the Notification Subscription page and create notification subscriptions, use the Advance Settings option.
Notification Subscription: While notifications appear on the page, you can also enable the system to email the notifications. To open the Notifications Subscription List, click Subscription. From there, you can add an email address and set criteria for which the system must send out notifications. Once you define a subscription, each time a notification that meets your criteria occurs, the system emails it to everyone who has subscribed, and showing it on the dashboard.
Delete: Deletes a notification from the notification list.
Activate: Activates the subscription for the notification.
Deactivate: Deactivates the subscription for the notification.
View All Notifications: Opens the Notifications page. You can perform single and bulk functions for notification alerts such as:
Acknowledge All: All notifications, including those marked as read and flagged, are moved to the Notification Archive page.
Read All: All notifications are marked as read and the notification count under the bell icon is reset.
Flag All: All notifications are marked as flagged and you can take action for them later. However, the flagged notifications are not marked as read.
Archive: Displays the Notification Archive page that lists all archived notifications.
To get the notifications within the app, select the notifications listed under the In-App Notification menu. To get the notifications in an email, select the notifications listed under the Email Notification option. Use the Advanced Settings option to customize the maximum notification counts and duration for each notification.
The Notification Archive page includes an export option. The Download option lets you to export all notifications to a CSV, Excel, or PDF.
Notification categories
Notifications are categorized as follows:
Administrative
Billing
Cloud Template
Cloud vApp
Cloud
Generic Task
Prepop
System