This section explains the steps to configure Load Balancing for KDC Service.
Procedure
- Creating Application Profile: The default Layer 4 profile can be used (System-L4-application).
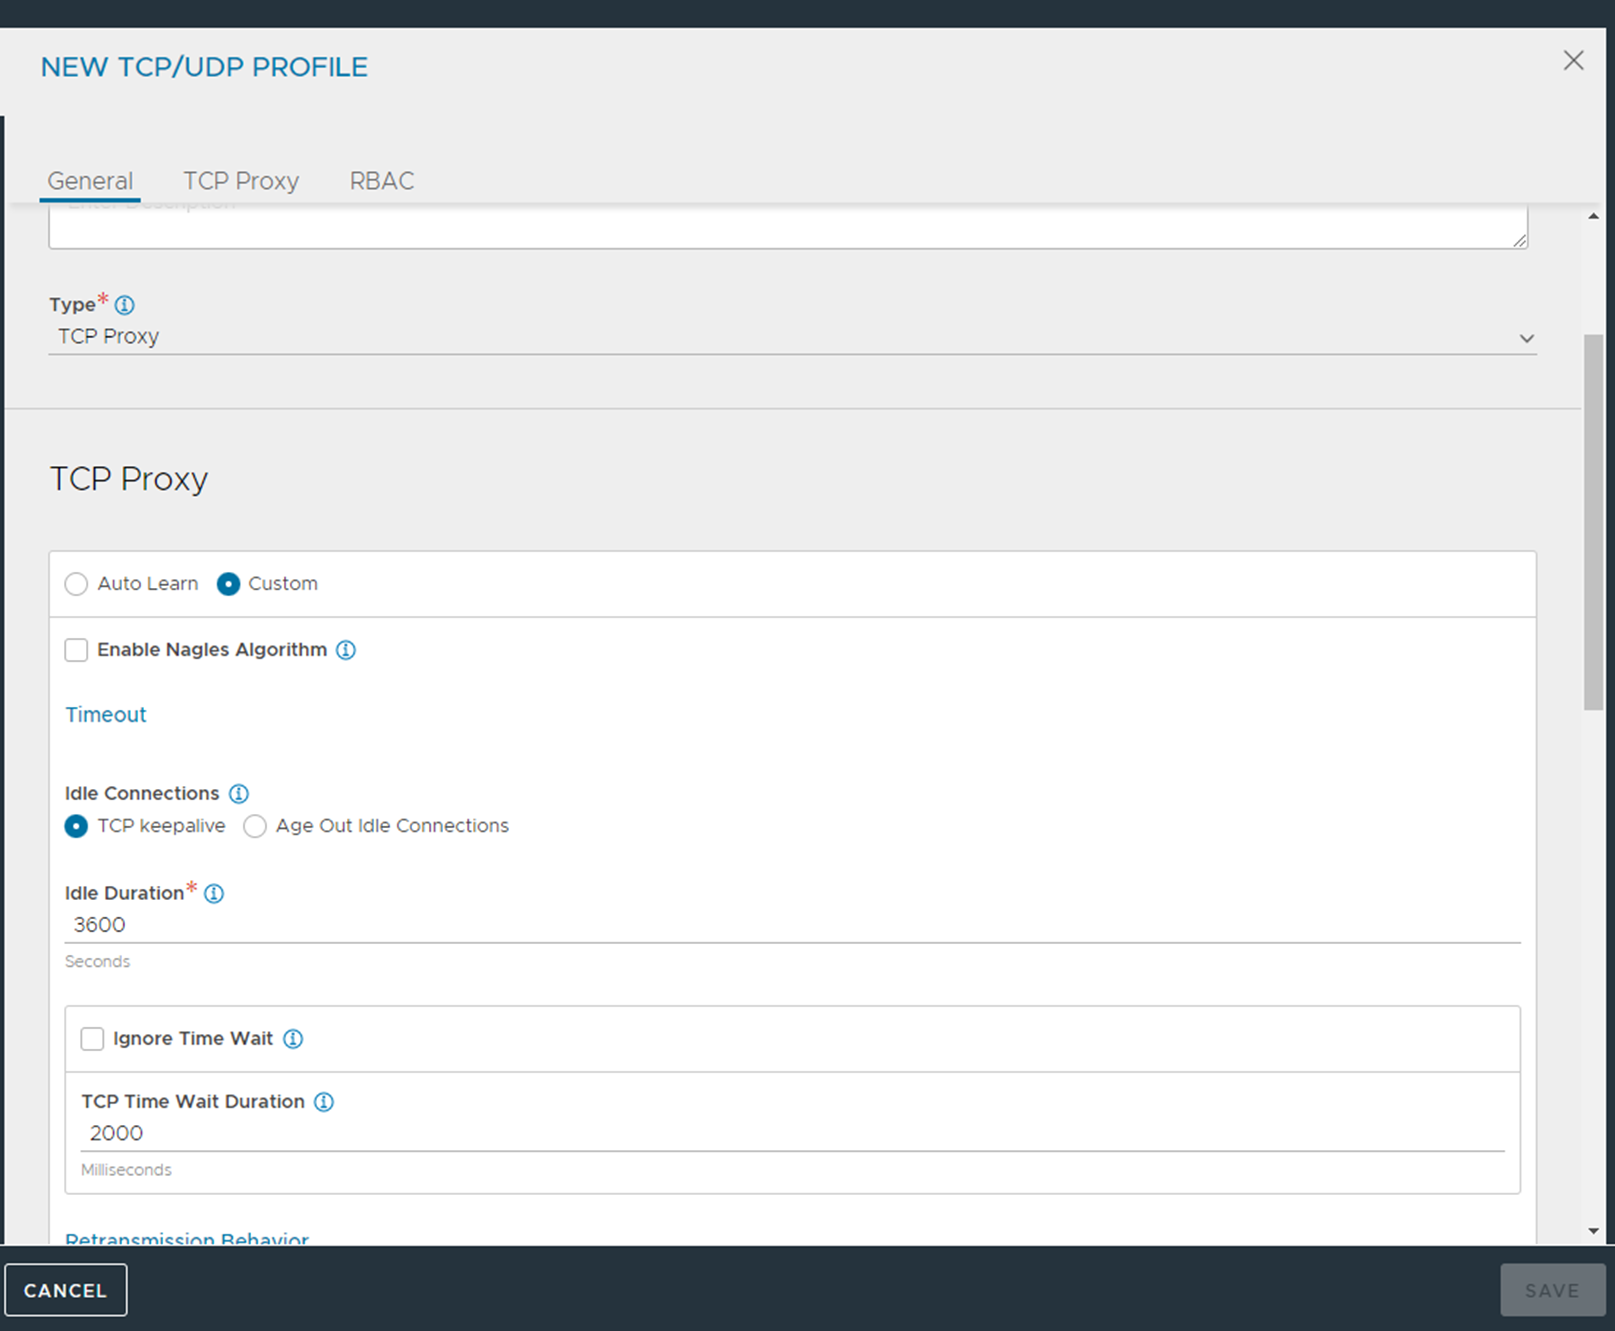
- Creating TCP and UDP Profile: Use the same steps as followed for creating TCP profile for the Cert Proxy service. For UDP Profile - For TCP/UDP, navigate to and click Create.
- Creating Monitor: To create a custom health monitor, navigate to . Click on Create. Enter the details in the New Health Monitor and click Save.
- Creating Persistence Profile: Use the same persistence profile that was created above for Cert Proxy service.
- Creating IP group: Use the same IP group that was created above in IDM horizon service section.
- Creating Server SSL Profile: Use the same SSL Profile that was created above in IDM horizon service section.
- Creating Pool.
- To create the pool, navigate to .
- Click on Create Pool. Enter the details as shown below:
- To bind the monitor, click on Add under Health Monitor and select the custom monitors that were created in the previous step.
- Select the Enable SSL option and select the server SSL profile that was created in the previous step. Click Next.
- In the Servers tab, select the IP group of the servers that we created above.
- Click Save.
- Creating Virtual Service.
- Navigate to and select .
- Under VIP Address, click Switch to Advanced For the option under Virtual Service for VIP sharing, select the L7 virtual service that was created for the IDM Horizon service as shown below: