


You can assign roles to users if LDAP, TACACS+, or SAML remote authentication is used.
Configuring LDAP or TACACS+ Users to Roles
- Prerequisites
-
NSX Advanced Load Balancer authentication or authorization must be set to remote, and an LDAP or TACACS+ Auth profile is applied.
Group names are case-sensitive for LDAP mapping.
Roles are assigned to users based on the following:
- LDAP group
-
A role is assigned to users in any group or specifically to users who are either members or not members of specific groups.
- LDAP attributes
-
For users who match the LDAP group filter, the role is assigned to those who either do or do not have specific attributes and values.
The mappings are configured within NSX Advanced Load Balancer rather than the LDAP or TACACS+ server.
To map LDAP or TACACS+ users to NSX Advanced Load Balancer roles, use the following steps. Multiple mappings can be configured if needed for any combination of user group name and attribute:value pair.
Navigate to and click CREATE.
In the CREATE AUTH MAPPING PROFILE under the General tab, enter the profile Name.
-
Select the Type of auth mapping profile to which these rules are applied and click ADD button. Select LDAP to define LDAP Group Match.Note:
Depending on the type selected, the auth profile settings are displayed.
-
Select the filter for the LDAP Group Match.
Any: Users in any LDAP group match the filter.
Member: Users must be members of the specified groups. When specifying a group, you must use the common name (CN). If entering multiple group names, use commas between the names.
Not a Member: Users must not be members of the specified groups.
-
Select the filter for the Attribute Match.
Any: Users match regardless of attributes or their values.
Contains: The user must have the specified attribute, and the attribute must have one of the specified values.
Does Not Contain: The user must not have the specified attribute and value(s).
Regex: Match succeeds if the regex matches any substring of the attribute or group.
Under Action, select Custom Mapping.Select User Role from the ADD drop-down menu.
-
Select the Type from the drop-down menu.
All: Assigns all roles.
Attribute Regex: Match succeeds if the regex matches any substring of the attribute.
Attribute Value: Assigns the role whose name matches an attribute value from the LDAP server.
Note:Attribute Match Value is case sensitive. If there is a mismatch, the following error message will be displayed: DEBUG [auth_rules.update_user_access:502] ldap: NO Tenant/Role assigned
Group Name: Assigns the role whose name matches a group name on the LDAP server.
Group Regex: Match succeeds if the regex matches any substring of the group.
Selected: Displays a Roles drop-down menu. Select the role from the menu.
If using multitenancy, users also can be mapped to tenants. Tenants can be mapped by selecting User Tenant from the ADD drop-down menu. For more information, see Tenant Settings.
Click Save. The new mapping appears in the Tenant and Role Mapping table.
Configuring SAML User to Roles
From the NSX Advanced Load Balancer UI, navigate to .
Click CREATE or edit an existing auth mapping rule.
Enter Name and Description.
Select SAML as the Type.
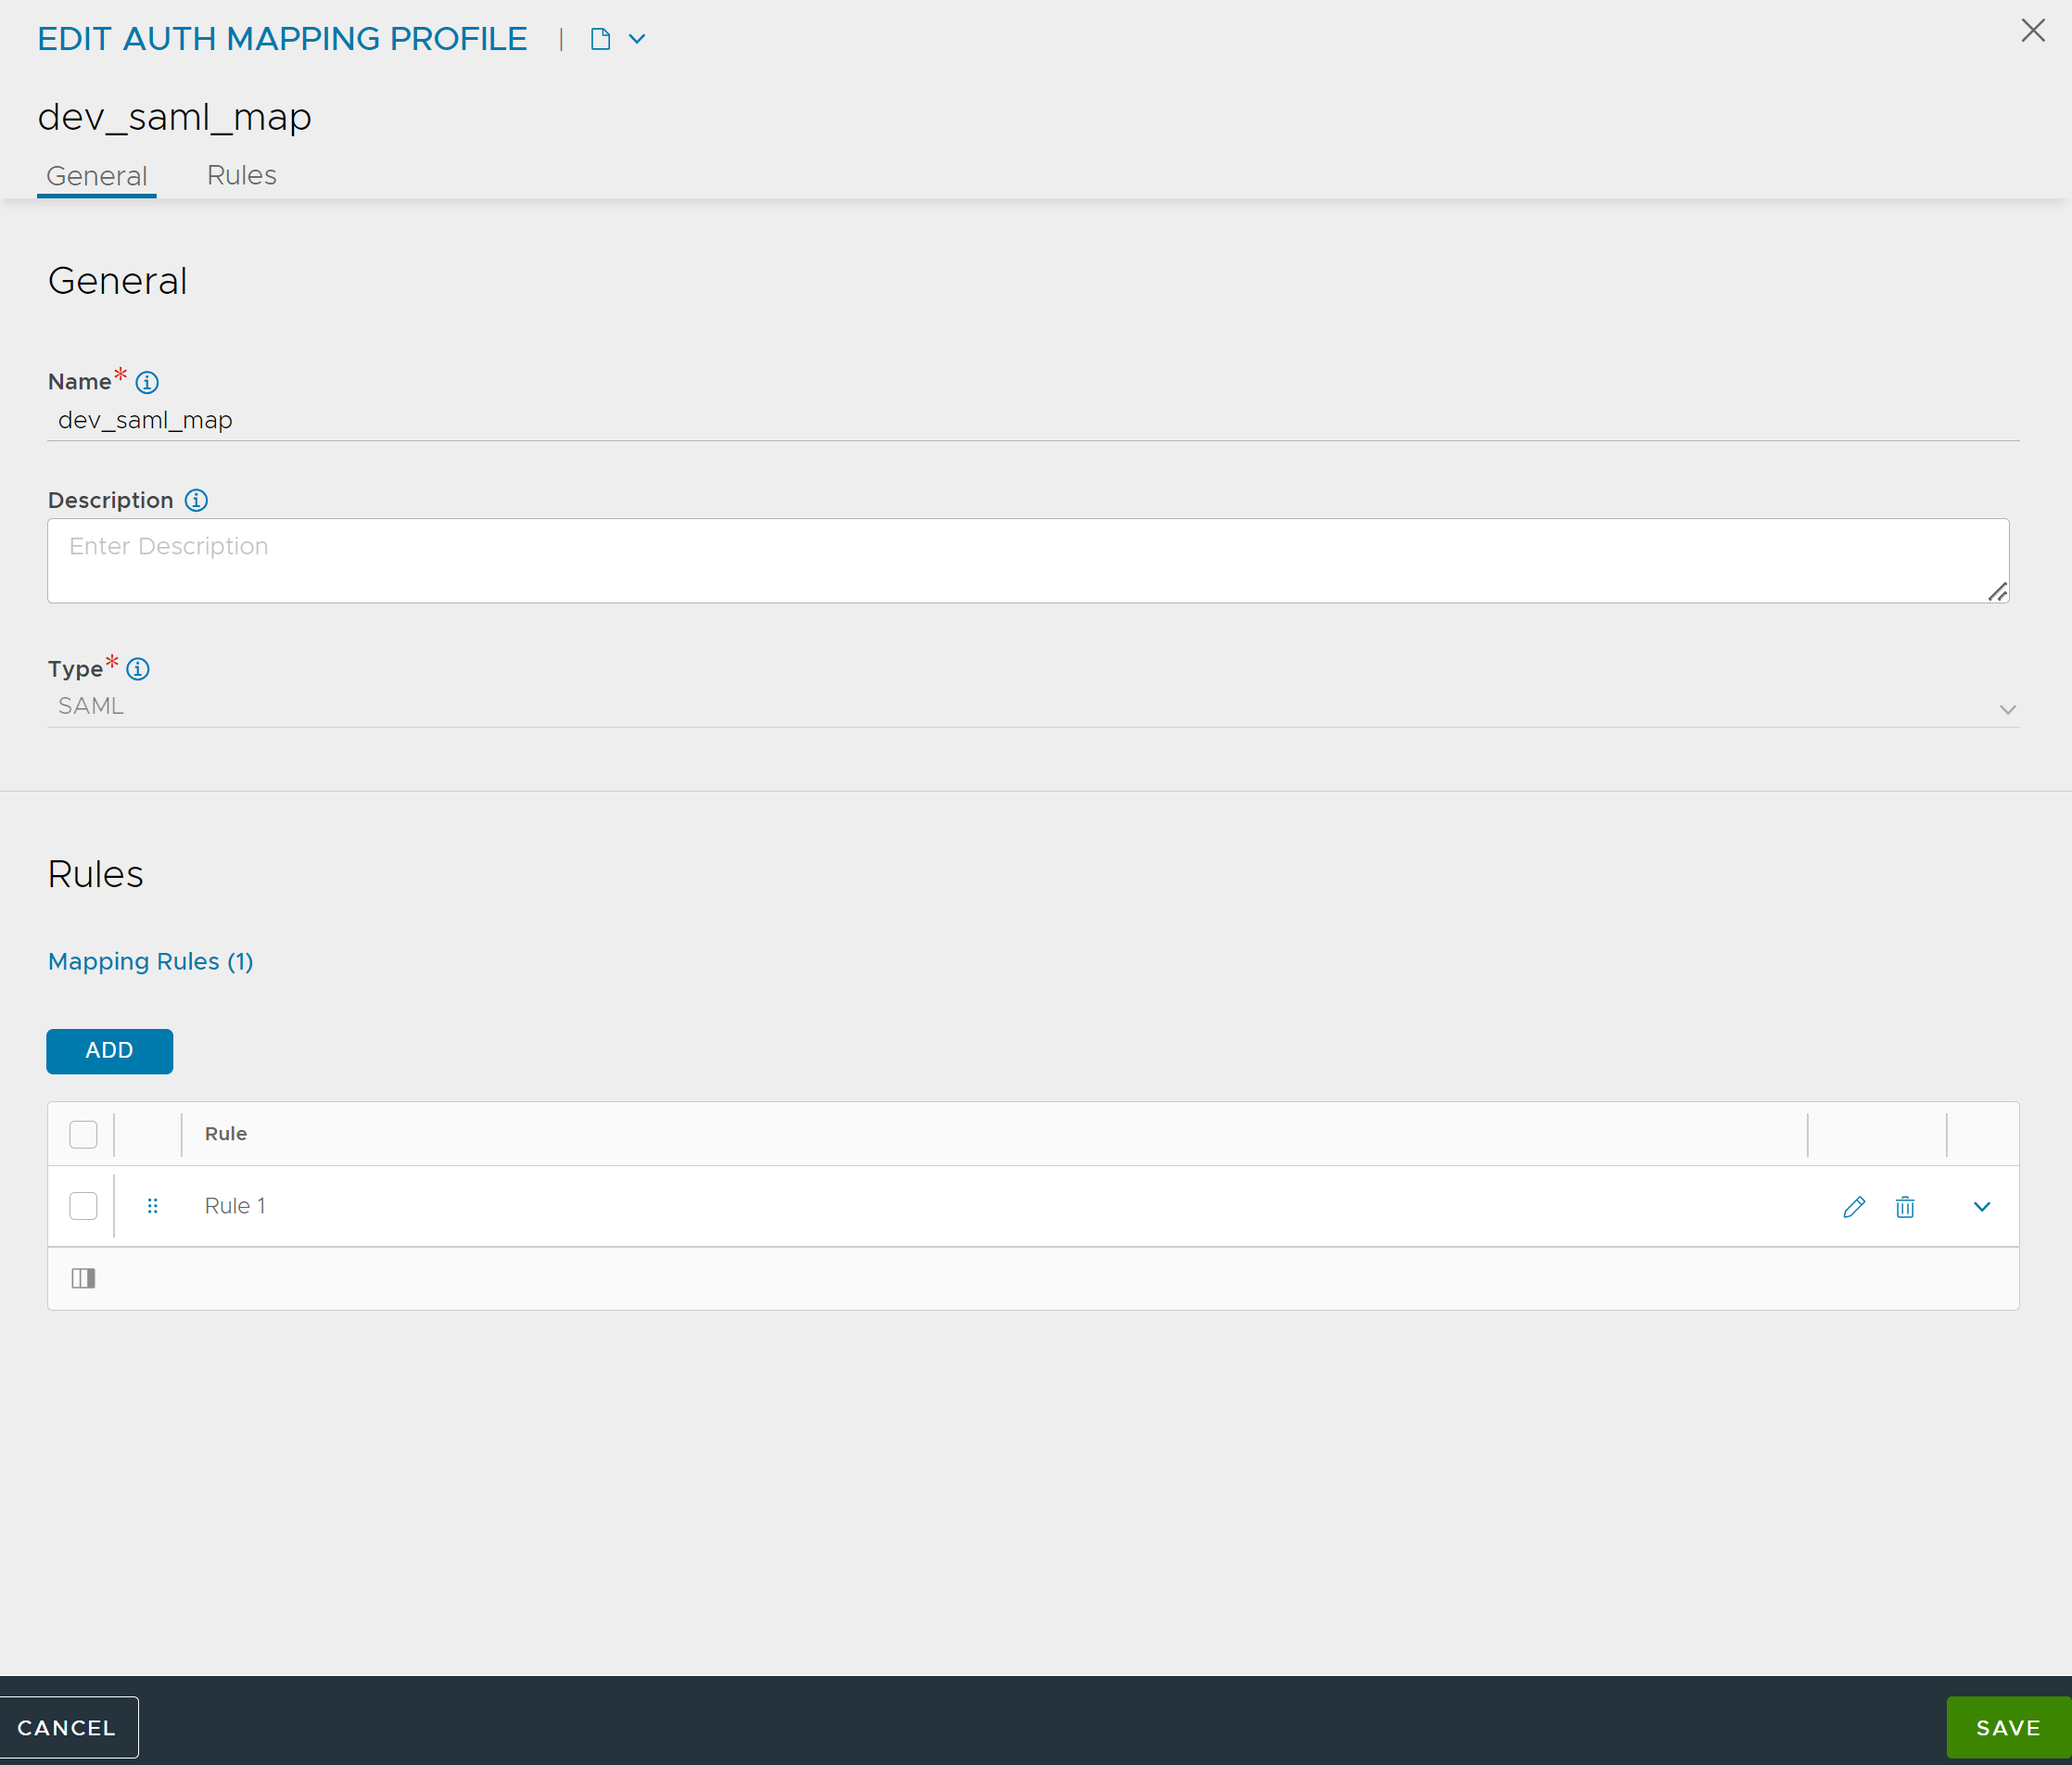
Note:Depending on the type selected, the auth profile settings are displayed.
Under Rules, Click ADD. A new Mapping Rule screen appears.
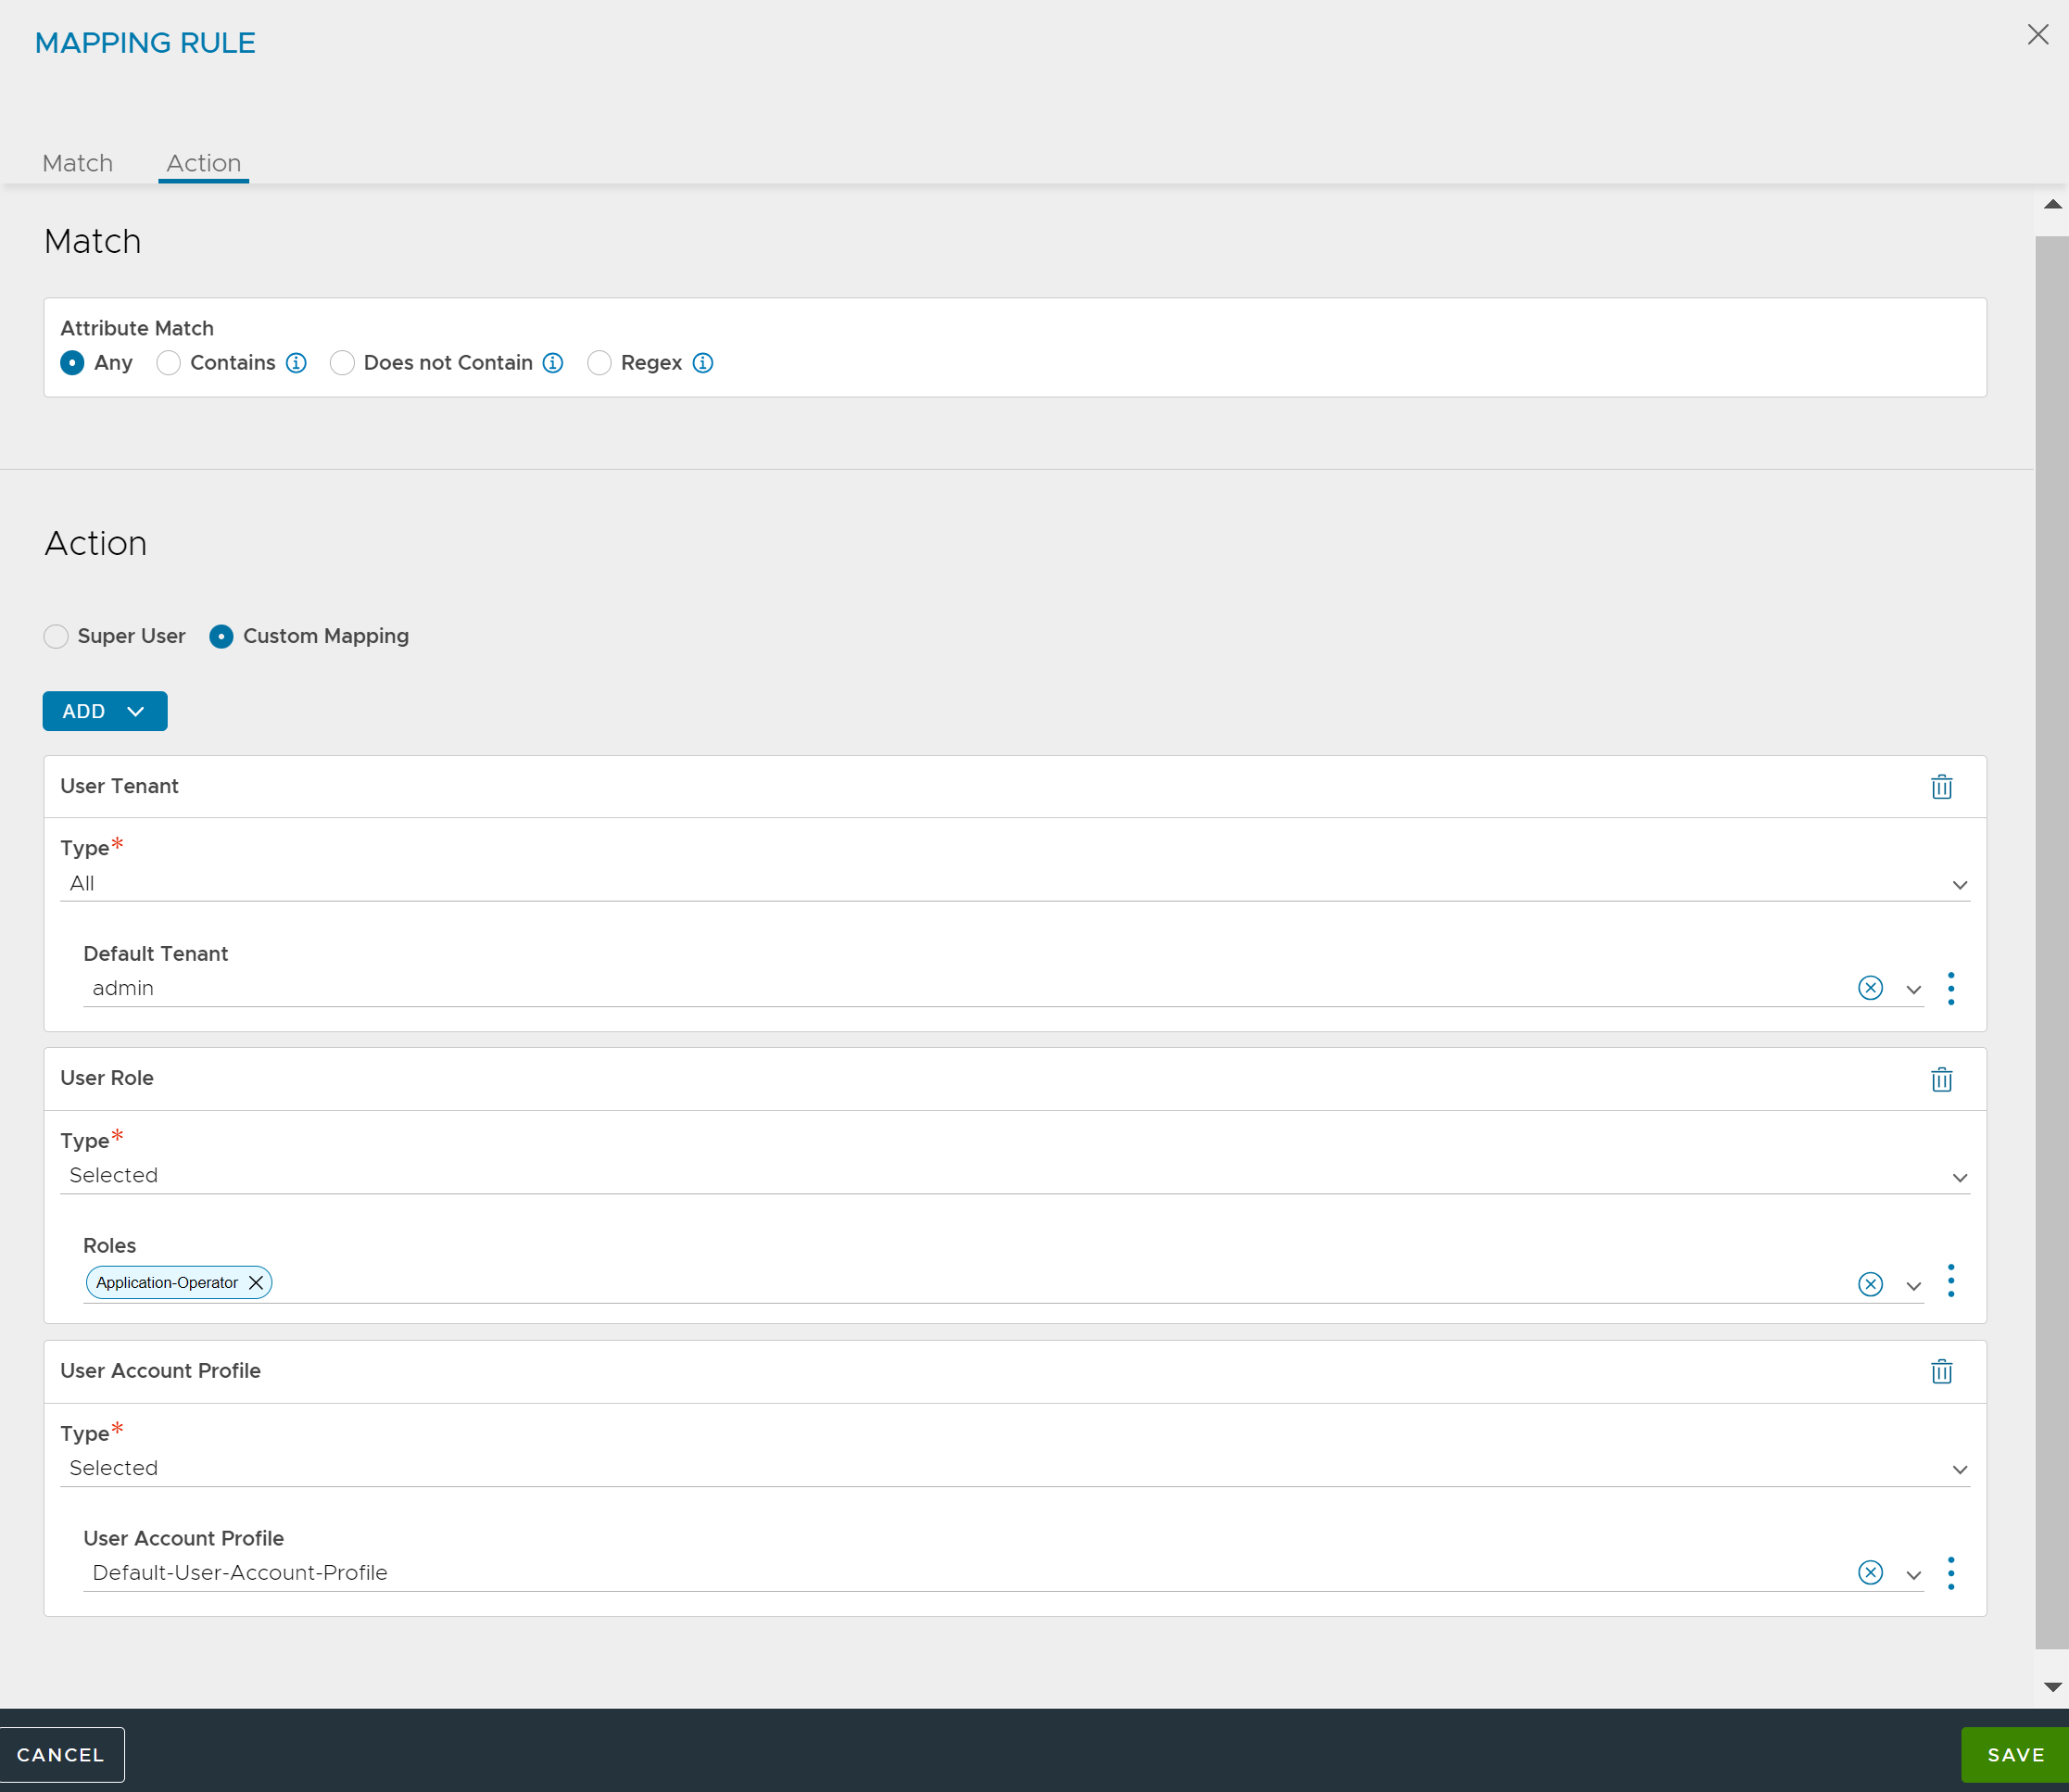
Under Match, select the filter for the Attribute Match.
Any: Users match regardless of attributes or their values.
Contains: The user must have the specified attribute, and the attribute must have one of the specified values.
Does Not Contain: The user must not have the specified attribute and value(s).
Regex:
Under Action, select Custom Mapping.
Select and configure User Tenant, User Role, or User Account Profile from the ADD drop-down menu as required. For more information, see User Tenant, User Roles, and User Account Profile.
Click Save.
