


VS VIP is used during creation of shared virtual services on NSX Advanced Load Balancer. VS VIP has entities that can be shared across virtual services.
Creating VS VIP
Login to NSX Advanced Load Balancer UI to create a VS VIP object for a virtual service.
Navigate to Applications > VSVIPs and click on CREATE.
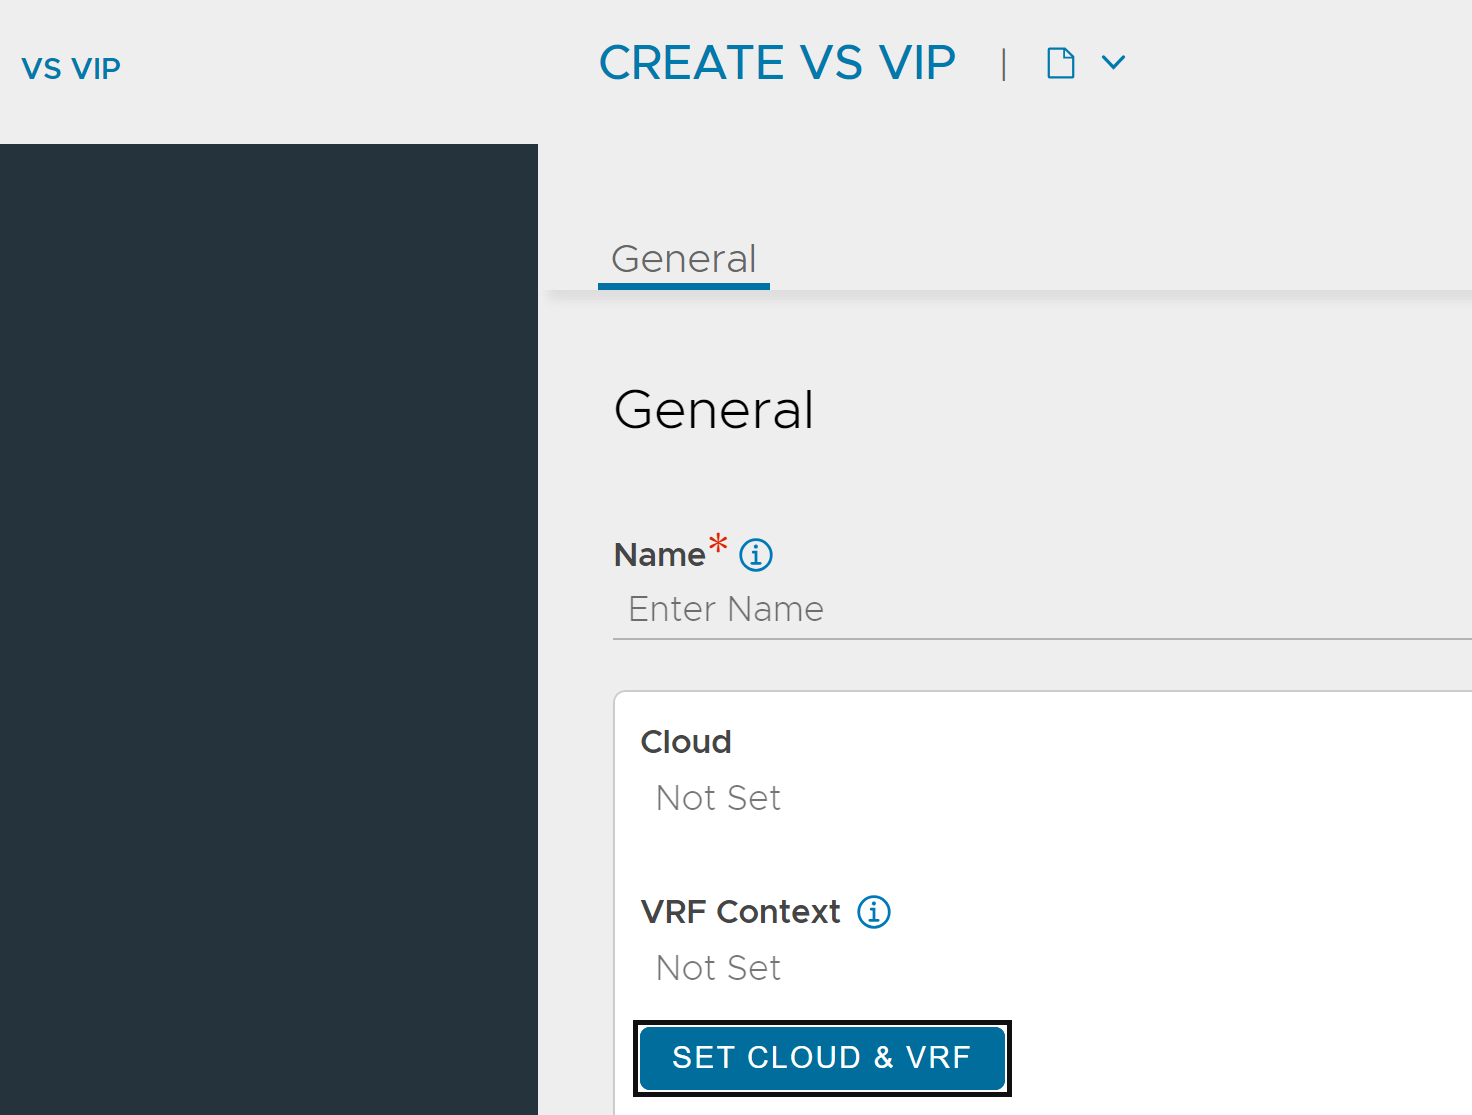
Provide the following information:
Name - Name of the VS VIP object
Cloud - Select the desired cloud or select the default cloud
VRF Context - Provide the name of the virtual routing context that virtual service is bound to. For more information on VRF Context, see (add link here)
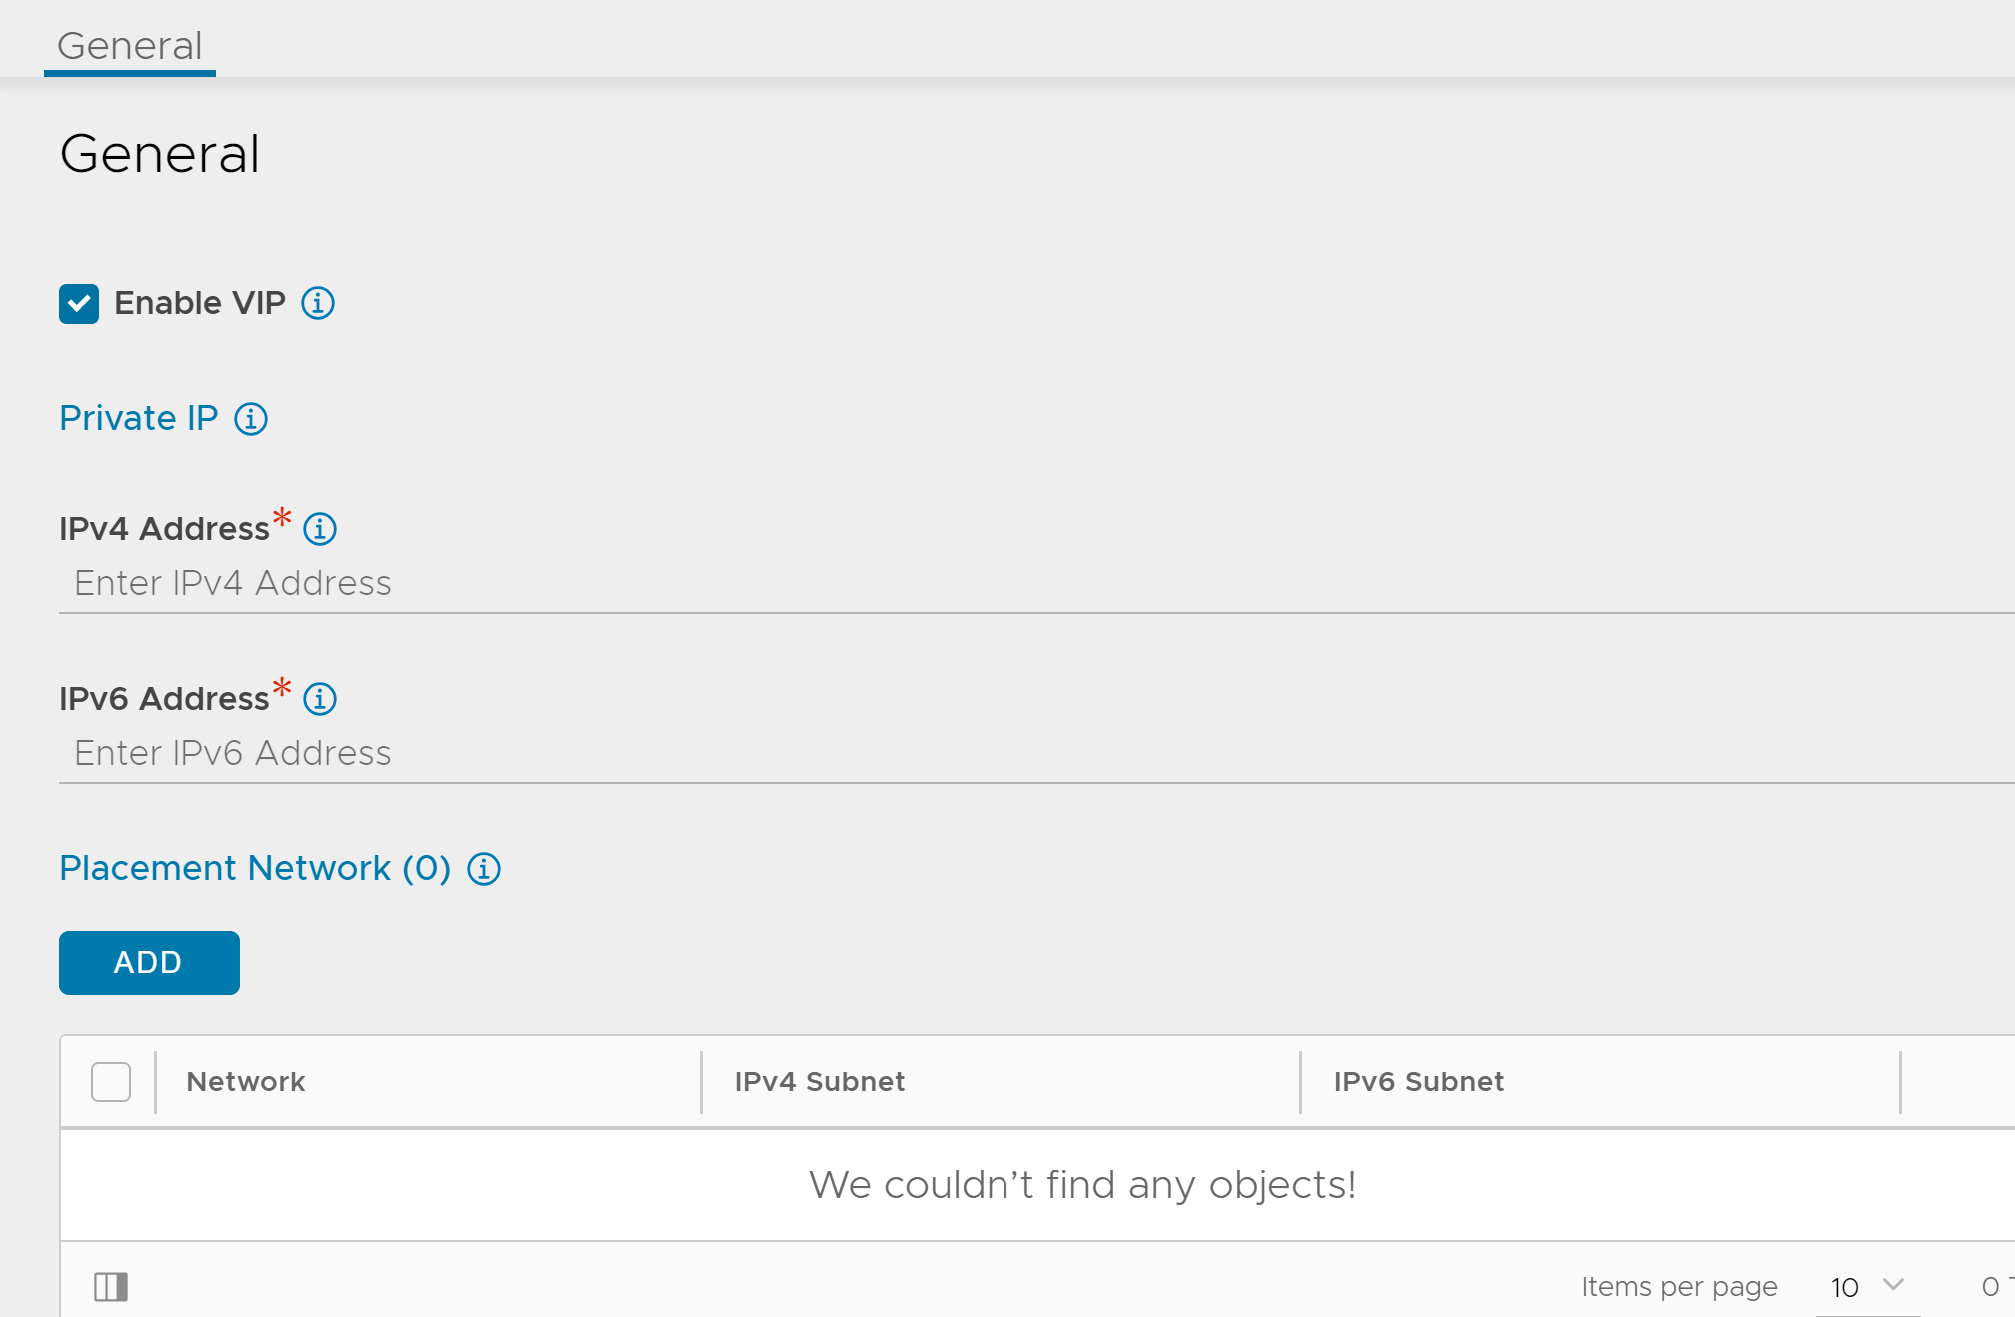
Configure VIPs - This option enables you to configure virtual service IPs and other shareable entities. Click on ADD and provide IPv4 address, IPv6 address (if applicable) and placement network details.
Placement Network - This is the network/subnet used for VIP placement. Selecting the ADD option proivides a list on network available to choose for the placement of VIP.
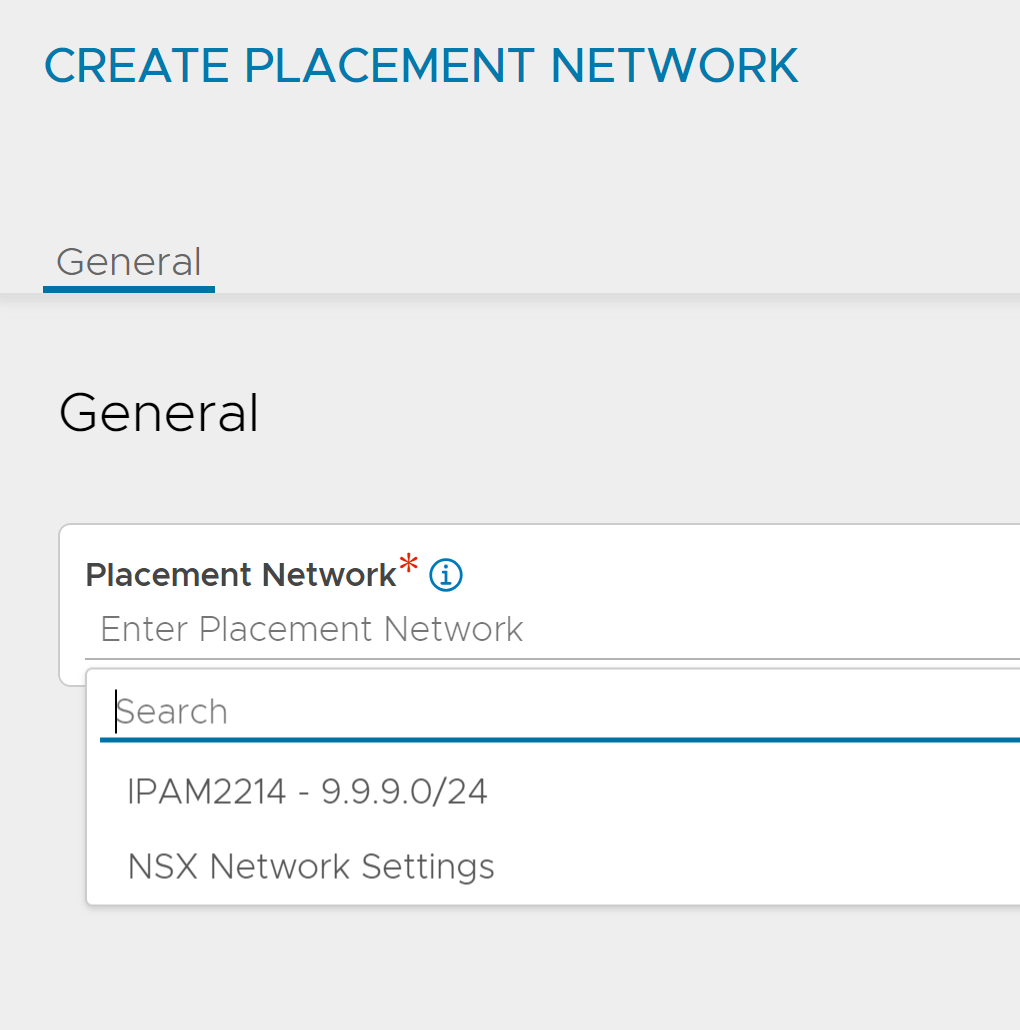
A new network can be created using the CREATE option available under Infrastrucute > Cloud Resources > Networks on the NSX Advanced Load Balancer UI.
Options available for DNS configuration for a VS VIP vary based on the cloud configured. DNS in VS VIP is configured according to the associated cloud as follows:
For an AWS cloud with Amazon Route 53 enabled, Application Domain and TTL fields can be configured.
For any cloud without a DNS Provider Profile or an Azure cloud with Azure DNS enabled, Application Domain can be configured.
For any cloud with a DNS Provider Profile, all the relevant DNS fields are available to configure.
For more information on configuring IPAM/DNS, see NSX Advanced Load Balancer IPAM and DNS.
Configuring VS VIP Using NSX Advanced Load Balancer CLI for Azure Cloud
Login to Avi CLI, use the configure vsvip command to provide the necessary configuration objects to configure VS VIP for a virtual service deployed in an Azure cloud.
[admin:10-10-10-1]: > configure vsvip azure-vs-vip
[admin:10-10-10-1]: vsvip> vrf_context_ref global
Multiple objects found for this query.
    [0]: vrfcontext-5cec2262-7d8d-4b5d-b5a5-594dc8ab46f4#global in tenant admin, Cloud Default-Cloud
    [1]: vrfcontext-696bf48d-386b-4ec3-bd48-8b56909da66a#global in tenant admin, Cloud azure-cloud
Select one: 1
[admin:10-10-10-1]: vsvip> cloud_ref azure-cloud
[admin:10-10-10-1]: vsvip> vip
New object being created
[admin:10-10-10-1]: vsvip:vip> vip_id 1
[admin:10-10-10-1]: vsvip:vip> ipam_network_subnet
[admin:10-10-10-1]: vsvip:vip:ipam_network_subnet> subnet 10.95.0.0/24
[admin:10-10-10-1]: vsvip:vip:ipam_network_subnet> subnet_uuid avi-vnet-1
[admin:10-10-10-1]: vsvip:vip:ipam_network_subnet> save

[admin:10-10-10-1]: vsvip:vip> subnet 10.95.0.0/24
[admin:10-10-10-1]: vsvip:vip> subnet_uuid avi-vnet-1
[admin:10-10-10-1]: vsvip:vip> auto_allocate_ip_type v4_only
[admin:10-10-10-1]: vsvip:vip> auto_allocate_ip
[admin:10-10-10-1]: vsvip:vip> avi_allocated_vip
[admin:10-10-10-1]: vsvip:vip> save
[admin:10-10-10-1]: vsvip> save
