You can configure a local DNS virtual service on all the clusters where the DNS service needs to be hosted or bound to the local g-dns SE group.
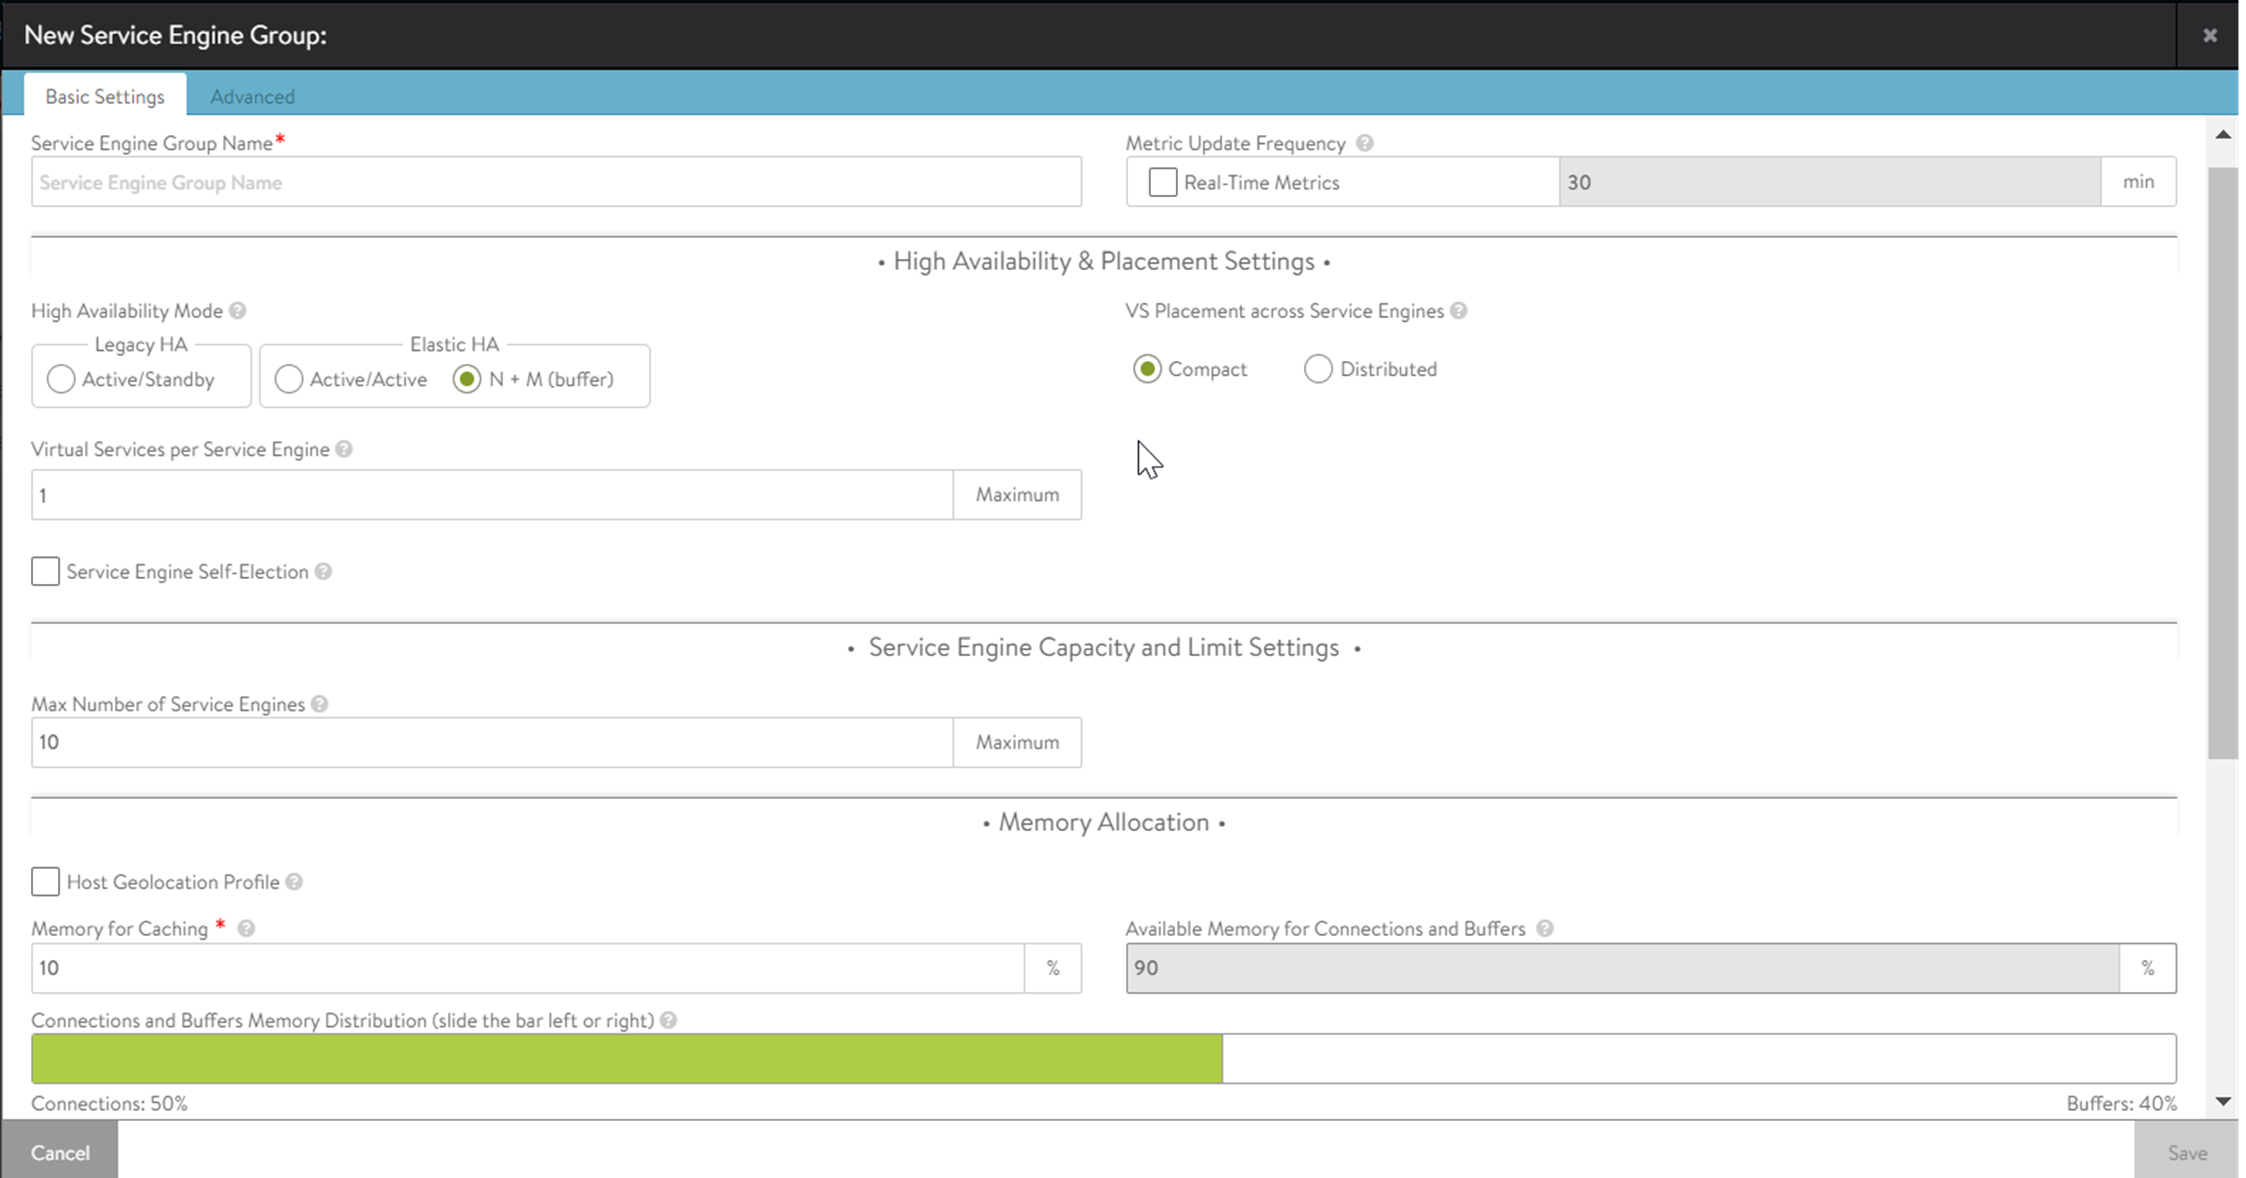
For each Controller Cluster, configure an SE group to host the DNS virtual service, for example, g-dns. To configure the SE group, navigate to . For more information on DNS sites, see Binding DNS Virtual Services to GSLB Sites.
The virtual service and SE group names need not be identical across all GSLB sites.
The default value for the Virtual Services per Service Engine field is 10. In the following screenshot, the value is set as 1 as part of recommended practice.
In Santa Clara (10.10.25.10), configure a DNS virtual service and bind it to the g-dns SE group.
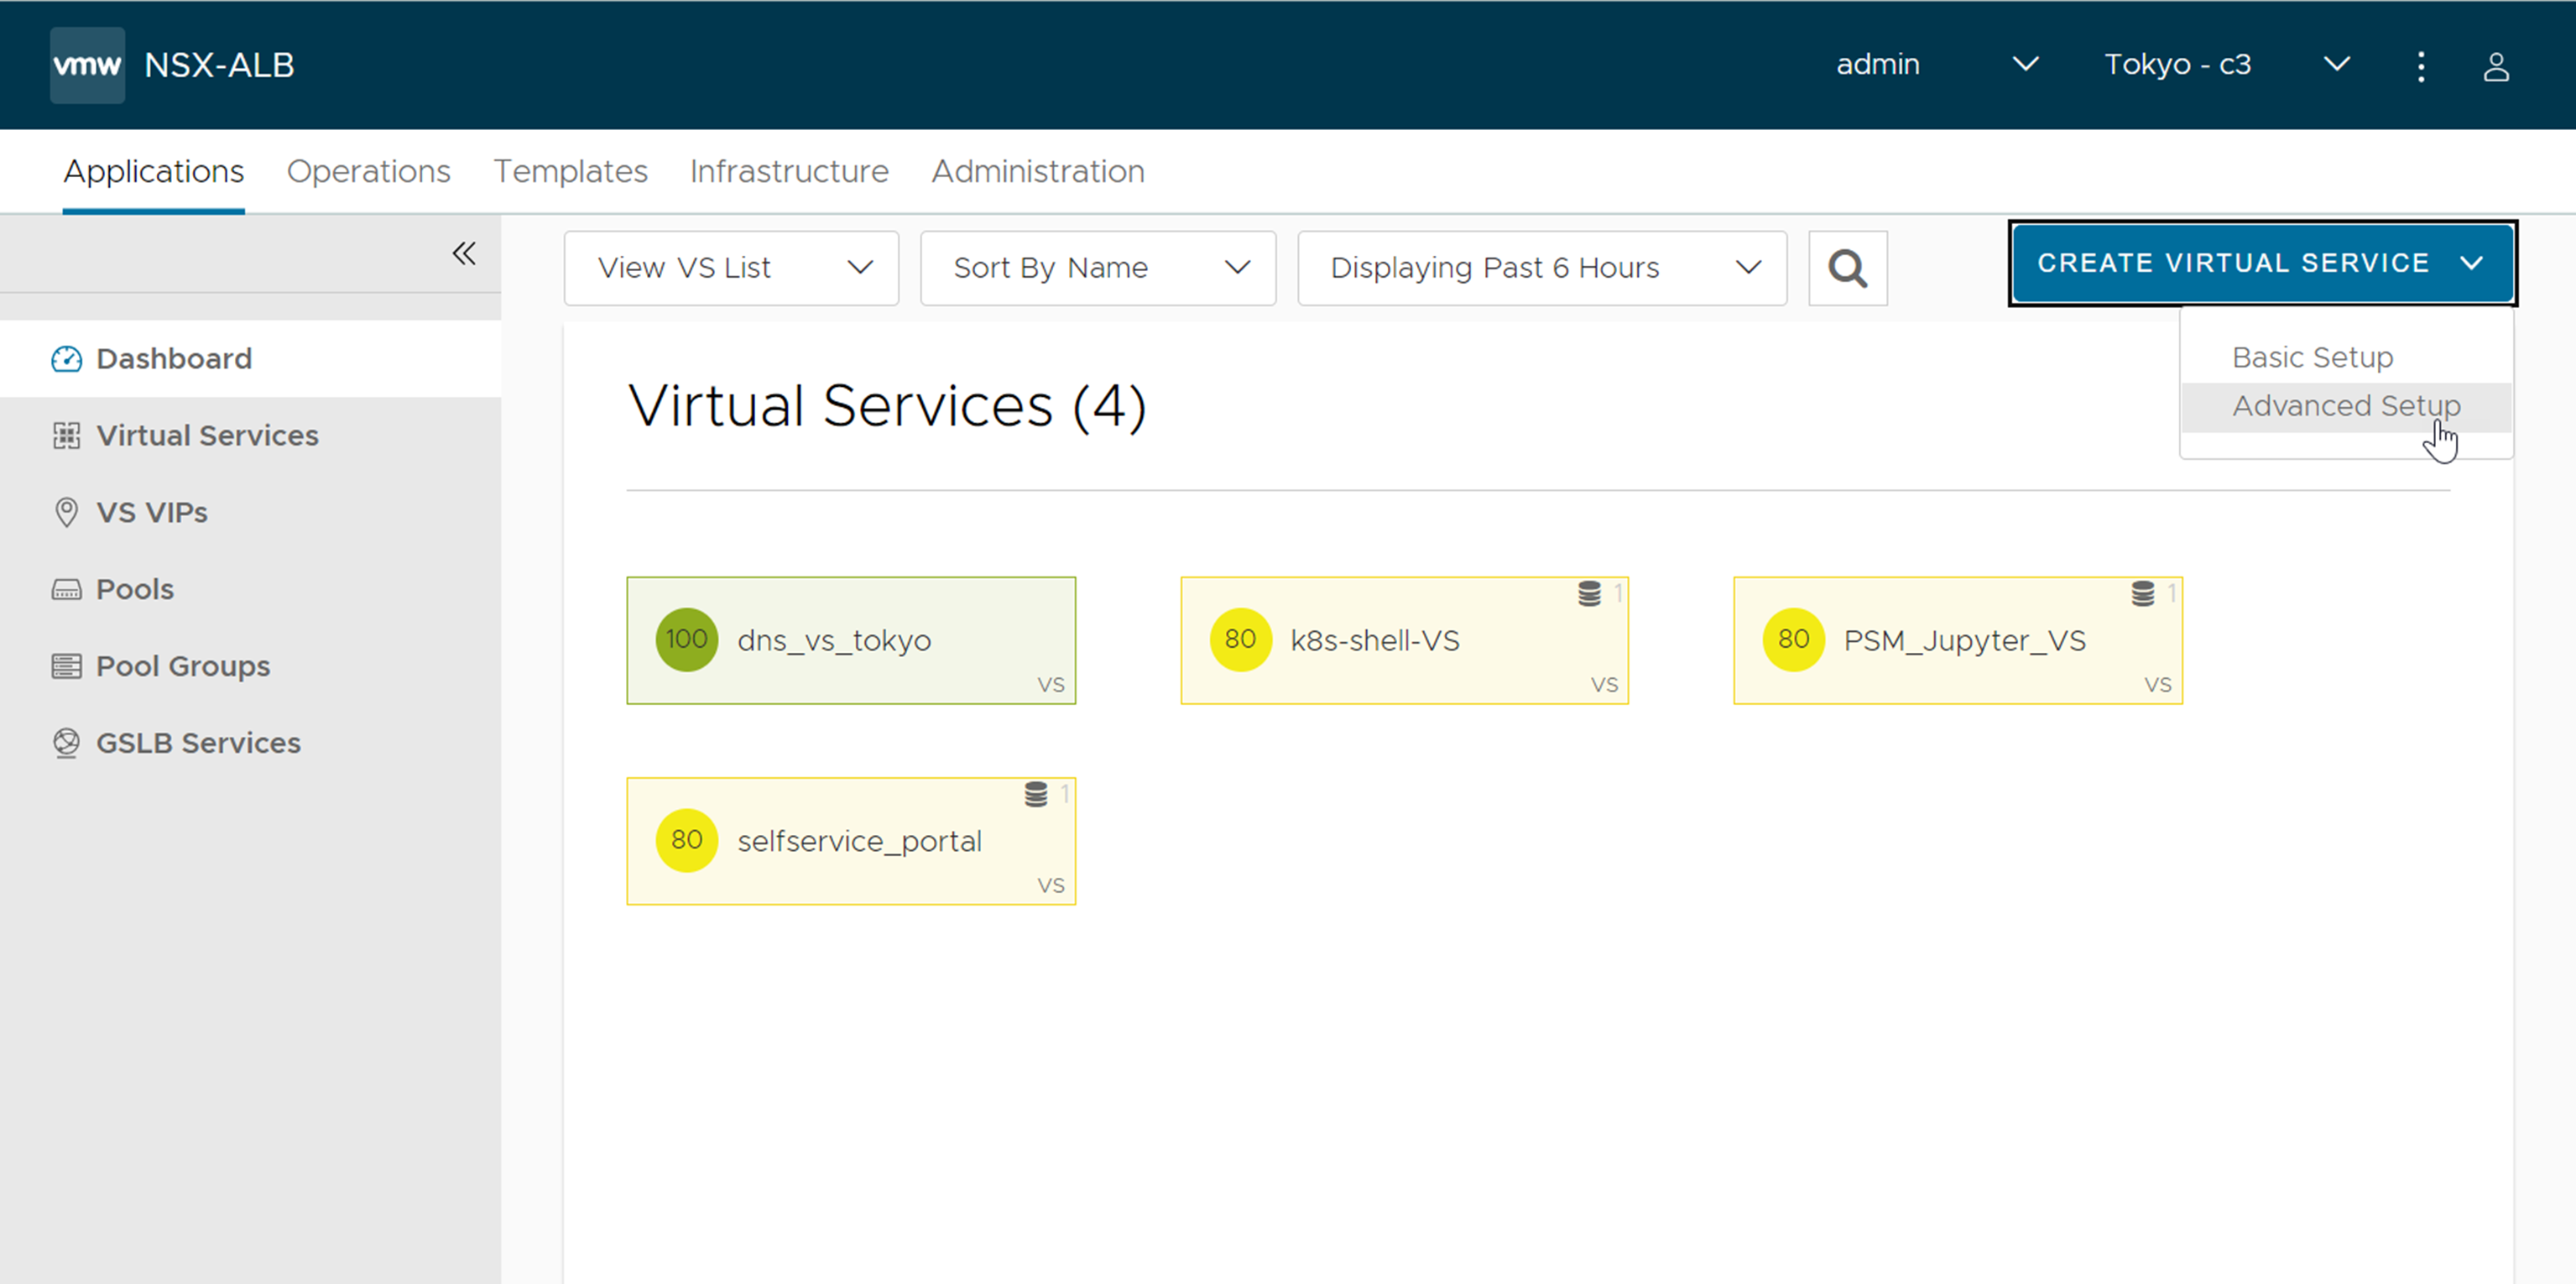
Create a virtual service in the Advanced Setup.
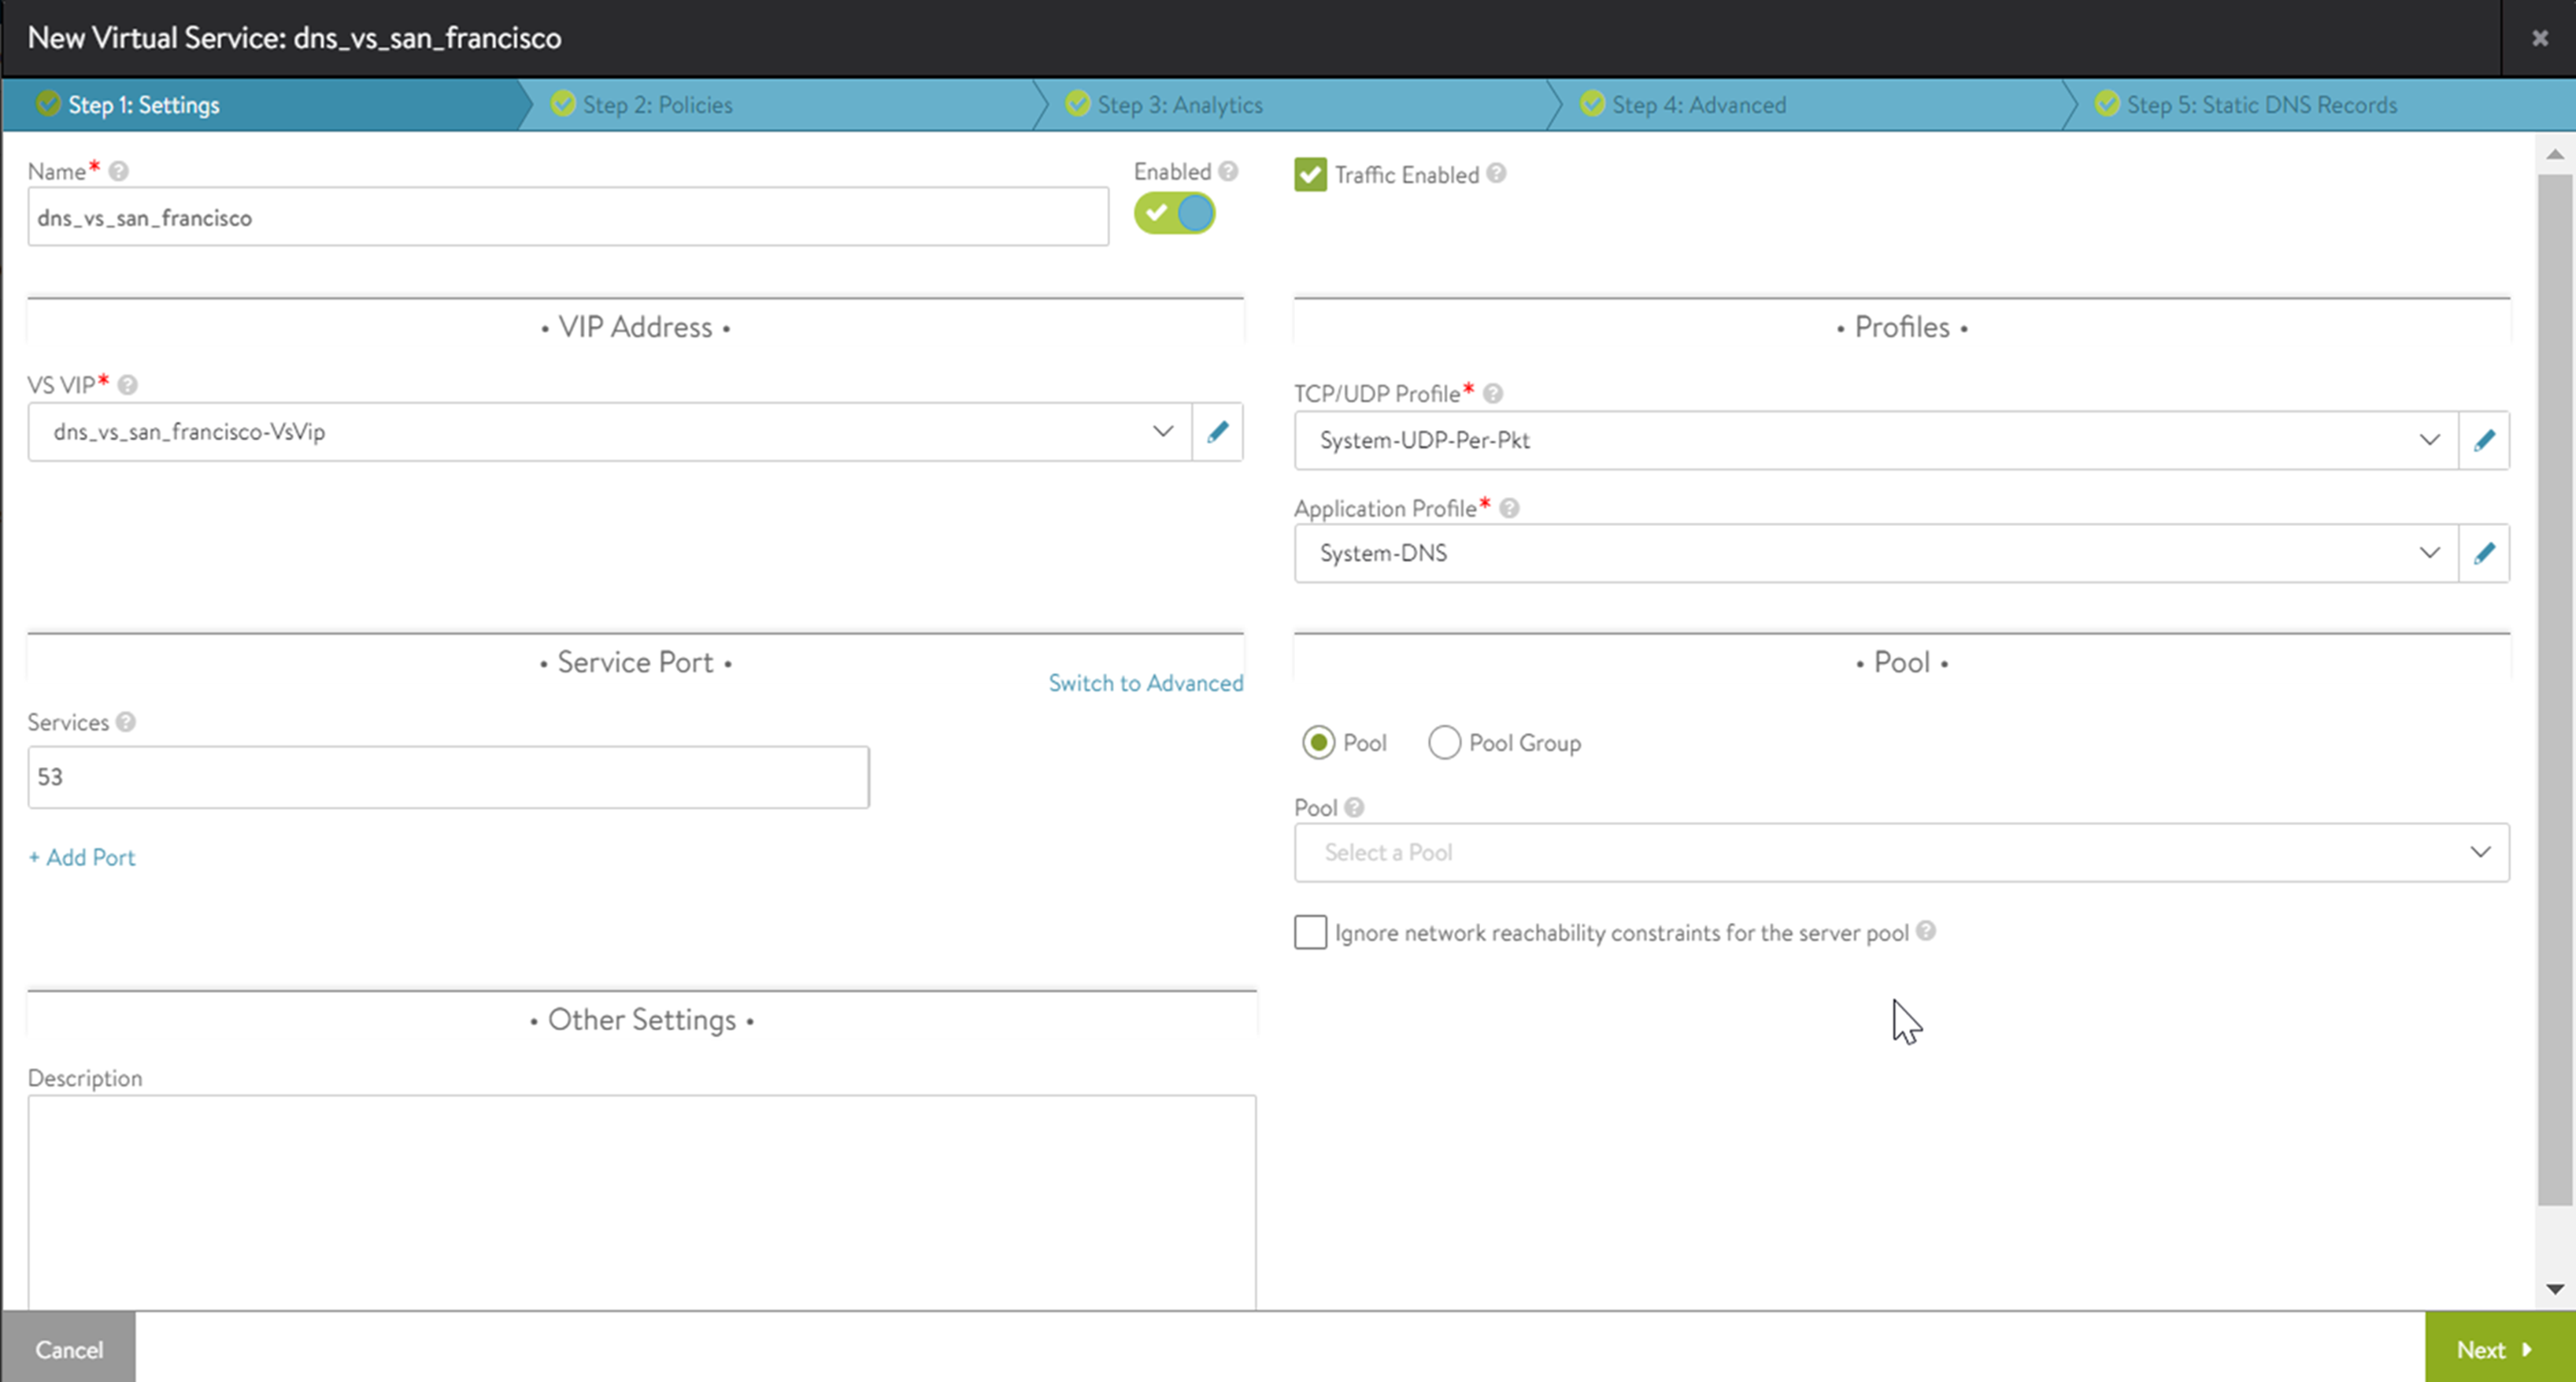
Select System-DNS from the Application Profile drop-down menu. Retain the default value of System-UDP-Per-Pkt for the TCP/UDP Profile field.
Click Switch to Advanced in the Service Port section. Add a new port 53. Select the Override TCP/UDP check box and System-TCP-Proxy from the respective drop-down menu.
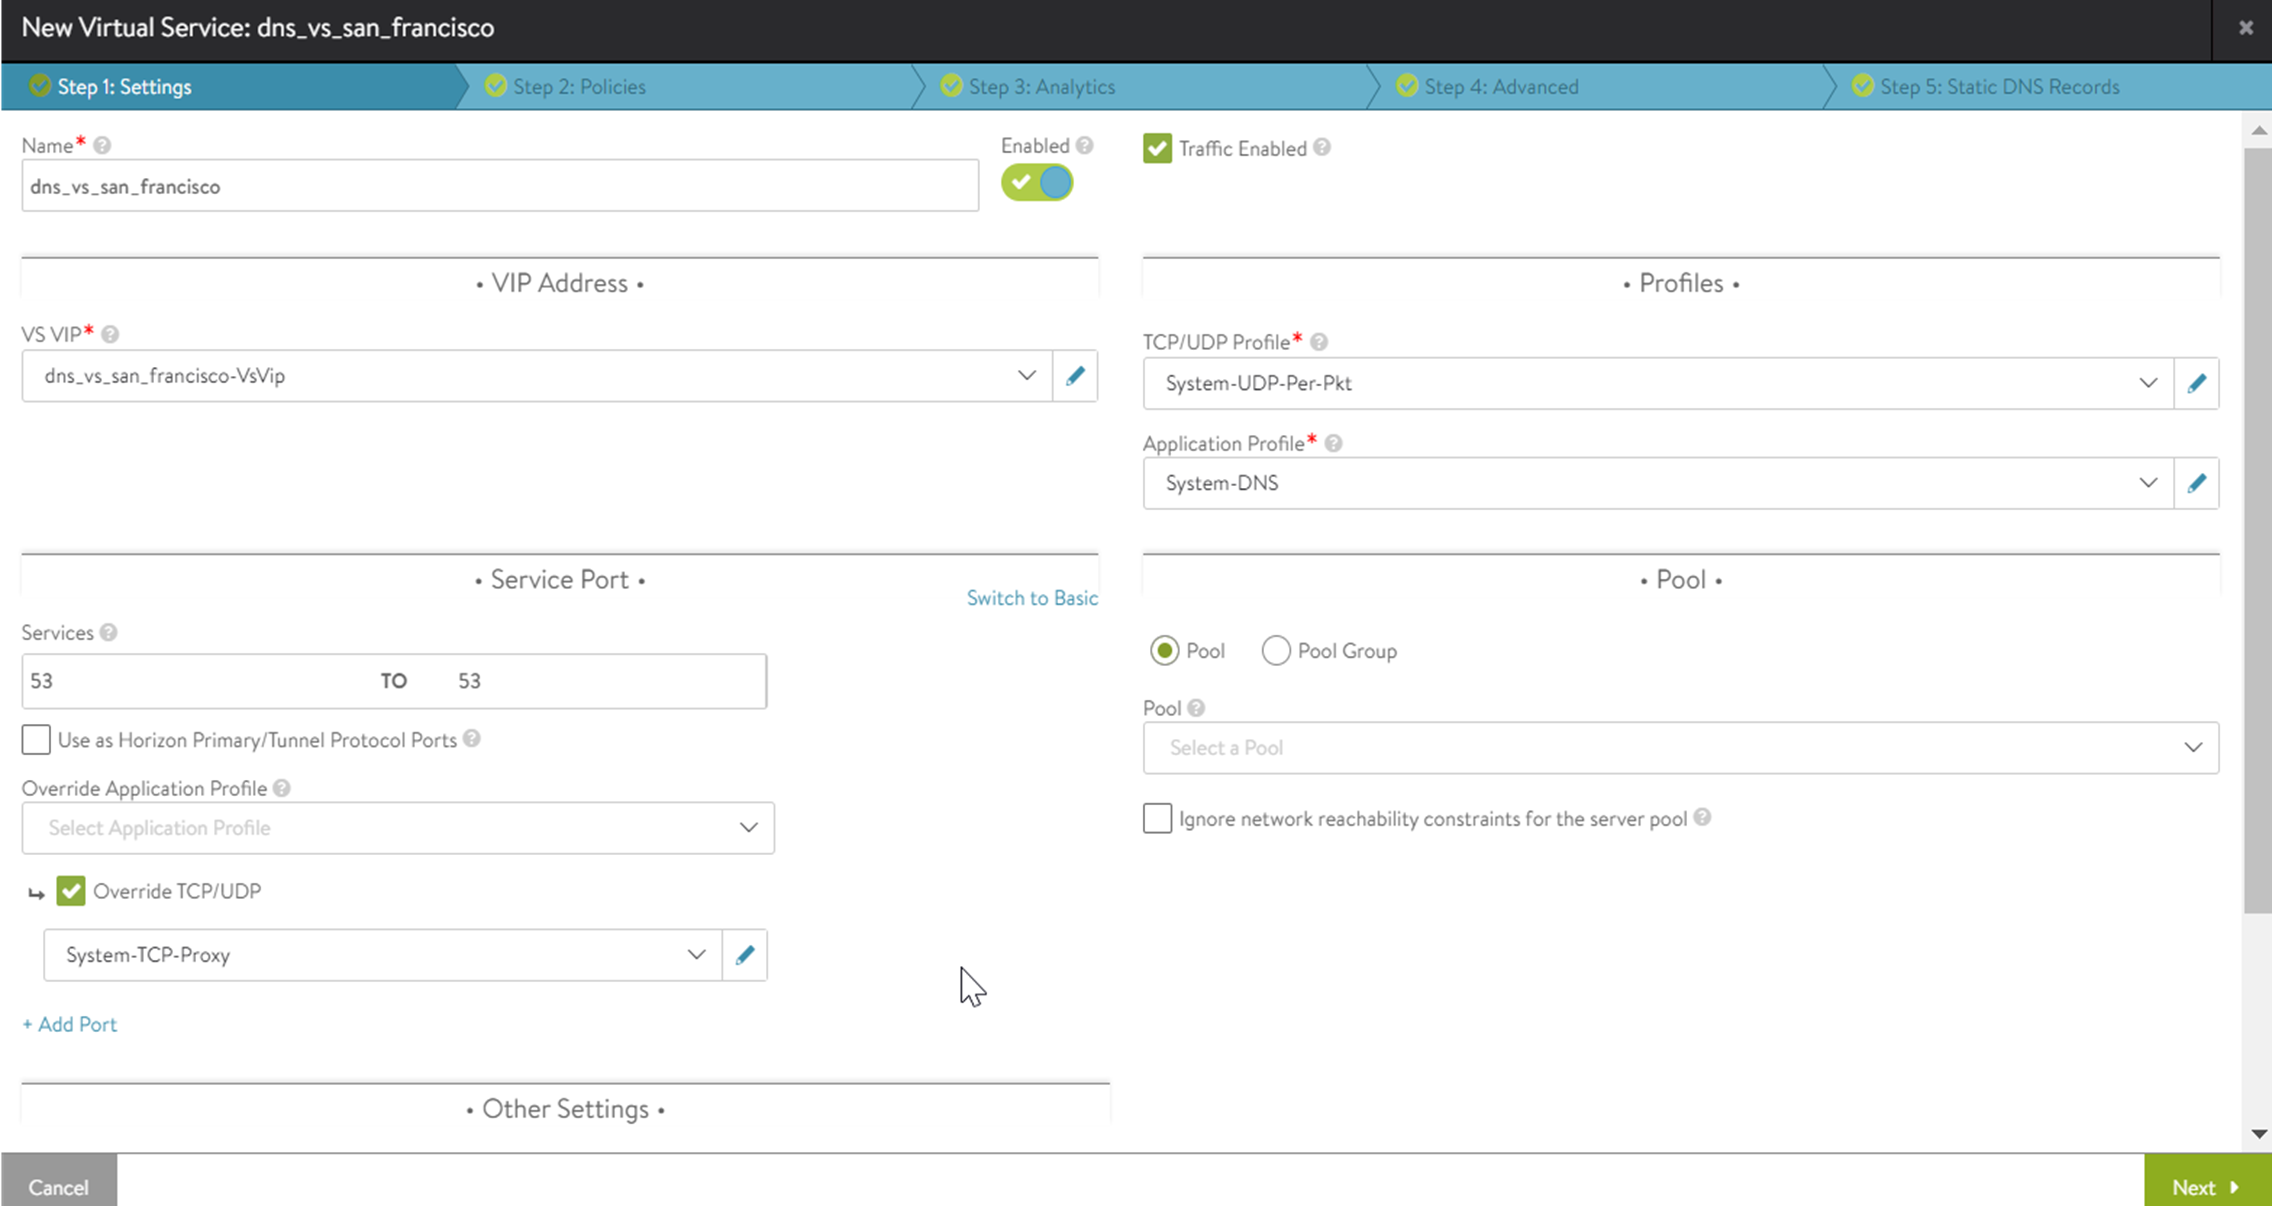
Note:This step is required if you need DNS over TCP. Pool is not required if you are using NSX Advanced Load Balancer DNS for GSLB only and if NSX Advanced Load Balancer DNS is not the primary DNS server as mentioned in DNS Virtual Service in the VMware NSX Advanced Load Balancer Configuration Guide.
Click Next to navigate to Step 2: Policies.
Configure Network Security rules, if required.
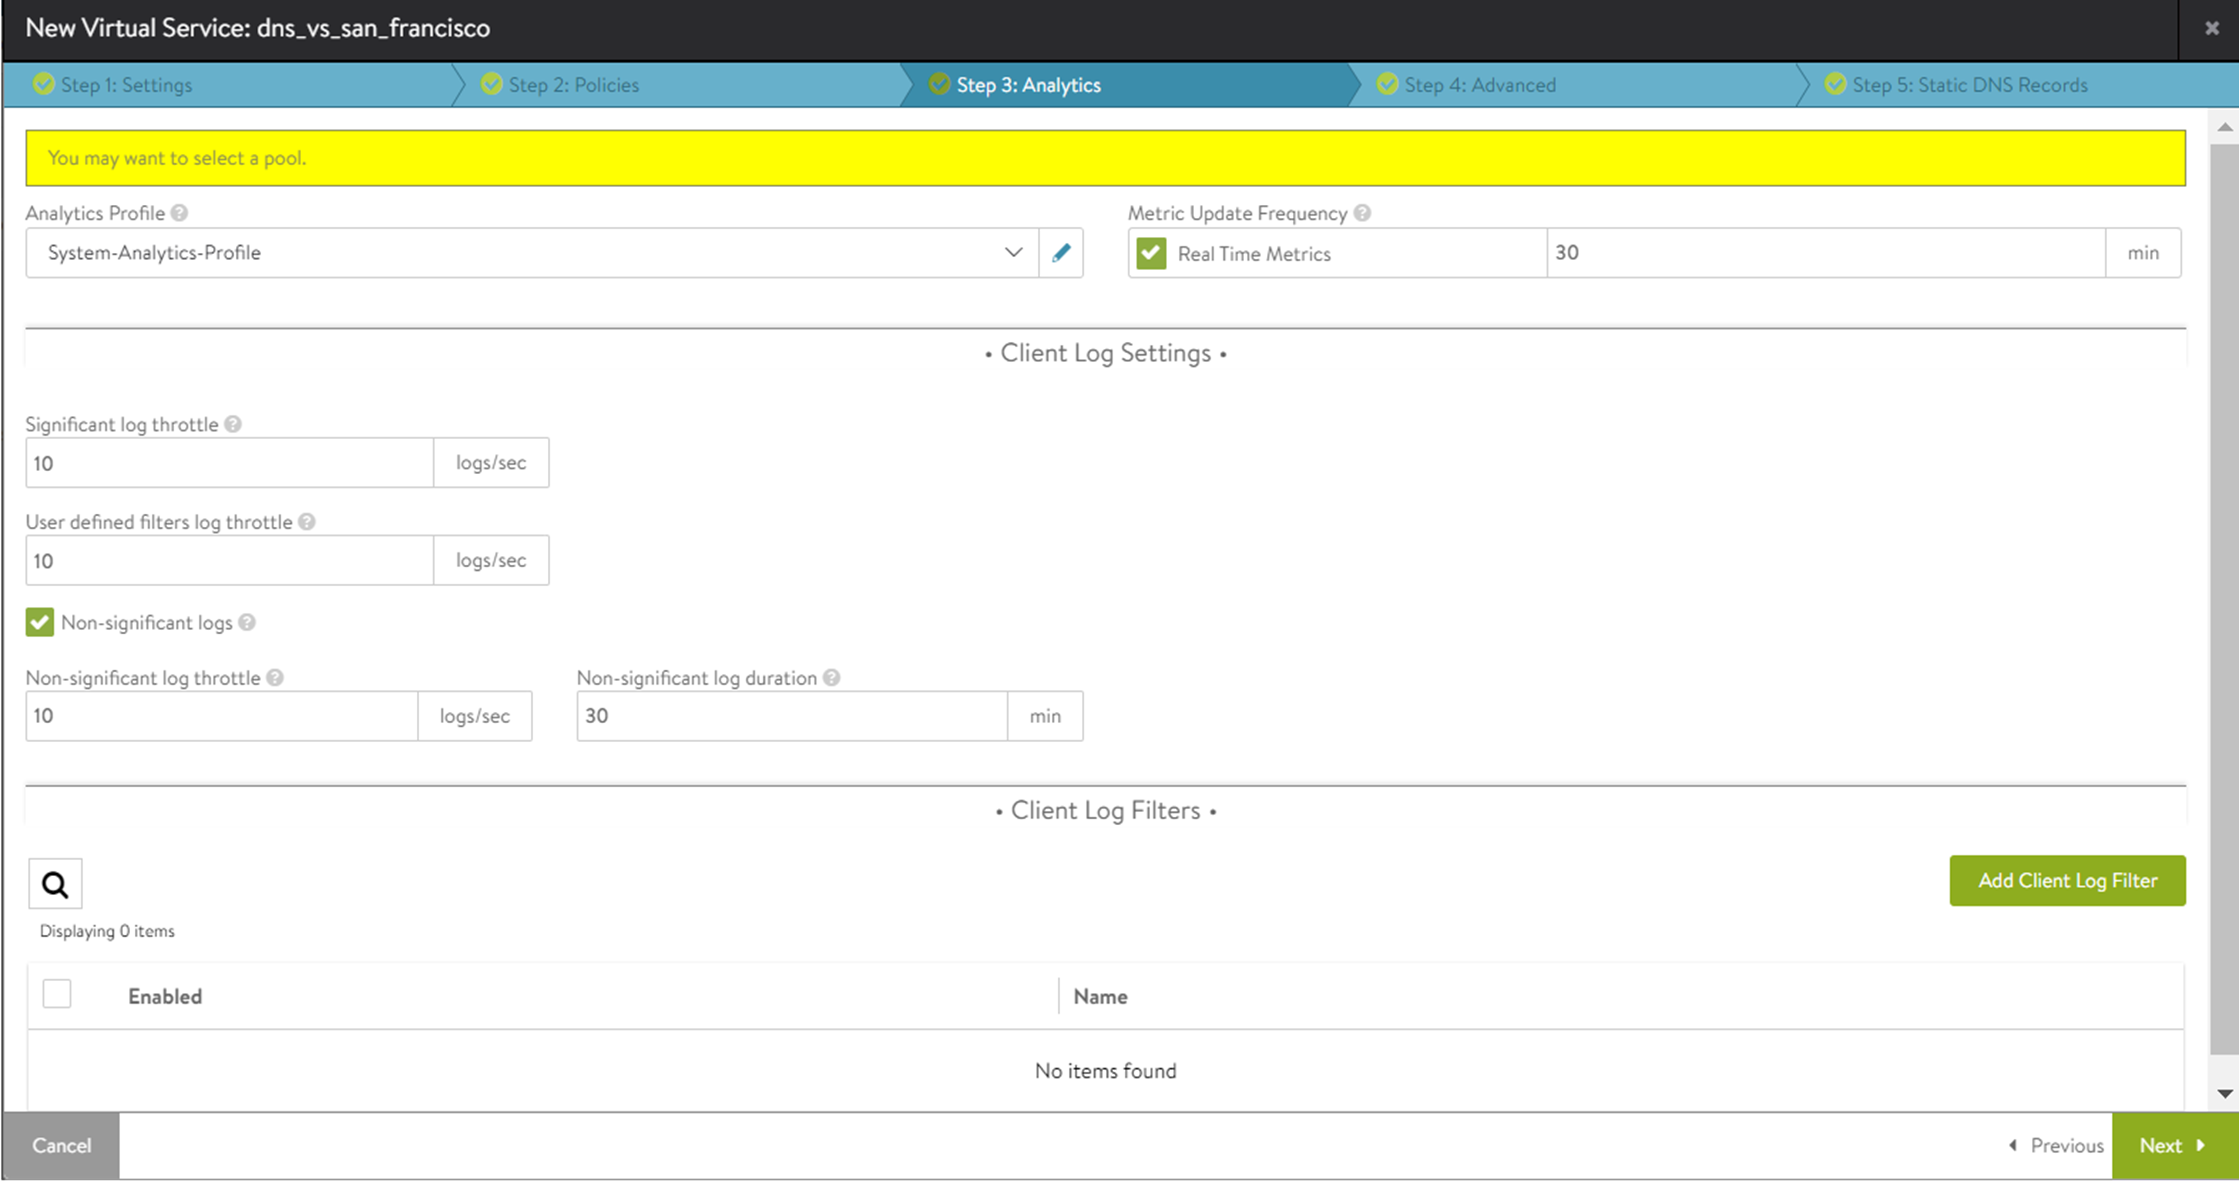
Click Next to proceed to Step 3: Analytics.
Accept the defaults for analytics or change them as shown in the screenshot below:
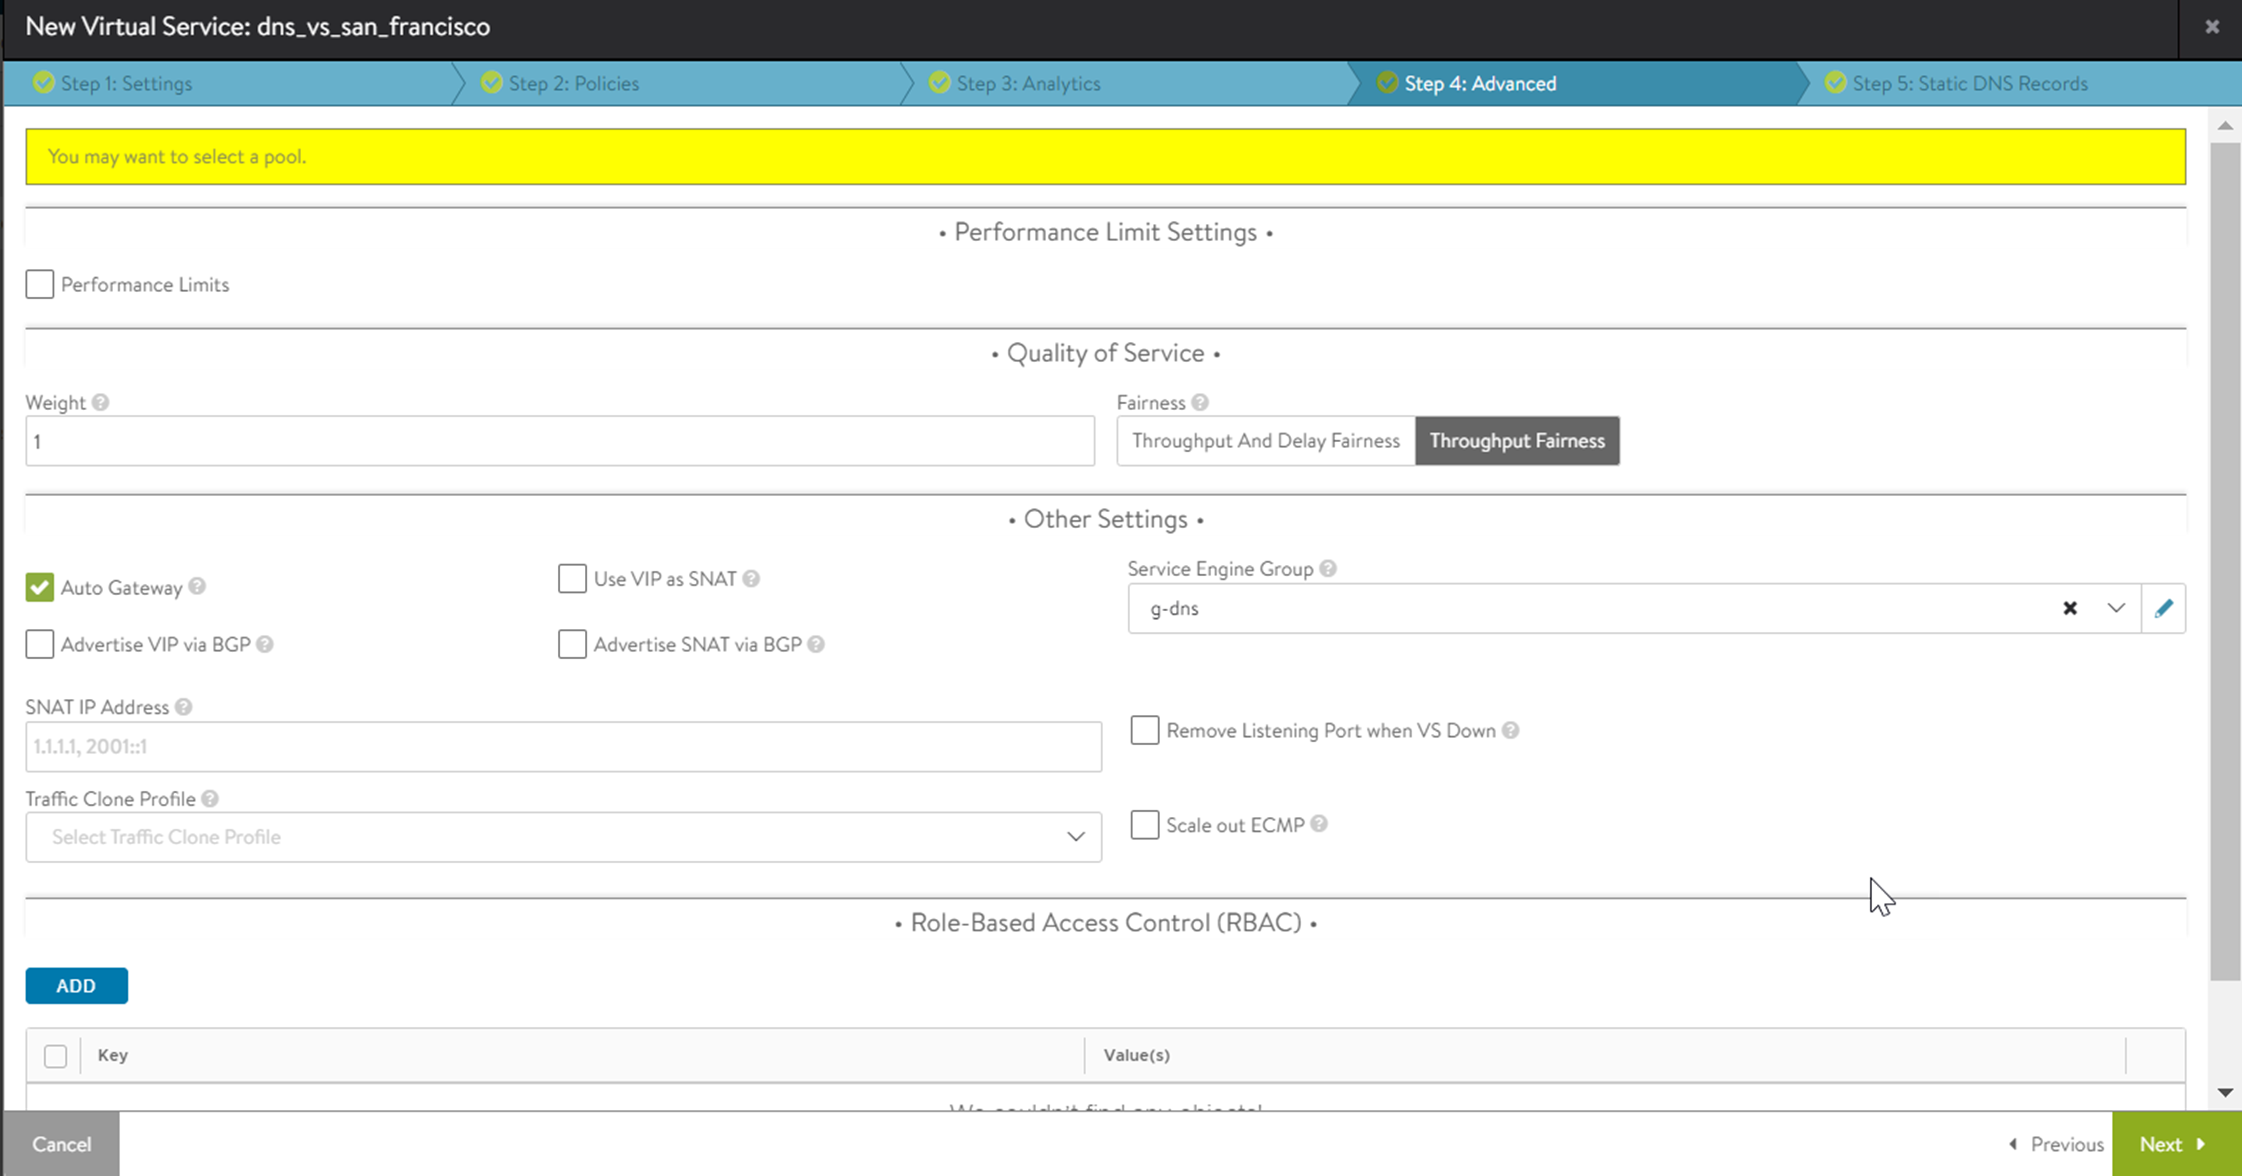
Click Next to proceed to Step 4: Advanced.
Under Other Settings, select the SE Group g-DNS that was created to host this DNS virtual service.
Optionally create Static DNS Records.
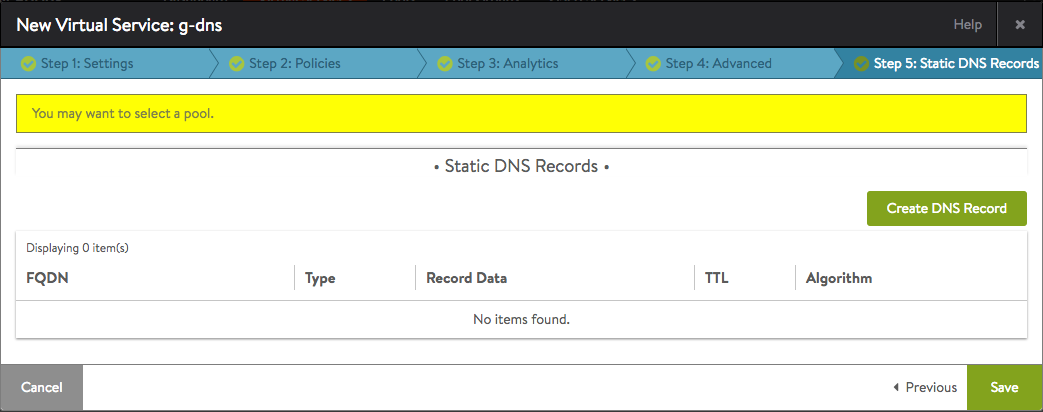
Click Save to complete the process of defining the DNS virtual service for the Santa Clara site.
Repeat the above steps to create a DNS virtual service for the Boston site (10.160.0.20 as per our example). DNS virtual service is named colo-dns with VIP = 10.160.110.100.