


Use the instructions in this documentation to add user role assignments for a project from the Manage Projects page.
The Manage Projects page is available to both the Enterprise Admin and the Project Admin. However, a Project Admin can add user roles from this page only when an Enterprise Admin has granted permissions to the Project Admin role to do user role assignments.
Starting in NSX 4.1.1, if a project contains NSX VPCs, you can use the Manage Projects page to assign roles to users either in the scope of a project or selected NSX VPCs within the project.
In the project scope, you can assign these roles to a user: Project Admin, Network Admin, Security Admin, Network Operator, and Security Operator.
In the VPC scope, you can assign these roles to a user: VPC Admin, Network Admin, Security Admin, Network Operator, and Security Operator.
Prerequisites
- Local user accounts are added in the system and they are activated.
- NSX Manager is configured to authenticate users from any of these identity management providers:
- VMware Identity Manager (vIDM)
- LDAP-based directory service, for example, Active Directory.
Procedure
- Click Default, and then click Manage.
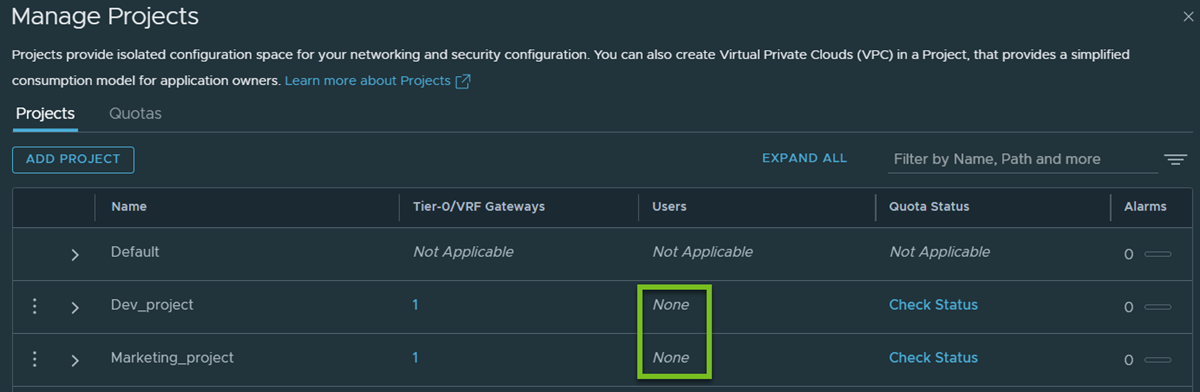
For example, the following screen capture shows two projects on the Manage Projects page: Dev_project and Marketing_project. No users are currently set for these projects.
- Next to the project name, click
 , and then click Edit.
Results
Project users can now log in to NSX Manager with their login credentials. Observe that the Project drop-down menu shows only those project names that the logged-in user has access to.
