After you have an NSX version 3.2 or later installed and all the deployment prerequisites are met, you can proceed to manually deploy the NSX Application Platform.

Prerequisites

You must meet all of the deployment prerequisites, including the form factor system requirements. See the NSX Application Platform Deployment Prerequisites topic for details.

Caution:

If you migrated your NSX Intelligence 1.2.x traffic flow data, do not deploy the NSX Application Platform using the Evaluation form factor. Using the Evaluation form factor forces the system to deploy the NSX Application Platform without migrating your traffic flow data from the previous NSX Intelligence 1.2.x installation and causes the loss of information about that previous installation.

Step 1: Prepare to Deploy

To deploy the NSX Application Platform, provide the Helm repository and Docker registry information.

Procedure

  1. From your browser, log in with Enterprise Admin privileges to an NSX Manager at https://<nsx-manager-ip-address>.
  2. Navigate to System > NSX Application Platform in the Configuration section.
  3. Click Deploy NSX Application Platform.
  4. Verify the Helm Repository URL and Docker Registry path.

    By default in NSX version 4.1.1, the Helm Repository text box has the oci://projects.registry.vmware.com/nsx_application_platform/helm-charts value. This value is the public VMware-hosted repository from which the system obtains the packaged NSX Application Platform Helm chart.

    The Docker Registry path has the projects.registry.vmware.com/nsx_application_platform/clustering value. This value is the public VMware-hosted registry location from which the system obtains the NSX Application Platform docker images.

    Using these public VMware-hosted NSX Application Platform registry and repository locations simplify the deployment process. This deployment process is an outbound connection only and does not retain any customer data.

    If you are unable to use the recommended deployment process and access the public VMware-hosted locations, work with your infrastructure administrator to upload the NSX Application Platform Helm chart and Docker images to your company's private Helm repository and Docker registry locations. Both privately-hosted locations must be accessible from the Kubernetes cluster and the NSX Manager appliance you are using for the NSX Application Platform deployment. See Upload the NSX Application Platform Docker Images and Helm Charts to a Private Container Registry.

    If you are using a private Helm repository and Docker registry location, use the following steps.

    1. In the Helm Repository text box, enter the private registry URL.
      • For OCI-compatible Helm private repository, use the format oci://<your-private-registry-server-fqdn>/<your-private-registry-name>/helm-charts.
      • For ChartMuseum-compatible Helm private repository, use the format https://<your-private-registry-server-fqdn>/chartrepo/<your-private-registry-name>.

    2. In the Docker Registry text box, enter your private registry location. Use the format <your-private-registry-server-fqdn>/<your-private-registry-name>/clustering.
      There is no leading https or oci in that path value.
  5. Click Save URL.

    This step might take some time to complete as the system gathers the NSX Application Platform details from the Helm charts and Docker registry locations.

  6. In the Platform Target Version text box, verify that the correct NSX Application Platform version is selected for the deployment.

    The system derives the list of versions from the Helm repository.

  7. Click Next.

Step 2: Provide Configuration Details

To deploy the NSX Application Platform, you must provide the configuration information about the TKG Cluster on Supervisor or upstream Kubernetes cluster resources that your infrastructure administrator created for you.

You must have the kubeconfig file that you obtained from your infrastructure administrator. This file contains configuration information for your TKG Cluster on Supervisor or upstream Kubernetes environment and provides access information.

Procedure

  1. In the Upload file text box, click Select and navigate to the location of the kubeconfig file provided to you by your infrastructure administrator.
  2. Click Upload.

    This step can take some time to complete while the system verifies the Kubernetes configuration file contents.

  3. (Optional) If you see the error message Server version and client version are incompatible, upload the latest Kubernetes Tools version to resolve the error, upload a compatible version of the Kubernetes tools bundle.

    You can use the Kubernetes Tools bundle provided in the Broadcom support portal for the NSX version that you are using. When you download the Kubernetes Tools bundle, the default name is kubernetes-tools-buildversion.tar.gz. For example, kubernetes-tools-1.20.11-00_3.5.4-1.tar.gz. Do not rename the file when you download it. The file is signed with a VMware private key.

    1. Either select Upload Local File or Upload Remote File.
    2. If you selected Upload Local File, click Select and navigate to the location of the Kubernetes Tools file.
    3. If you selected Upload Remote File, enter the URL from which the system can obtain the compatible Kubernetes Tools file. For example, enter the URL of the kubernetes-tools-buildversion.tar.gz file that you downloaded.
    4. Click Upload.
  4. Verify the Cluster Type information is correct.

    This information refers to the type of Kubernetes environment. Currently, Standard is the only type supported.

  5. Verify the Storage Class information is correct.

    The system obtains the storage class values from the Kubernetes configuration file and makes them available in the drop-down menu.

  6. Enter a valid fully qualified domain name (FQDN) value for the Service Name text box in an NSX 3.2.0 deployment or for the Interface Service Name text box in an NSX 3.2.1 or later deployment.

    The Service Name or Interface Service Name value is used as the HTTPS endpoint to connect to the NSX Application Platform. See details in the Service Name (FQDN) section of the NSX Application Platform Deployment Prerequisites topic.

  7. For an NSX 3.2.1 or later deployment, enter a valid FQDN value for the Messaging Service Name text box.

    The Messaging Service Name value is the HTTPS endpoint used to receive the streamlined data from the NSX data sources.

  8. Select the Form Factor appropriate for your needs. Review the NSX Application Platform System Requirements for details.
  9. (Optional) If you select the Evaluation form factor, confirm your intention to use the deployment for non-production use only.
    1. Read the information displayed in the Evaluation dialog box.
    2. Select the Confirm check box to acknowledge that you plan to use the NSX Application Platform deployment for proof of concept and non-production use only.
    3. Click Select.
  10. Back in the Configuration tab, click Next.

Step 3: Precheck the Platform

The system needs to check the configuration information that have been obtained before proceeding with the NSX Application Platform deployment.

Procedure

  1. In the Precheck Platform tab, click Run Prechecks.
    The system displays the progress status for each precheck performed.
  2. If there are any errors displayed in the Details column, click the link provided for the error. Obtain the details and make the necessary corrections to resolve the reported errors. See Troubleshooting Deployment Issues for NSX Application Platform for more information.
  3. Click Next.

Step 4: Review & Deploy

The NSX Application Platform deployment wizard gives you the chance to review and edit any of the configuration details that the system has obtained.

Procedure

  1. In the Review & Deploy tab, review the information displayed in the Platform, Configuration and Prechecks sections. Click the Edit link for the corresponding section where changes are needed.

    When you click Edit, you are taken back to the tab where you can update the information.

  2. If all the information looks correct, click Deploy.

    The system proceeds with the final deployment steps and provides progress information in the UI. The steps can take some time to complete.

    Caution: After the system migrates the NSX Intelligence 1.2.x traffic flow data, if the NSX Application Platform deployment fails during the NSX Metrics activation, do NOT press Cancel. Doing so deletes the persistent storage that contains data migration information and causes the loss of information about the NSX Intelligence 1.2.x installation. Use another browser tab or new browser window to resolve the NSX Metrics issue before returning to the original NSX Application Platform deployment window and clicking Retry. For information about troubleshooting the NSX Metrics issue, see Troubleshooting Deployment Issues for NSX Application Platform.

Results

The system successfully deploys the NSX Application Platform and updates the UI with the details about the platform, such as alarms, cluster information, and so on. The following image shows a sample of what the UI looks like after a successful deployment.
NSX Application Platform UI after a successful deployment. Platform configuration details and available NSX features are displayed.

What to do next

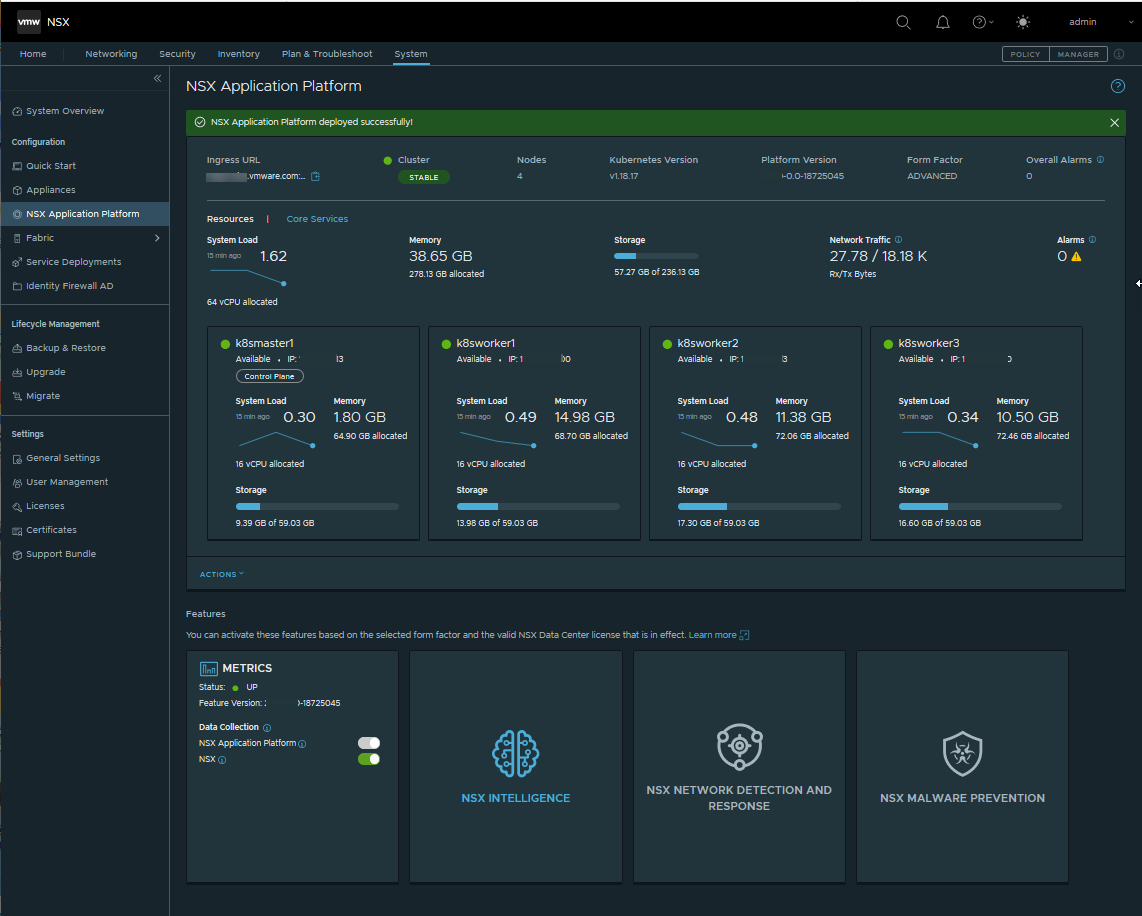
You can now activate any of the available NSX features that can be hosted on the NSX Application Platform and is available for the form factor and NSX license that you are currently using. See NSX Features Available on the NSX Application Platform for more information.