


This is an optional service that allows you to create a configuration for DNS.
The DNS service can be a public DNS service or a private DNS service provided by your company. It is handled by the dnsmasq service, which sends the request to all the servers configured at the same time. The server with the fastest response is selected. The service is preconfigured to use Google and Open DNS servers.
Procedure
- In the SD-WAN service of the Enterprise portal, go to , and then under Network Management area, expand DNS Services.
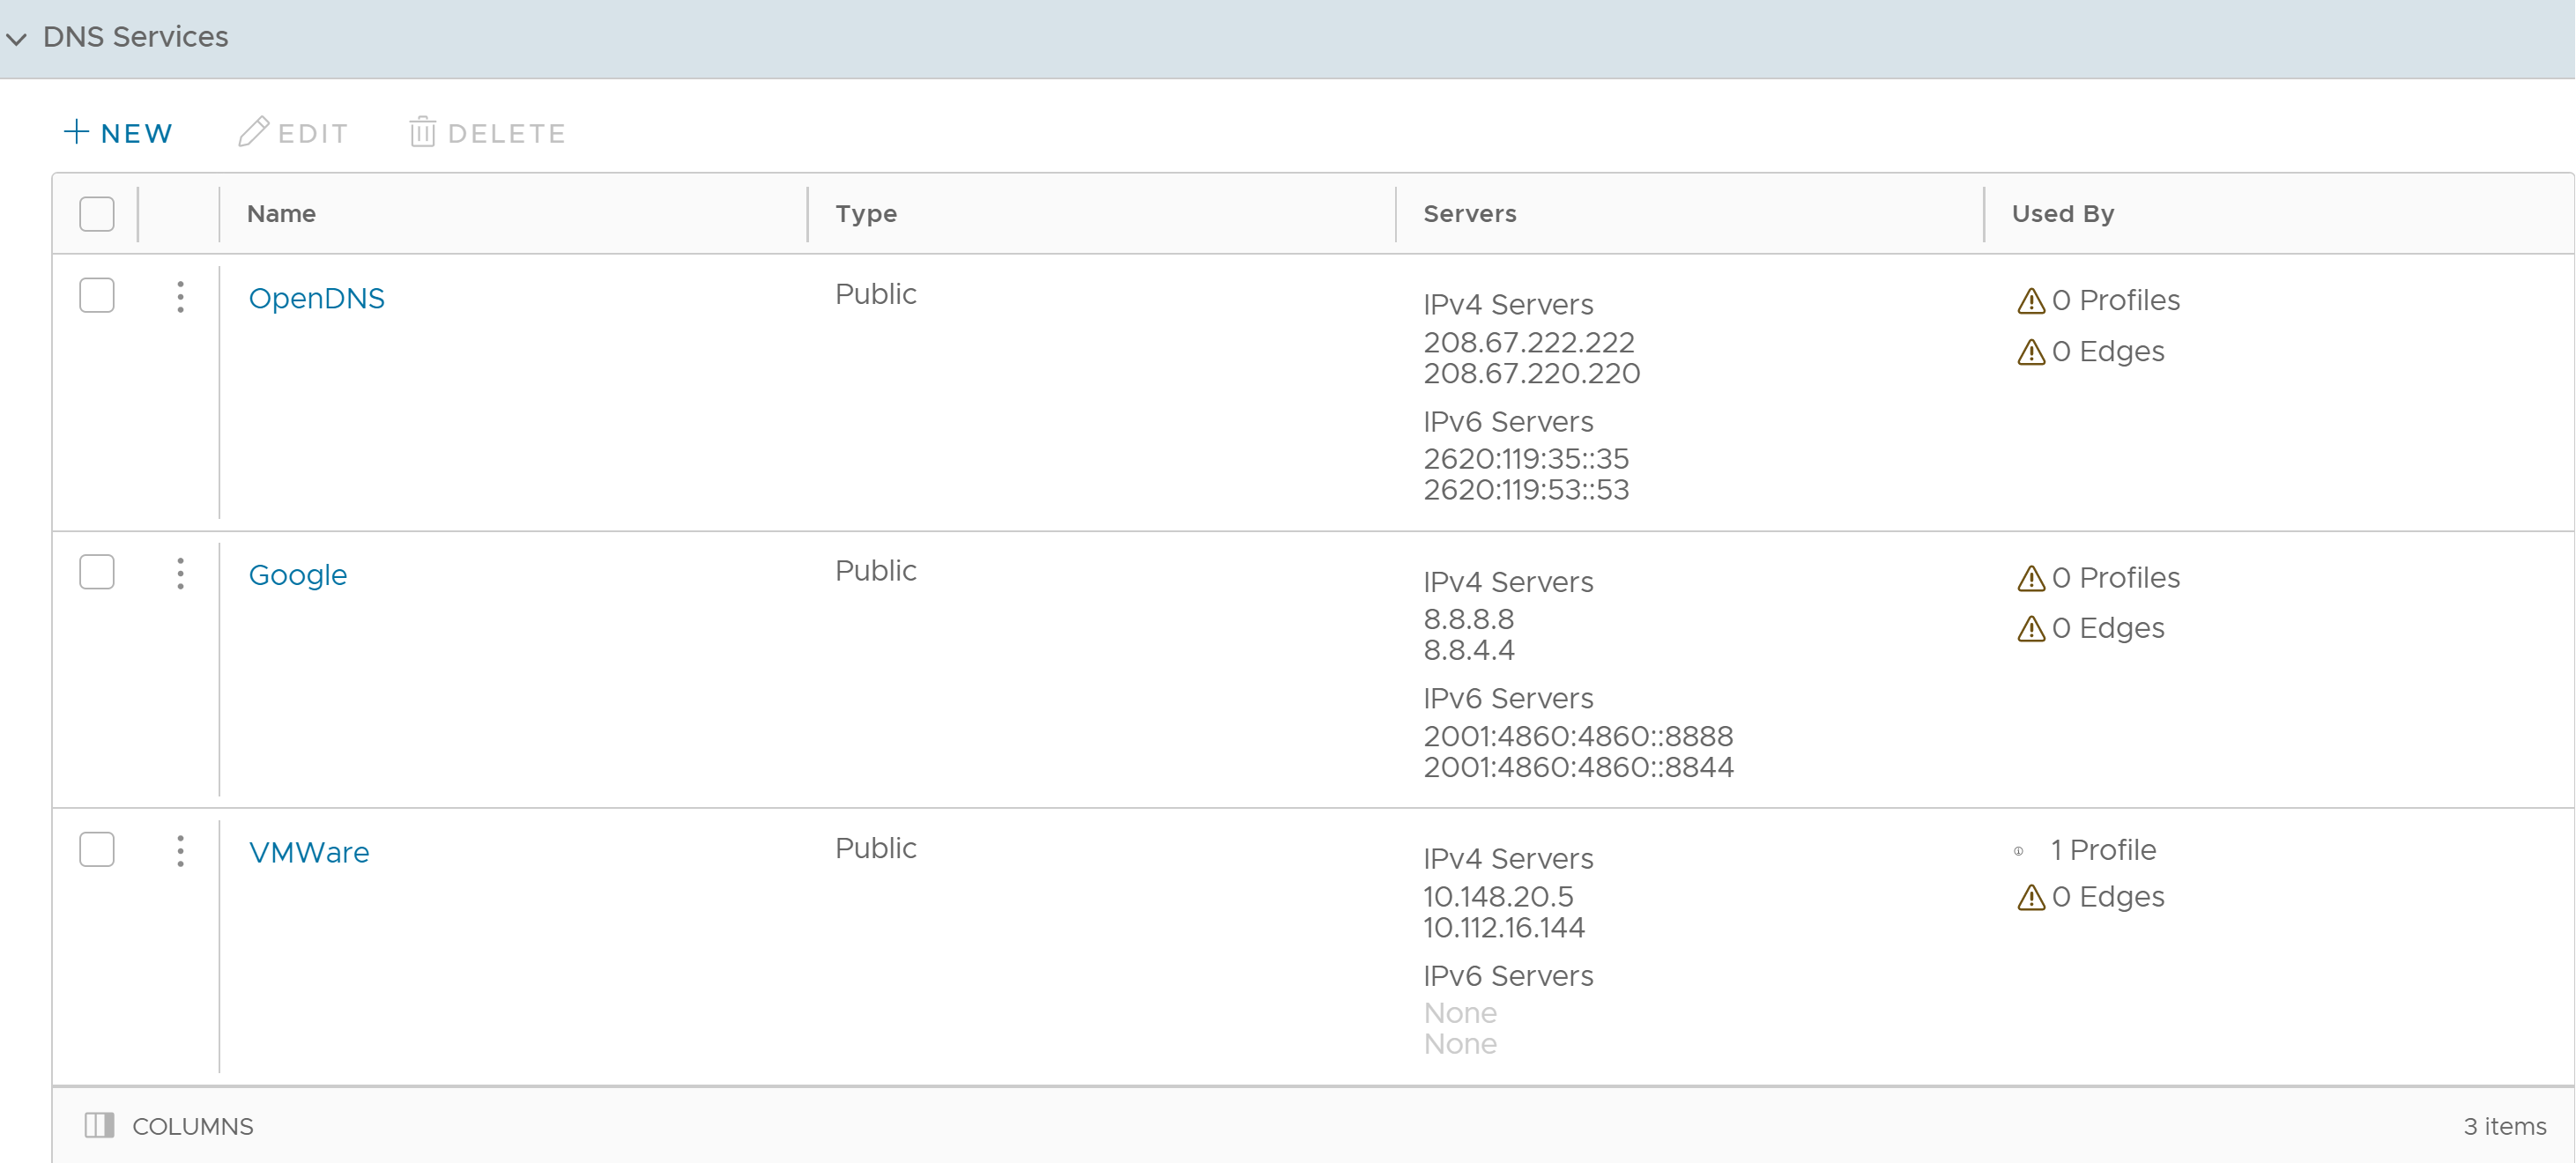
- The following screen displays the sample configuration for a Public DNS:
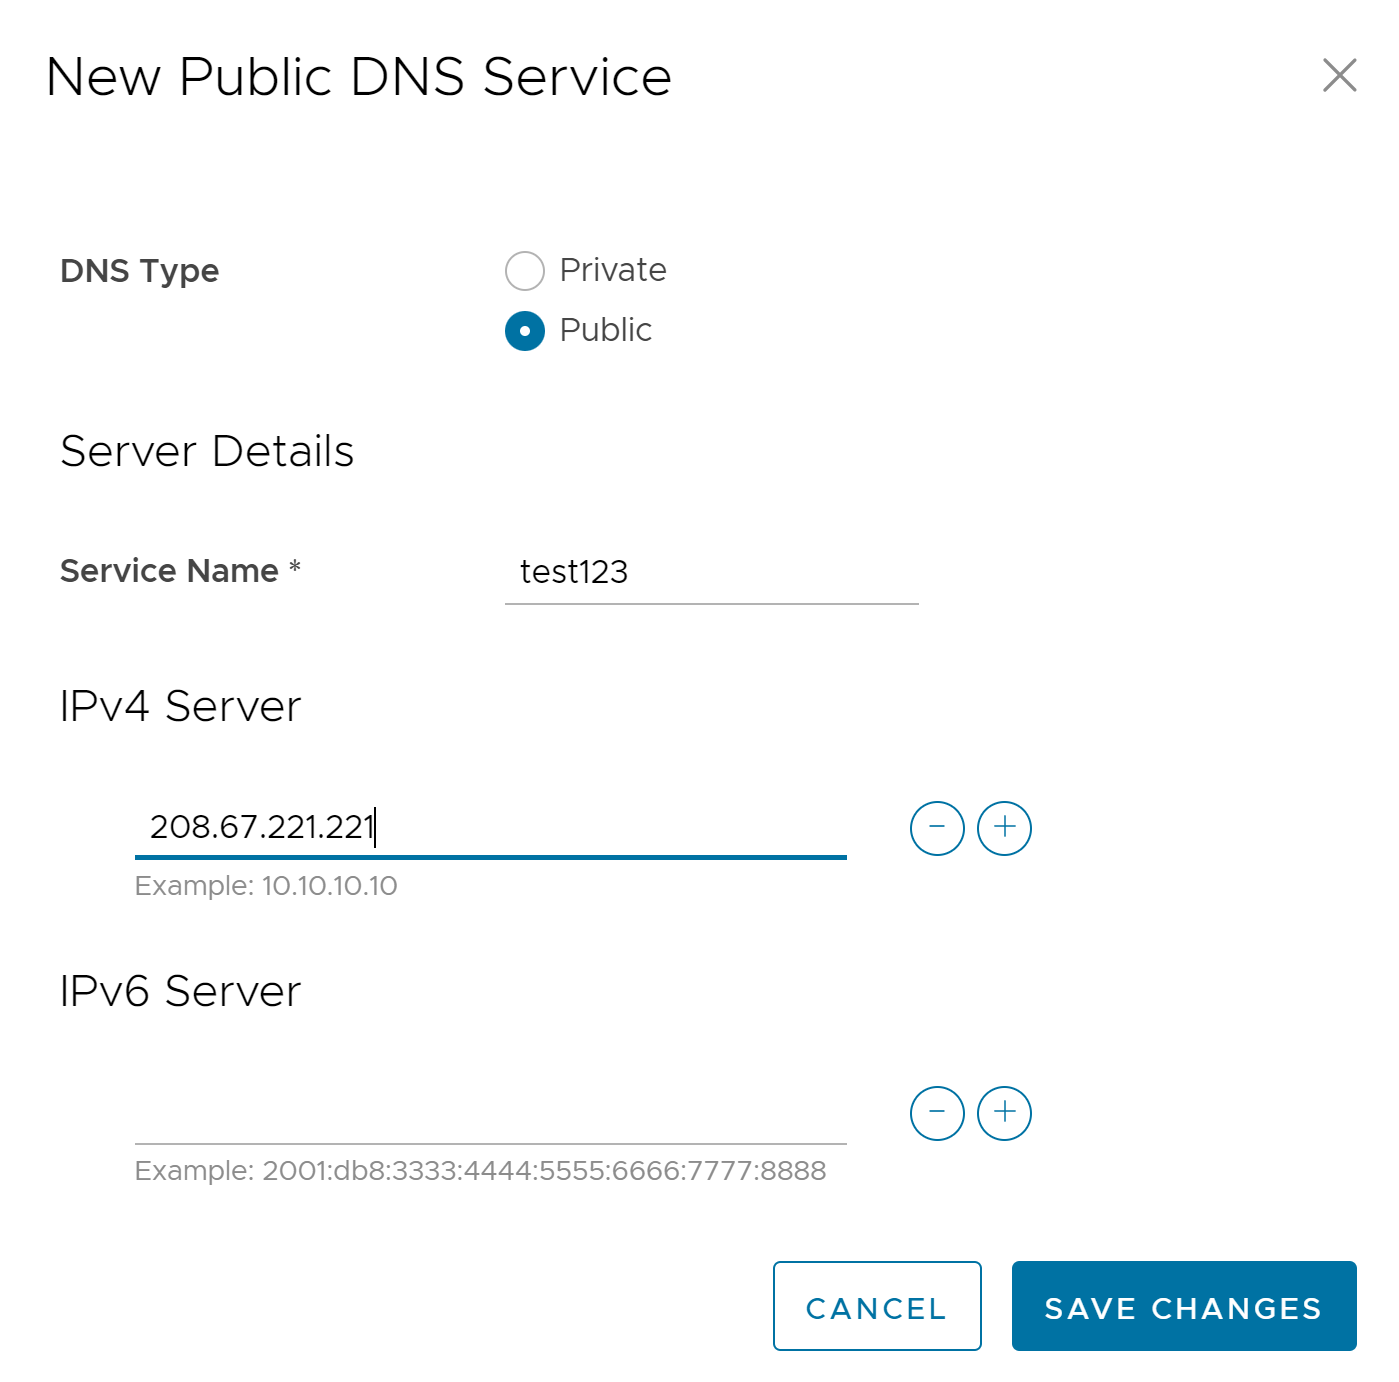
Option Description DNS Type Choose either Private or Public as the DNS service type. Service Name Enter a name for the DNS Service. IPv4 Server Enter the IP address. IPv6 Server Enter the IP address. This field is optional. Note:- Use the '+' and '-' buttons to add or delete the IP addresses.
- For a Private service, you can add one or more Private Domains.
