


To set up an OpenID Connect (OIDC)-based application in OneLogin for Single Sign On (SSO), perform the steps below:
Prerequisites
Ensure you have an OneLogin account to sign in.
Procedure
- To create a new application:
- In the upper navigation bar, click Apps > Add Apps.
- In the Find Applications text box, search for “OpenId Connect” or “oidc” and then select the OpenId Connect (OIDC) app.
The Add OpenId Connect (OIDC) screen appears.
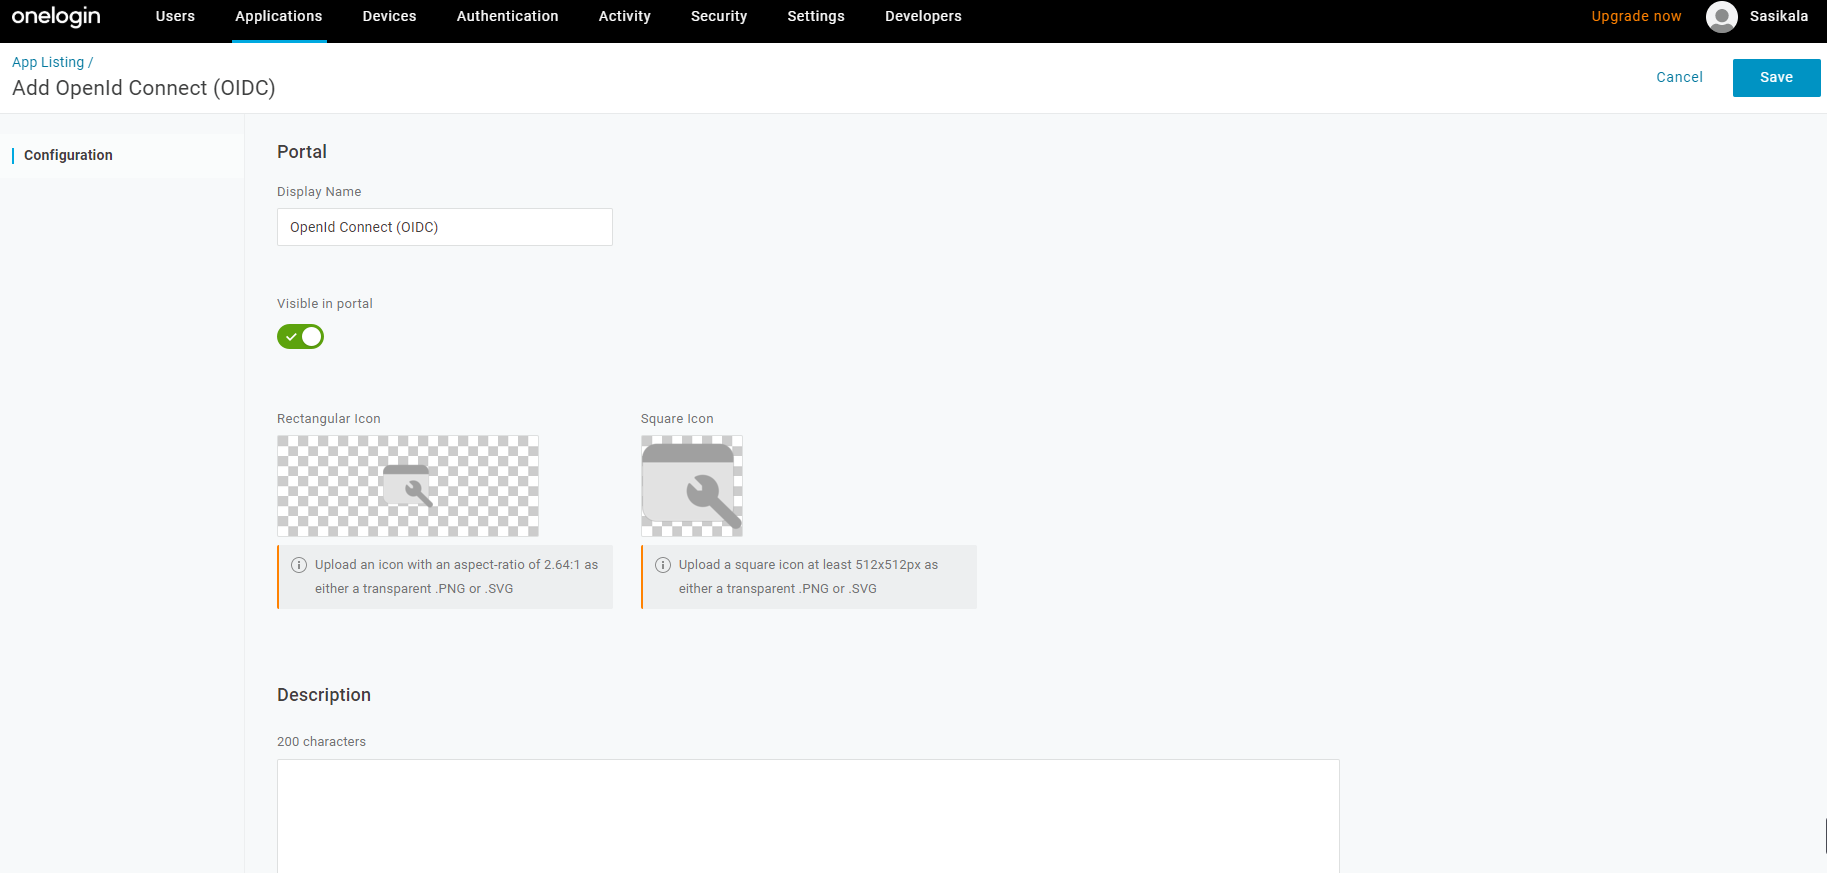
- In the Display Name text box, enter the name for your application and click Save.
- On the Configuration tab, enter the Login URL (auto-login URL for SSO) and the Redirect URI that SASE Orchestrator uses as the callback endpoint, and click Save.
- Login URL - The login URL will be in this format: https://<Orchestrator URL>/<Domain>/ login/doEnterpriseSsoLogin. Where, <Domain> is the domain name of your Enterprise that you must have already set up to enable SSO authentication for the SASE Orchestrator. You can get the Domain name from the Enterprise portal > Administration > System Settings > General Information page.
- Redirect URI's - The SASE Orchestrator redirect URL will be in this format: https://<Orchestrator URL>/login/ssologin/openidCallback. In the SASE Orchestrator application, at the bottom of the Authentication screen, you can find the redirect URL link.

- On the Parameters tab, under OpenId Connect (OIDC), double click Groups.
The Edit Field Groups popup appears.
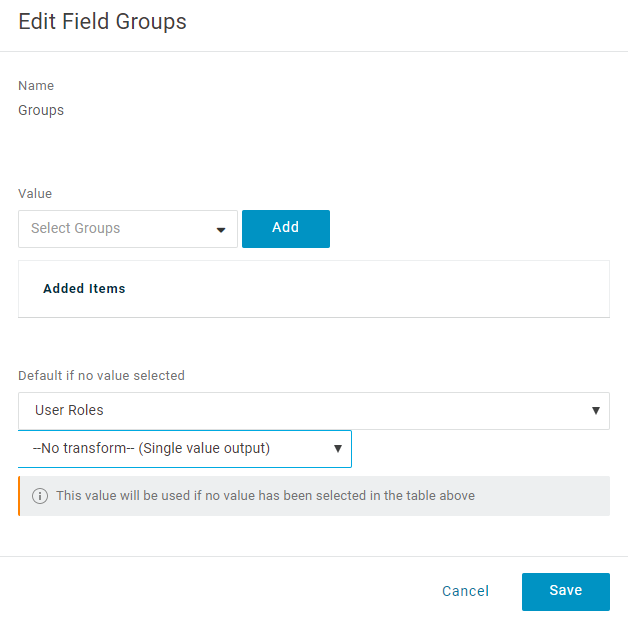
- Configure User Roles with value “--No transform--(Single value output)” to be sent in groups attribute and click Save.
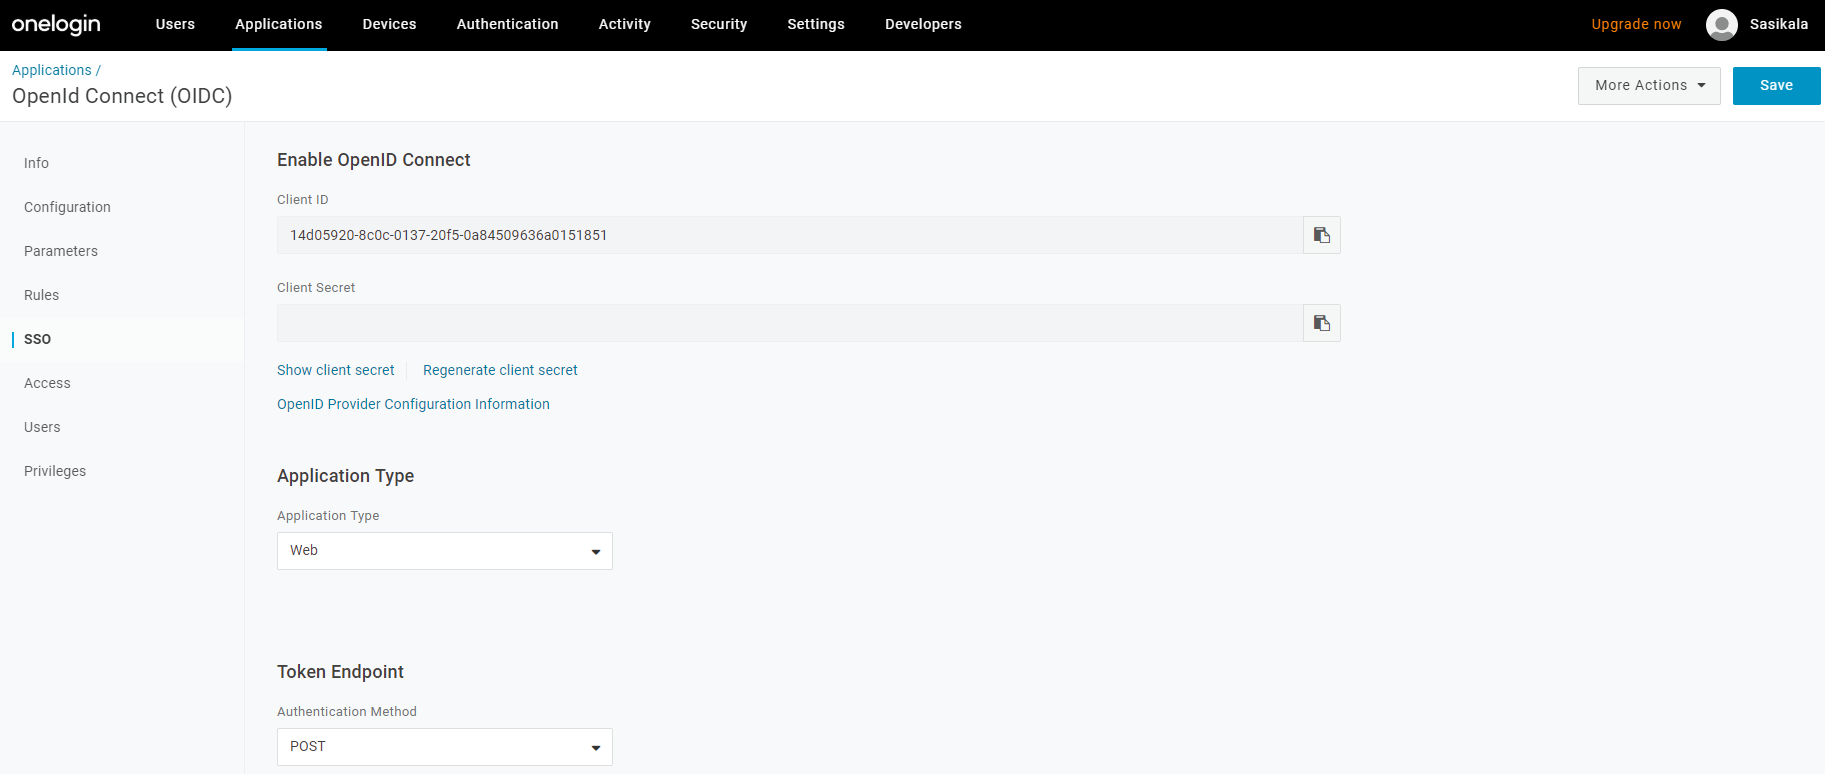
- On the SSO tab, from the Application Type drop-down menu, select Web.
- From the Authentication Method drop-down menu, select POST as the Token Endpoint and click Save.
Also, note down the Client Credentials (Client ID and Client Secret) to be used during the SSO configuration in SASE Orchestrator.
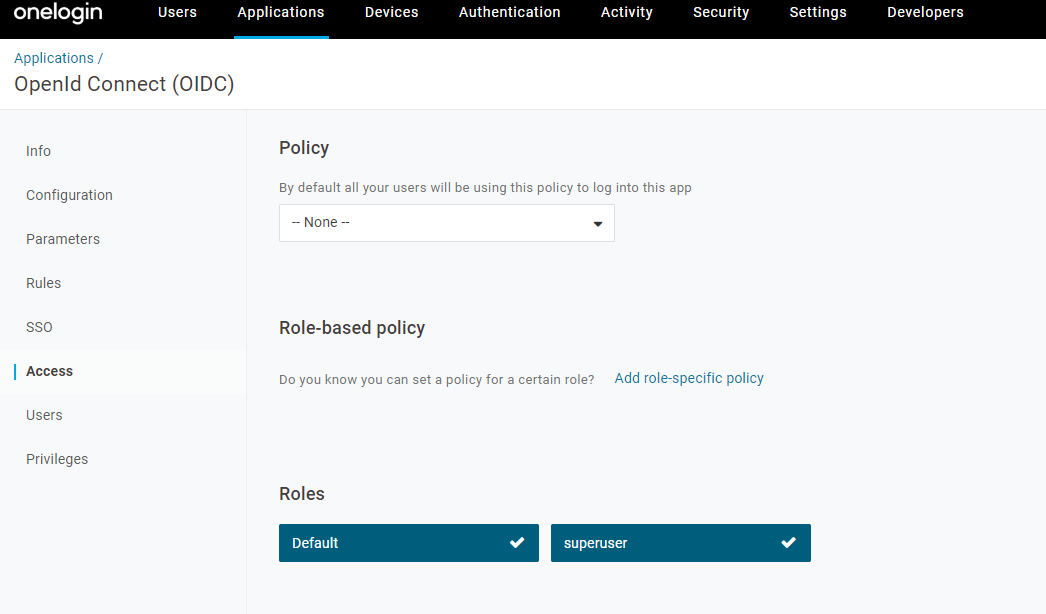
- On the Access tab, choose the roles that will be allowed to login and click Save.
Results
You have completed setting up an OIDC-based application in OneLogin for SSO.
What to do next
Configure Single Sign On in SASE Orchestrator.
