


Starting from the 5.3.0 release, VMware SD-WAN supports the Security Service Edge (SSE) feature. This feature allows VMware SD-WAN to easily integrate with a third party SSE vendor using seamless automation through the Orchestrator. You can configure multiple SSE integrations with the same vendor.
The Security Service Edge (SSE) feature currently supports PAN Prisma and Symantec subscriptions. For an Enterprise user, the SSE feature is activated by default.
- For the PAN Prisma SSE integration, the Enterprise user must first create IKE and IPsec profiles on the Palo Alto Networks Strata Cloud Manager portal. These profiles can then be used for the SSE integration. For more information, see Palo Alto Networks Strata Cloud Manager Configuration.
- For the Symantec integration, the Enterprise user must first create username and password for an API credential configured in the Symantec Cloud portal. For more information, see Configure Symantec API Credentials.
Before creating an SSE Integration, you must first create an SSE Subscription.
SSE Subscriptions
- In the SD-WAN service of the Enterprise portal, click .
- Click the SSE Subscriptions tab on the Security Service Edge (SSE) landing page. The following screen appears:
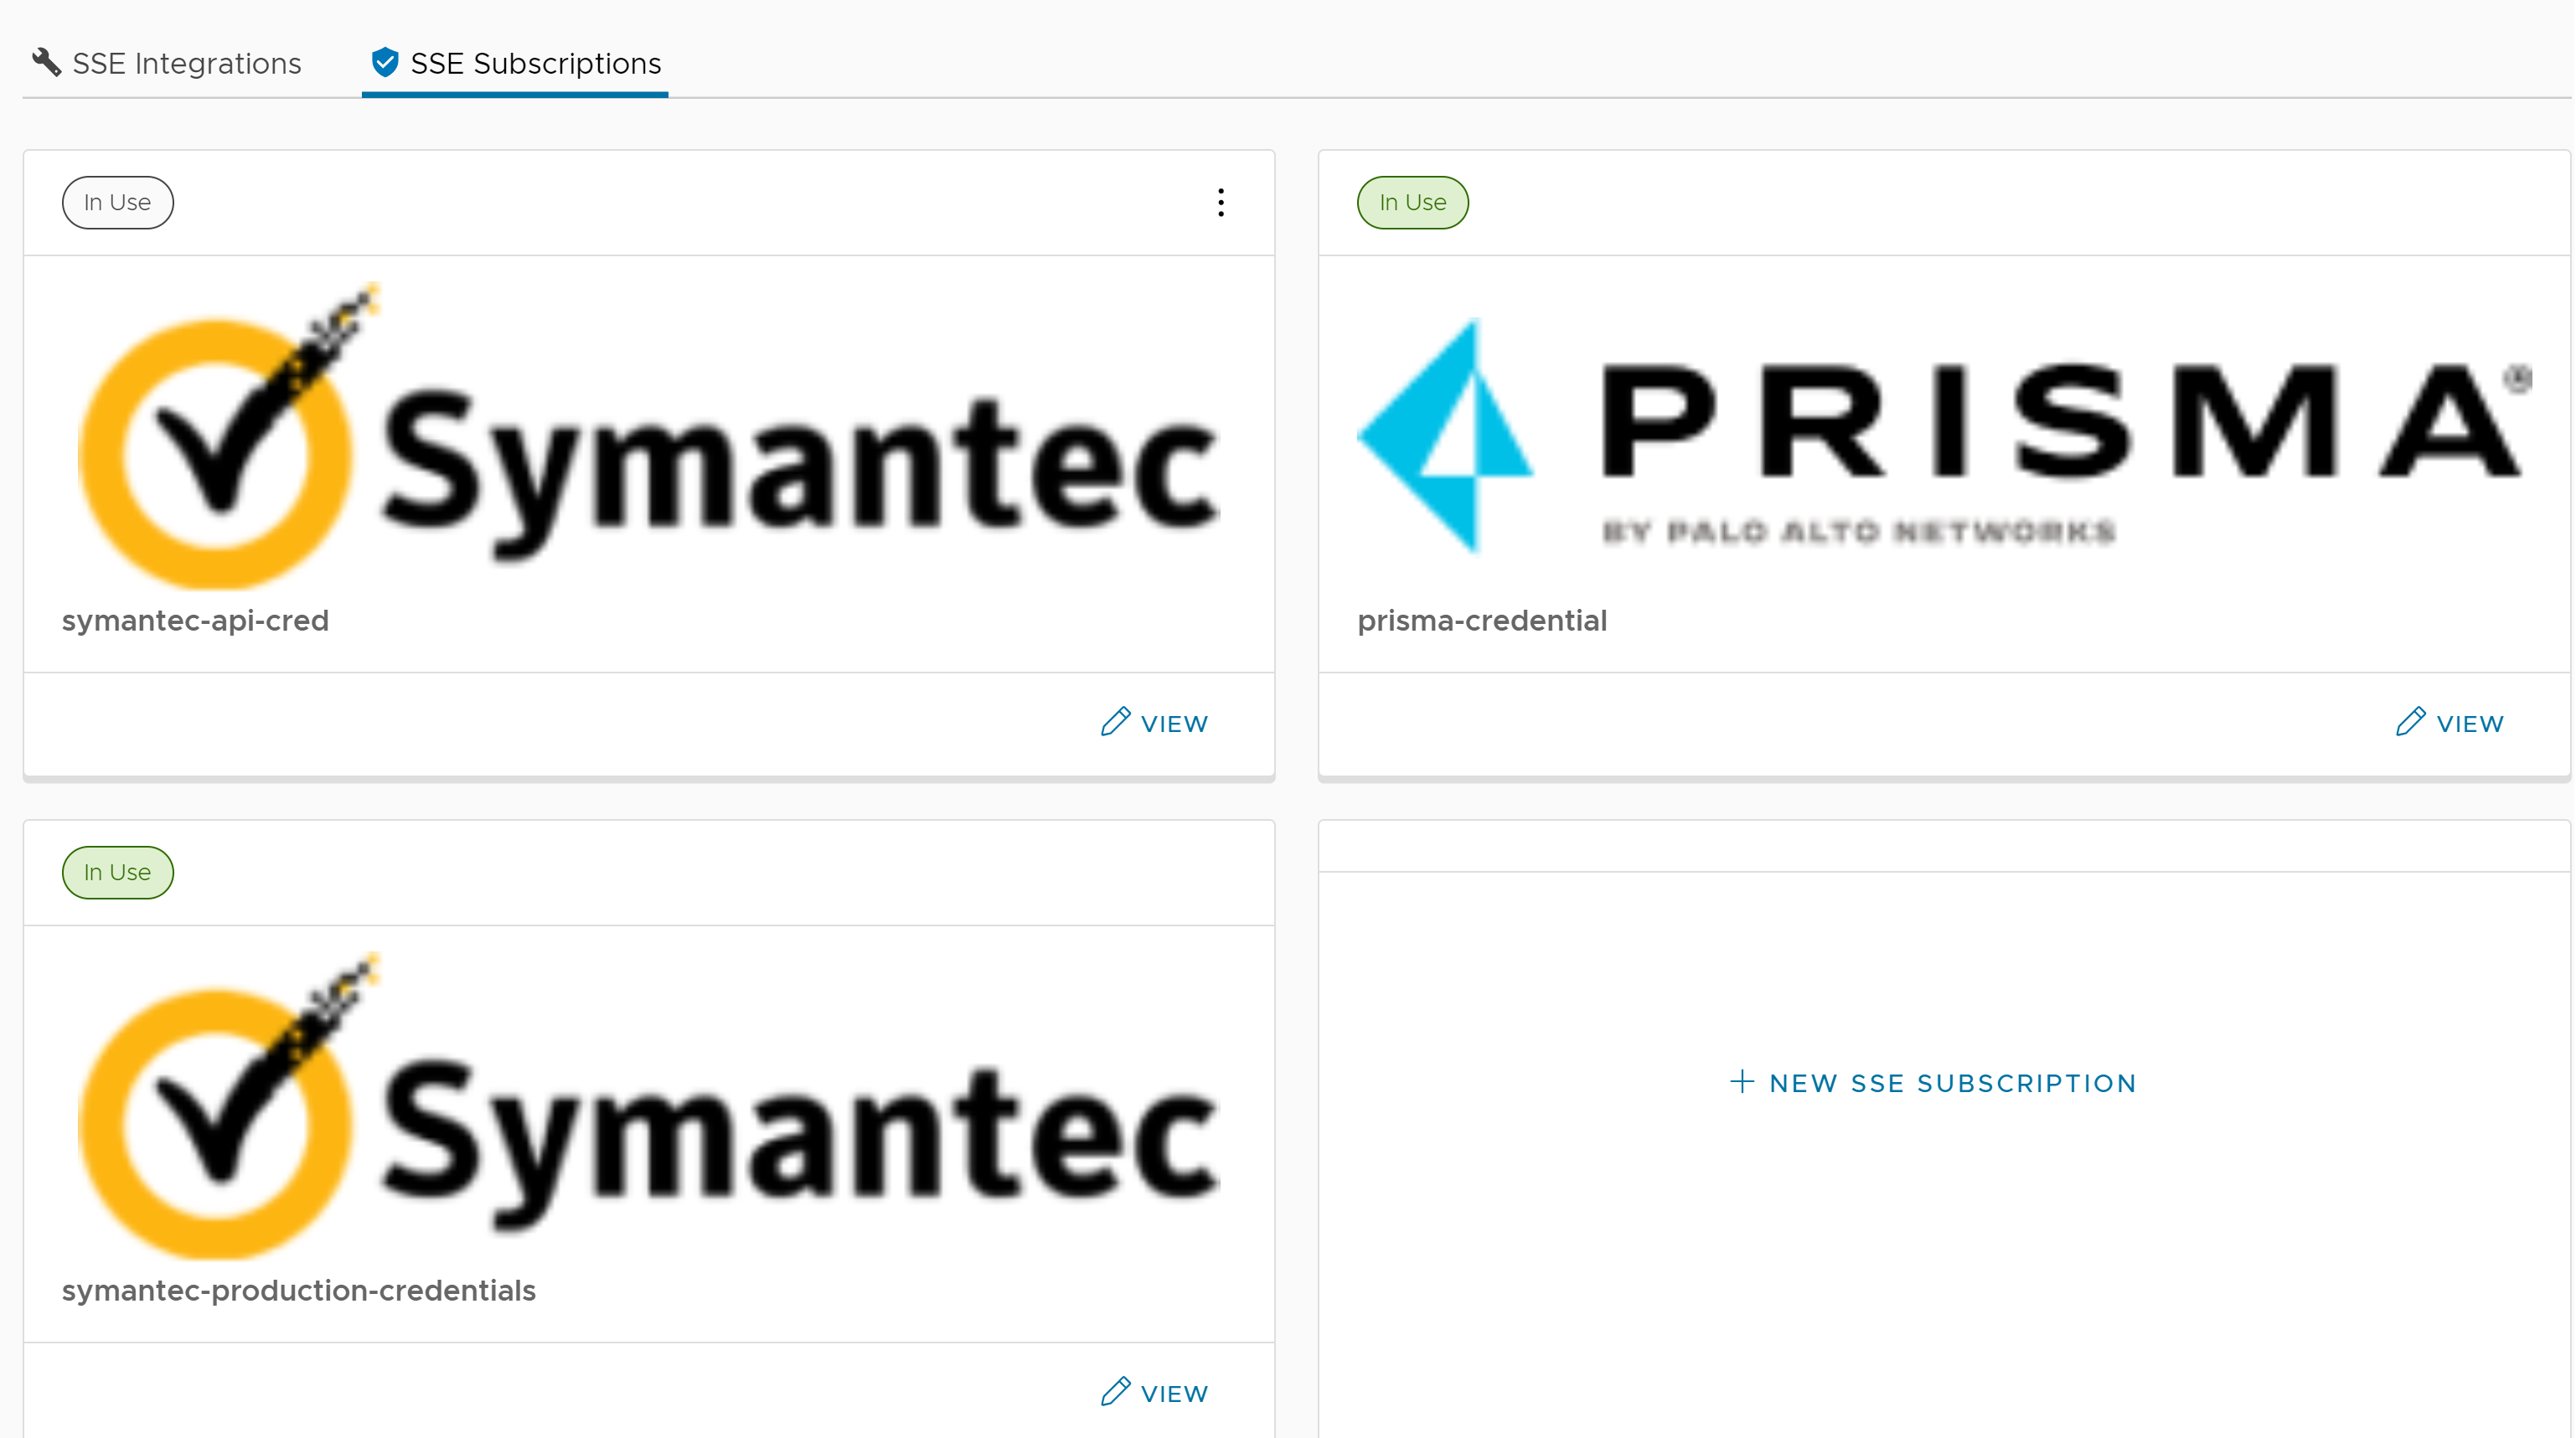
- In each tile, click View to view the existing subscription details. Click the vertical ellipsis, and then click Delete to delete a subscription.
- To create a new subscription, click + New SSE Subscription.
- The Configure SSE Subscription window appears. You must enter a Name for the subscription and select a Subscription Type from the drop-down menu. The fields displayed on the screen vary depending on the selected Subscription Type.
The below image and table are for the Prisma Access subscription type.
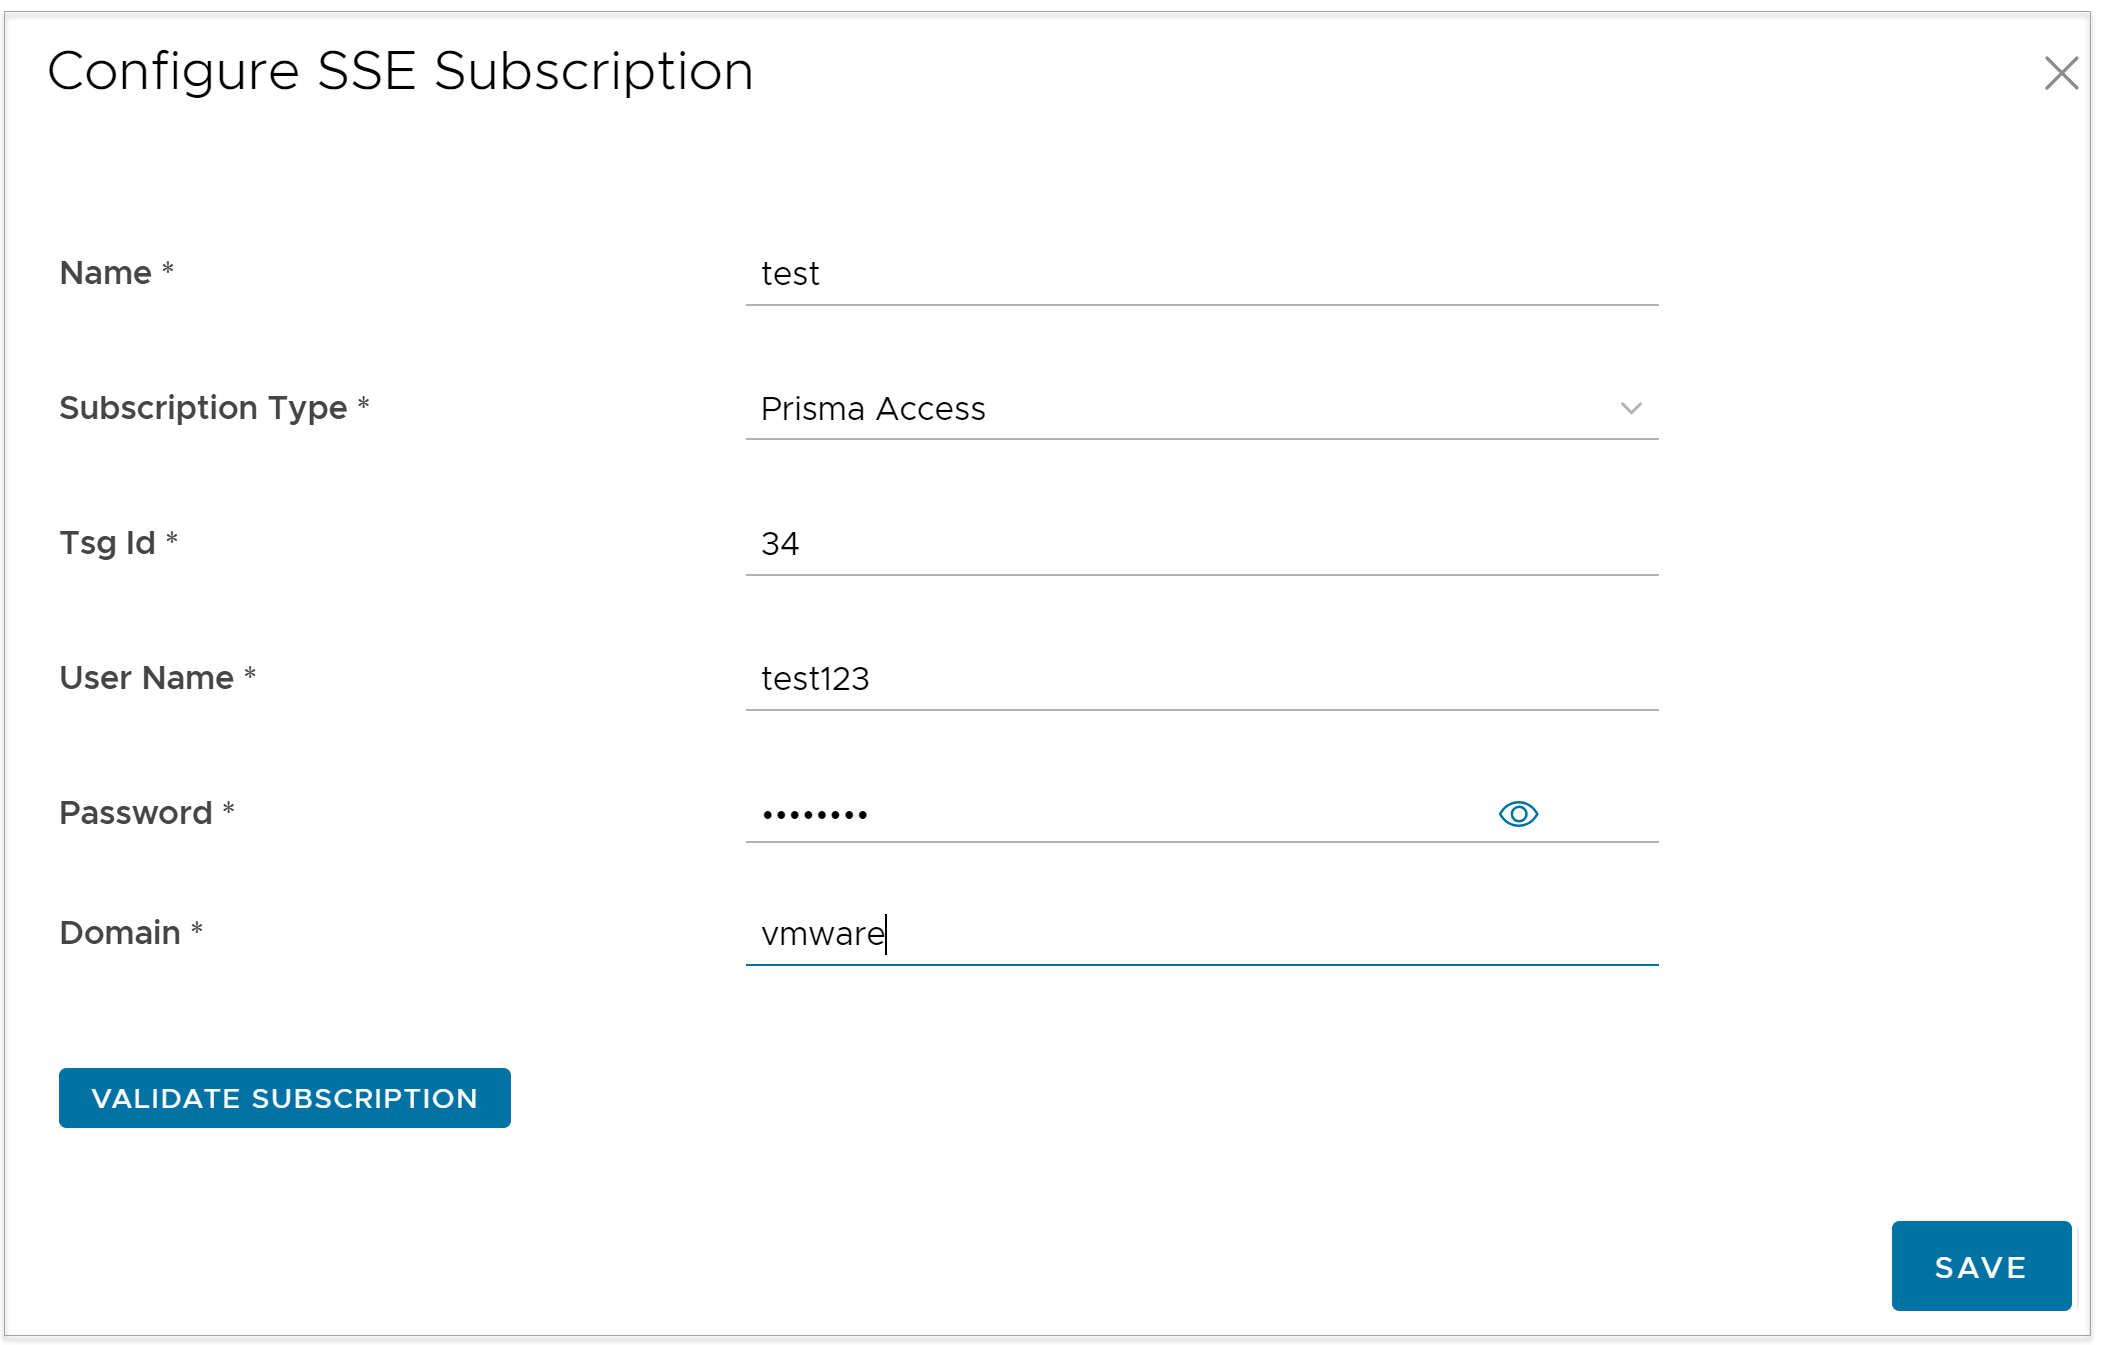
Option Description Tsg Id Enter the ID. This value must be a positive integer. User Name Enter the service account username. Password Enter the service account password. Note: Starting from the 4.5 release, the use of the special character "<" in the password is no longer supported. In cases where users have already used "<" in their passwords in previous releases, they must remove it to save any changes on the page.Domain Enter your company domain. Example: vmware.com Note: This field is required for IPSec FQDN creation.Note: The fields Tsg Id, User Name, and Password must match the values configured in the Palo Alto Networks Strata Cloud Manager portal.The below image and table are for the Symantec subscription type.
Option Description User Name Enter a username. Password Enter a password. Note: Starting from the 4.5 release, the use of the special character "<" in the password is no longer supported. In cases where users have already used "<" in their passwords in previous releases, they must remove it to save any changes on the page.Cloud Type Select either Prod or Dev from the drop-down menu. Tenant ID Enter the Tenant ID associated with the Enterprise. Expiry To set an expiry for the credentials, click the toggle button. The Expiry Date field appears. Click the calendar to set the expiry date and time. Note: The fields User Name, Password, Tenant ID, Expiry must match the values configured in the Symantec Cloud portal. - Click Validate Subscription to make sure that the entered credentials are correct, and then click Save to save the configured subscription.
SSE Integration
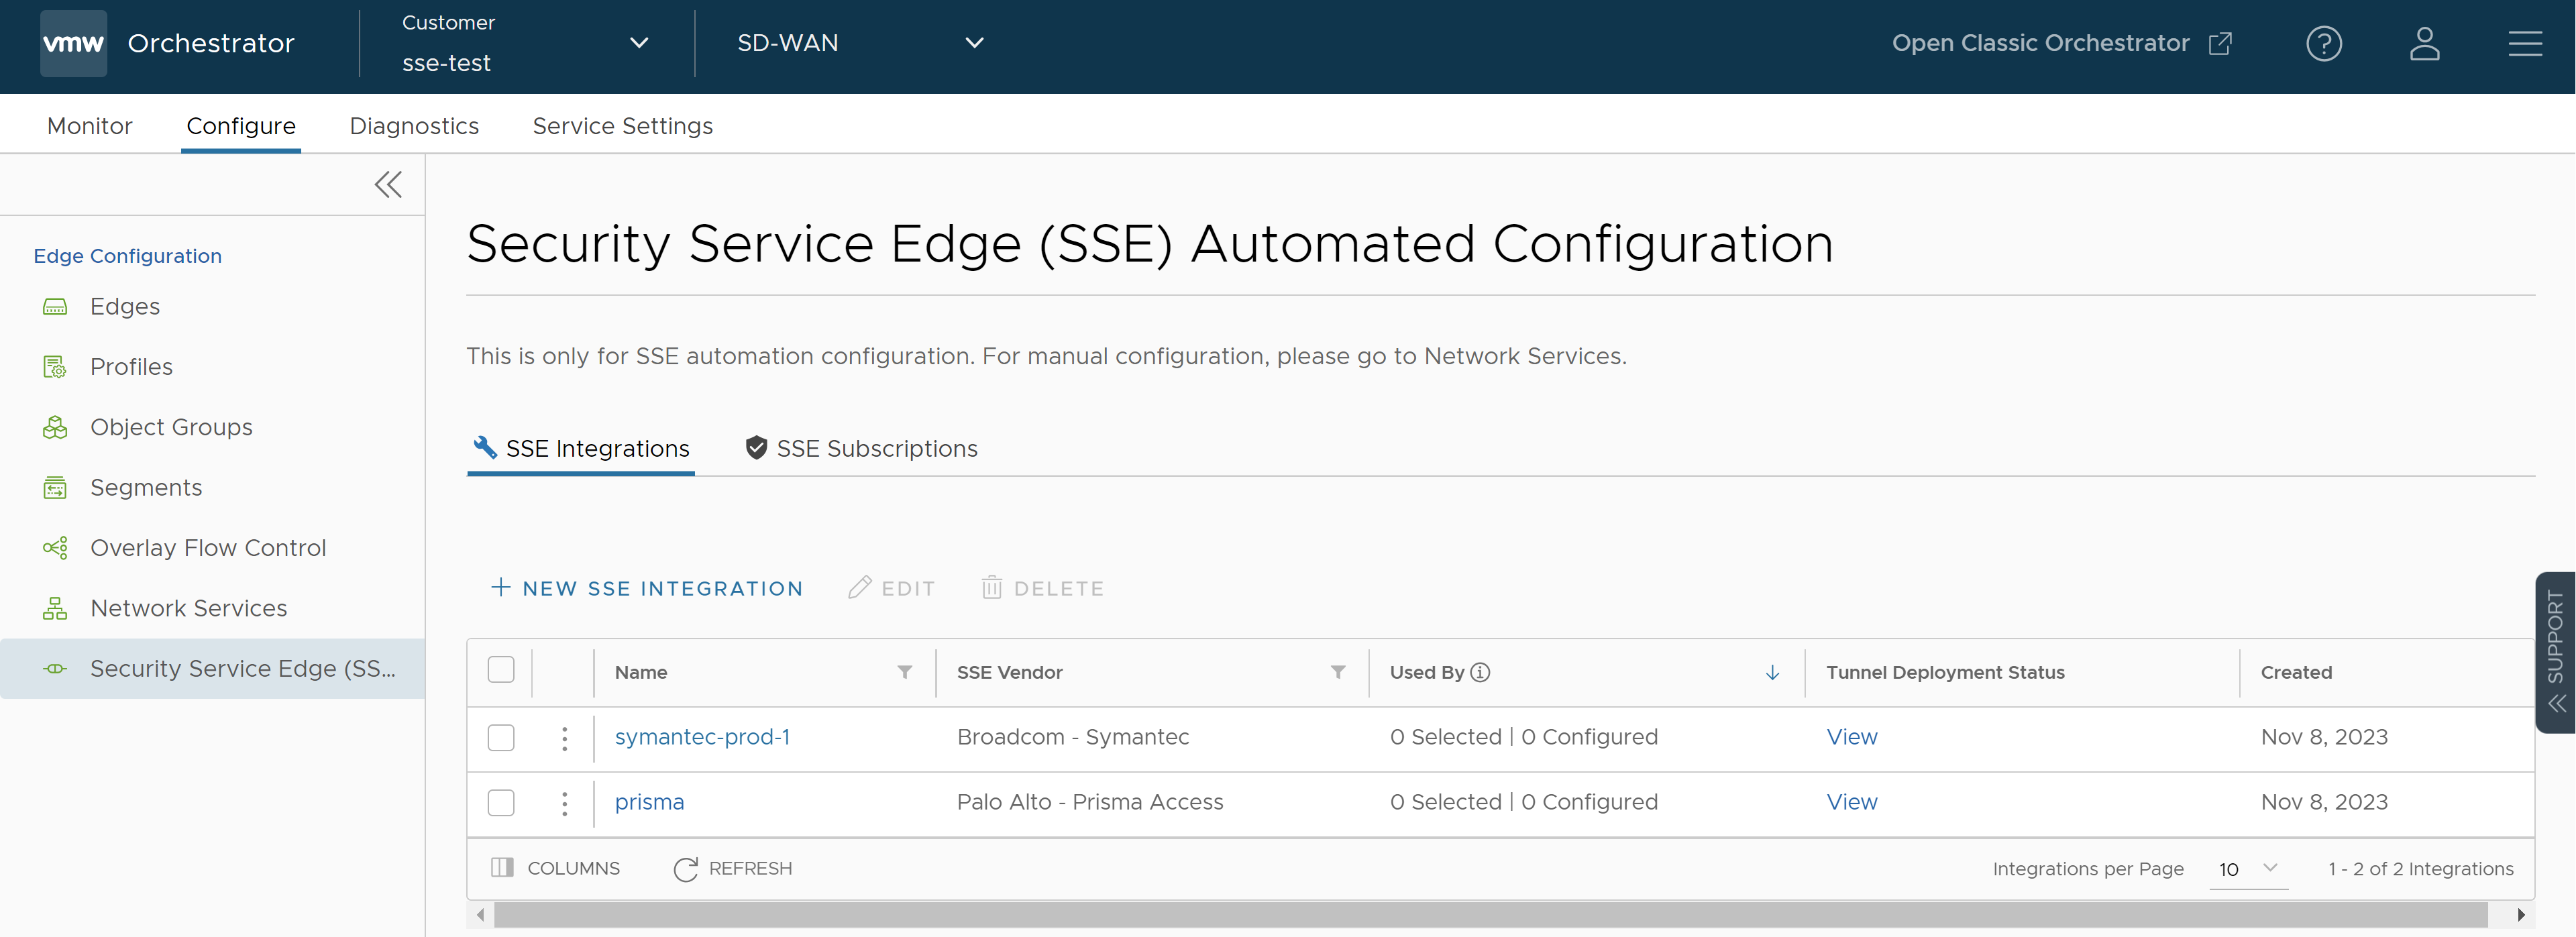
- In the SD-WAN service of the Enterprise portal, click . By default, the SSE Integrations tab is displayed.
- To create a new SSE integration, click + New SSE Integration. The following screen is displayed:
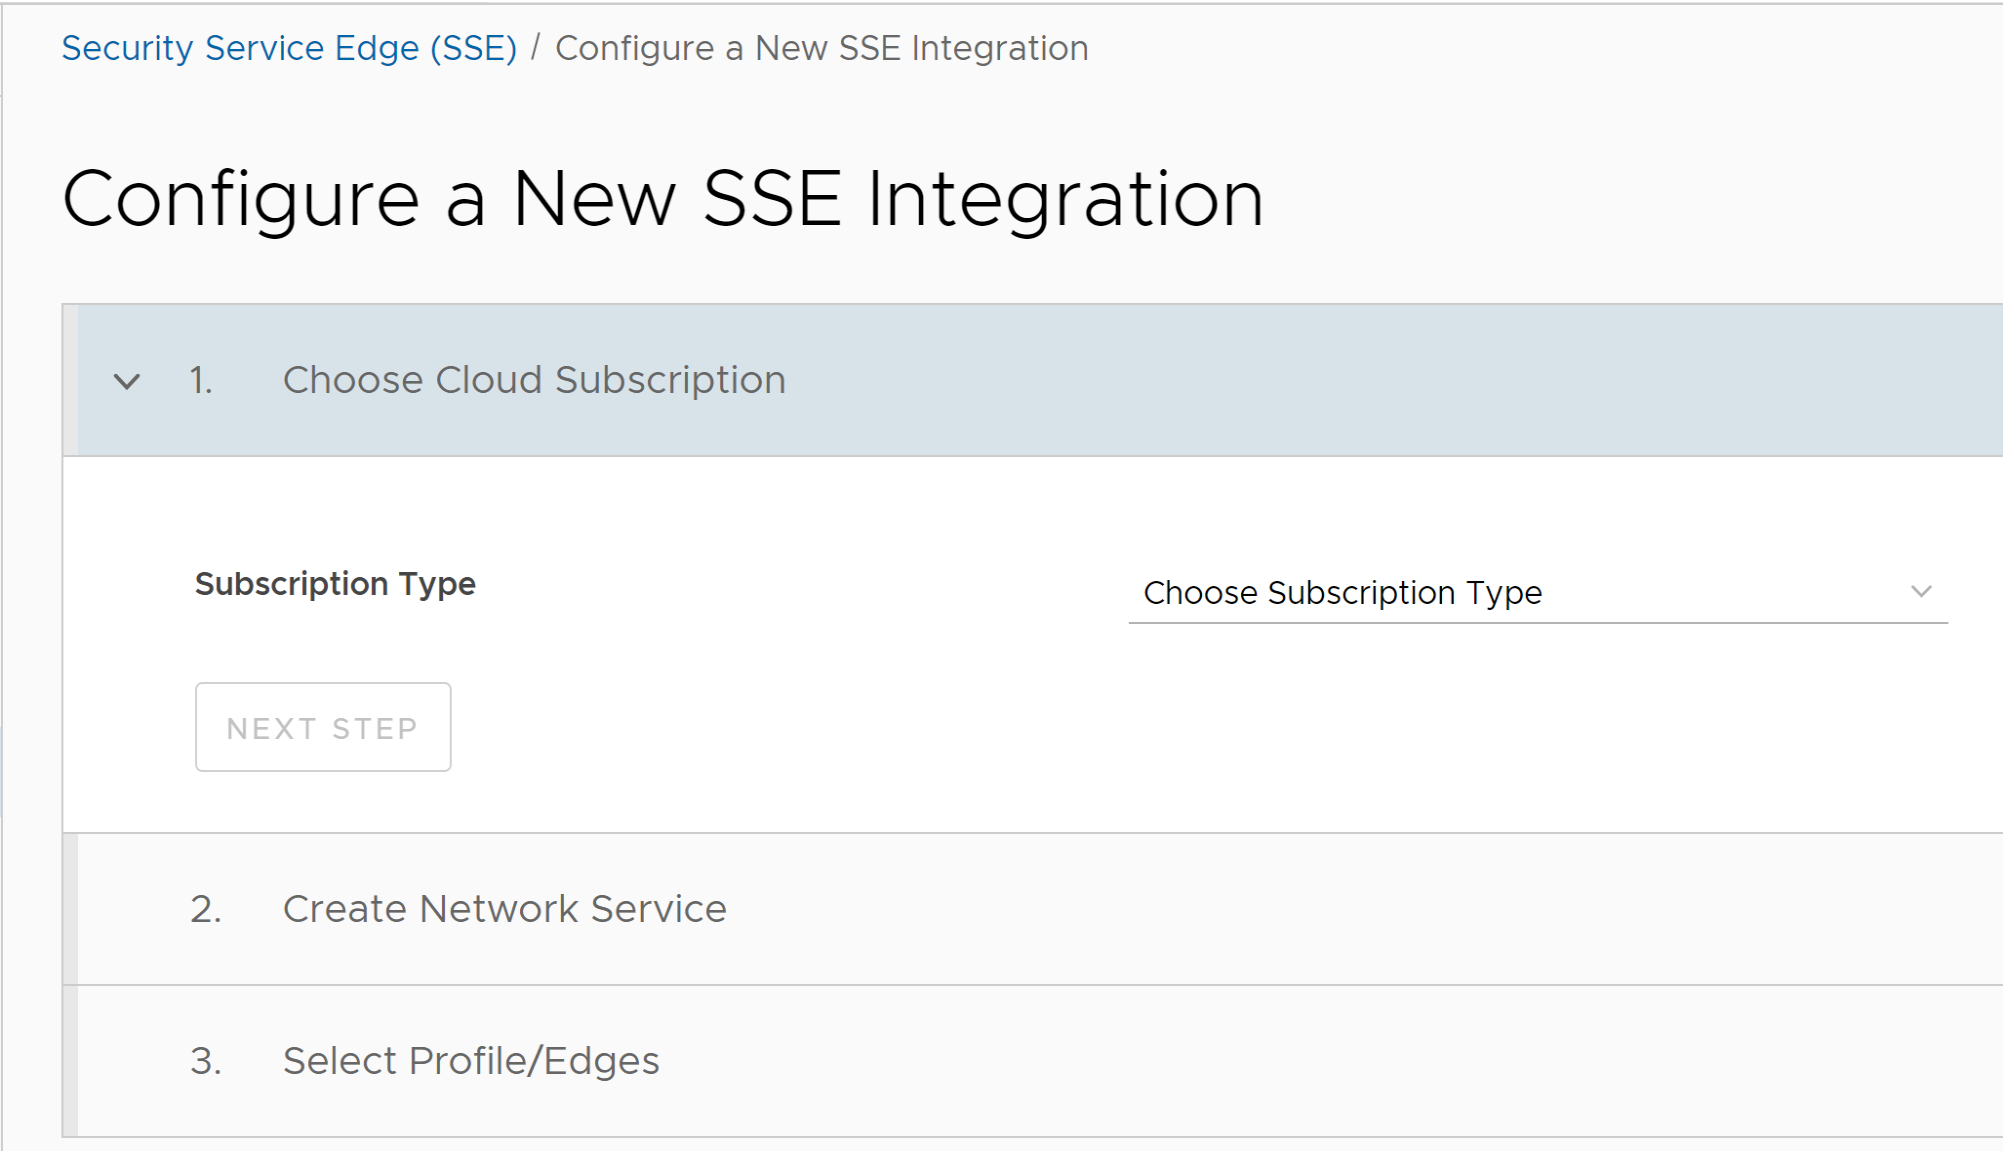
- Under Choose Cloud Subscription section, configure the following options:
Option Description Subscription Type Select a subscription type for which you want to set up an SSE integration. The available options are: - Prisma Access
- Symantec (Tech Preview)
Cloud Subscription Select a cloud subscription from the drop-down menu. Only those cloud subscriptions that are configured under the SSE vendor selected in Subscription Type, appear in the drop-down menu.
These cloud subscriptions are populated based on the configurations under .
- Click Next Step to activate the next section.
- The fields displayed under Create Network Service section vary depending on the selected Subscription Type.
The below image and table are for the Prisma Access subscription type:
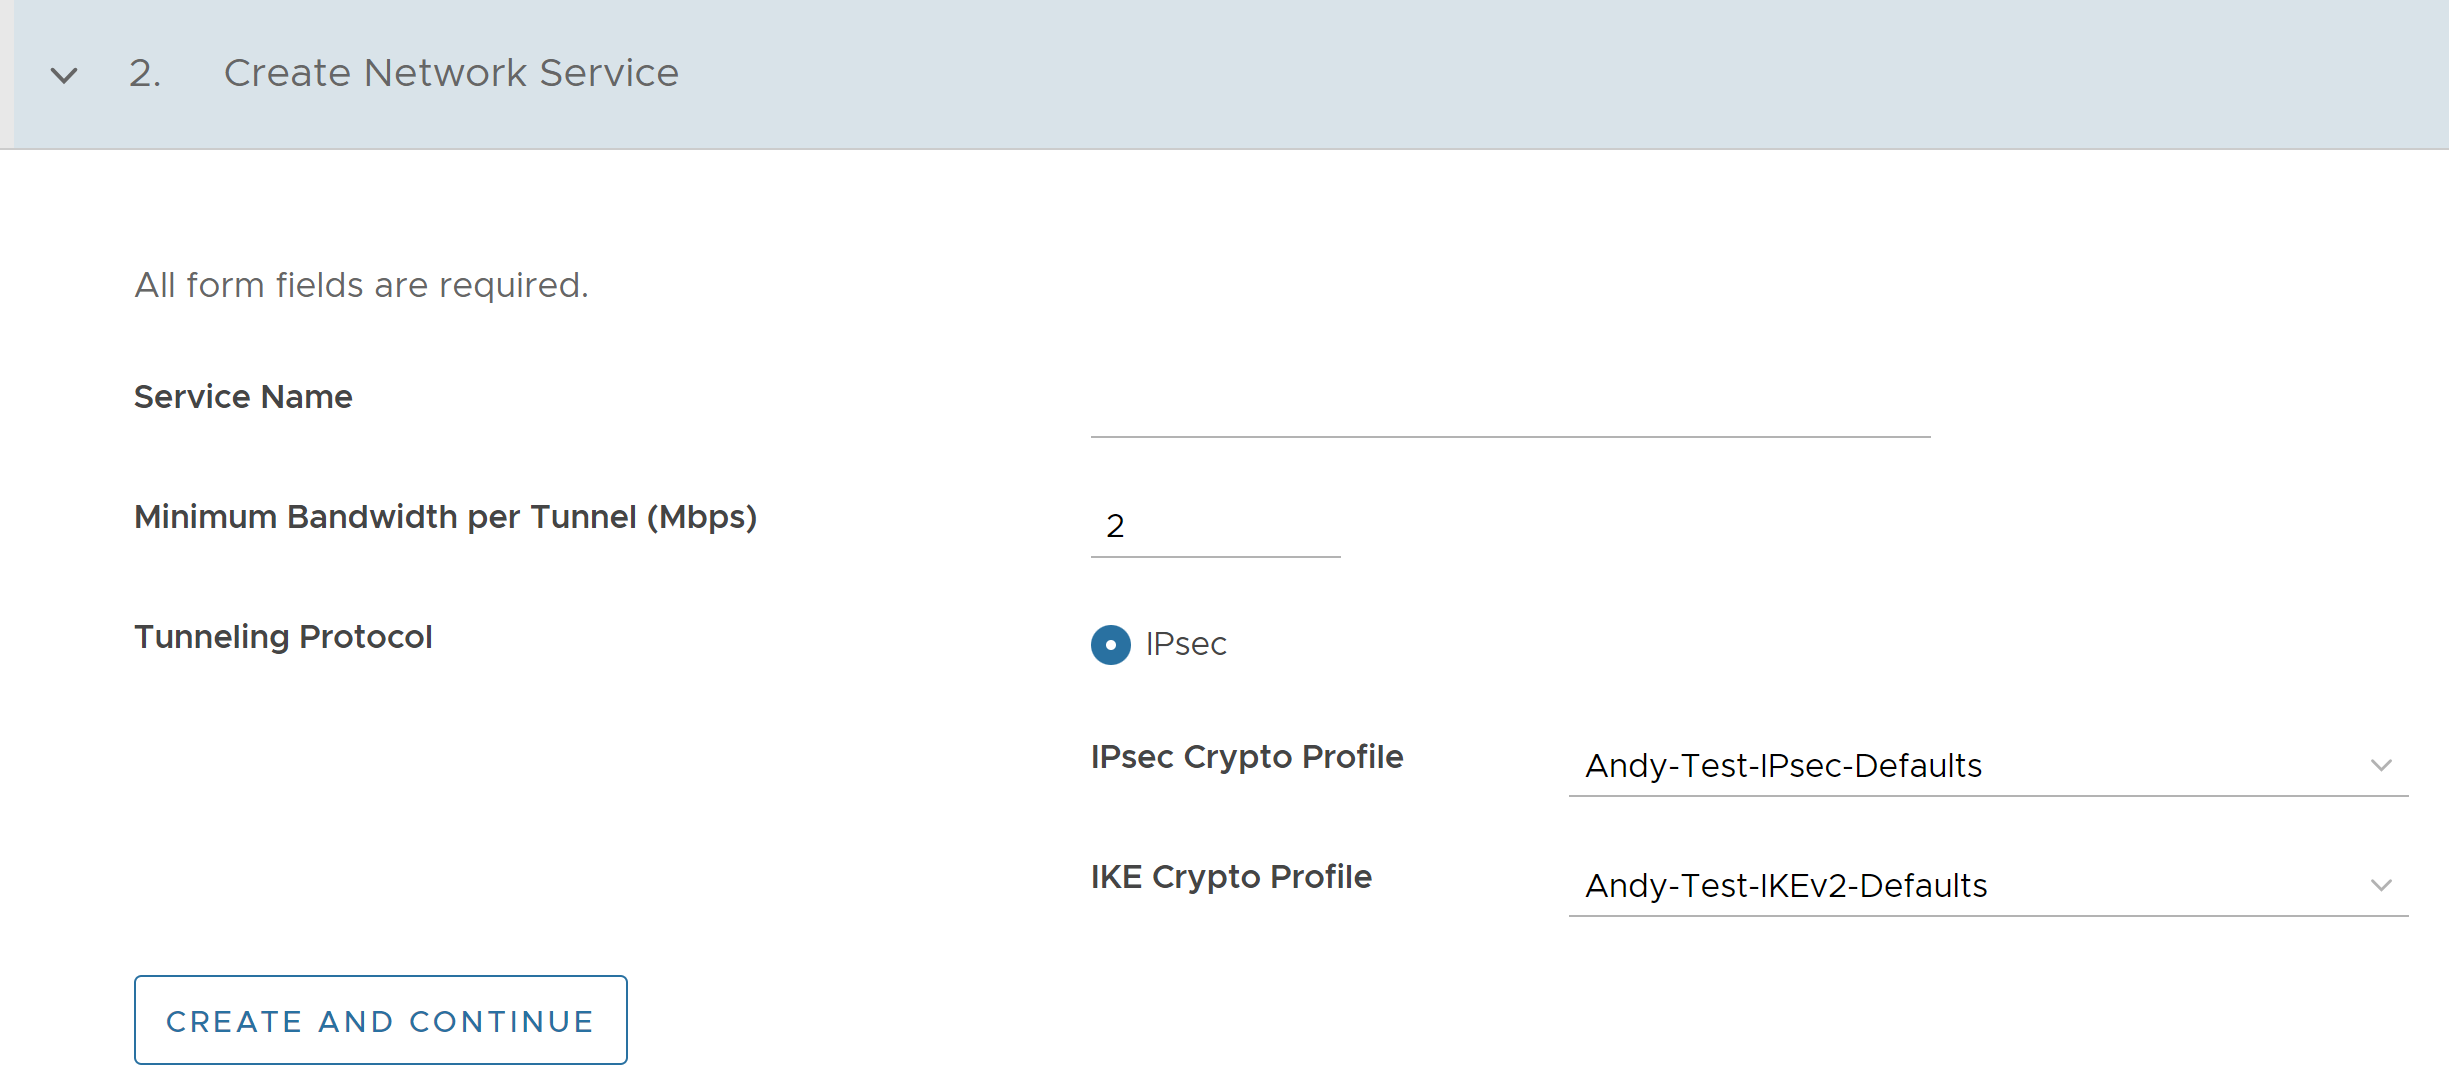
Option Description Service Name Enter a unique service name. Minimum Bandwidth per Tunnel (Mbps) Enter the required bandwidth. The default value is 2. Tunneling Protocol By default, IPsec tunneling protocol is selected. You must select the IPsec Crypto Profile and IKE Crypto Profile from the respective drop-down menus. These drop-down menus are populated based on the Profiles created in the Palo Alto Networks Strata Cloud Manager portal. The below image and table are for the Symantec subscription type: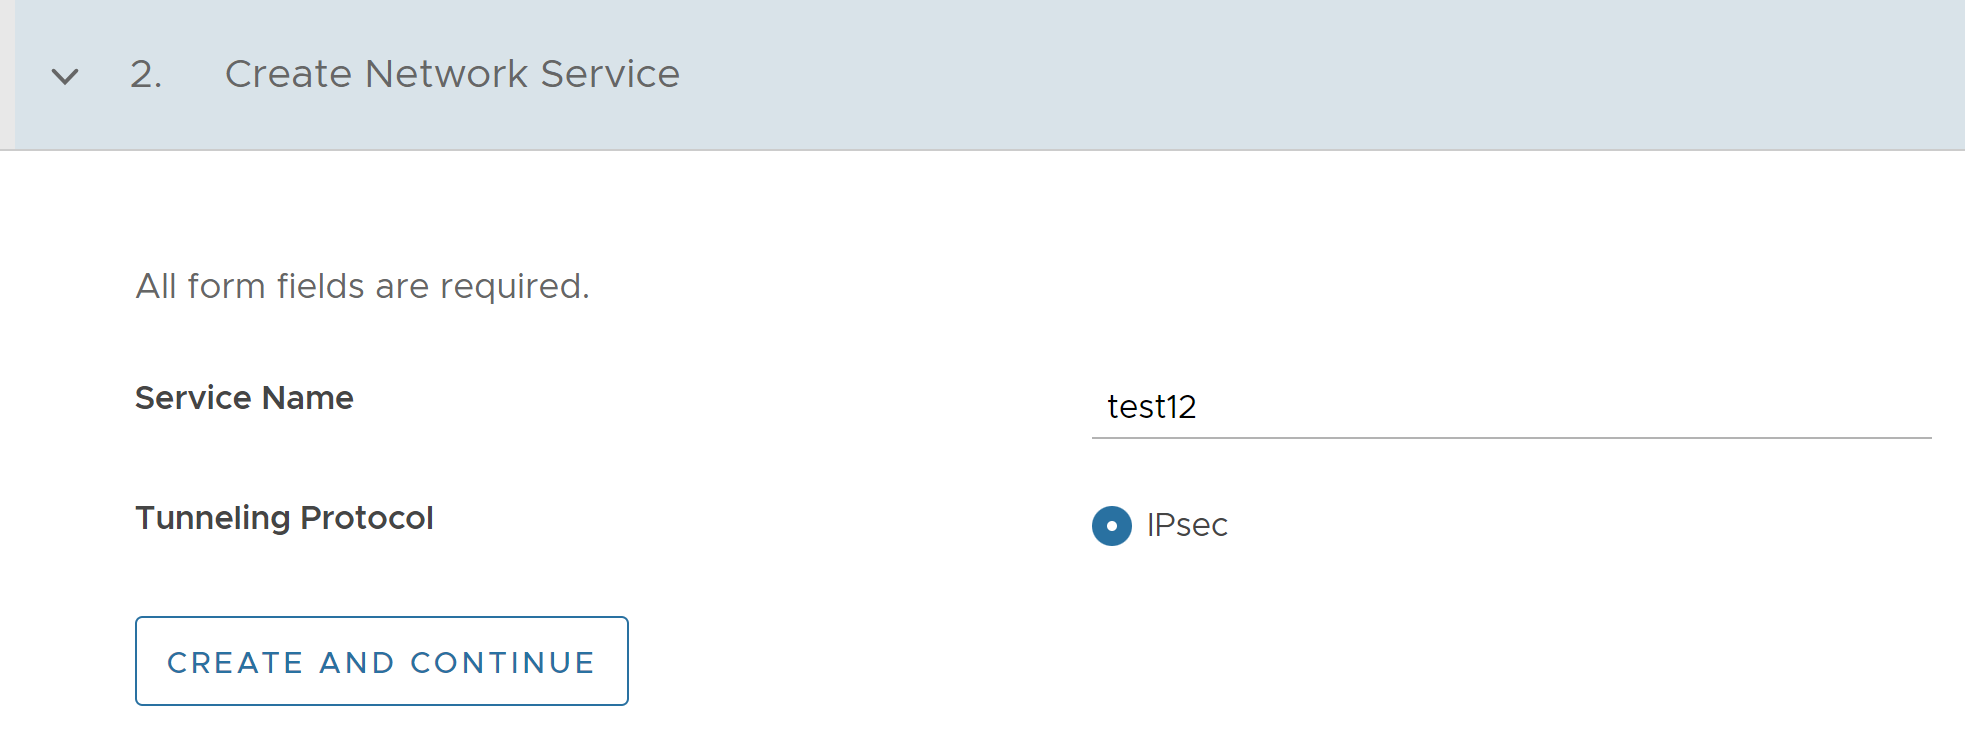
Option Description Service Name Enter a unique service name. Tunneling Protocol This field is set to IPsec, which is the only supported protocol. - Click Create and Continue to activate the next section.
- Under Select Profile/Edges section, configure the following options:

Option Description Select Profile Select an SD-WAN Edge Profile from the drop-down menu. Select Segment Select a Segment from the drop-down menu. By default, Global Segment is selected. Note: You can select only one Segment for Prisma subscription, whereas multiple Segments can be selected for Symantec subscription. - Once you select Profile and Segment, a list of Edges associated with the selected Profile gets auto-populated. Select one or more Edges for which you wish to apply the SSE integration.
- If an Edge has more than two WAN links, the first two WAN links are auto-populated in the table. You can select the WAN links that you wish to use for the automation.
- Click Validate Tunnel Configuration. A warning is displayed if any of the datacenters is over subscribed.
Note: The Validate Tunnel Configuration button is available only for the Prisma Access subscription type. In Prisma deployment, you must buy a license to add bandwidth capacity at a datacenter. This license restricts the maximum throughput, thus displaying a warning.
- Once the tunnel configuration is validated, click Save and Finish. The newly created SSE integration appears on the list on the Security Service Edge (SSE) landing page.
- If you wish to edit the existing SSE integration, select the SSE integration from the list and click Edit. You can also click the SSE integration name link to edit it.
- To delete the SSE integration, select the SSE integration from the list and click Delete.
Note: You cannot delete SSE integrations that are currently used by Edges.
- To monitor the automation status, click the View link in the Tunnel Deployment Status column. The following screen appears:
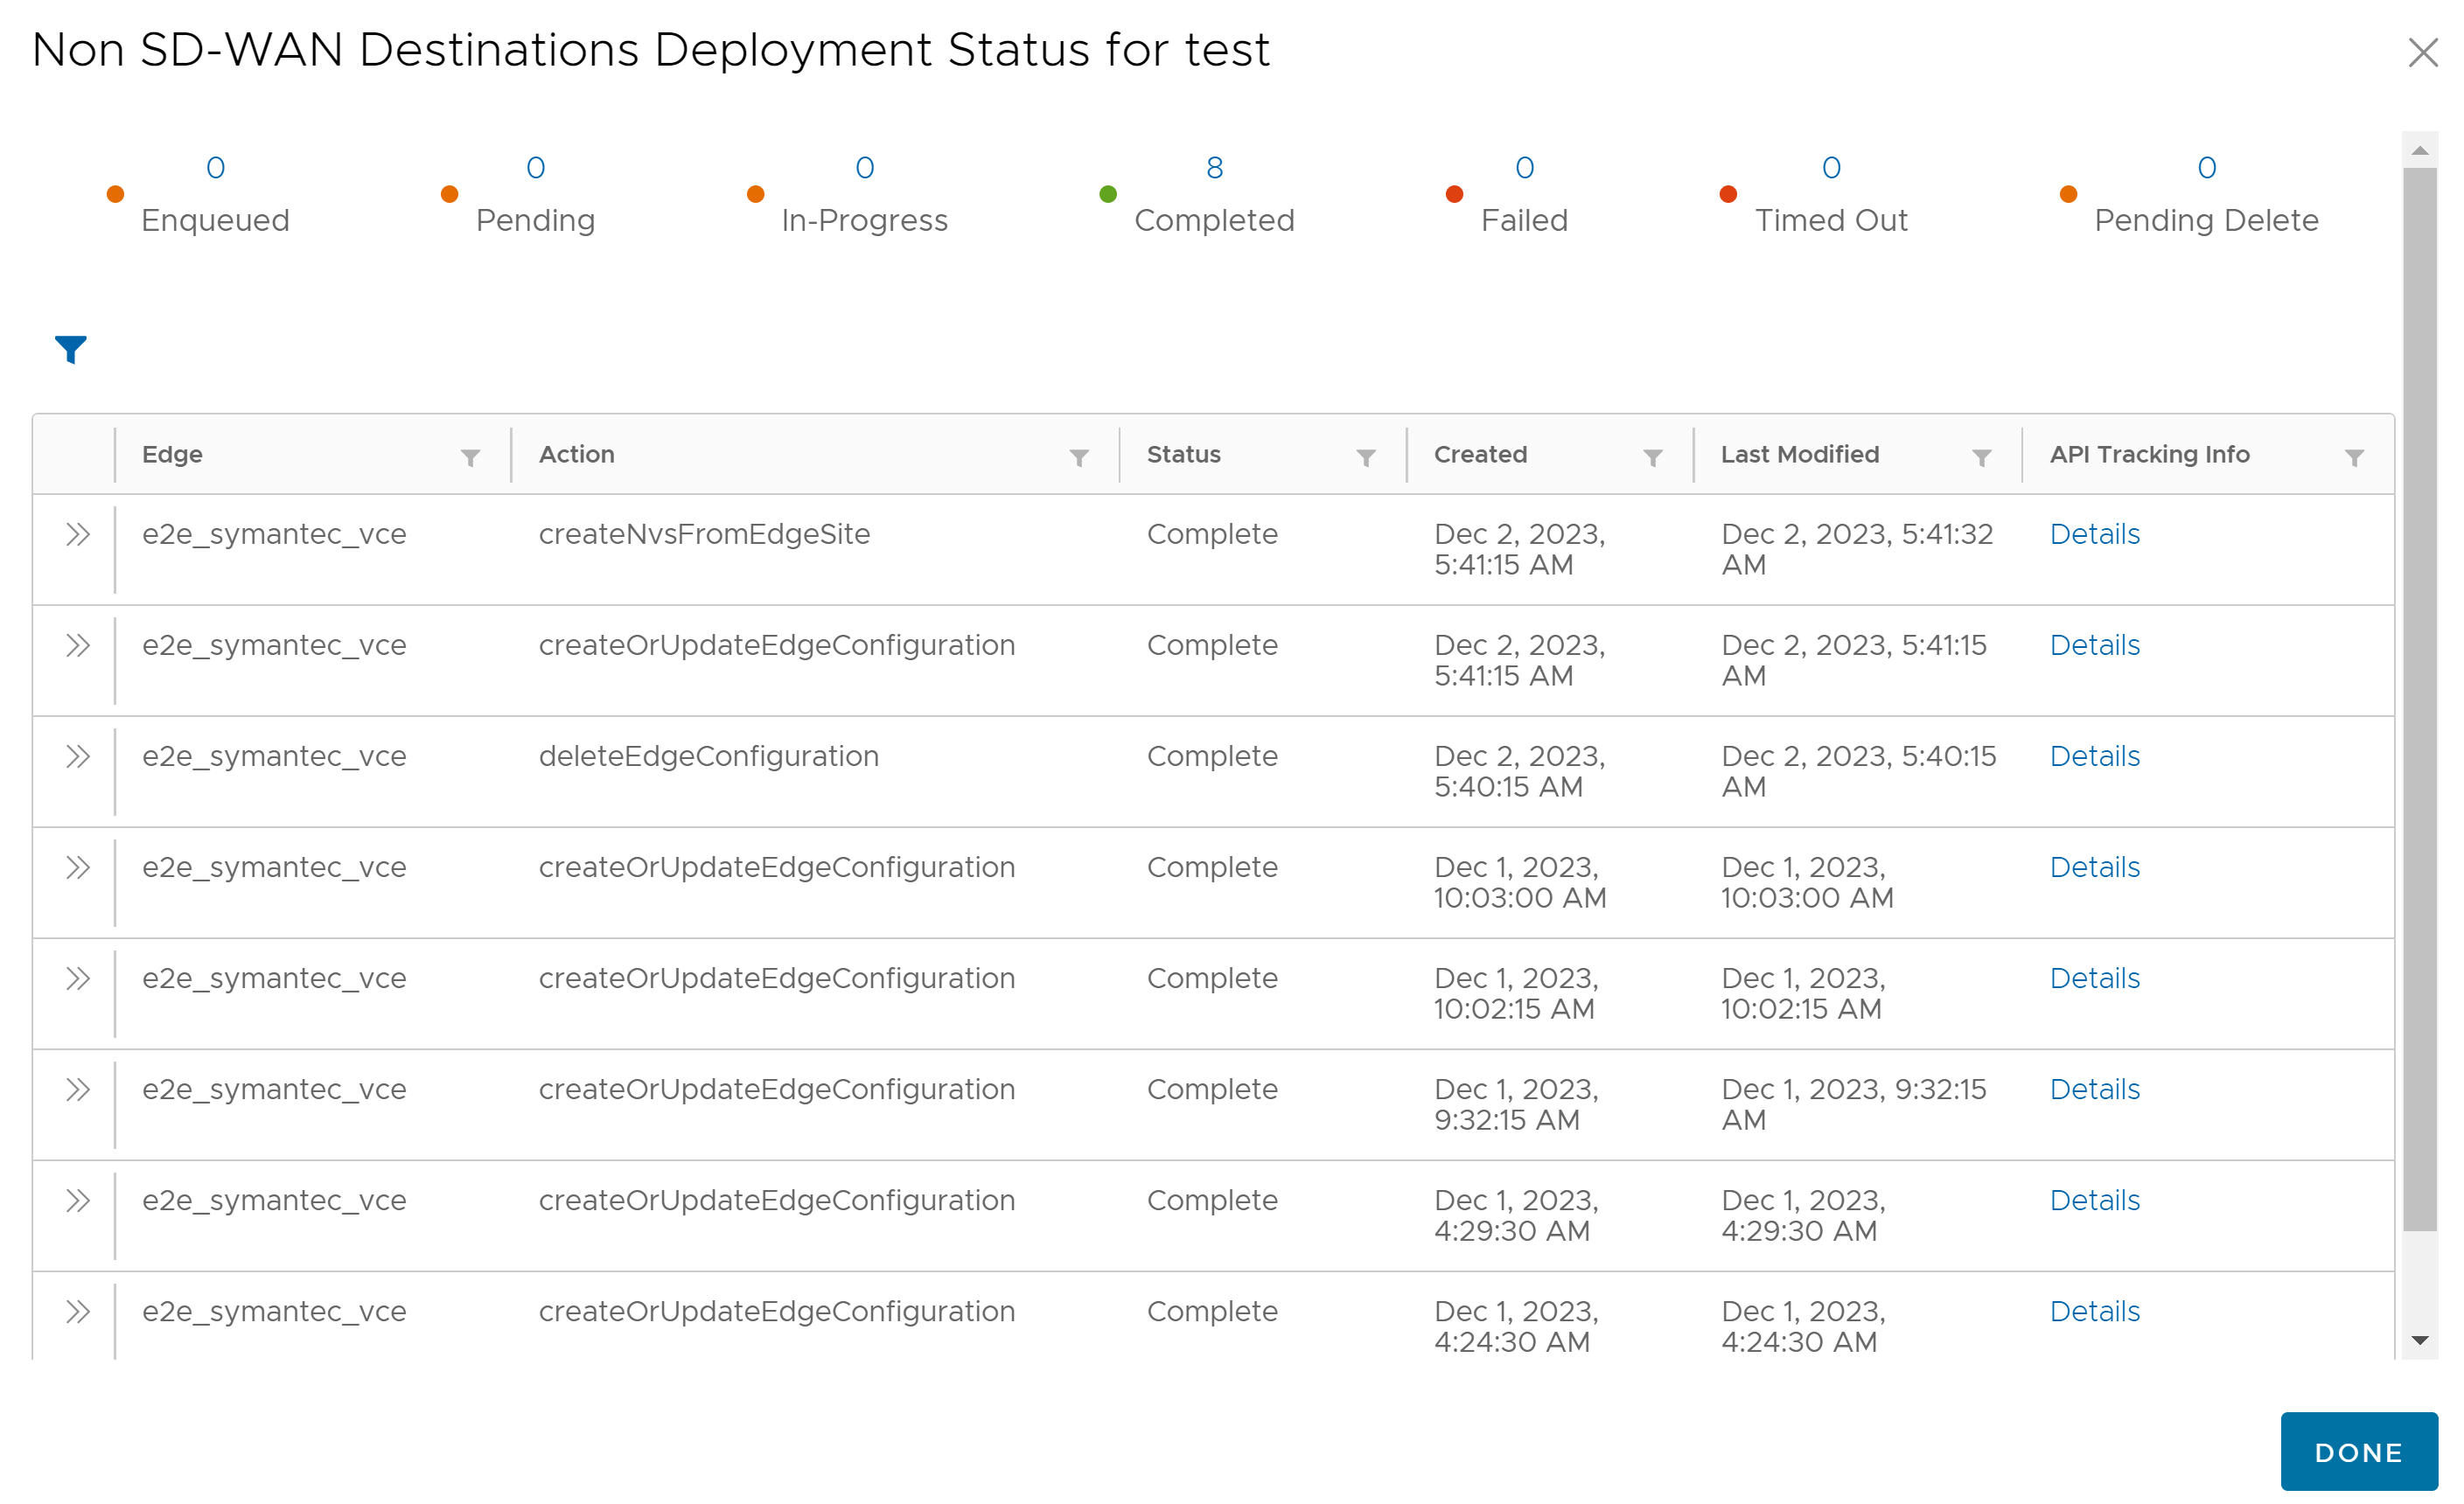
The actions
createOrUpdateEdgeConfigurationanddeleteEdgeConfigurationindicate the SSE automation to update the Orchestrator Edge Device Settings. The other actions are for third party automations.Note: You can also monitor the SSE deployment status on and screens. For more information, see Monitor Events and Monitor Network Services. - To verify whether the tunnels are up, go to , and hover the mouse under the Edge Tunnels column. You can view the details as shown below:

What to do next:
Associate the Security Service Edge Subscription to an Edge. For more information, see Configure Cloud VPN and Tunnel Parameters for Edges.
To direct the network traffic to a specific Enterprise Cloud, navigate to . Click + Add to add a new rule. For more information, see Create Business Policy Rule.
