


A route table is a list of route entries in a VPC. The network traffic is routed based on the configurations of the route entries in the route table. After a VPC is created, the system automatically creates a default route table and adds system routes to the route table for traffic management.
You cannot create or delete the default route table. However, you can create a custom route table and associate it with a VSwitch to control the routes of the corresponding subnet. To create a custom route table and associate it with a VSwitch, perform the following steps:
Prerequisites
Ensure that a VPC and VSwitches have been created. For steps, see Create a Virtual Private Cloud and Create a VSwitch.
Procedure
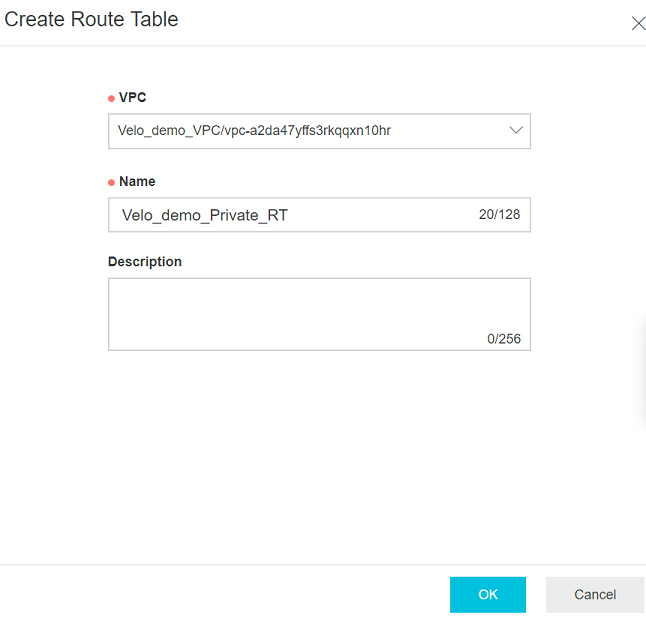
- On the Route Tables page, click Create Route Table.
The Create Route Table page appears.
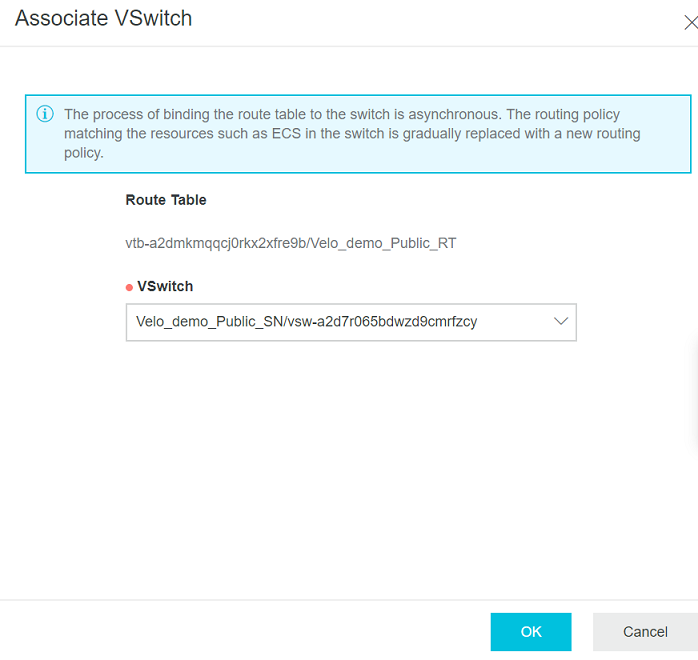
- Click Associate VSwitch.
The Associate VSwitch page appears.
Results
Click Refresh to confirm that the VSwitch is associated with the Routing Table.
