


Use the columns tab, illustrated in Columns tab, to specify which columns should appear in your Result View. To do this, move columns or projections from the left box to the right box by highlighting selections, and then them and clicking “Add” or “Add All”.
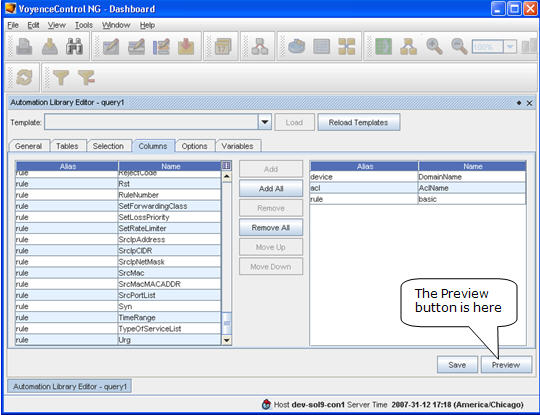
This selects the device’s DeviceName, the acl’s AclName, and a “basic” projection of the rule (displayed in that order left to right).
Recall from the Meta Data details that a projection is just a pre-defined list of columns and the order in which they are to be displayed. By convention, projections start with a lower-case letter, whereas attributes start with an upper case letter. Every table has a “basic” projection defined for it; this displays basic information from the table (often with lots of hidden or conditionally hidden columns.)
Select the “Preview” button to look at the results of the query, which will be displayed as a new Result View, as illustrated in New Result View.
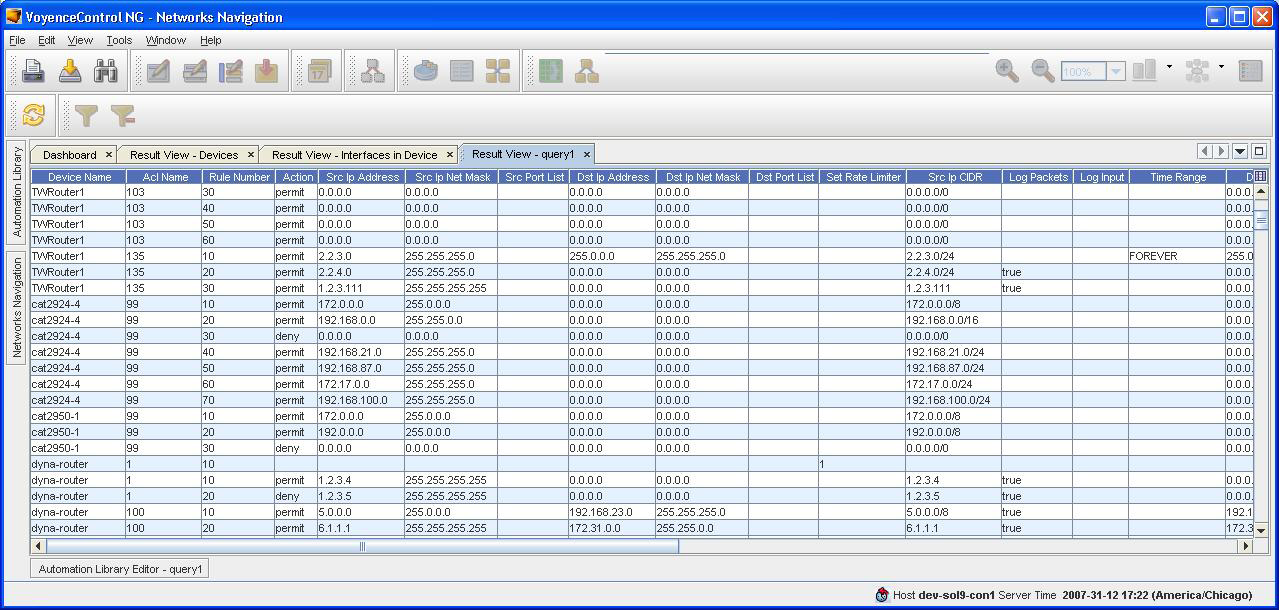
The left most column is the DeviceName, the next column is the AclName (the access list’s name or identifying number); and the next column is the rule’s RuleNumber, the next column is the rule’s Action field, and so on. For example, in the highlighted portion of the screen above, the cat2950-1 device has an AccessList named “99” that has rules “10”, “20”, and “30”.
Helpful strategies for selecting columns:
-
Add identifying columns (like names) or no columns at all for the tables you’re not so interested in and the “basic” projection for the one or two tables you are primarily interested in. Then preview the result and adjust until you’re satisfied with the outcome.
-
Include the Long Id key field (XXXId) for any objects that you would like to be able to navigate from by right-clicking in the result set. The presence of these keys determines the navigations that are available when right-clicking a row in the result set. The key value in the row is used as a selection filter in the Query that is constructed for the navigation.
Not all the columns that you selected may be initially visible in the Query’s View Result. This is because some columns are returned as initially “hidden”. The Meta Data can indicate that columns should be always initially hidden, conditionally initially hidden (if there is no data in that column in any row that is returned), or initially shown. You can determine what columns are hidden in the result view by right-clicking in the column heading row of the Result View. You will get a menu that allows you to make columns visible or hidden, as illustrated in Select Display Columns dialog box.
Figure 3. Select Display Columns dialog box 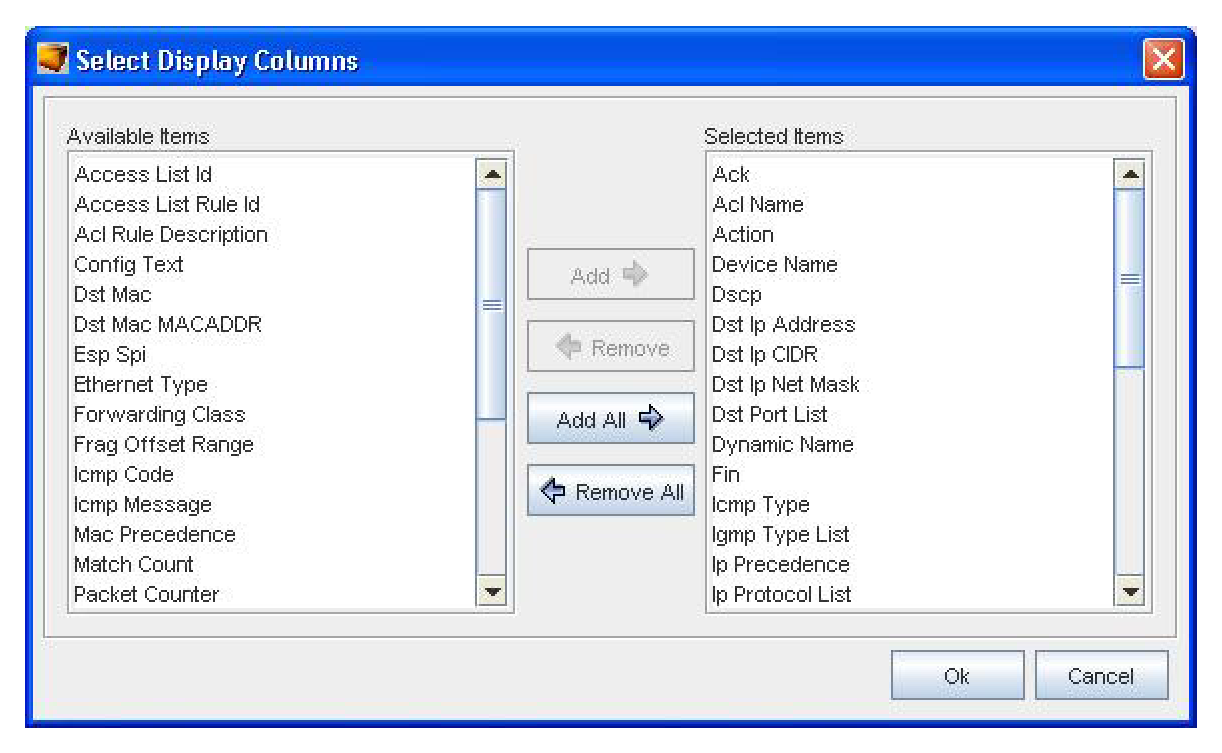
Changing the columns that are displayed does not rerun the query; both the hidden and visible columns are returned from the server in the Result View. Changing the Display Columns selection only changes what is visible on the screen. Do not confuse this with the Column selection tab in the Query’s form editor, which does set what columns are returned by the server.
