Backup and Restore VMware Tanzu Application Catalog Helm Chart Deployments with Velero
Introduction
VMware Tanzu Application Catalog (Tanzu Application Catalog) offers Helm charts for popular applications and infrastructure components like WordPress, MySQL, Elasticsearch and many others. These charts let you deploy your applications and infrastructure on Kubernetes in a secure and reliable manner without worrying about packaging, dependencies or Kubernetes YAML file configurations.
Once you have your applications and your infrastructure running on Kubernetes, you need to start thinking about how to backup the data flowing in and out of your cluster, so that you can protect yourself from a failure or service outage. That’s where Velero comes in.
Velero is an open source tool that makes it easy to backup and restore Kubernetes resources. It can be used to back up an entire cluster, or it can be fine-tuned to only backup specific deployments and/or namespaces. This guide gets you started with Velero by showing you how to use it to backup and restore deployments created with Tanzu Application Catalog’s Helm charts.
Assumptions and prerequisites
This guide makes the following assumptions:
- You have two separate multi-node Kubernetes cluster - a source cluster and a destination cluster - running on the same cloud provider. This guide uses the Google Kubernetes Engine (GKE) service from Google Cloud Platform but you can use any cloud provider supported by Velero. Learn about the providers supported by Velero.
- You have configured Helm to use the Tanzu Application Catalog chart repository following the instructions for Tanzu Application Catalog.
- You have the
kubectlCLI and the Helm v3.x package manager installed and configured to work with your Kubernetes clusters. Learn how to installkubectland Helm v3.x.
This guide uses the Tanzu Application Catalog WordPress Helm chart as an example and describes how to backup and restore all the components of a Tanzu Application Catalog WordPress deployment created with this chart from one cluster to another. The steps are similar for other Tanzu Application Catalog Helm charts.
Step 1: Deploy and customize WordPress on the source cluster
NOTEThis step creates a fresh WordPress deployment using Tanzu Application Catalog’s Helm chart and then customizes it to simulate a real-world backup/restore scenario. If you already have a customized Tanzu Application Catalog WordPress deployment, you can go straight to Step 2.
Follow the steps below:
-
Modify your context to reflect the source cluster. Deploy WordPress on the source cluster and make it available at a public load balancer IP address. Replace the PASSWORD placeholder with a password for your WordPress dashboard and the REPOSITORY placeholder with a reference to your Tanzu Application Catalog chart repository.
helm install wordpress REPOSITORY/wordpress --set service.type=LoadBalancer --set wordpressPassword=PASSWORD -
Wait for the deployment to complete and then use the command below to obtain the load balancer IP address:
kubectl get svc --namespace default wordpress --template "{{ range (index .status.loadBalancer.ingress 0) }}{{.}}{{ end }}" -
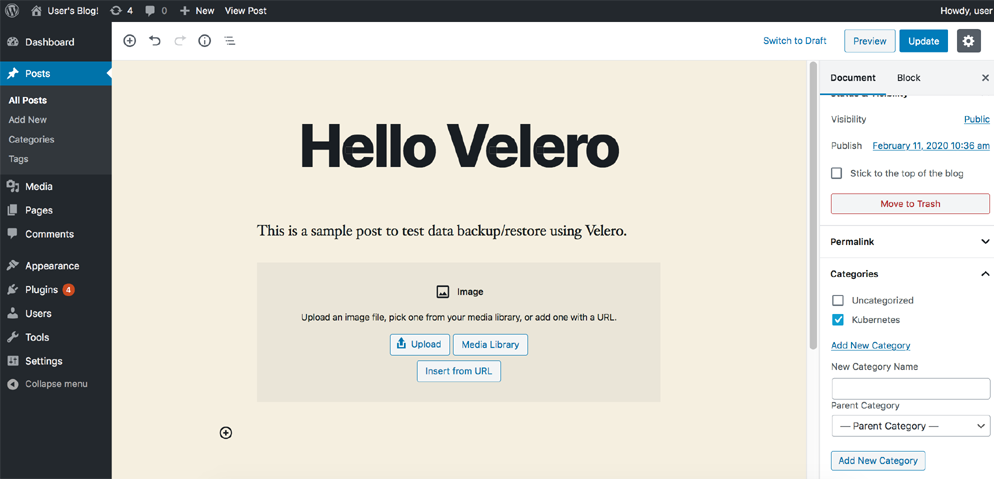
Browse to the IP address and log in to the WordPress dashboard using the password specified at deployment-time. Create and publish a sample post with a title, body, category and image.

-
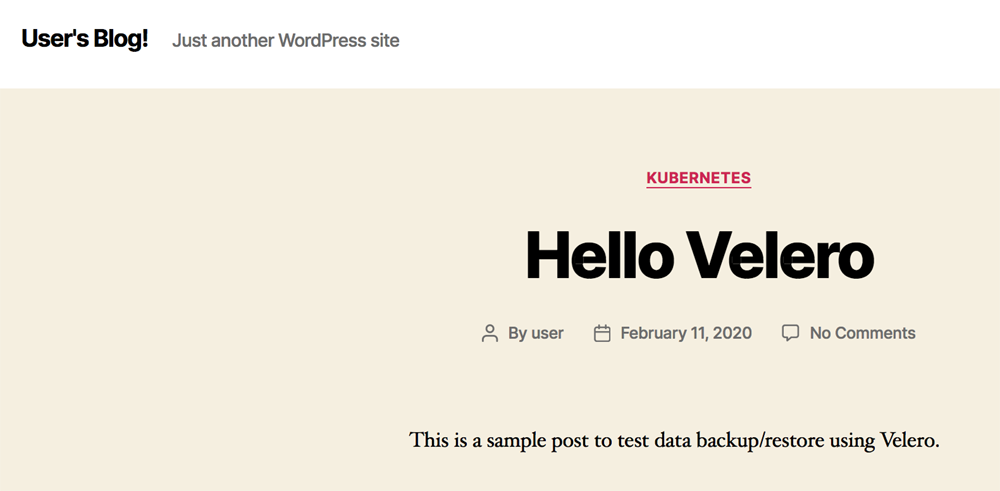
Confirm that you see the new post in the WordPress blog, as shown below:

Step 2: Install Velero on the source cluster
The next step is to install Velero on the source cluster using the appropriate plugin for your cloud provider. To do this, follow the steps below:
- Modify your context to reflect the source cluster (if not already done).
- Follow the plugin setup instructions for your cloud provider. For example, if you are using Google Cloud Platform (as this guide does), follow the GCP plugin setup instructions to create a service account and storage bucket and obtain a credentials file.
-
Then, install Velero by executing the command below, remembering to replace the BUCKET-NAME placeholder with the name of your storage bucket and the SECRET-FILENAME placeholder with the path to your credentials file:
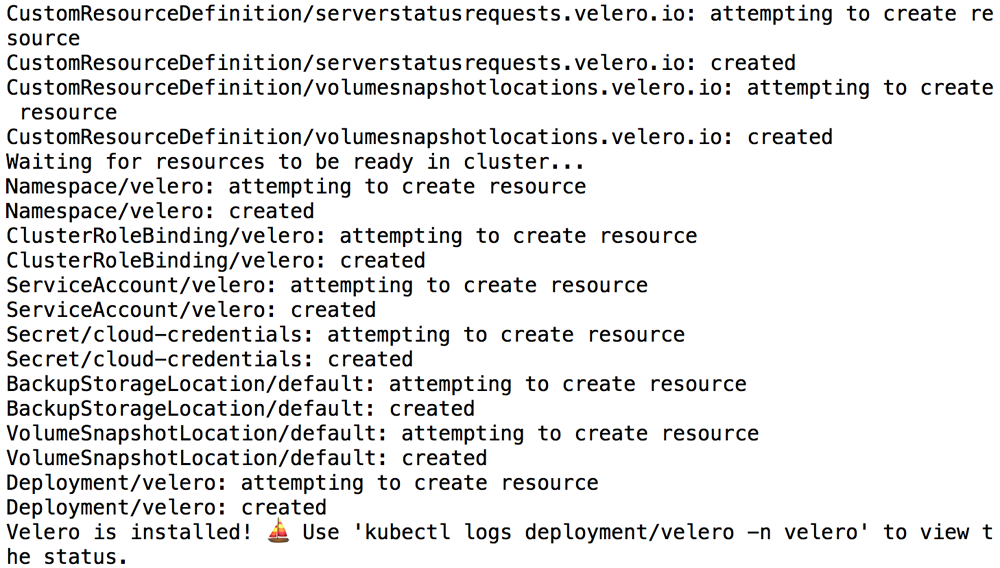
velero install --provider gcp --plugins velero/velero-plugin-for-gcp:v1.0.0 --bucket BUCKET-NAME --secret-file SECRET-FILENAMEYou should see output similar to the screenshot below as Velero is installed:

-
Confirm that the Velero deployment is successful by checking for a running pod using the command below:
kubectl get pods -n velero
Step 3: Backup the WordPress deployment on the source cluster
Once Velero is running, create a backup of the WordPress deployment:
velero backup create wpb --selector release=wordpress
TIP: The previous command uses a label to select and backup only the resources related to the WordPress deployment. Optionally, you can backup all deployments in a specific namespace with the --include-namespaces parameter, or backup the entire cluster by omitting all selectors.
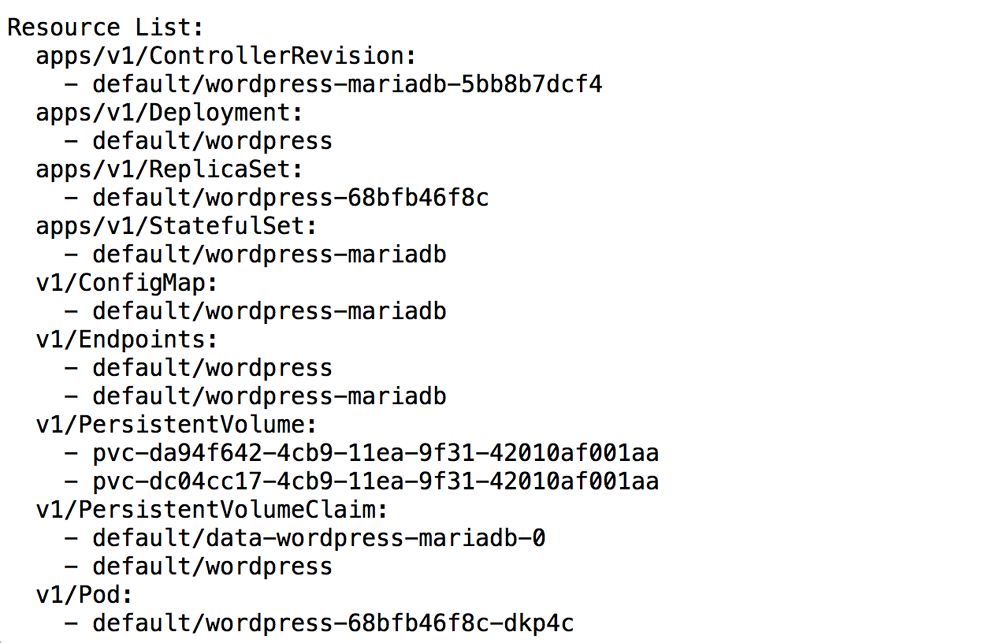
Execute the command below to view the contents of the backup and confirm that it contains all the required resources:
velero backup describe wpb --details

At this point, your backup is ready. You can repeat this step every time you wish to have a manual backup, or you can configure a schedule for automatic backups.
Step 4: Restore the WordPress deployment on the destination cluster
Once your backup is complete and confirmed, you can now turn your attention to restoring it. For illustrative purposes, this guide will assume that you wish to restore your WordPress backup to the second (destination) cluster.
- Modify your context to reflect the destination cluster.
-
Install Velero on the destination cluster as described in Step 2. Remember to use the same values for the BUCKET-NAME and SECRET-FILENAME placeholders as you did originally, so that Velero is able to access the previously-saved backups.
velero install --provider gcp --plugins velero/velero-plugin-for-gcp:v1.0.0 --bucket BUCKET-NAME --secret-file SECRET-FILENAME -
Confirm that the Velero deployment is successful by checking for a running pod using the command below:
kubectl get pods -n velero -
To avoid the backup data being overwritten, switch the bucket to read-only access:
kubectl patch backupstoragelocation default -n velero --type merge --patch '{"spec":{"accessMode":"ReadOnly"}}' -
Confirm that Velero is able to access the original backup:
velero backup describe wpb --details -
Restore the backup. Note that this may take a few minutes to complete.
velero restore create --from-backup wpb
Wait until the backed-up resources are fully deployed and active. Use the kubectl get pods and kubectl get svc commands to track the status of the pods and service endpoint. Once the deployment has been restored, browse to the load balancer IP address and confirm that you see the same post content as that on the source cluster.
At this point, you have successfully restored the Tanzu Application Catalog Helm deployment chart using Velero.
TIP: A new public IP address will be associated with the load balancer service after the deployment is restored. If you configured a domain to point to the original public IP address, remember to reconfigure your DNS settings to use the new public IP address after restoring the deployment.
Useful links
To learn more about the topics discussed in this guide, use the links below: