Apply User-Defined Customizations to Tanzu Application Catalog Containers
This tutorial provides step-by-step instructions on how to apply customizations to VMware Tanzu Application Catalog (Tanzu Application Catalog) containers. It also provides instructions for creating a compatible script to get successful customizations to your containers. By applying user-defined customizations, Tanzu Application Catalog users will receive containers in a finished, production-ready state with no modification needed as well as still get valid signatures, up-to-date SBoMs and VEX metadata that allow enterprises to meet compliance requirements and internal policies. Tanzu Application Catalog gives the option of copying files within the image and making post-built customizations on any container image included in your catalog.
Overview
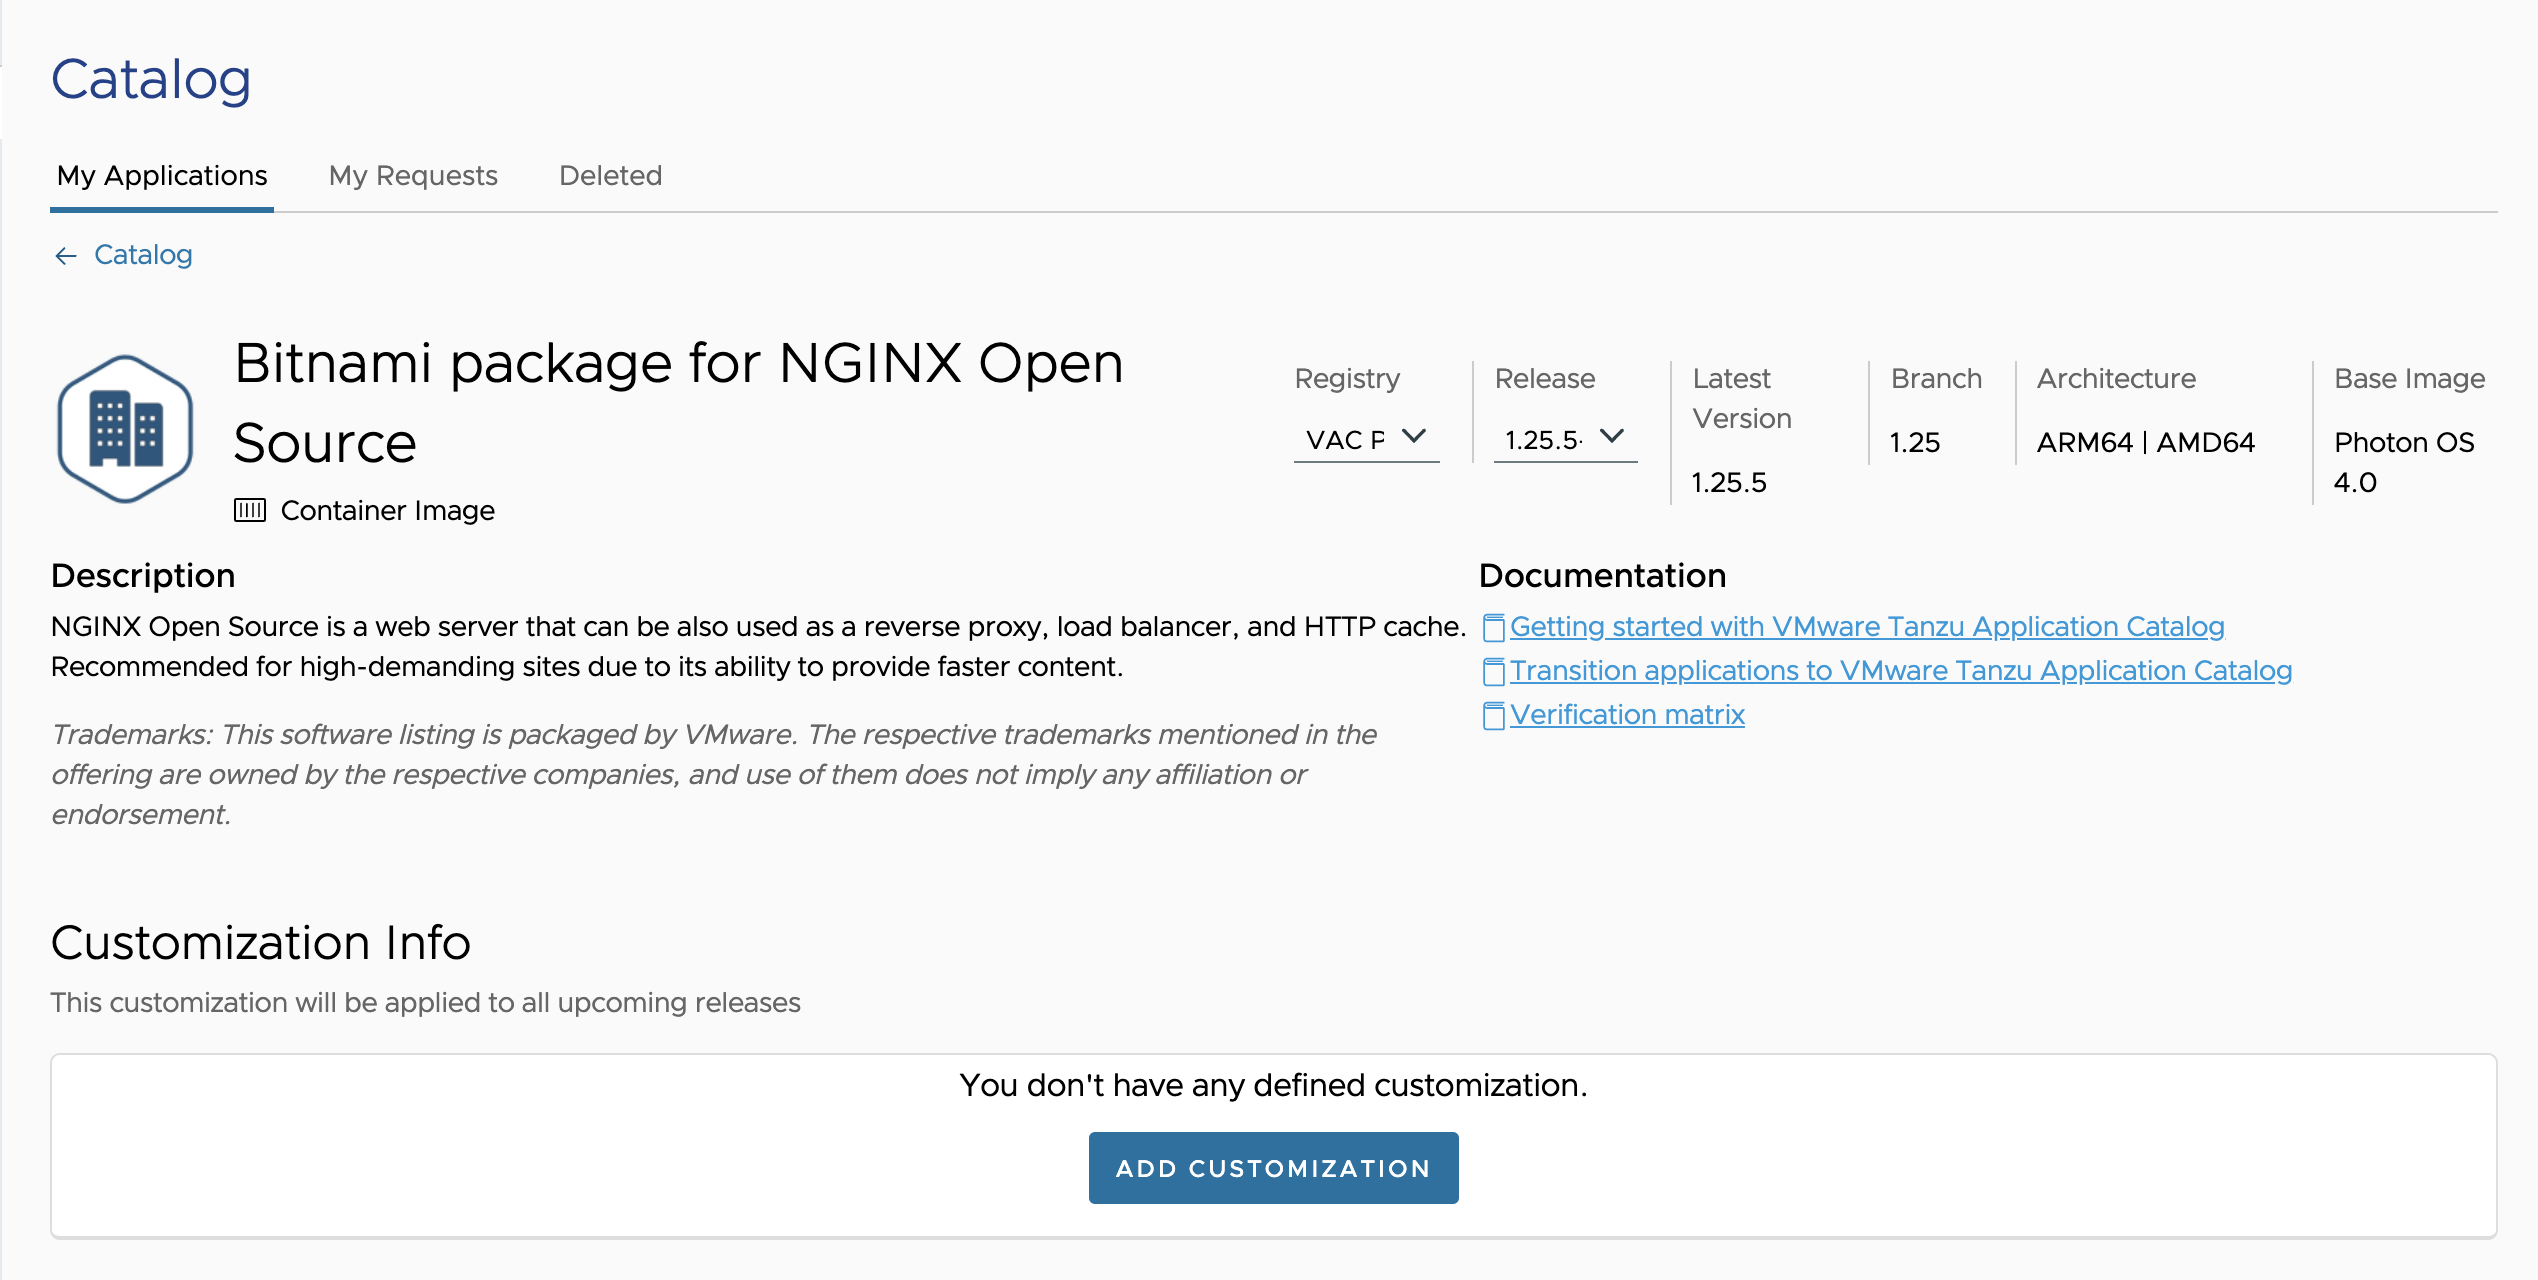
Every container image on Tanzu Application Catalog allows you to apply customizations once the container selected has a “Released” status in the “Applications” list of your catalogs (at least one successful build has been delivered to your registry). When clicking on “Details” you will see all the container image details along with the option to add a customization.

Usage scenarios
Here are some sample use cases of the user-defined customizations that can be made from the Tanzu Application Catalog UI:
Installing root CA certificates for applications requiring TLS
Many OSS applications provide a web user interface that relies on Transport Layer Security (TLS). Installing custom root and intermediate certificates is a requirement for many organizations when deploying OSS applications. The method of installing certificates is highly dependent on the application architecture. User-defined customizations provide a way to install these certificates at the OS level.
Installing additional “customer standard” tools and plug-ins
Many organizations employ a standard toolkit of monitoring, management, and diagnostic tools across all components present in their environments. User-defined customizations enable the installation of tools at the OS level.
Modifying the default application configuration to meet custom security requirements
In many cases preconfigured security settings are not sufficient to meet enterprise security requirements. User-defined customizations enable administrators to make additional OS and application changes to meet custom security requirements. For example, this might involve uninstalling OS packages or changing default application configurations to meet hardening requirements.
Registering customer package manager repositories
Many organizations maintain their own package repositories for OS and language packages. User-defined customizations can make it easy for administrators to add or remove repository registrations.
Limitations
- Currently only user-defined customizations for container images are supported.
- Avoid downloading files as part of the user-defined customization. The customization script won’t be able to access resources present in your private network. If you need to include any file in the image, include these files as part of the customization files instead of downloading it. This will give you more control on what is included in the image.
- Installation or removal of non operating system packages through an user-defined customization will not be reflected in the metadata and security report reports.
- User-defined customizations can’t be reused for several applications.
- Different customizations to different branches are not supported.
- The customization source code will be stored in VMware infrastructure and might be accessed and used by the Tanzu Application Catalog team to debug errors during the container build.
What to do first
Ensure:
- You have App Catalog Admin role access to the Tanzu Application Catalog environment.
- You have already created a catalog with, at least, one Kubernetes application showing “Released” as status (or, for example, at least one version has been successfully delivered to your registry) to start with the customization or to update an existing customization.
Customization files prerequisites
Customization files must be uploaded to Tanzu Application Catalog as a tar.gz file. Optionally, the customization can include a script. In that case, it should be located under a folder named customization at the customization/script.sh path inside the tar.gz file to be executed.
How the user-defined customization is applied
During the container image build process the tar.gz file will be copied within the image root. If the script /customization/script.sh exists, this file will be executed. Finally, the customization.tar.gz file will be deleted from the image.
To make a user-defined customization to a container image, follow the steps as explained in the sections below. In this tutorial we will use the Bitnami package for NGINX container built on a Photon OS 4 base image but there are many other images in Tanzu Application Catalog to choose from.
- Develop and test a customization
- Add a customization to the Bitnami package for NGINX container
- Check the customization information and status
- Update or edit a customization
Develop and test a customization
This tutorial walks you through the process of creating a custom script with HTML code to create a static website and apply this customization to a Bitnami package for NGINX container image. To do so, follow the steps below:
- Create a folder named “customization”. Within that folder, it can be two different files: one with the HTML code named index.html and another that will contain the script script.sh below that will be excecuted by the pipeline during the container build process.
cp - r /customization/index.html /app/index.html
According on how NGINX works, all the content mounted at the /app/ folder, will be served by the web server. Now, the customization script only needs to copy the custom HTML file to the /app/ folder within the NGINX container.
- Compress the “customization” folder as a tar.gz file.
-
In the left navigation pane, go to Applications > “My Applications”. Select the container image you want to apply the customization. In the “Build time reports” section, select and download the source-container.tar.gz file:

-
Create a folder and uncompress the source-container.tar.gz file in that folder.
mv ~/Downloads/source-container.tar.gz source
cd source
tar -xzvf source-container.tar.gz
- Move the resulting customization.tar.gz file under the prebuildfs folder of the uncompressed source code file structure.
-
Open the dockerfile of the selected container and add the following line above the
COPY rootfs /file.RUN tar -xzf customization.tar.gz && run-script /customization/script.sh && rm -f customization.tar.gzYour dockerfile should look similar to this:
COPY prebuildfs / SHELL ["/bin/bash", "-o", "errexit", "-o", "nounset", "-o", "pipefail", "-c"] # Install required system packages and dependencies RUN install_packages ca-certificates curl findutils gawk geoip-api-c gettext gzip libaio-devel libstdc++ net-tools openssl openssl-fips-provider pcre-libs procps-ng sed shadow tar util-linux which zlib RUN mkdir -p /tmp/bitnami/pkg/cache/ ; cd /tmp/bitnami/pkg/cache/ ; \ COMPONENTS=( \ "render-template-1.0.6-12-linux-${OS_ARCH}-photon-4" \ "nginx-1.25.5-0-linux-${OS_ARCH}-photon-4" \ ) ; \ [...] RUN tdnf erase -y curl && \ tdnf upgrade -y && \ tdnf clean all && rm -rf /var/cache/tdnf RUN /opt/bitnami/scripts/vmware-stig.sh RUN chmod g+rwX /opt/bitnami RUN find / -perm /6000 -type f -exec chmod a-s {} \; || true RUN ln -sf /dev/stdout /opt/bitnami/nginx/logs/access.log RUN ln -sf /dev/stderr /opt/bitnami/nginx/logs/error.log RUN sed -i 's/^PASS_MAX_DAYS.*/PASS_MAX_DAYS 99999/' /etc/login.defs && \ sed -i 's/^PASS_MIN_DAYS.*/PASS_MIN_DAYS 0/' /etc/login.defs && \ sed -i 's/^PASS_WARN_AGE.*/PASS_WARN_AGE 7/' /etc/login.defs RUN rm /etc/shadow && tdnf reinstall shadow -y && tdnf clean all RUN tar -xzf customization.tar.gz && run-script /customization/script.sh && rm -f customization.tar.gz [...] -
Build a new Docker image by running the commands below:
$ docker build --platform=linux/amd64 -t tac/customization:latest . $ docker run --rm --name nginx -p 8080:8080 tac/customization:latest - Run the container image to validate that the changes have been applied.
- Once you have confirmed that everything works as expected, proceed to add the customization as described in the sections below.
Add a customization to the Bitnami package for NGINX container
The user-defined customization option is enabled for any container images that are already added to your catalog and shown a “Released” status.
Begin by selecting the container image you want to apply customization. This example shows how to extend the Bitnami package for NGINX container image with an OS package by using a simple script.
Follow the steps below:
- In the left navigation pane, go to Applications > “My Applications”.
-
Locate and select the container you wish to customize in the list of available applications. If it is not yet available in your catalog, follow these instructions. Make sure that in the “Release status” column, the status of the selected container displays “Released”.

-
Click the “Details” link. In this example, select the NGINX Photon OS-based container image. Under the description field, you will see the “Customization Info” section. Click “Add customization”.
-
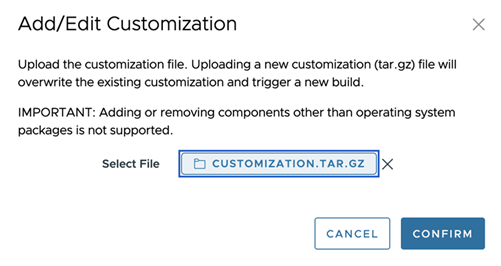
Click “Browse” to upload your customization files.
Note
Remember that the customization must be a tar.gz file. Optionally, the customization can include a script. In that case, it should be located at the customization/script.sh path inside the tar.gz file to be executed.

-
Once the customization file is uploaded, the following confirmation message is displayed:

These files will be copied to the root of the container and will be applied in the next image build.
Check the customization information and status
Once your customization files have been uploaded, the “Customization info” section displays the following status message:

Note that the customization will take effect in all future releases and will only be accessible once the container image is labeled as “Released” in the “Applications” view. During this period of customization application, you can still utilize the original version of the container.
Once the container has been released applying the customization, there are two ways to check its status and the details of the new image built by Tanzu Application Catalog team:
- Check the customization information and status from the container details page
- Check the customization information and status from the “Customizations” section
Check the customization information and status from the container details page
-
Navigate to Applications > “My Applications” and filter your catalog by the container image name to make sure that the image shown “Released” as release status.
-
Click “Details” and go to the “Customization info” section. If the build was successful, you should see the name of the release, the SHA of the new image, and creation date.
-
In the same section, following options will be enabled:
- Download: downloads the customization tar.gz files
- Edit: allows uploading a new customization tar.gz file to update the existing one.
-
Delete: deletes the customization and brings back the container image to its original version

NoteIn instances where this section displays an error message indicating a build failure, see troubleshoot customization issues section for more information.
Note that within the “Releases” section, valuable details regarding customization can be found. This shows two SHAs: “Digest” the actual SHA of the release on the registry and “Customization” the SHA of the customization file applied.

Remember that both the validation and build time reports available in this screen correspond to the latest release version of the container. Download them to check the results of the different tests and verifications done during the build process to your customized image.
Check the customization information and status from the Customizations section
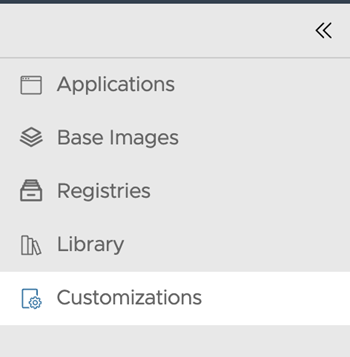
To review the customizations implemented by your team and the corresponding status of each, navigate to the “Customizations” section in the left navigation pane.

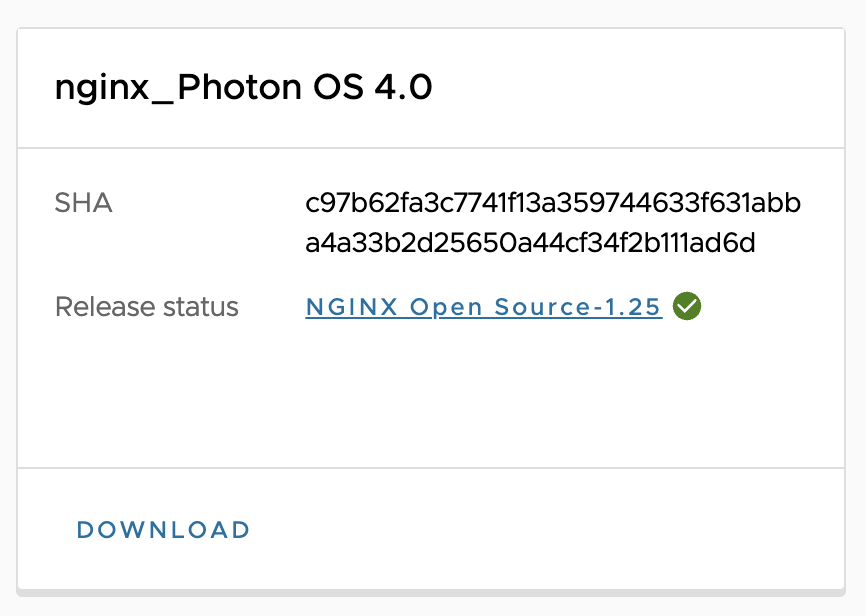
On the displayed screen, you’ll find a comprehensive list of all the customizations performed by your team, including the SHA of the recently built container image, if it has been released, along with its release status. Click on “Download” to retrieve the customization file linked to the container.

Update or edit a customization
In certain scenarios, users may want to modify the applied customization on a container image or introduce a new one based on internal policies or specific requirements. Additionally, if the build of a custom image encounters issues, see troubleshoot customization issues, you will be prompted to edit the customization files and subsequently upload them again to the Tanzu Application Catalog.
To update or edit a customization:
- Navigate to Applications > “My Applications” and filter your catalog by the container image you want to edit.
- Click “Details” and go to the “Customization info” section.
- Select “Edit”, then proceed to upload your customization files by clicking on “Browse”.
- Click “Confirm”. This will overwrite the existing customization and trigger a new build. This new customization will be applied to all upcoming releases.
Wait for the image to undergo another release to view the newly applied customization. Check the release status as previously explained.