


Backup and Restore Redis Cluster Deployments on Kubernetes
Introduction
Redis is a popular open source in-memory data store with a number of advanced features for high availability and data optimization. VMware Tanzu Application Catalog (Tanzu Application Catalog) offers a Redis Cluster Helm chart which makes it quick and easy to deploy a Redis cluster with sharding and multiple write points on Kubernetes. This Helm chart is compliant with current best practices and can also be upgraded to ensure that you always have the latest fixes and security updates.
Once you have your Redis cluster deployed on Kubernetes, it is essential to put a data backup strategy in place to protect the data within it. This backup strategy is needed for many operational scenarios, including disaster recovery planning, off-site data analysis or application load testing.
This guide walks you through the process of backing up and restoring a Redis cluster on Kubernetes using Velero, a Kubernetes backup/restore tool.
Assumptions and prerequisites
This guide makes the following assumptions:
You have two separate Kubernetes clusters - a source cluster and a destination cluster - with
kubectland Helm v3 installed. This guide uses Google Kubernetes Engine (GKE) clusters but you can also use any other Kubernetes provider. Learn how to installkubectland Helm v3.x.You have configured Helm to use the Tanzu Application Catalog chart repository following the instructions for Tanzu Application Catalog or the instructions for VMware Tanzu Application Catalog for Tanzu Advanced.
You have previously deployed the Redis Cluster Helm chart on the source cluster and added some data to it. Example command sequences to perform these tasks are shown below, where the PASSWORD placeholder refers to the Redis password. Replace the REPOSITORY and REGISTRY placeholders with references to your Tanzu Application Catalog chart repository and container registry respectively.
helm install redis REPOSITORY/redis-cluster \
  --set global.redis.password=PASSWORD
kubectl run --namespace default redis-redis-cluster-client --rm --tty -i --restart='Never' --image REGISTRY/redis-cluster:6.0.5-debian-10-r2 -- bash
redis-cli -c -h redis-redis-cluster -a PASSWORD
set foo 100
set bar 200
exit
This method involves copying the persistent data volumes for the Redis Cluster nodes and reusing them in a new deployment with Velero, an open source Kubernetes backup/restore tool. This method is only suitable when:
- The cloud provider is supported by Velero.
- Both clusters are on the same cloud provider, because Velero does not support the migration of persistent volumes across cloud providers.
- The restored deployment on the destination cluster will have the same name, namespace, topology and credentials as the original deployment on the source cluster.
Step 1: Install Velero on the source cluster
Velero is an open source tool that makes it easy to backup and restore Kubernetes resources. It can be used to back up an entire cluster or specific resources such as persistent volumes.
Modify your context to reflect the source cluster (if not already done).
Follow the Velero plugin setup instructions for your cloud provider. For example, if you are using Google Cloud Platform (as this guide does), follow the GCP plugin setup instructions to create a service account and storage bucket and obtain a credentials file.
Then, install Velero on the source cluster by executing the command below, remembering to replace the BUCKET-NAME placeholder with the name of your storage bucket and the SECRET-FILENAME placeholder with the path to your credentials file:
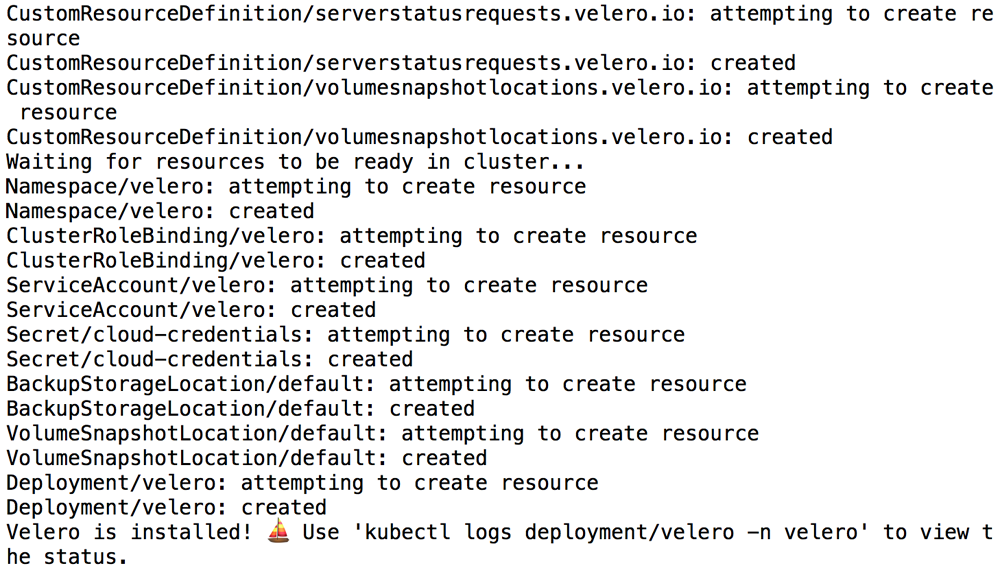
velero install --provider gcp --plugins velero/velero-plugin-for-gcp:v1.1.0 --bucket BUCKET-NAME --secret-file SECRET-FILENAMEYou should see output similar to the screenshot below as Velero is installed:
Confirm that the Velero deployment is successful by checking for a running pod using the command below:
kubectl get pods -n velero
Step 2: Back up the Redis Cluster deployment on the source cluster
Next, back up all the persistent volumes using Velero.
Create a backup of the persistent volumes on the source cluster:
velero backup create redis-backup --include-resources=pvc,pv --selector app.kubernetes.io/name=redis-clusterExecute the command below to view the contents of the backup and confirm that it contains all the required resources:
velero backup describe redis-backup --detailsTo avoid the backup data being overwritten, switch the bucket to read-only access:
kubectl patch backupstoragelocation default -n velero --type merge --patch '{"spec":{"accessMode":"ReadOnly"}}'
Step 3: Restore the Redis Cluster deployment on the destination cluster
You can now restore the persistent volumes and integrate them with a new Redis Cluster deployment on the destination cluster.
Modify your context to reflect the destination cluster.
Install Velero on the destination cluster as described in Step 1. Remember to use the same values for the BUCKET-NAME and SECRET-FILENAME placeholders as you did originally, so that Velero is able to access the previously-saved backups.
velero install --provider gcp --plugins velero/velero-plugin-for-gcp:v1.1.0 --bucket BUCKET-NAME --secret-file SECRET-FILENAMEConfirm that the Velero deployment is successful by checking for a running pod using the command below:
kubectl get pods -n veleroRestore the persistent volumes in the same namespace as the source cluster using Velero.
velero restore create --from-backup redis-backupConfirm that the persistent volumes have been restored:
kubectl get pvc --namespace defaultCreate a new Redis Cluster deployment. Use the same name, topology and namespace as the original deployment. Replace the PASSWORD placeholder with the same password used in the original deployment and the REPOSITORY placeholder with a reference to your Tanzu Application Catalog chart repository.
helm install redis REPOSITORY/redis-cluster \ --set global.redis.password=PASSWORDNOTE: If using Tanzu Application Catalog for Tanzu Advanced, install the chart following the steps described in the VMware Tanzu Application Catalog for Tanzu Advanced documentation instead.
NOTE: It is important to create the new deployment on the destination cluster using the same namespace, deployment name, topology and credentials as the original deployment on the source cluster.
This will create a new deployment that uses the restored persistent volumes (and hence the original data).
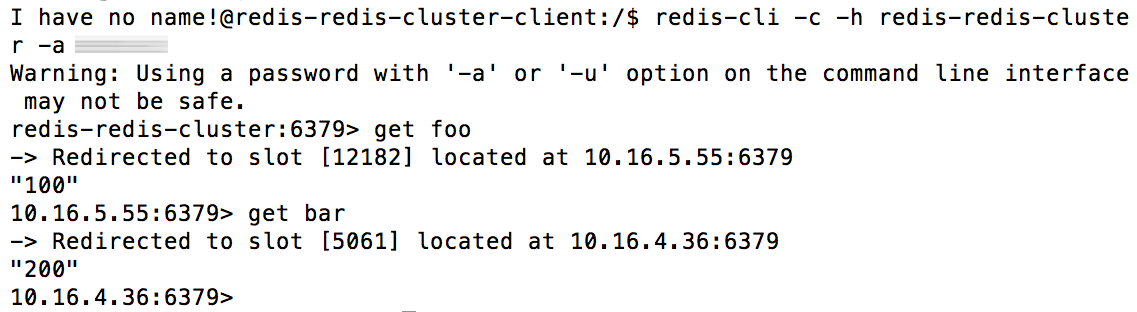
Connect to the new deployment and confirm that your data has been successfully restored. Replace the PASSWORD placeholder with the correct password and the REGISTRY placeholder with a reference to your Tanzu Application Catalog container registry.
kubectl run --namespace default redis-redis-cluster-client --rm --tty -i --restart='Never' --image REGISTRY/redis-cluster:6.0.5-debian-10-r2 -- bash
redis-cli -c -h redis-redis-cluster -a PASSWORD
get foo
get bar
Here is an example of what you should see:
Useful links
