


Migrate Data Between Kubernetes Clusters with VMware Tanzu Application Catalog and Velero
Introduction
VMware Tanzu Application Catalog (Tanzu Application Catalog) offers Helm charts for popular database solutions like MySQL, MariaDB and PostgreSQL. These charts let you deploy database services on Kubernetes in a secure and reliable manner whilst also ensuring compliance with current best practices. Tanzu Application Catalog's Helm charts can also be easily upgraded to ensure that you always have the latest fixes and security updates.
As time passes, there may be situations where you need to migrate the data stored in these database deployments to other clusters. For example, you might want to transfer a copy of your data to a separate cluster for isolated integration testing or load testing. Or, you might want to experiment with alpha Kubernetes features that are not yet available in production deployments.
Velero, combined with Tanzu Application Catalog's charts, offers one possible solution to this migration problem. Many of Tanzu Application Catalog's Helm charts let you create new deployments that make use of existing persistent volumes (PVCs). This means that you can use Velero to backup and copy the persistent data volumes from your source cluster, and then use Tanzu Application Catalog's Helm charts to create new deployments in your destination cluster using the copied volumes.
Assumptions and prerequisites
This guide makes the following assumptions:
- You have two separate Kubernetes clusters - a source cluster and a destination cluster - with
kubectland Helm v3 installed. This guide uses Google Kubernetes Engine (GKE) clusters but you can also use any other Kubernetes provider. Learn how to installkubectland Helm v3.x. - You have configured Helm to use the Tanzu Application Catalog chart repository following the instructions for Tanzu Application Catalog or the instructions for VMware Tanzu Application Catalog for Tanzu Advanced.
- The cloud provider is supported by Velero.
- Both clusters are on the same cloud provider, because Velero does not support the migration of persistent volumes across cloud providers.
This guide walks you through the process of migrating a PostgreSQL database from one cluster to another using Velero and VMware Application Catalog's PostgreSQL Helm chart. The steps described will also work with other VMware Application Catalog charts that support using existing persistent volumes.
Step 1: Deploy PostgreSQL on the source cluster and add data to it
NOTEThis step creates a fresh PostgreSQL deployment using VMware Application Catalog's Helm chart and then adds an example database and records to it to simulate a real-world migration scenario. If you already have a VMware Application Catalog PostgreSQL deployment with one or more custom databases, you can go straight to Step 2.
Follow the steps below:
Deploy PostgreSQL on the source cluster. Replace the PASSWORD placeholder with a password for your PostgreSQL deployment and REPOSITORY placeholder with a reference to your VMware Application Catalog chart repository.
helm install postgresql REPOSITORY/postgresql --set postgresqlPassword=PASSWORDWait for the deployment to complete and then use the commands below to connect to the database service. Replace the REGISTRY placeholder with a reference to your VMware Application Catalog container registry.
export POSTGRES_PASSWORD=$(kubectl get secret --namespace default postgresql -o jsonpath="{.data.postgresql-password}" | base64 --decode)
kubectl run postgresql-client --rm --tty -i --restart='Never' --namespace default --image REGISTRY/postgresql:11.7.0-debian-10-r0 --env="PGPASSWORD=$POSTGRES_PASSWORD" --command -- psql --host postgresql -U postgres -d postgres -p 5432
At the command prompt, create an empty database and table and enter some dummy records into it
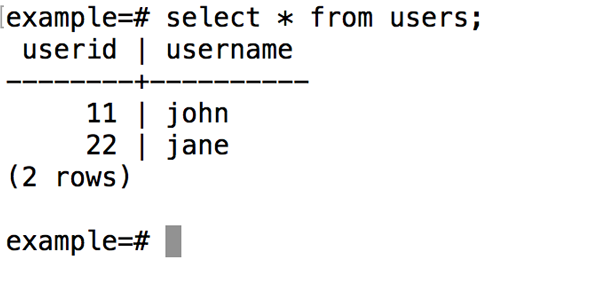
CREATE DATABASE example;
\c example
CREATE TABLE users (userid serial PRIMARY KEY, username VARCHAR (50) UNIQUE NOT NULL);
INSERT INTO users VALUES (11, 'john');
INSERT INTO users VALUES (22, 'jane');
Confirm that the records entered exist in the database:
SELECT * FROM users;
Step 2: Install Velero on the source cluster
The next step is to install Velero on the source cluster using the appropriate plugin for your cloud provider. To do this, follow the steps below:
Follow the plugin setup instructions for your cloud provider. For example, if you are using Google Cloud Platform (as this guide does), follow the GCP plugin setup instructions to create a service account and storage bucket and obtain a credentials file.
Then, install Velero by executing the command below, remembering to replace the BUCKET-NAME placeholder with the name of your storage bucket and the SECRET-FILENAME placeholder with the path to your credentials file:
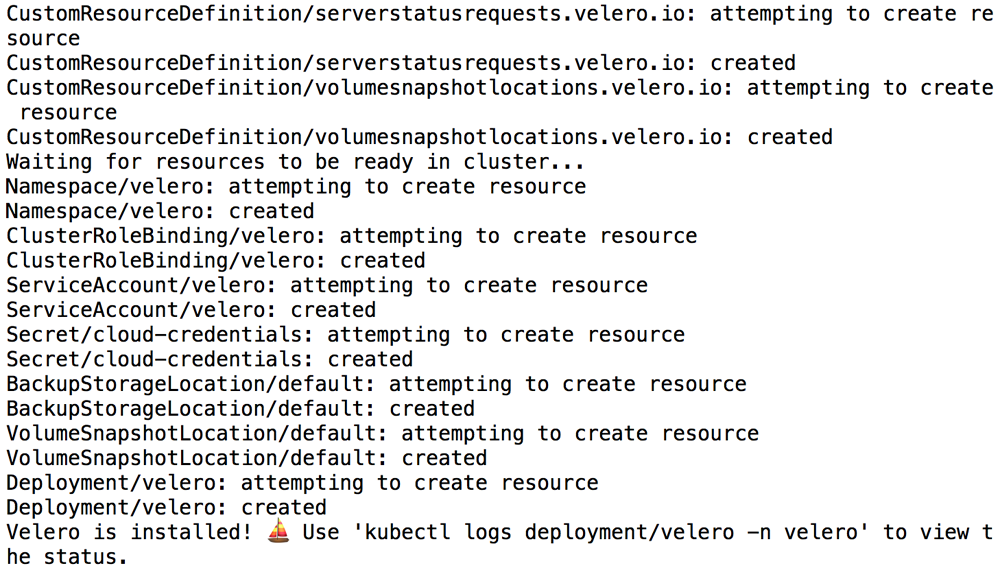
velero install --provider gcp --plugins velero/velero-plugin-for-gcp:v1.0.0 --bucket BUCKET-NAME --secret-file SECRET-FILENAME
You should see output similar to the screenshot below as Velero is installed:
Confirm that the Velero deployment is successful by checking for a running pod using the command below:
kubectl get pods -n velero
Step 3: Backup the persistent PostgreSQL volumes on the source cluster
Once Velero is running, create a backup of the PVCs from the PostgreSQL deployment:
velero backup create pgb --include-resources pvc,pv --selector release=postgresql
TIP: The previous command uses additional resource and label selectors to backup only the PVCs related to the PostgreSQL deployment. Optionally, you can backup all deployments in a specific namespace with the --include-namespaces parameter, or backup the entire cluster by omitting all selectors.
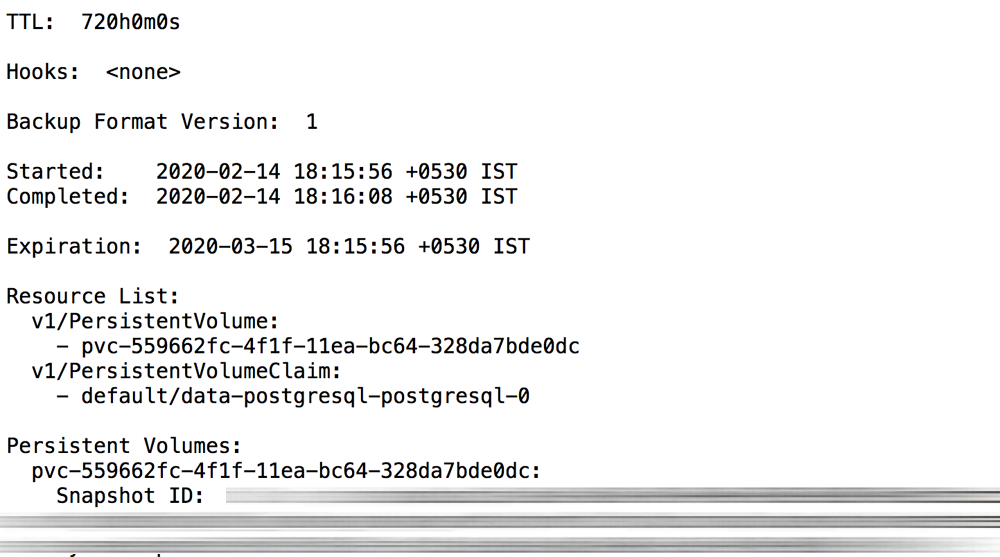
Execute the command below to view the contents of the backup and confirm that it contains all the required resources:
velero backup describe pgb --details
At this point, your data is ready for migration.
Step 4: Use the PostgreSQL volumes with a new deployment on the destination cluster
Once your data backup is complete and confirmed, you can now turn your attention to migrating it to another cluster. For illustrative purposes, this guide will assume that you wish to transfer your PostgreSQL database content to the second (destination) cluster.
Modify your context to reflect the destination cluster.
Install Velero on the destination cluster as described in Step 2. Remember to use the same values for the BUCKET-NAME and SECRET-FILENAME placeholders as you did originally, so that Velero is able to access the previously-saved backups.
velero install --provider gcp --plugins velero/velero-plugin-for-gcp:v1.0.0 --bucket BUCKET-NAME --secret-file SECRET-FILENAMEConfirm that the Velero deployment is successful by checking for a running pod using the command below:
kubectl get pods -n veleroTo avoid the backup data being overwritten, switch the bucket to read-only access:
kubectl patch backupstoragelocation default -n velero --type merge --patch '{"spec":{"accessMode":"ReadOnly"}}'Confirm that Velero is able to access the original backup:
velero backup describe pgb --detailsRestore the backed-up volumes. Note that this may take a few minutes to complete.
velero restore create --from-backup pgbConfirm that the persistent volumes have been restored on the destination cluster and note the PVC name:
kubectl get pvc

Create a new PostgreSQL deployment using VMware Application Catalog's PostgreSQL Helm chart. This chart includes a
persistence.existingClaimparameter which, when used, creates a deployment with an existing volume instead of a fresh one. Replace the PASSWORD placeholder with the same password as your original deployment, the PVC-NAME placeholder with the name of the migrated volume from the previous command and the REPOSITORY placeholder with a reference to your VMware Application Catalog chart repository.helm install migrated-db REPOSITORY/postgresql --set postgresqlPassword=PASSWORD --set persistence.existingClaim=PVC-NAMEWait until the deployment is complete. Once the deployment is complete, log in to the PostgreSQL console and confirm that your original data has been successfully migrated. Use the commands below and confirm that you see output similar to that shown in the screenshot.
export POSTGRES_PASSWORD=$(kubectl get secret --namespace default migrated-db-postgresql -o jsonpath="{.data.postgresql-password}" | base64 --decode)
kubectl run migrated-db-postgresql-client --rm --tty -i --restart='Never' --namespace default --image REGISTRY/postgresql:11.7.0-debian-10-r0 --env="PGPASSWORD=$POSTGRES_PASSWORD" --command -- psql --host migrated-db-postgresql -U postgres -d example -p 5432
SELECT * FROM users;
At this point, you have successfully migrated your database content using Velero.
Useful links
To learn more about the topics discussed in this guide, use the links below:
