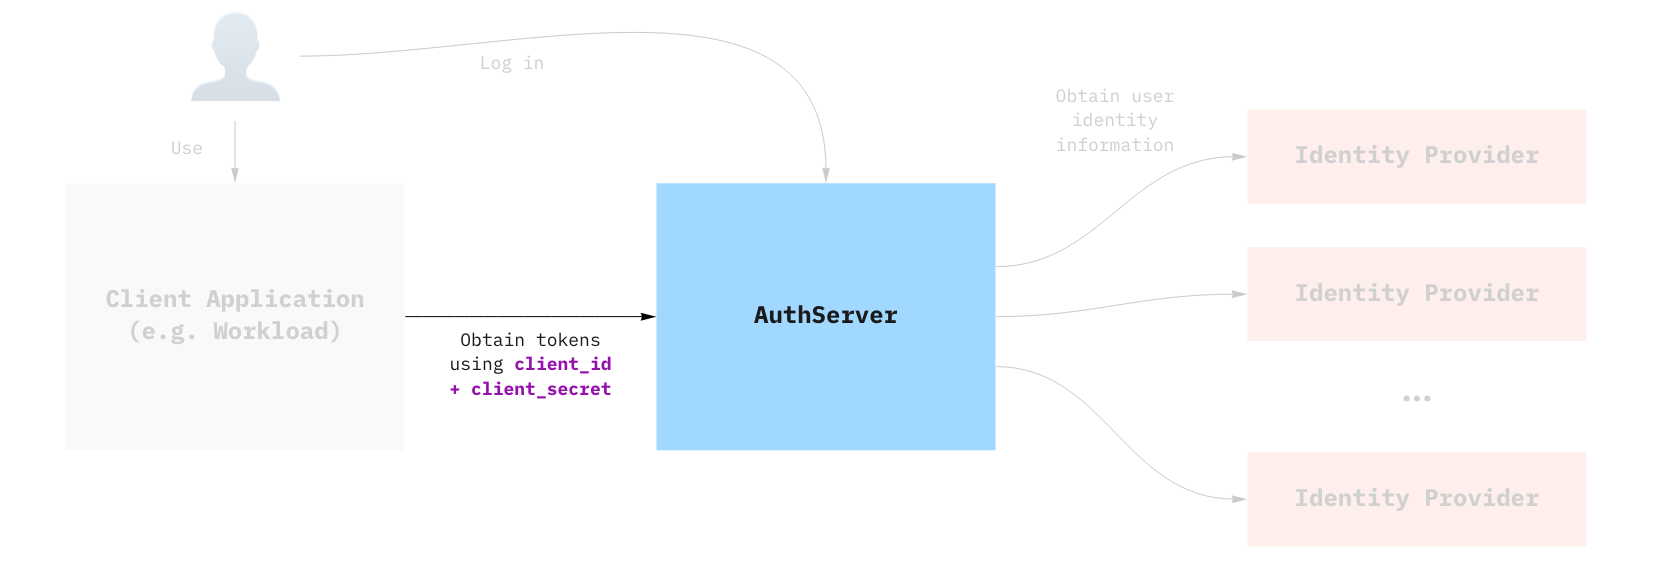
Provision a client registration
This topic tells you how to provision a client registration for Application Single Sign-On (commonly called AppSSO). Use this topic to learn how to:
- Obtain credentials for the Authorization Server that you provisioned in Provision your first AuthServer.
- Verify that the credentials are valid using client-credentials flow.

Prerequisites
Complete the steps described in Get started with Application Single Sign-On.
Creating the ClientRegistration
Assuming you have deployed the AuthServer as described previously, you can create and apply the following client registration:
NoteAppSSO uses
test-app.example.comforClientRegistration.spec.redirectURIs[0]. You must customize the URL to match the domain of your Tanzu Application Platform cluster. This is the URL to expose your test application in the next section.
apiVersion: sso.apps.tanzu.vmware.com/v1alpha1
kind: ClientRegistration
metadata:
   name: my-client-registration
   namespace: default
spec:
   authServerSelector:
      matchLabels:
         name: my-first-auth-server
         env: tutorial
   redirectURIs:
      - "http://test-app.example.com/oauth2/callback"
   requireUserConsent: false
   clientAuthenticationMethod: client_secret_basic
   authorizationGrantTypes:
      - "client_credentials"
      - "authorization_code"
   scopes:
      - name: "openid"
      - name: "email"
      - name: "profile"
      - name: "roles"
      - name: "message.read"
The AuthServer should now have this ClientRegistration registered. You can verify the status either by looking at the ClientRegistrations .status field, or looking at the AuthServer itself.
# Check the client registration
kubectl get clientregistration my-client-registration -n default -o yaml
# Check the authserver
kubectl get authservers
# NAME                    REPLICAS   ISSUER URI                     CLIENTS   TOKEN KEYS
# my-authserver-example   1          http://authserver.example.com  1         1
#                                                                   ^
#                                 the AuthServer now has one client ^
AppSSO will create a secret containing the credentials that client applications will use, named after the client registration. The type of the secret is servicebinding.io/oauth2. You can obtain the values in the secret by running:
kubectl get secret my-client-registration -n default  -o json | jq ".data | map_values(@base64d)"
# {
#   "authorization-grant-types": "client_credentials,authorization_code",
#   "client-authentication-method": "client_secret_basic",
#   "client-id": "default_my-client-registration",
#   "client-secret": "PLACEHOLDER",
#   "issuer-uri": "http://authserver.example.com",
#   "provider": "appsso",
#   "scope": "openid,email,profile,roles,message.read",
#   "type": "oauth2"
# }
Validating that the credentials are working
Before you deploy an app and make use of SSO, you can try the credentials from your machine to try and obtain an access_token using the client_credentials grant. You need the client_id and client_secret that were created as part of the client registration.
CLIENT_ID=$(kubectl get secret my-client-registration -n default -o jsonpath="{.data.client-id}" | base64 -d)
CLIENT_SECRET=$(kubectl get secret my-client-registration -n default -o jsonpath="{.data.client-secret}" | base64 -d)
ISSUER_URI=$(kubectl get secret my-client-registration -n default -o jsonpath="{.data.issuer-uri}" | base64 -d)
curl -XPOST "$ISSUER_URI/oauth2/token?grant_type=client_credentials&scope=message.read" -u "$CLIENT_ID:$CLIENT_SECRET"
You can decode the access_token using an online service, such as JWT.io.
To learn more about grant types, see Grant Types.