


This topic describes how to manage VMware Tanzu Kubernetes Grid Integrated Edition (TKGI) clusters in the TKGI Management Console (TKGI MC) on vSphere.
Overview
You can deploy Kubernetes clusters to TKGI directly from TKGI Management Console.
When you deploy Kubernetes clusters from the TKGI MC, you select the following pre-existing resources to configure your cluster:
- A plan from the list of plans that were defined when the TKGI MC was deployed.
- An optional network profile. Network profiles allow cluster administrators and cluster managers to customize the networking for different types of Kubernetes cluster. For information about how to create network profiles in the TKGI MC, see Working with Network Profiles.
- An optional Kubernetes profile. Kubernetes profiles enable cluster administrators and cluster managers to customize Kubernetes component settings for any clusters that they provision. You create Kubernetes profiles outside of the TKGI MC, by using the TKGI CLI to define the Kubernetes profile in your Tanzu Kubernetes Grid Integrated Edition instance.
To manager TKGI clusters in the TKGI MC:
- Create Clusters
- Update Cluster Configuration
- Upgrade Clusters to a New Version of Kubernetes
- Delete Clusters
Create Clusters
To create a cluster:
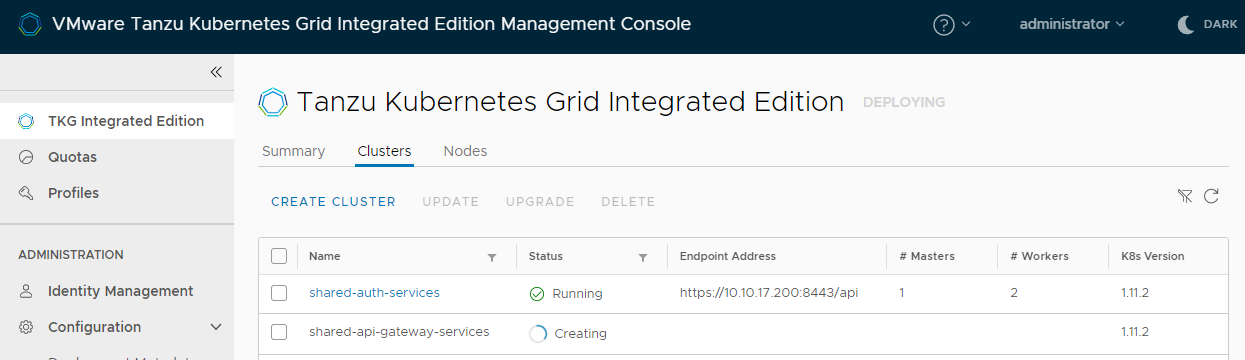
- Go to the TKG Integrated Edition view of the management console.
- Select the Clusters tab and click Create Cluster.

View a larger version of this image - Use the Plan drop-down menu to select one of the plans that were configured during the deployment of Tanzu Kubernetes Grid Integrated Edition Management Console.
The plan defines the set of resources that the Kubernetes cluster will use. A summary of the selected plan appears as you hover over each option.

-
Enter a name and a host name for the cluster, and specify the number of worker nodes to create.
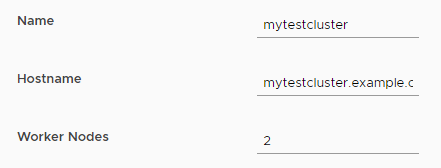
Note: Use only lowercase characters when naming your cluster if you manage your clusters with Tanzu Mission Control (TMC). Clusters with names that include an uppercase character cannot be attached to TMC.
-
Use the Network Profile and Compute Profile drop-down menus to select existing network and compute profiles for the cluster to use.
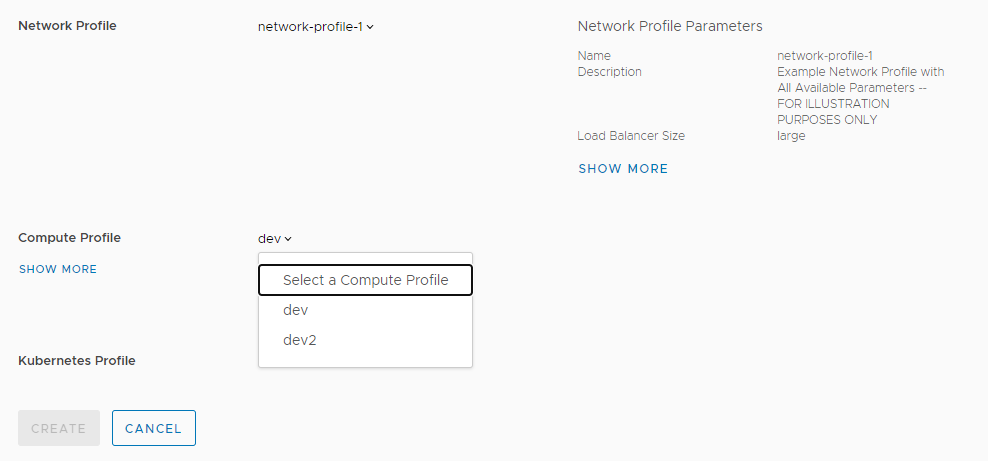
If you have not created any network or compute profiles, the management console uses the default profiles. In this case, Tanzu Kubernetes Grid Integrated Edition Management Console configures networking and compute for you, based on the plan that you selected.
-
Optionally use the Kubernetes Profile drop-down menu to select an existing Kubernetes profile for the cluster to use.
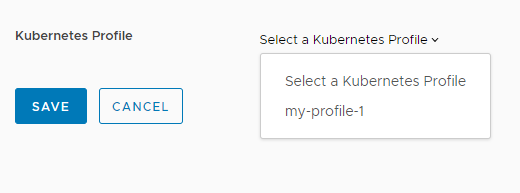
If you have not created any Kubernetes profiles, the management console uses the default Kubernetes profile. In this case, Tanzu Kubernetes Grid Integrated Edition Management Console configures the cluster for you, based on the plan that you selected.
-
Click Create to deploy your cluster.
You can follow the progress of the deployment of your cluster in the Clusters tab.
Update Cluster Configuration
After you have deployed clusters, you can modify their configuration when they are in the Running state.
To modify the configuration of an existing cluster:
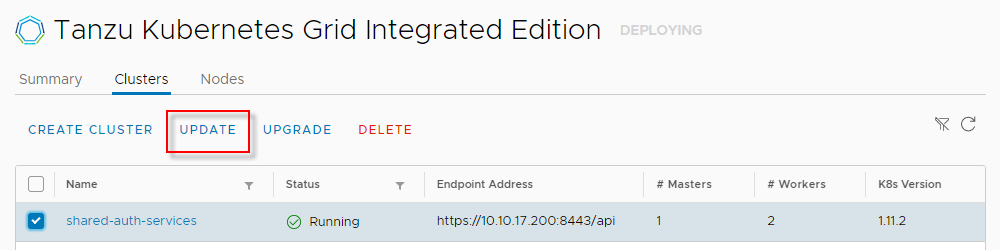
- Select a cluster in the Clusters tab and click Update.
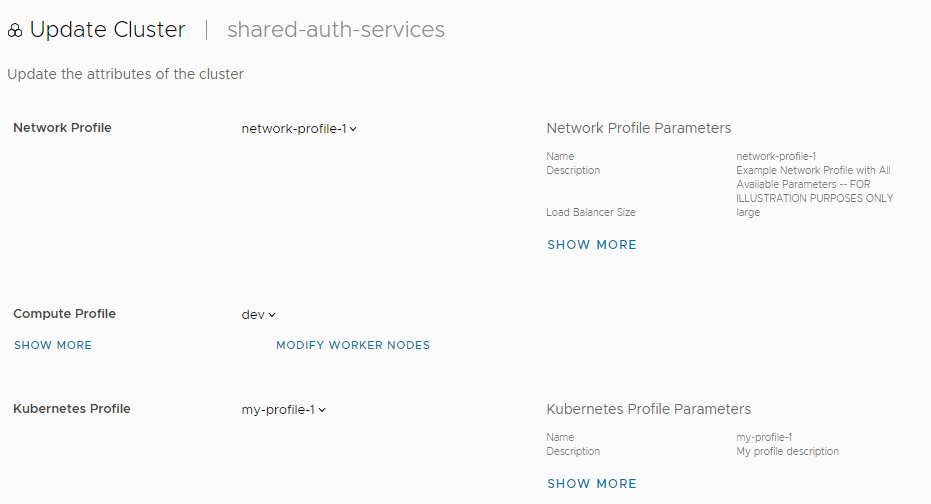
- Use the drop-down menus to optionally change the network, compute, or Kubernetes profiles for the cluster.
- Optionally click Modify Worker Nodes to update the number of worker nodes.
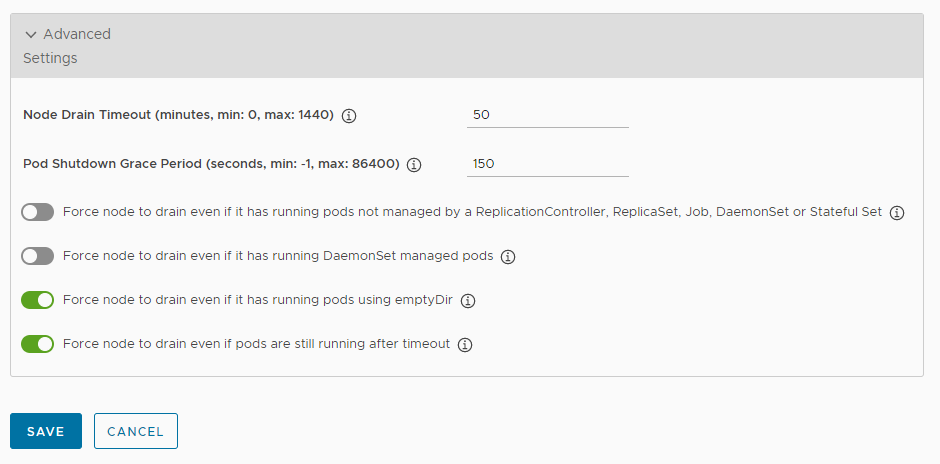
- Optionally expand Advanced Settings to update the settings for node drain and the pod shutdown grace period.
Upgrade Clusters to a New Version of Kubernetes
If you make a new version of Kubernetes available by upgrading Tanzu Kubernetes Grid Integrated Edition Management Console, you can upgrade your existing clusters in the management console.
To upgrade the TKGI and Kubernetes version on a cluster:
- Go to the TKG Integrated Edition view of the management console.
- Select the Clusters tab.
-
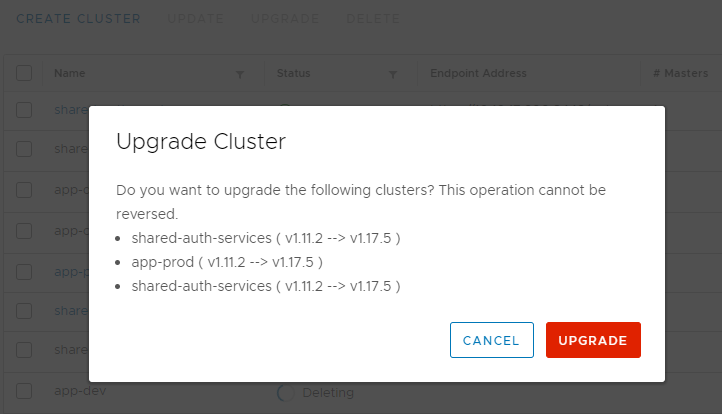
Select one or more clusters and click Upgrade.
Clusters must be in the running state for upgrade to be possible. -
Click Upgrade to confirm.

Delete Clusters
You can delete a cluster that you no longer require.
To avoid an incomplete deletion, prepare the cluster for deletion before deleting it:
- If the cluster is configured with a PodDisruptionBudget (PDB), remove the PDB from the cluster.
- Remove all static and dynamic PVCs from the cluster.
-
Remove all PVs with a reclaimPolicy of
Retainfrom the cluster.Note: Before deleting a cluster, remove the PVs and PVCs from the cluster to avoid making orphan disks of the cluster’s attached disks.
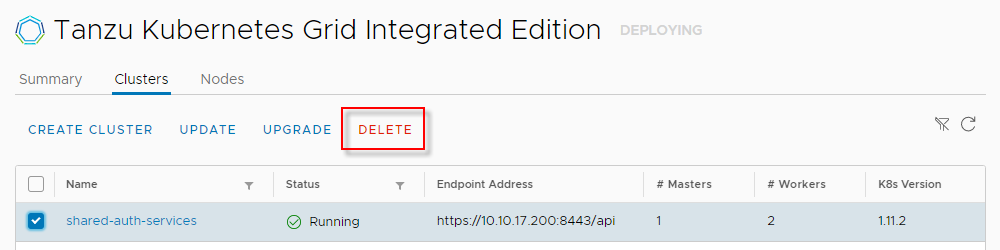
To delete a cluster:
- Go to the TKG Integrated Edition view of the management console.
- Select the Clusters tab.
- Select the cluster to be deleted.
- Click Delete.
Next Steps
