


This topic describes how to deploy VMware Tanzu Operations Manager (Ops Manager) on VMware vSphere with NSX integration for use with VMware Tanzu Kubernetes Grid Integrated Edition (TKGI).
Prerequisites
Before deploying Ops Manager with NSX for Tanzu Kubernetes Grid Integrated Edition, you must have completed the following tasks:
- Preparing to Install Tanzu Kubernetes Grid Integrated Edition on vSphere with VMware NSX
- NSX-T v3.0: Installing and Configuring NSX-T Data Center v3.0 for Tanzu Kubernetes Grid Integrated Edition
In addition, review the supported Ops Manager versions for Tanzu Kubernetes Grid Integrated Edition. See Broadcom Support.
Review the known issues for your version of Ops Manager. See one of the following:
Step 1: Generate SSH Key Pair
You cannot deploy Ops Manager without adding a public SSH key in the appropriate field of the Customize Template screen. If you do not add a public SSH key, Ops Manager shuts down automatically because it cannot find a key and might enter a reboot loop.
For instructions on generating the required SSH key pair for installing Ops Manager, refer to the following KB article: Generate an SSH key pair for installing Ops Manager v2.6 on vSphere.
When you add the key value to the Public SSH Key field, you must enter the entire public key similar to the format required for authorized_keys. For example, the format required is similar to the following:
ssh-rsa AAAAB3NzaC1yc2EAAAABJQAAAQEAnZBapWsER/EO1hLYvV/rkZe78mUBueZGHx1kw+ByfNbLoA385Cm72L+6qq40yOIH6R42nHN/bynbeHOD4Ptes4/s2lrLJtTzEWgH9XYnId4sE5f+QTFd2kRtTzZcu8WvFudEIyCIWjO+o9yvPETs05dEl/3KDn+t9uXxiszrG9Ycb2uNNpmDES+ohm9BQQFmpwFnao+UuQbRXLCcQ3SoE3Ai5Z9O+3PBwm0IByx87/dUuqvVISAJ8yGu2hJobx9PPStFERtUsfx5x+WIu9XIkrl5tzxgH9hBDsOS9cVUYJ7kKUUf1yyro6ocHyu6TWHJHSJLt8Z2FULxMPpqdn+8Xw== my-key
Step 2: Deploy Ops Manager for Tanzu Kubernetes Grid Integrated Edition
- Before starting, refer to the Tanzu Kubernetes Grid Integrated Edition Release Notes for supported Ops Manager versions for Tanzu Kubernetes Grid Integrated Edition.
- Before starting, refer to the known issues in the Ops Manager v3.0 Release Notes or Ops Manager Release v2.10 Release Notes.
-
Download the Ops Manager for vSphere installation file from the Broadcom Support.
- Open a browser to the Ops Manager download page on the Broadcom Support.
- Use the dropdown menu to select the supported Ops Manager release.
- Select the Ops Manager for vSphere download option. This downloads the Ops Manager for vSphere VM template as an OVA file.
-
Log into vCenter using the vSphere Client (HTML5) to deploy the Ops Manager OVA.
-
Select the Resource Pool defined for the Tanzu Kubernetes Grid Integrated Edition Management Plane. See Create Management Plane in Installing and Configuring NSX-T Data Center v3.0 for TKGI if you have not defined the Tanzu Kubernetes Grid Integrated Edition Management Resource Pool.
-
Right click the Tanzu Kubernetes Grid Integrated Edition Management Plane Resource Pool and select Deploy OVF Template.
-
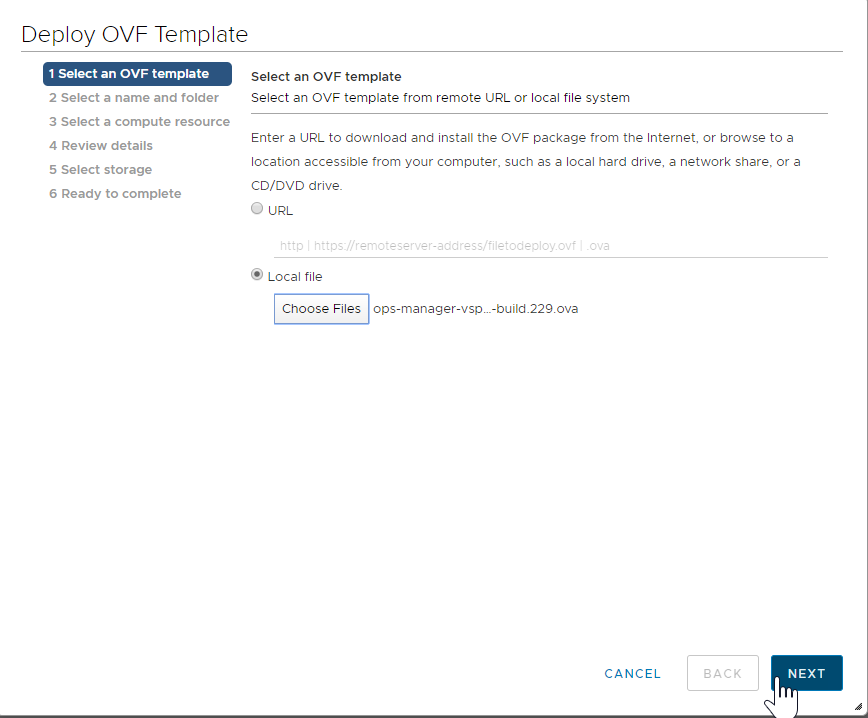
At the Select an OVF template screen:
- Click Browse.
- Select the Ops Manager OVA file you downloaded and click Open.
- Click Next.
-
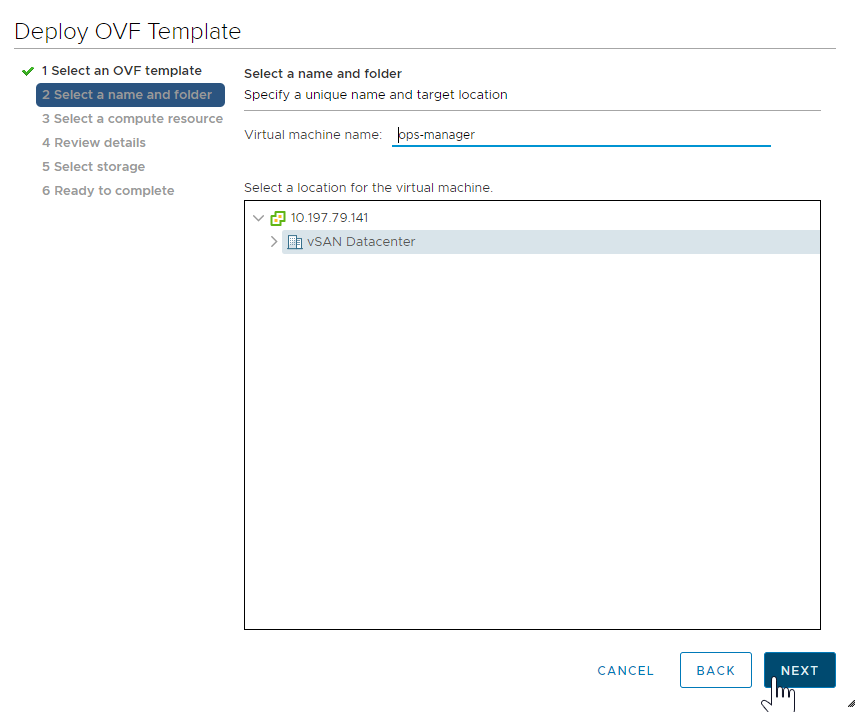
At the Select Name and folder screen, enter a name for the Ops Manager VM (or use the default name), select the Datacenter, and click Next
-
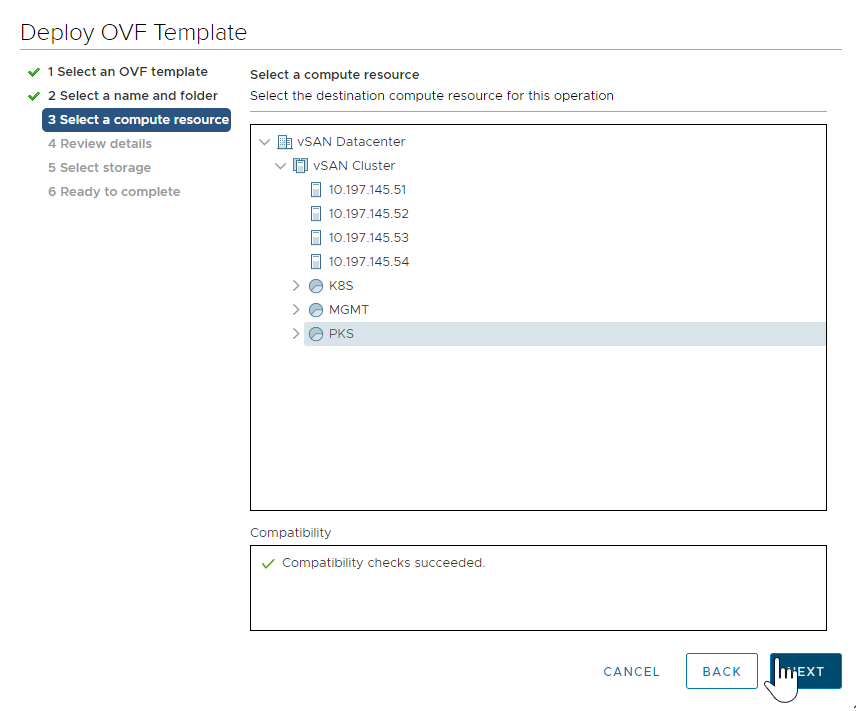
At the Select a compute resource screen, select the Tanzu Kubernetes Grid Integrated Edition Resource Pool or Cluster object and click Next.
-
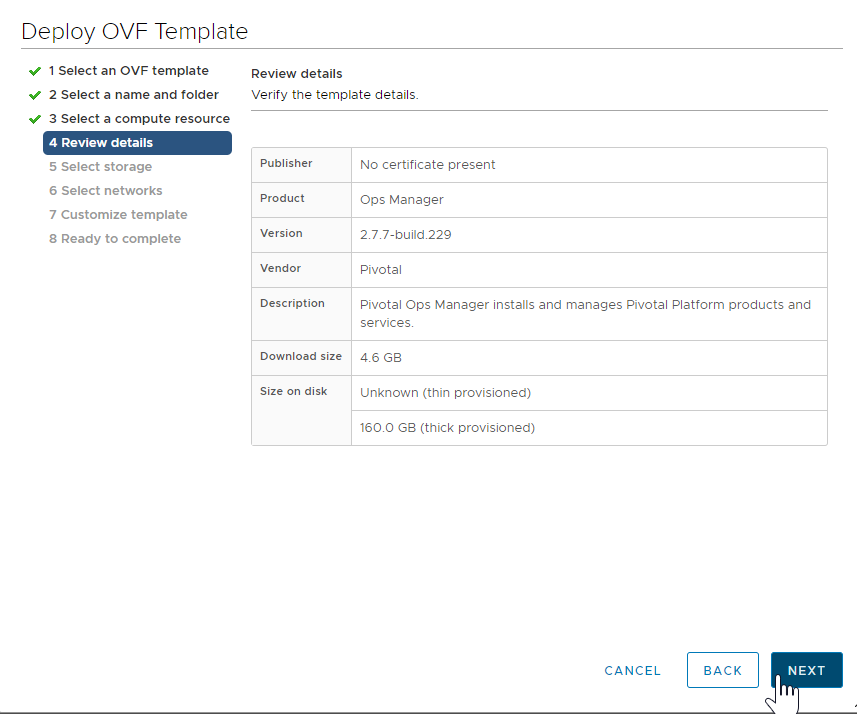
At the Review details screen, confirm the configuration up to this point and click Next.
-
At the Select Storage screen, select the desired Datastore, and click Next.
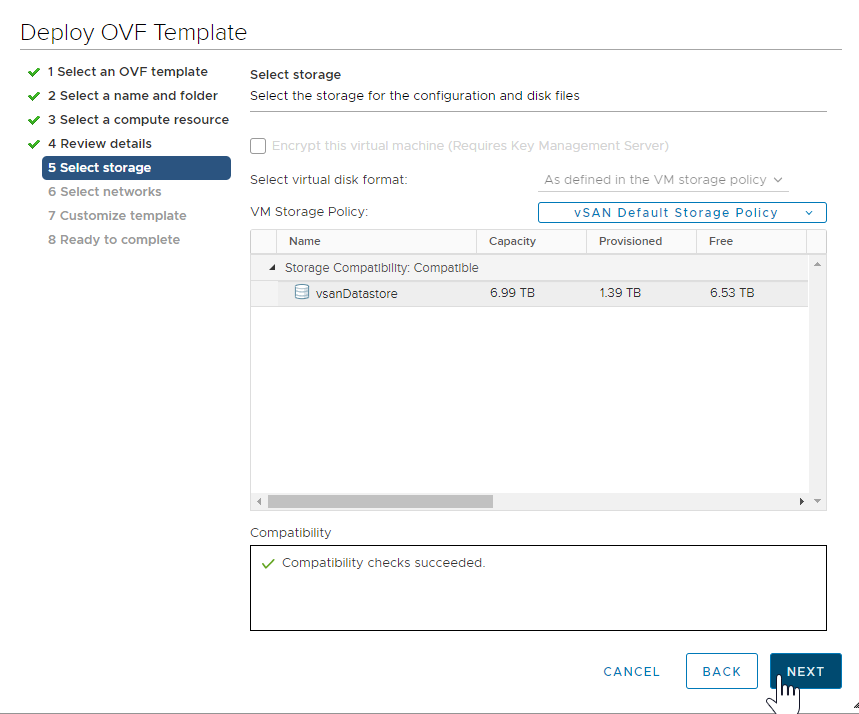
Warning: Ops Manager requires a Director VM with at least 8 GB memory. For more information, see vSphere Virtual Disk Types.
-
At the Select Networks screen:
- If you are using vSphere 6.7, select the Tanzu Kubernetes Grid Integrated Edition Management T1 Logical Switch that you defined when Create Management Plane in Installing and Configuring NSX-T Data Center v3.0 for TKGI , and click Next.
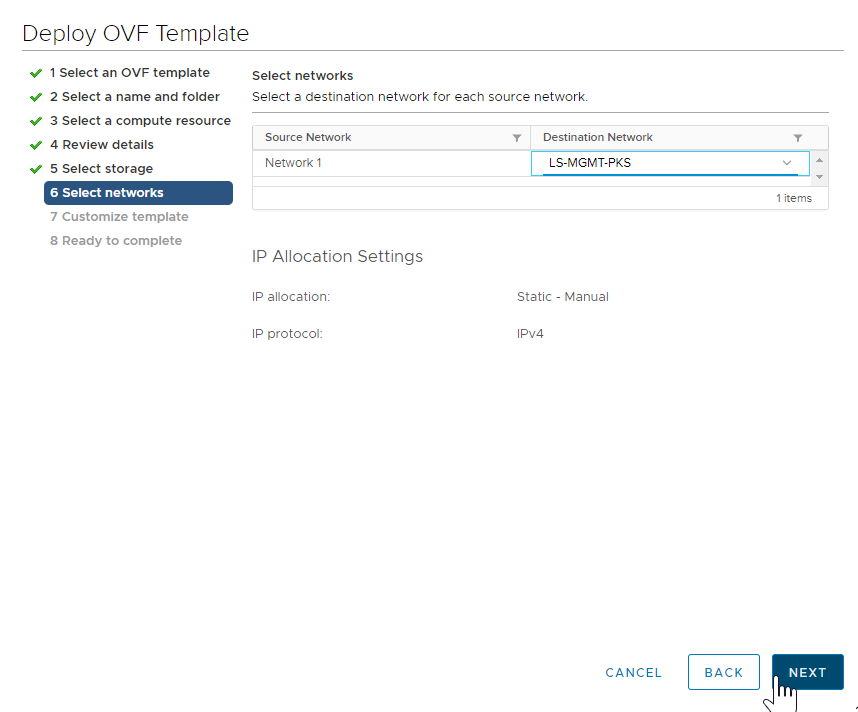
- If you are using vSphere 6.5, see Network Selection for vSphere v6.5.
- If you are using vSphere 6.7, select the Tanzu Kubernetes Grid Integrated Edition Management T1 Logical Switch that you defined when Create Management Plane in Installing and Configuring NSX-T Data Center v3.0 for TKGI , and click Next.
-
At the Customize template screen, enter the following information, and click Next.
- IP Address: The IP address of the Ops Manager network interface, for example,
10.0.0.2(assuming non-routable NAT-mode). - Netmask: The network mask for Ops Manager, for example,
255.255.255.0. - Default Gateway: The default gateway for Ops Manager to use, for example,
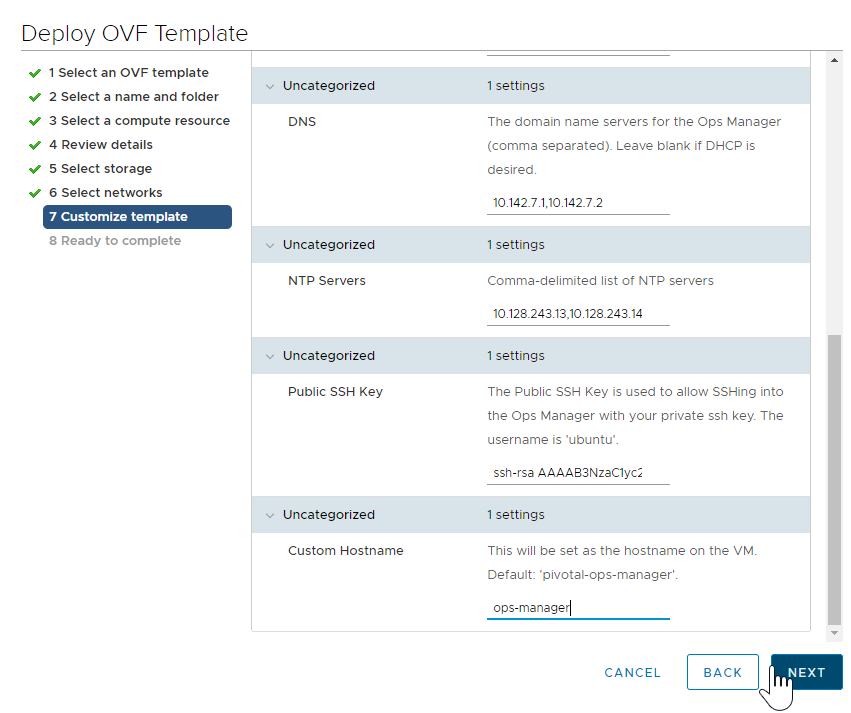
10.0.0.1(assuming non-routable NAT-mode). - DNS: One or more DNS servers for the Ops Manager VM to use, for example,
10.14.7.1. - NTP Servers: The IP address of one or more NTP servers for Ops Manager, for example,
10.113.60.176. - Public SSH Key: (Required) Enter the public SSH key to allow SSH access to the Ops Manager VM. You must enter the entire the public SSH key in the expected format. See Step 1: Generate SSH Key Pair.
- Custom hostname: The hostname for the Ops Manager VM, for example,
ops-manager.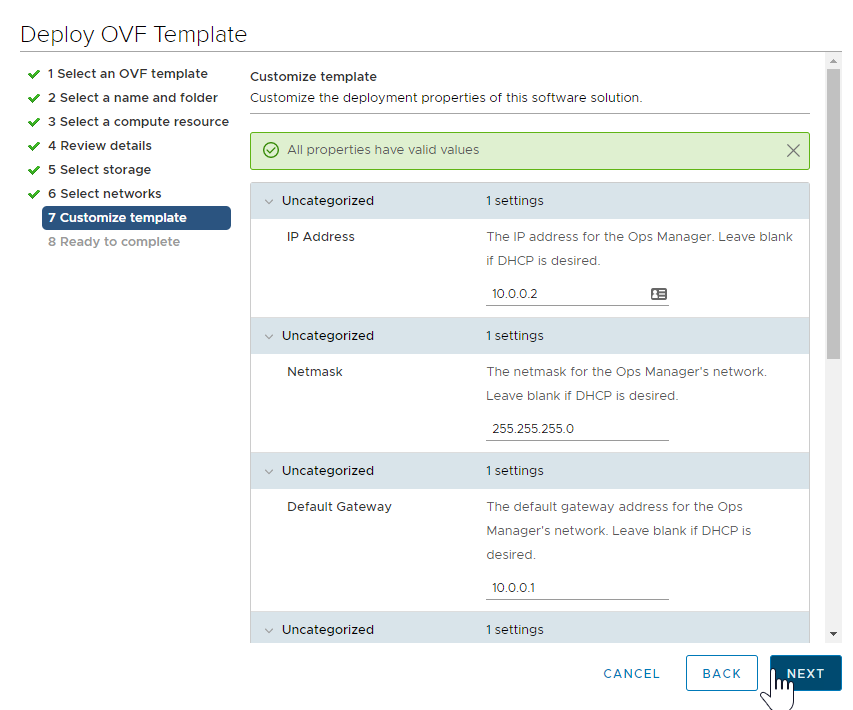
- IP Address: The IP address of the Ops Manager network interface, for example,
-
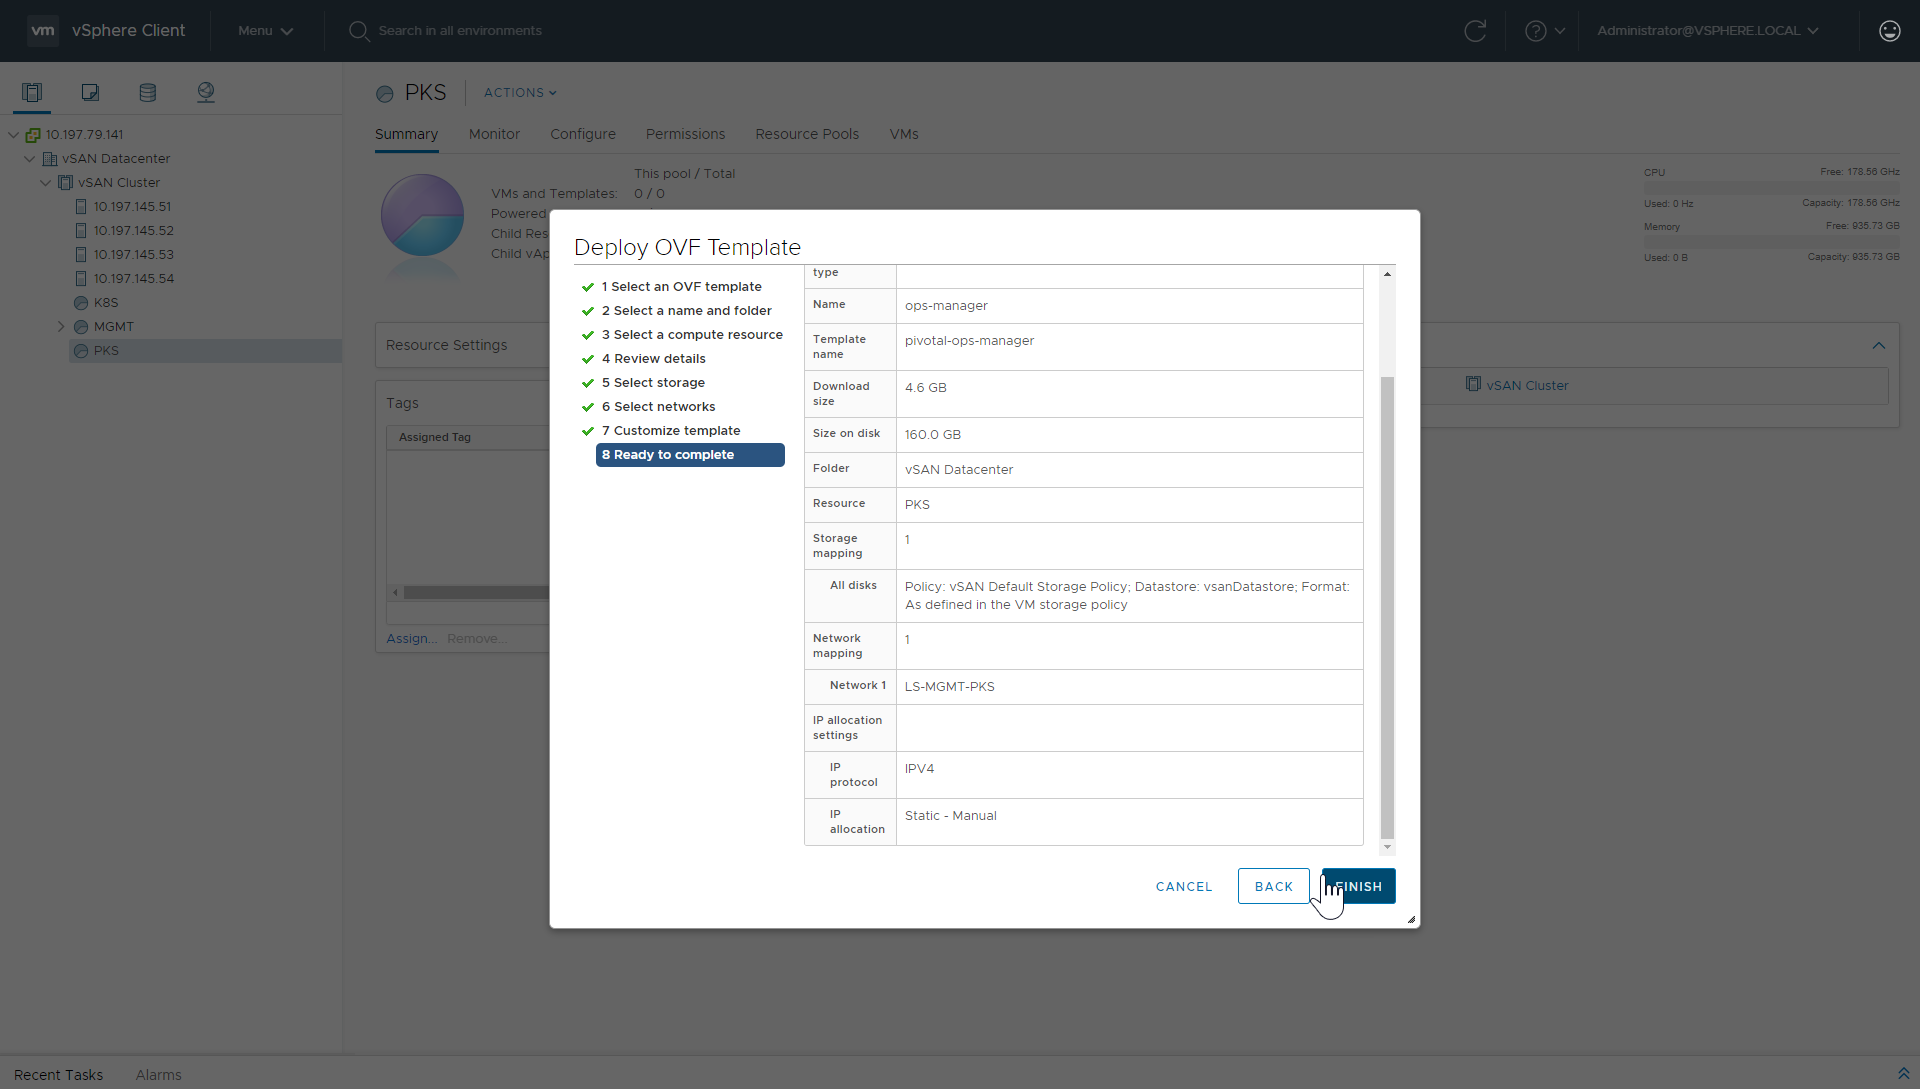
At the Ready to complete screen, review the configuration settings and click Finish. This action begins the OVA import and deployment process.
-
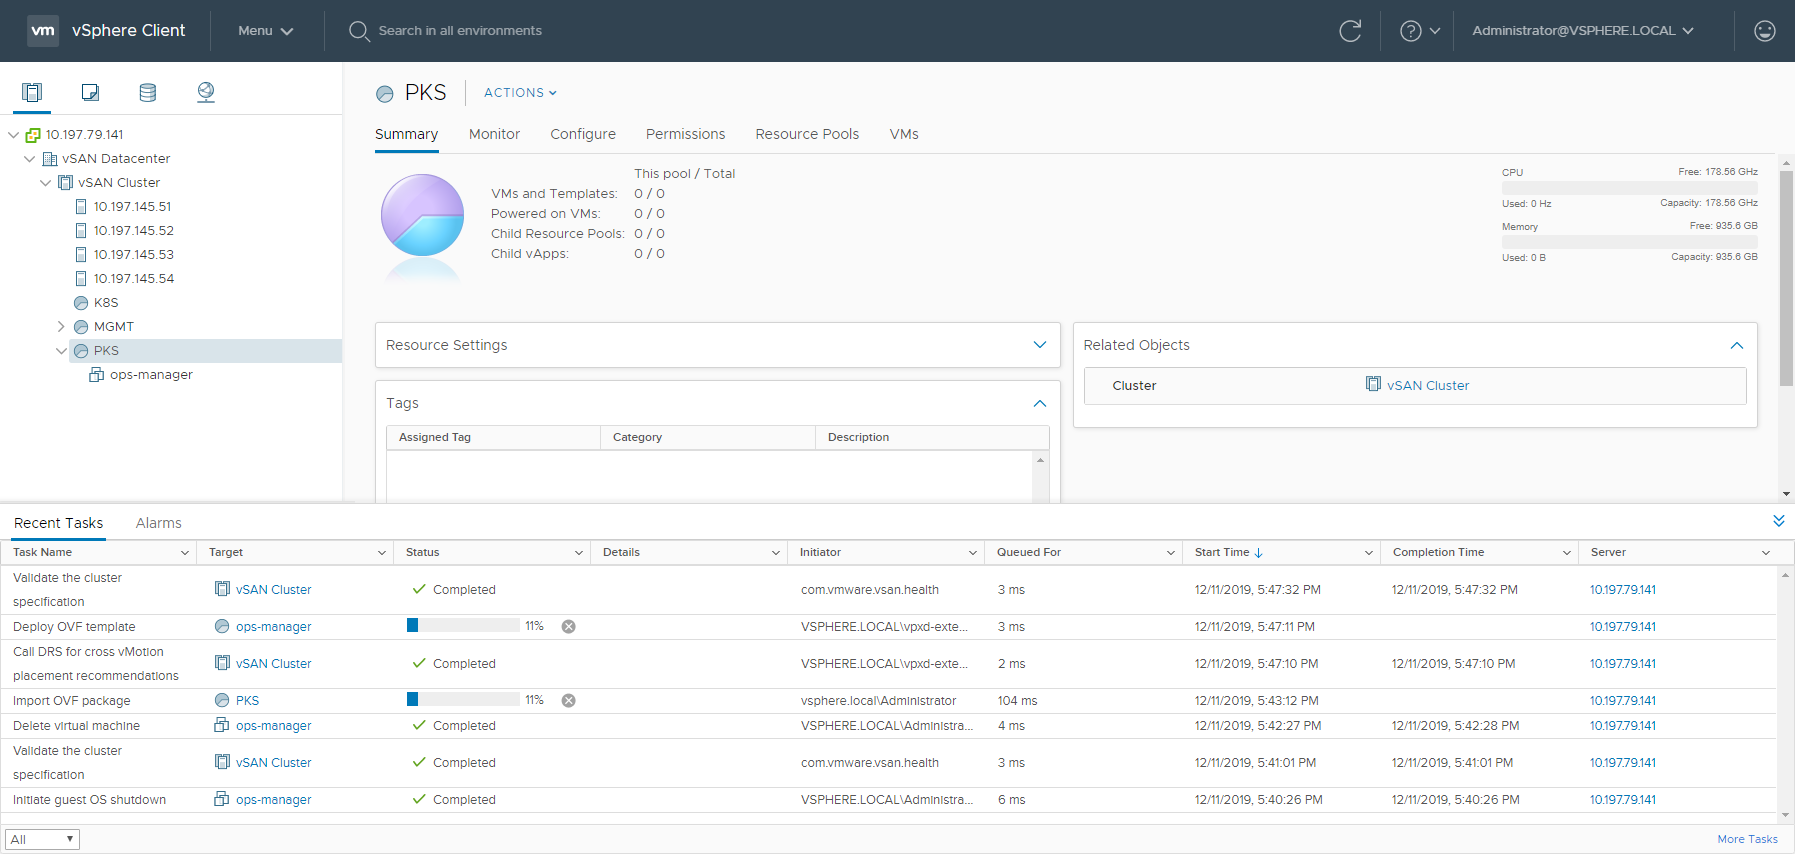
Use the Recent Tasks panel at the bottom of the vCenter dashboard to check the progress of the OVA import and deployment. If the import or deployment is unsuccessful, check the configuration for errors.
-
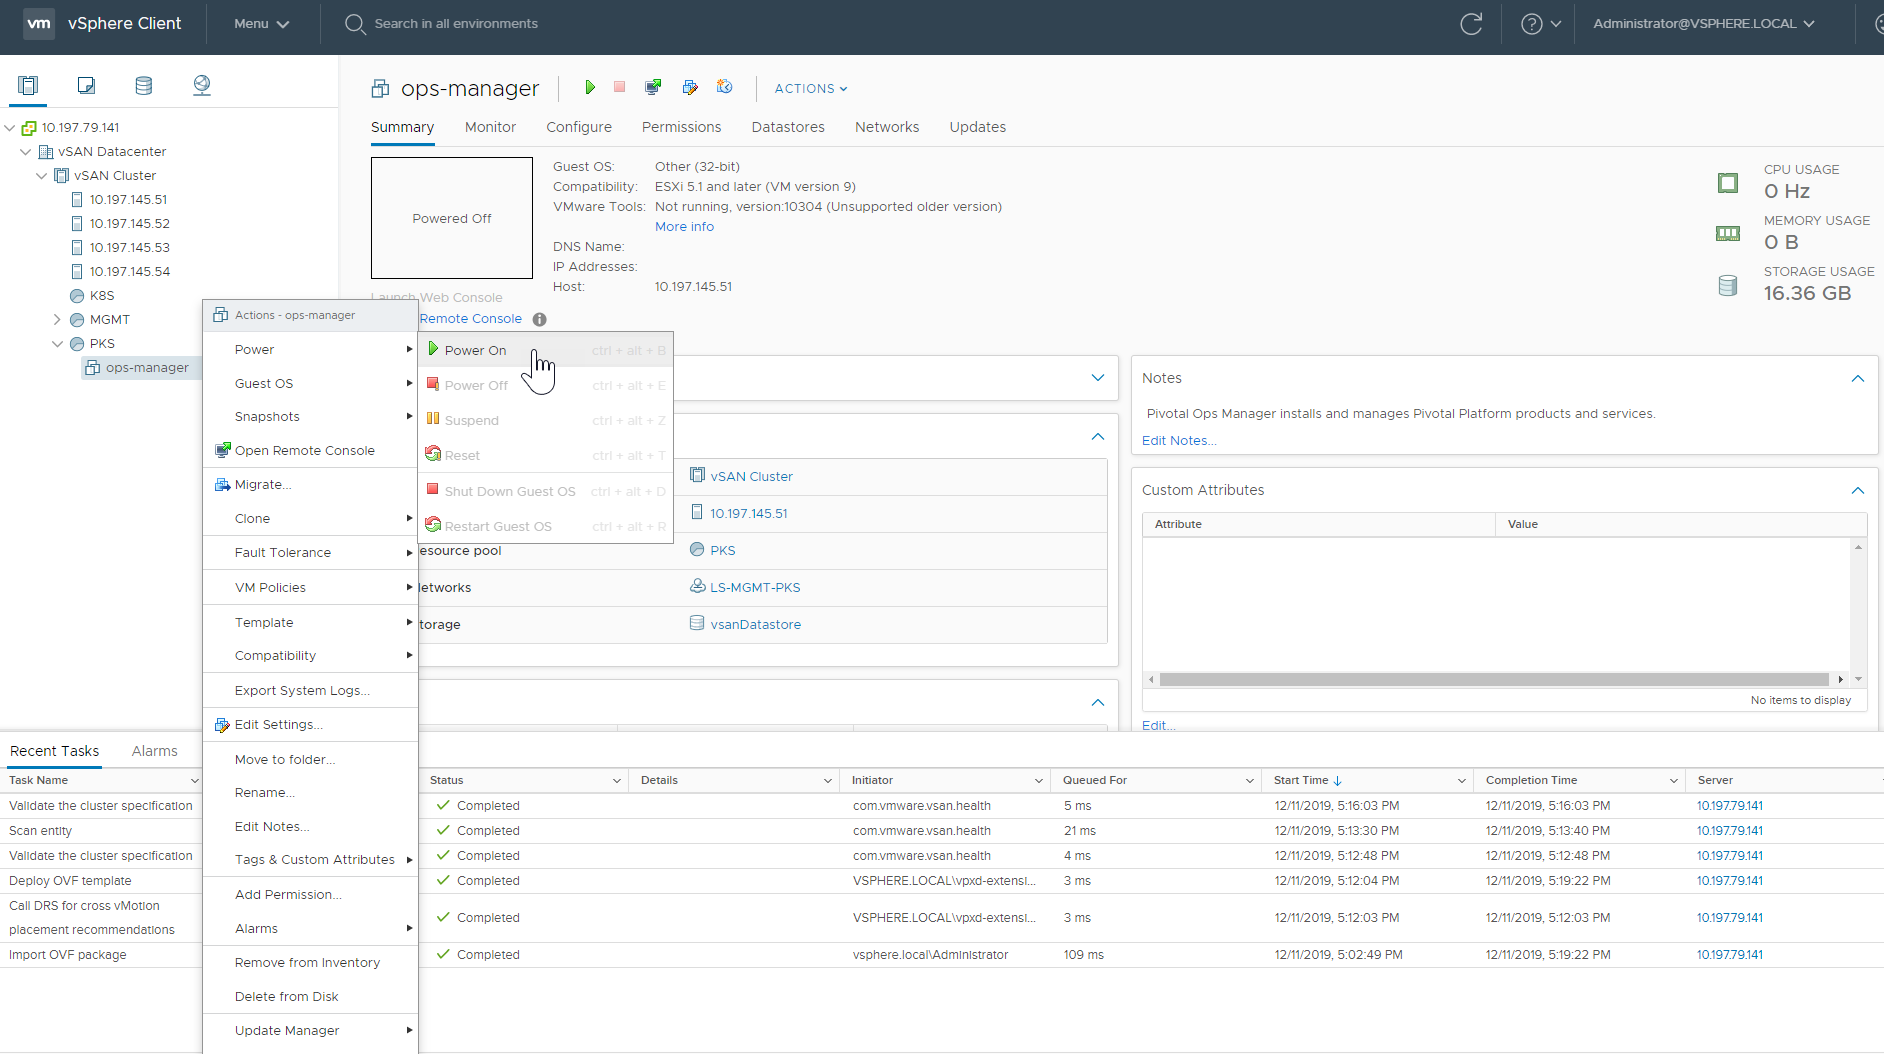
Right-click the Ops Manager VM and click Power On.
Network Selection for vSphere v6.5
With VMware vCenter Server 6.5, when initially deploying the Ops Manager OVA, you cannot connect to an NSX logical switch. You must first connect to a vSphere Standard (vSS) or vSphere Distributed Switch (vDS). After the OVA deployment is complete, before powering on the Ops Manager VM, connect the network interface to the NSX logical switch. The instructions below describe how to do this. This issue is resolved in VMware vCenter Server 6.7. For more information about this issue, see the VMware Knowledge Base.
If you are using vSphere 6.5, at the Select Networks screen, select a vSS or vDS port-group such as the standard VM Network, and click Next.
Complete the remaining deployment steps as described above.
After the OVA deployment completes successfully, right-click the Ops Manager VM and select Edit Settings. Change the vNIC connection to use the nsx.LogicalSwitch that is defined for the TKGI Management Plane, for example, LS-MGMT-TKGI. 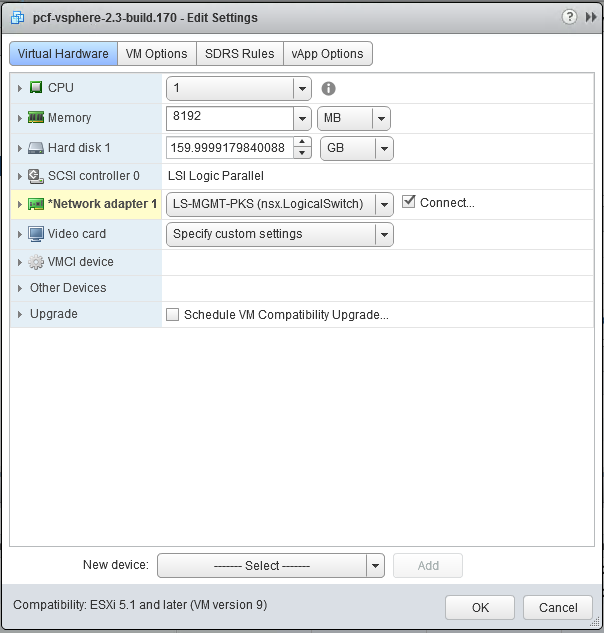
Step 3: Configure Ops Manager for Tanzu Kubernetes Grid Integrated Edition
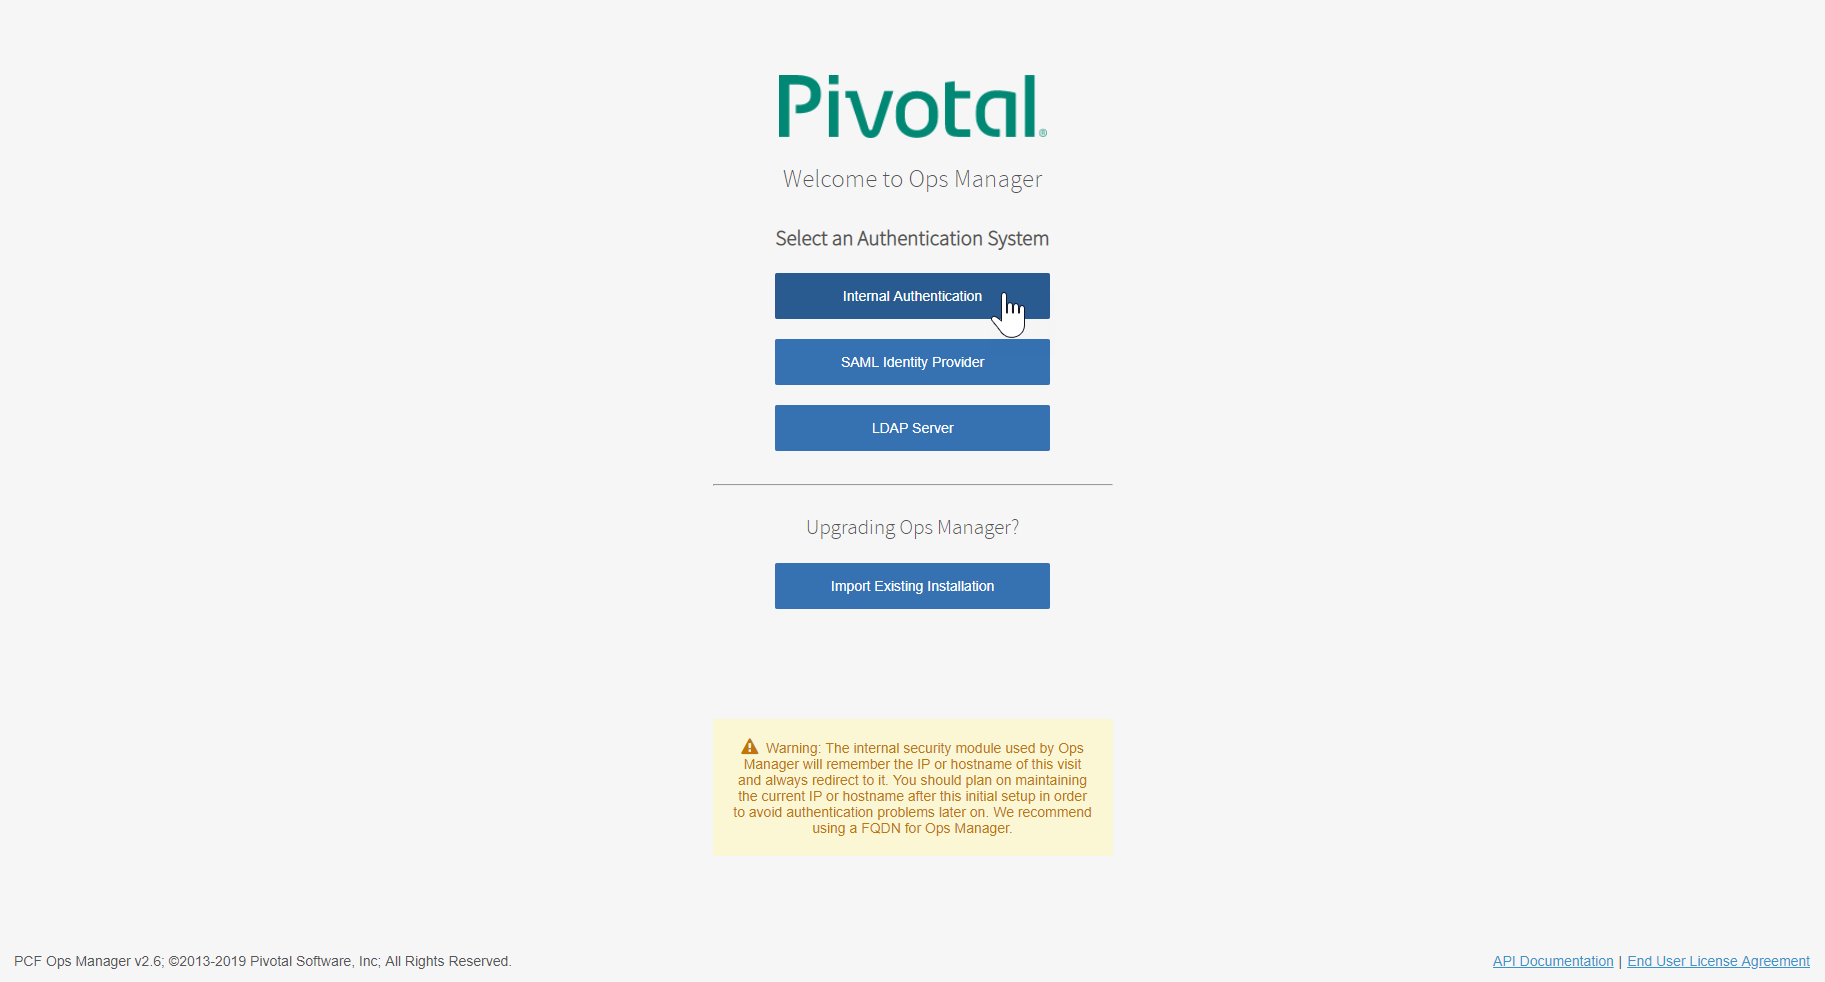
The first time that you start Ops Manager, you must select an authentication system. These instructions use Internal Authentication. For configuration details for the SAML and LDAP options, see Logging Into Ops Manager with Auth in the Ops Manager documentation.
-
If you are using the NAT deployment topology, create a DNAT rule that maps the Ops Manager private IP to a routable IP. See Create Management Plane in Installing and Configuring NSX-T Data Center v3.0 for TKGI for instructions.
-
If you are using the No-NAT deployment topology, create a DNS entry for the routable IP address that you set for Ops Manager. Use FQDN to log into Ops Manager.
Note: Ops Manager security features require you to create a fully qualified domain name to access Ops Manager. See Installing Ops Manager on vSphere.
-
Navigate to the IP address (NAT mode) or FQDN (No-NAT mode) of your Ops Manager VM in a web browser. Confirm the “Welcome to Ops Manager” page displays.
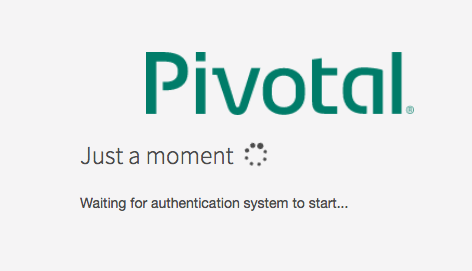
Note: It is normal to experience a brief delay before the interface is accessible while the web server and VM start up.
-
Select Internal Authentication and provide the following information:
- Username, Password, and Password confirmation to create a user with administrative privileges.
- Decryption passphrase and the Decryption passphrase confirmation. This passphrase encrypts the Ops Manager datastore, and is not recoverable.
- HTTP proxy or HTTPS proxy, follow the instructions in Configuring Proxy Settings for the BOSH CPI.
-
Read the End User License Agreement, and select the check box to accept the terms.
-
Click Setup Authentication. It takes a few minutes to initialize the database.
-
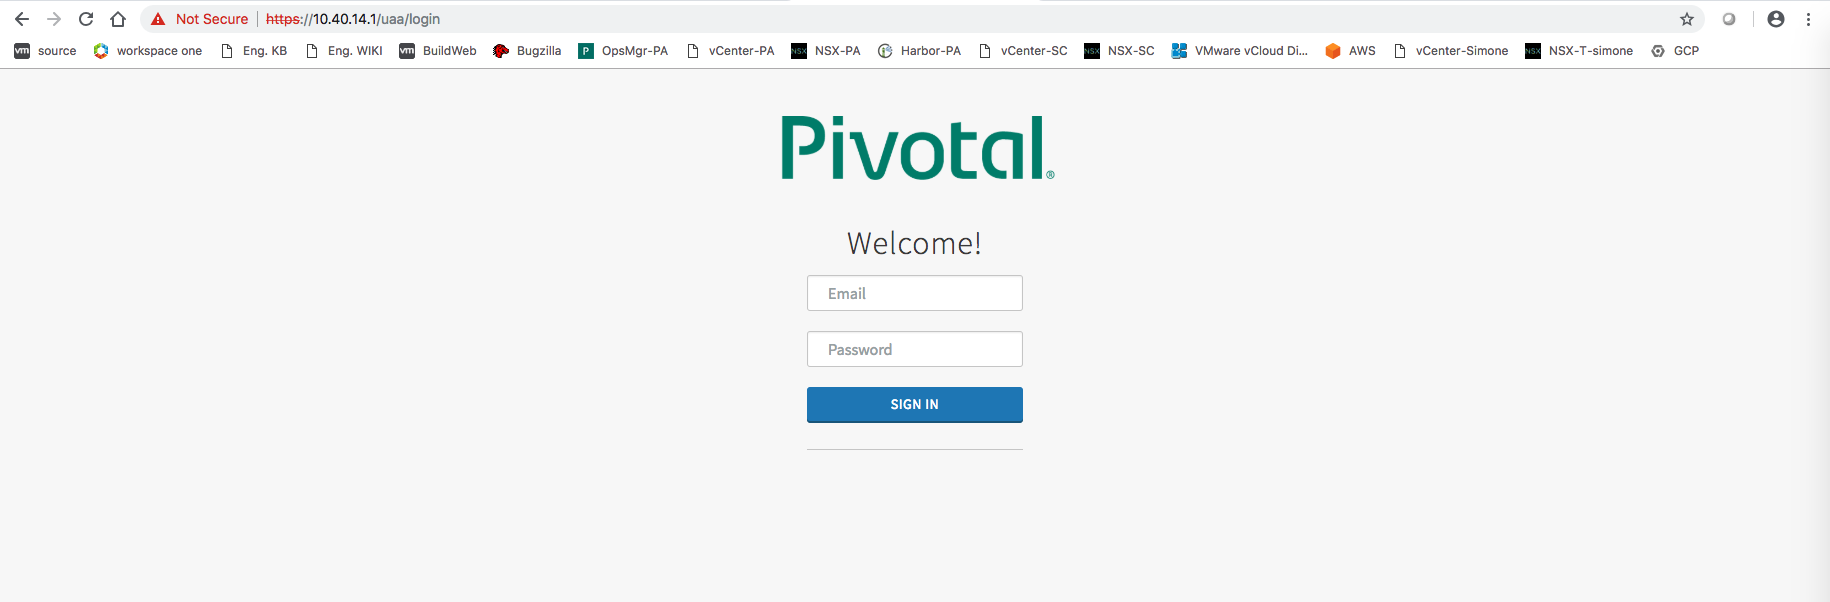
Log in to Ops Manager with the user name and password that you created.
-
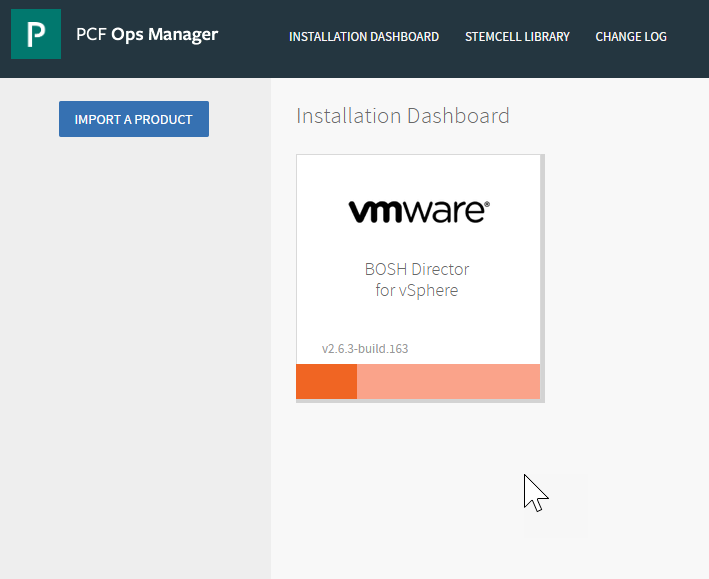
Verify success. Confirm you can log in, and that you see the BOSH Director tile is present and ready for configuration, indicated by the orange color.
Next Step
After you complete this procedure, follow the instructions in Generate and Register the NSX Management SSL Certificate and Private Key in Installing and Configuring NSX-T Data Center v3.0 for TKGI.
