This topic describes how to upgrade VMware Tanzu Kubernetes Grid Integrated Edition (TKGI) from v1.18 to v1.19 on vSphere with NSX networking.
For instructions on upgrading TKGI with Antrea networking, see Upgrading Tanzu Kubernetes Grid Integrated Edition (Antrea Networking).
Warning: Do not manually upgrade your Kubernetes version. TKGI includes the compatible Kubernetes version.
Overview
Before you upgrade, follow the procedures in Prepare to Upgrade below to plan and prepare your upgrade.
After you complete the preparation steps, continue to the procedures in Perform the Upgrade below. These steps guide you through the process of upgrading VMware Tanzu Operations Manager (Ops Manager) and the TKGI tile, importing a new stemcell, and applying the changes to your deployment.
After you complete the upgrade, follow the procedures in After the Upgrade below to verify that your upgraded TKGI deployment is running properly and to optionally upgrade NSX and vSphere.
Prerequisites
To see a list of NSX versions compatible with TKGI v1.19, consult Product Snapshot in Release Notes for TKGI v1.19.
Prepare to Upgrade
To prepare for upgrading Tanzu Kubernetes Grid Integrated Edition from TKGI v1.18 to TKGI v1.19:
- Complete all of the steps in Upgrade Preparation Checklist for.
- Review the upgrade procedures in Upgrade Order for Environments on vSphere.
- To upgrade with multiple datacenters, see below.
- You must use Ops Manager. You cannot upgrade on multiple datacenters using the Management Console.
Prepare to Upgrade with Multiple Datacenters
To upgrade a TKGI installation that runs on multiple datacenters, include the following steps:
- Upload to Ops Manager a TKGI tile version that supports multiple datacenters.
- Support for multiple datacenters varies between TKGI patch releases within the same minor release line, with later patch releases supporting the functionality while earlier ones do not.
- In the TKGI tile > Kubernetes Cloud Profile pane, set vSphere Datacenter to a comma-separated list of datacenters, for example
"DC1, DC2, folder-name/DC3". For datacenters that are under folders in your inventory, include the folder in the name. -
If you are using NSX networking, update the TKGI tile > Networking pane > vSphere Cluster list to include the clusters’ datacenters in their names, for example,
"DC1:cluster1, DC2:cluster2, DC-folder-name/DC3:cluster3".After upgrading TKGI with multiple datacenters, you can use the
tkgiCLI to upgrade TKGI clusters.Note: The TKGI Management Console does not yet support upgrading TKGI running on multiple datacenters.
Perform the Upgrade
This section describes the steps required to upgrade to TKGI v1.19:
- Upgrade NSX
- Upgrade Ops Manager
- Download and Import TKGI v1.19
- Download and Import Stemcells
- Upgrade the TKGI Tile
Upgrade NSX
Tanzu Kubernetes Grid Integrated Edition v1.19 supports running on NSX-T Data Center v3.2.3 or later and NSX v4.0 or later.
You cannot upgrade directly from NSX-T v3.2.2 and earlier to NSX v4.0+, but you can upgrade stepwise by following the supported upgrade paths listed in the NSX-T and NSX upgrade documentation linked below.
Note: For v4.0+, VMware NSX-T Data Center is renamed to “VMware NSX.”
Upgrade to NSX-T v3.2.3 or Later
To upgrade NSX to NSX-T v3.2.3 or later:
-
Confirm that you are upgrading NSX to a version compatible with TKGI v1.19. For a list of NSX versions compatible with TKGI v1.19, see Product Snapshot in Release Notes for TKGI v1.19.
Warning: Refer to the Release Notes for current version support, known issues, and other important information.
-
Confirm that your vSphere installation is on the supported version and patch for NSX.
- Refer to the VMware Product Interoperability Matrices.
- If necessary, upgrade to the required vSphere version or patch before proceeding with the upgrade of NSX.
-
Upload the NSX upgrade bundle using the NSX Manager and proceed with the upgrade process by following the instructions in the UI.
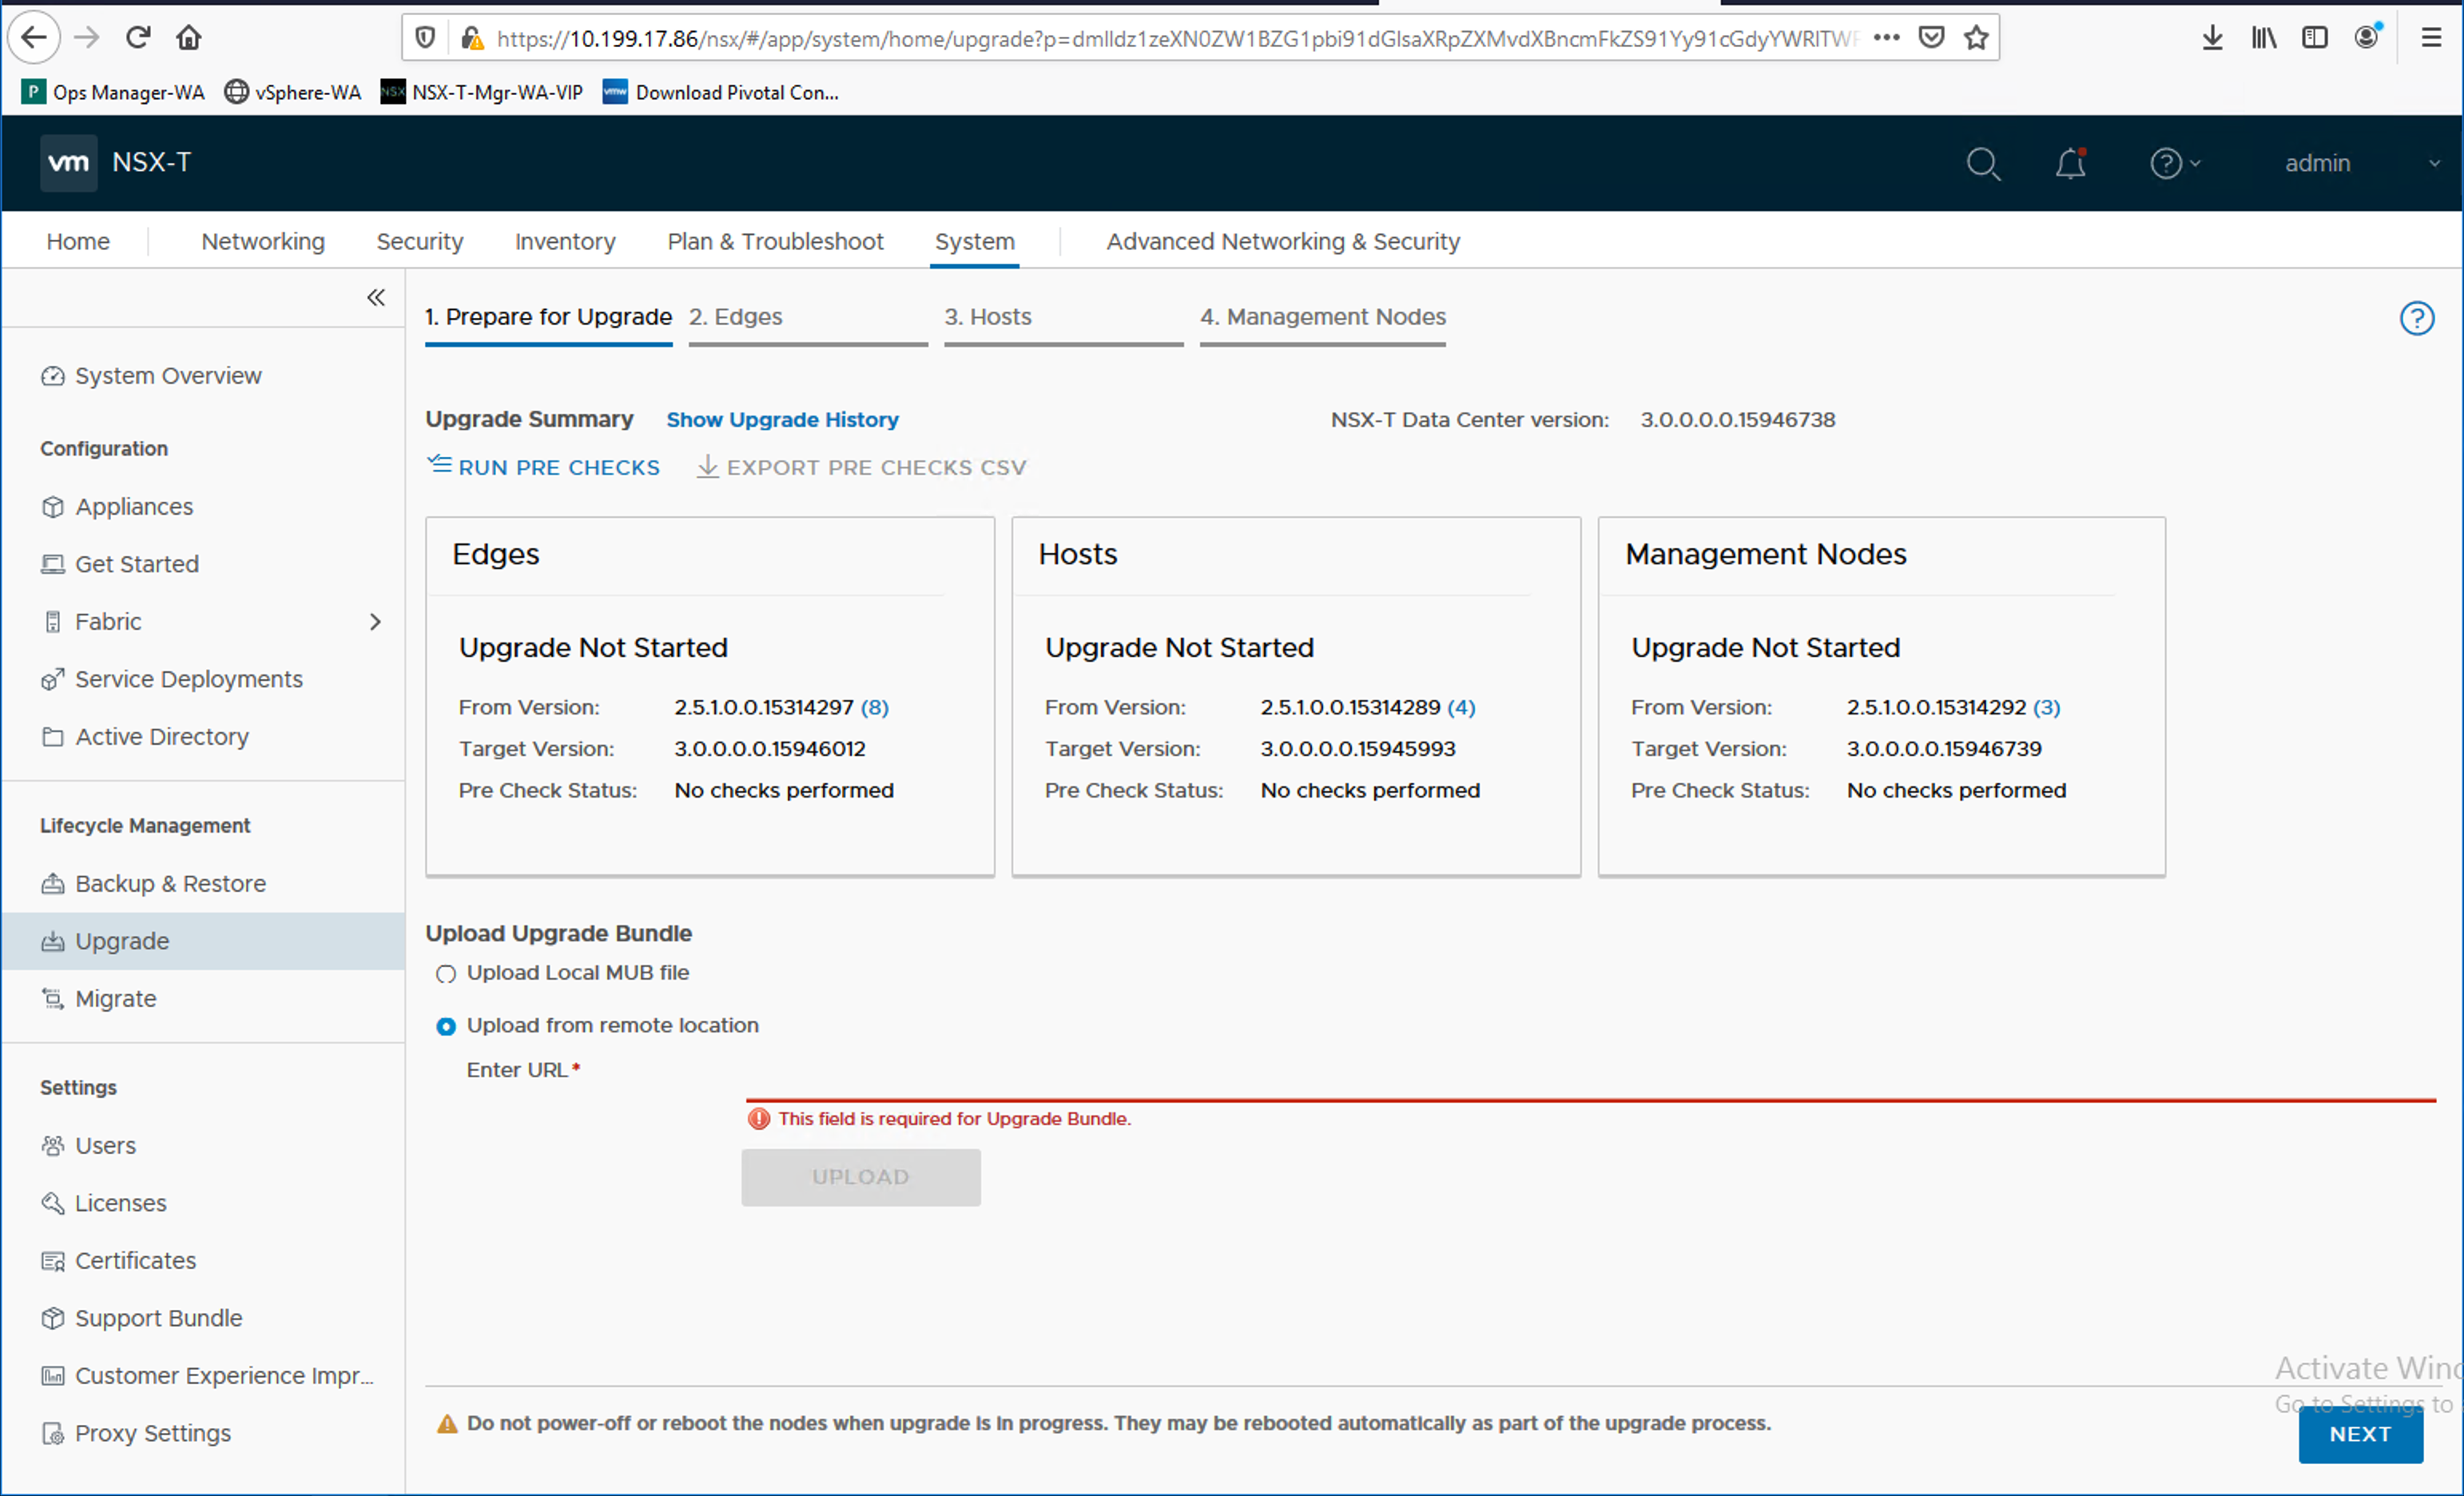
For more information, refer to the Upgrading VMware NSX documentation.
-
If you made architectural changes to your NSX environment that affect TKGI, such as adding or changing a VIP address, or a load balancer for the NSX Management Cluster, update the BOSH Director and TKGI tiles with the new or updated IP addresses:
- In the BOSH Director tile > vCenter Configuration pane, update NSX Address and NSX CA Cert.
- In the TKGI tile > Networking pane, update NSX Manager hostname and NSX Manager CA Cert.
- After making changes to the BOSH Director or TKGI tiles:
- On the Installation Dashboard in Ops Manager, click Review Pending Changes.
- Expand the Errands list for TKGI.
- Ensure that the Upgrade all clusters errand is selected.
- Click Apply Changes.
Upgrade NSX-T v3.2 to NSX v4.0 or Later
To upgrade an NSX-T v3.2 deployment to NSX v4.0 or later:
-
If your NSX-T v3.2 deployment uses an N-VDS host switch, as described in NSX Virtual Distributed Switch, you need to migrate your host switch to vSphere Distributed Switch (VDS) before you can upgrade to NSX v4.0 or later.
- To migrate the host switch, see Migrate Host Switch to vSphere Distributed Switch in the VMware NSX-T Data Center Documentation.
- For more information, see Feature Deprecation in the VMware NSX 4.0.0.1 Release Notes.
-
Upgrade to NSX as described in the NSX Upgrade Guide.
Upgrade Ops Manager
Each version of TKGI is compatible with multiple versions of Ops Manager. See Retrieve Product Version Compatibilities from the Tanzu API in the Broadcom Support KB to determine if your Ops Manager version is compatible with TKGI v1.19.
Warning: If you use an automated pipeline to upgrade TKGI, see Configure Automated Ops Manager and Ubuntu Jammy Stemcell for Tanzu Downloading in Configuring the Upgrade Pipeline.
To upgrade Ops Manager:
-
Log in to Ops Manager.
-
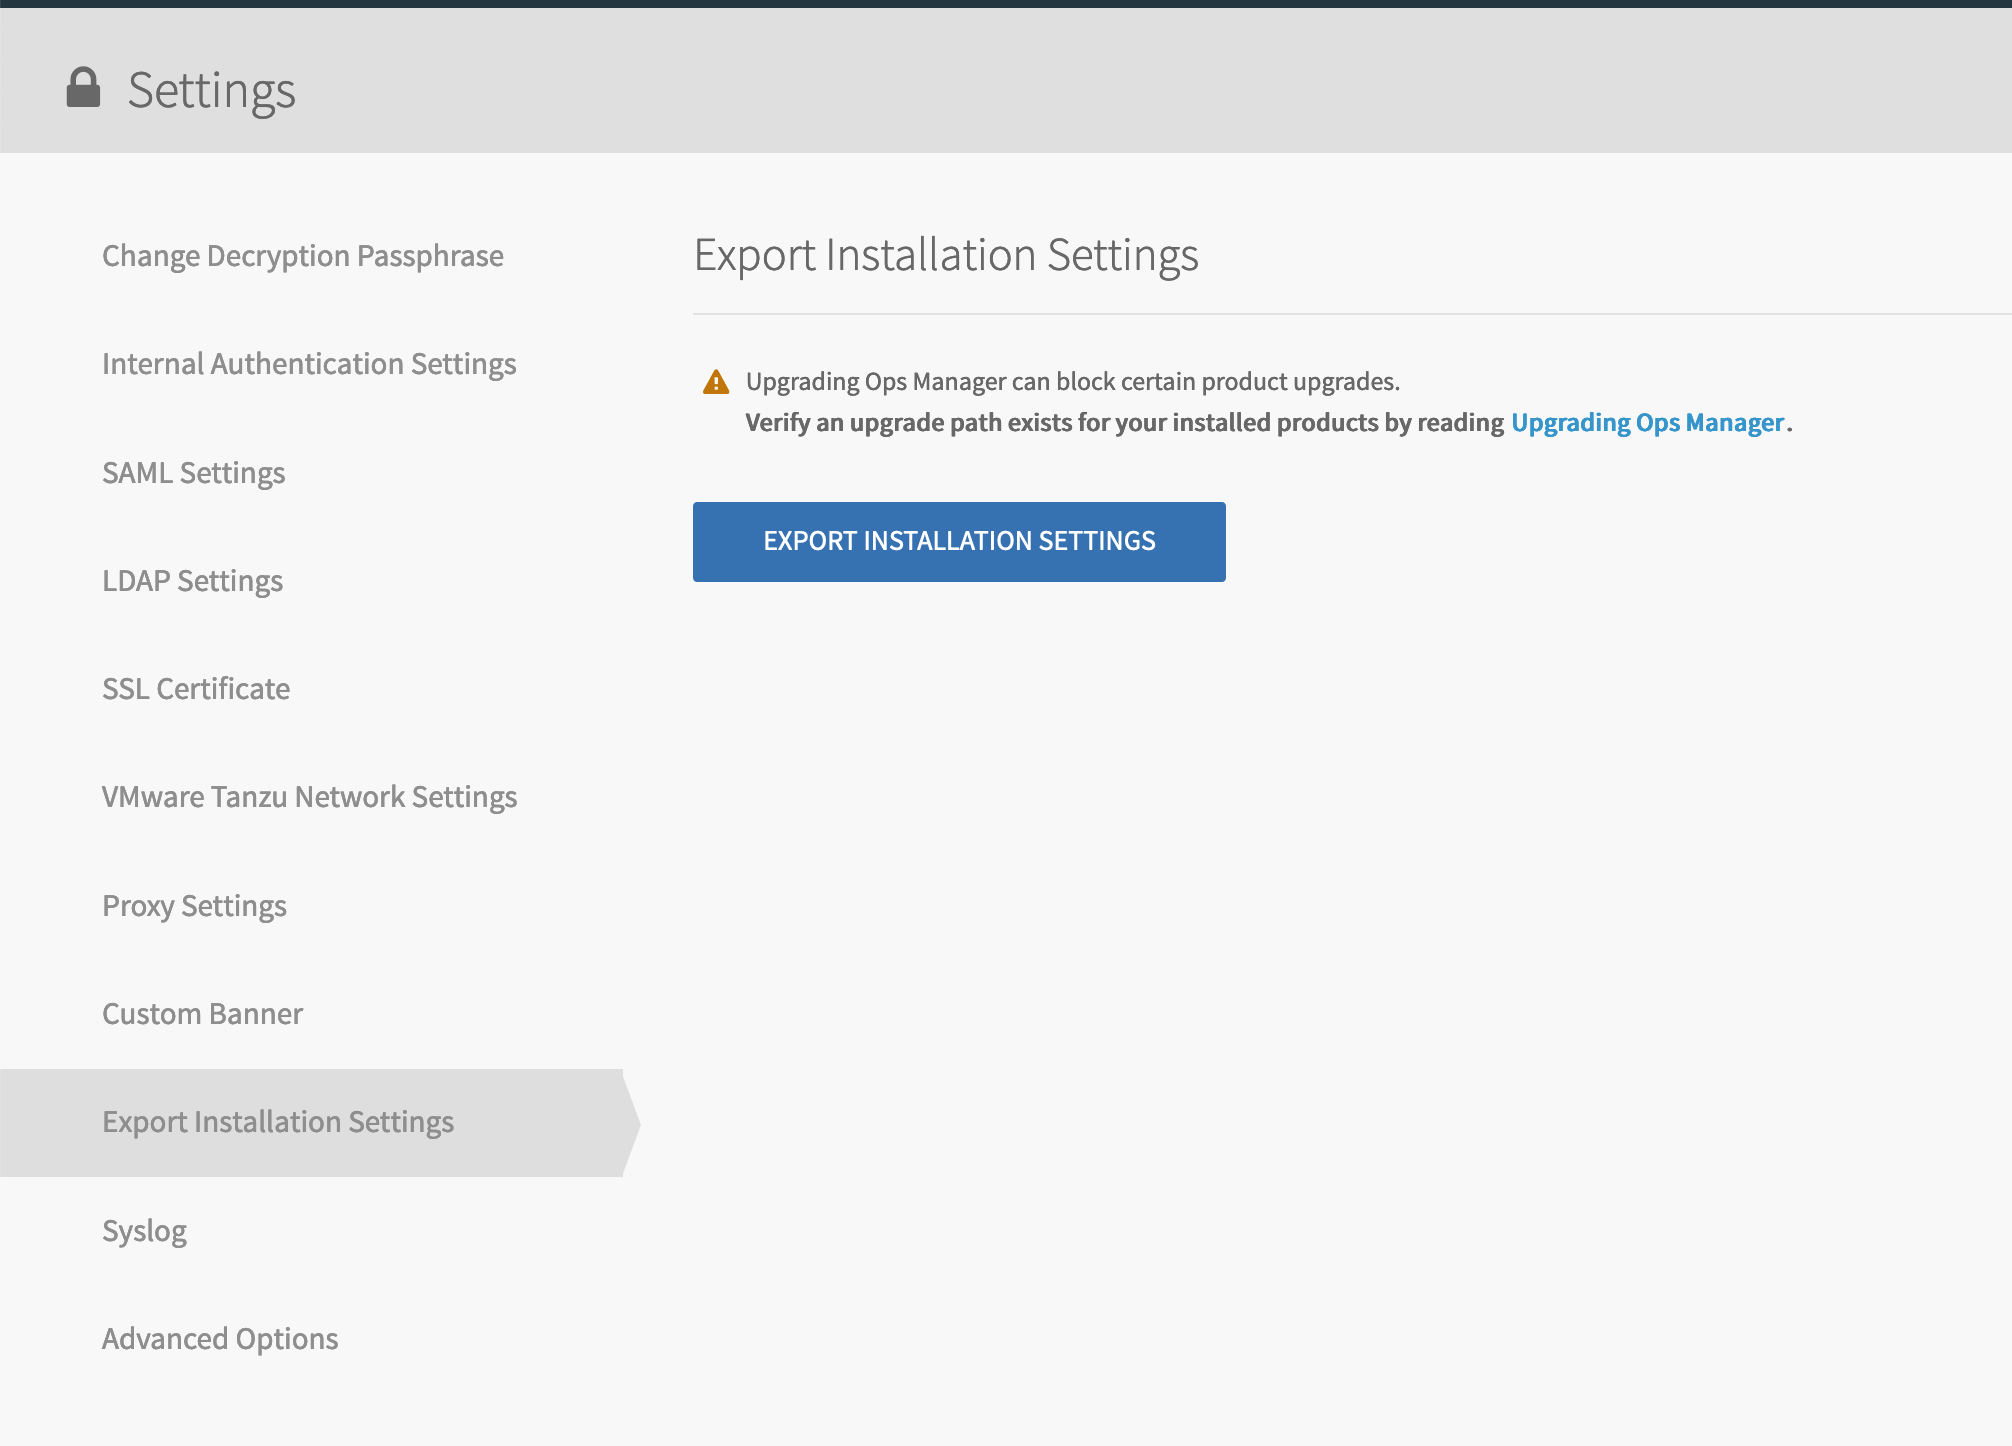
Click your user name in the top right corner and navigate to Settings > Export Installation Settings.
-
Click Export Installation Settings.
- Ops Manager exports an encrypted archive of your current installation configuration.
- Later, you import this configuration into to your upgraded Ops Manager.
-
Log in to vCenter Server using the vSphere Client.
-
Shut down the Ops Manager VM.
-
Deploy the upgraded Ops Manager VM by following the first two steps of Deploying Ops Manager with NSX for TKGI:
-
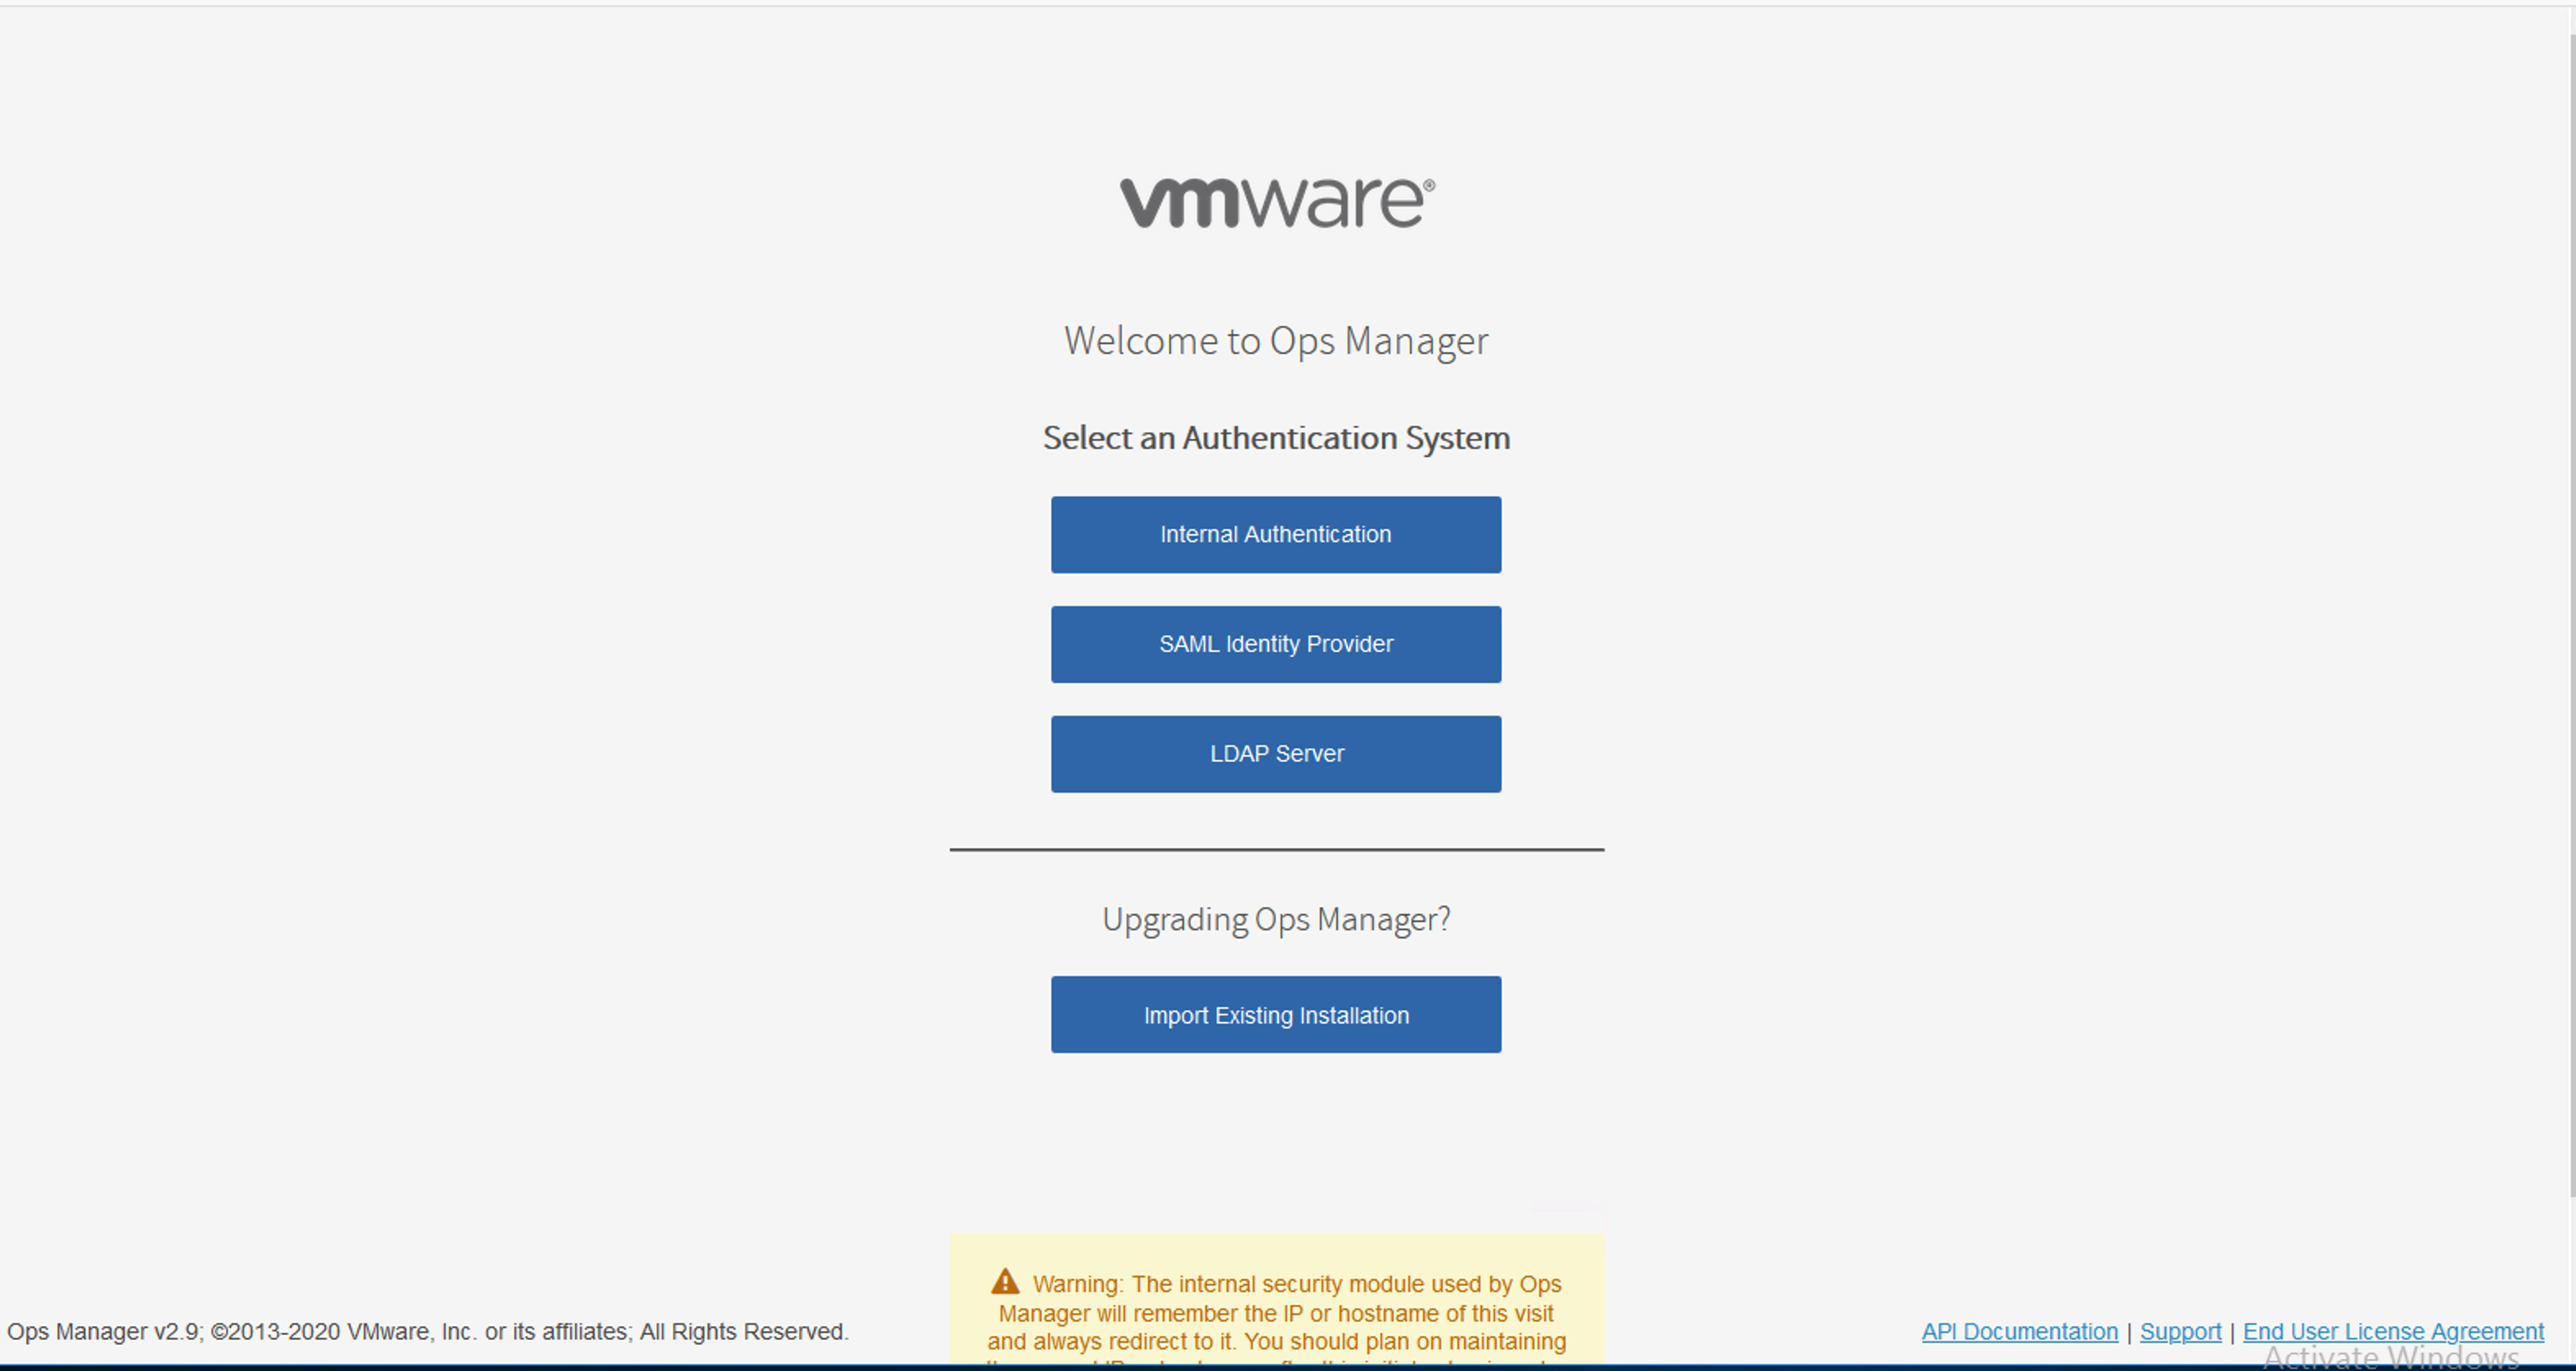
Using a browser, navigate to the newly-deployed Ops Manager web interface.
-
On the welcome page, select Import Existing Installation.
-
Browse to and select the installation configuration archive you exported.
-
Log in to Ops Manager
-
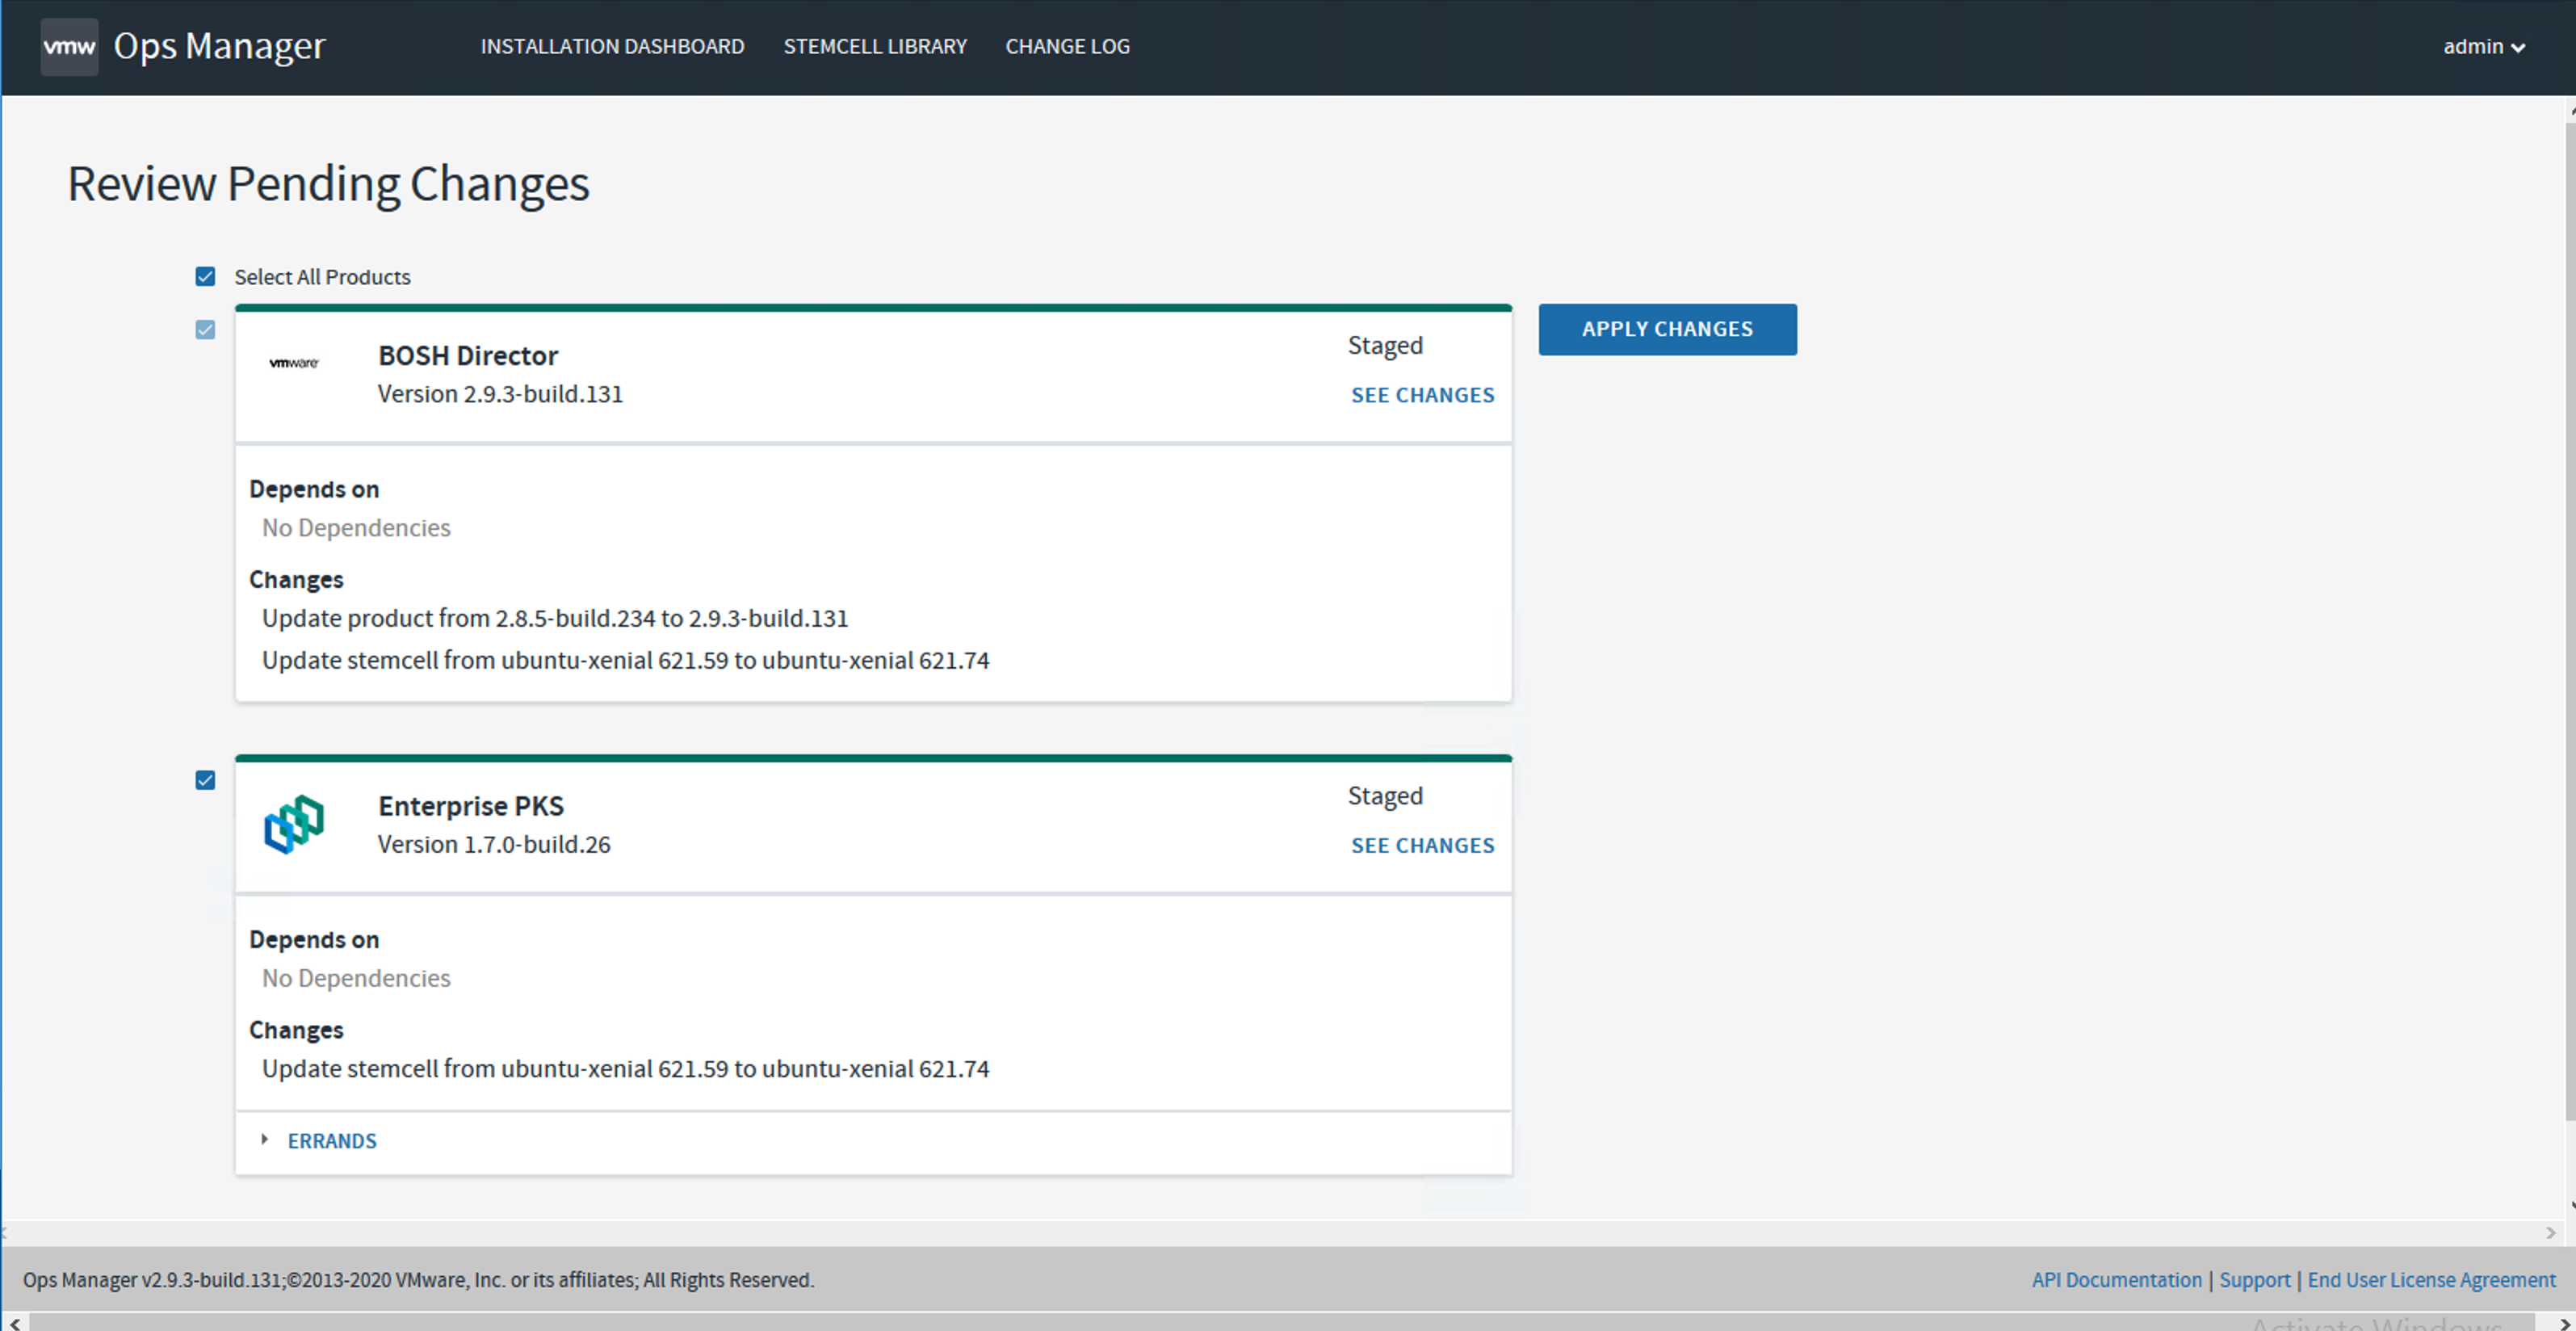
Click Apply Changes.
-
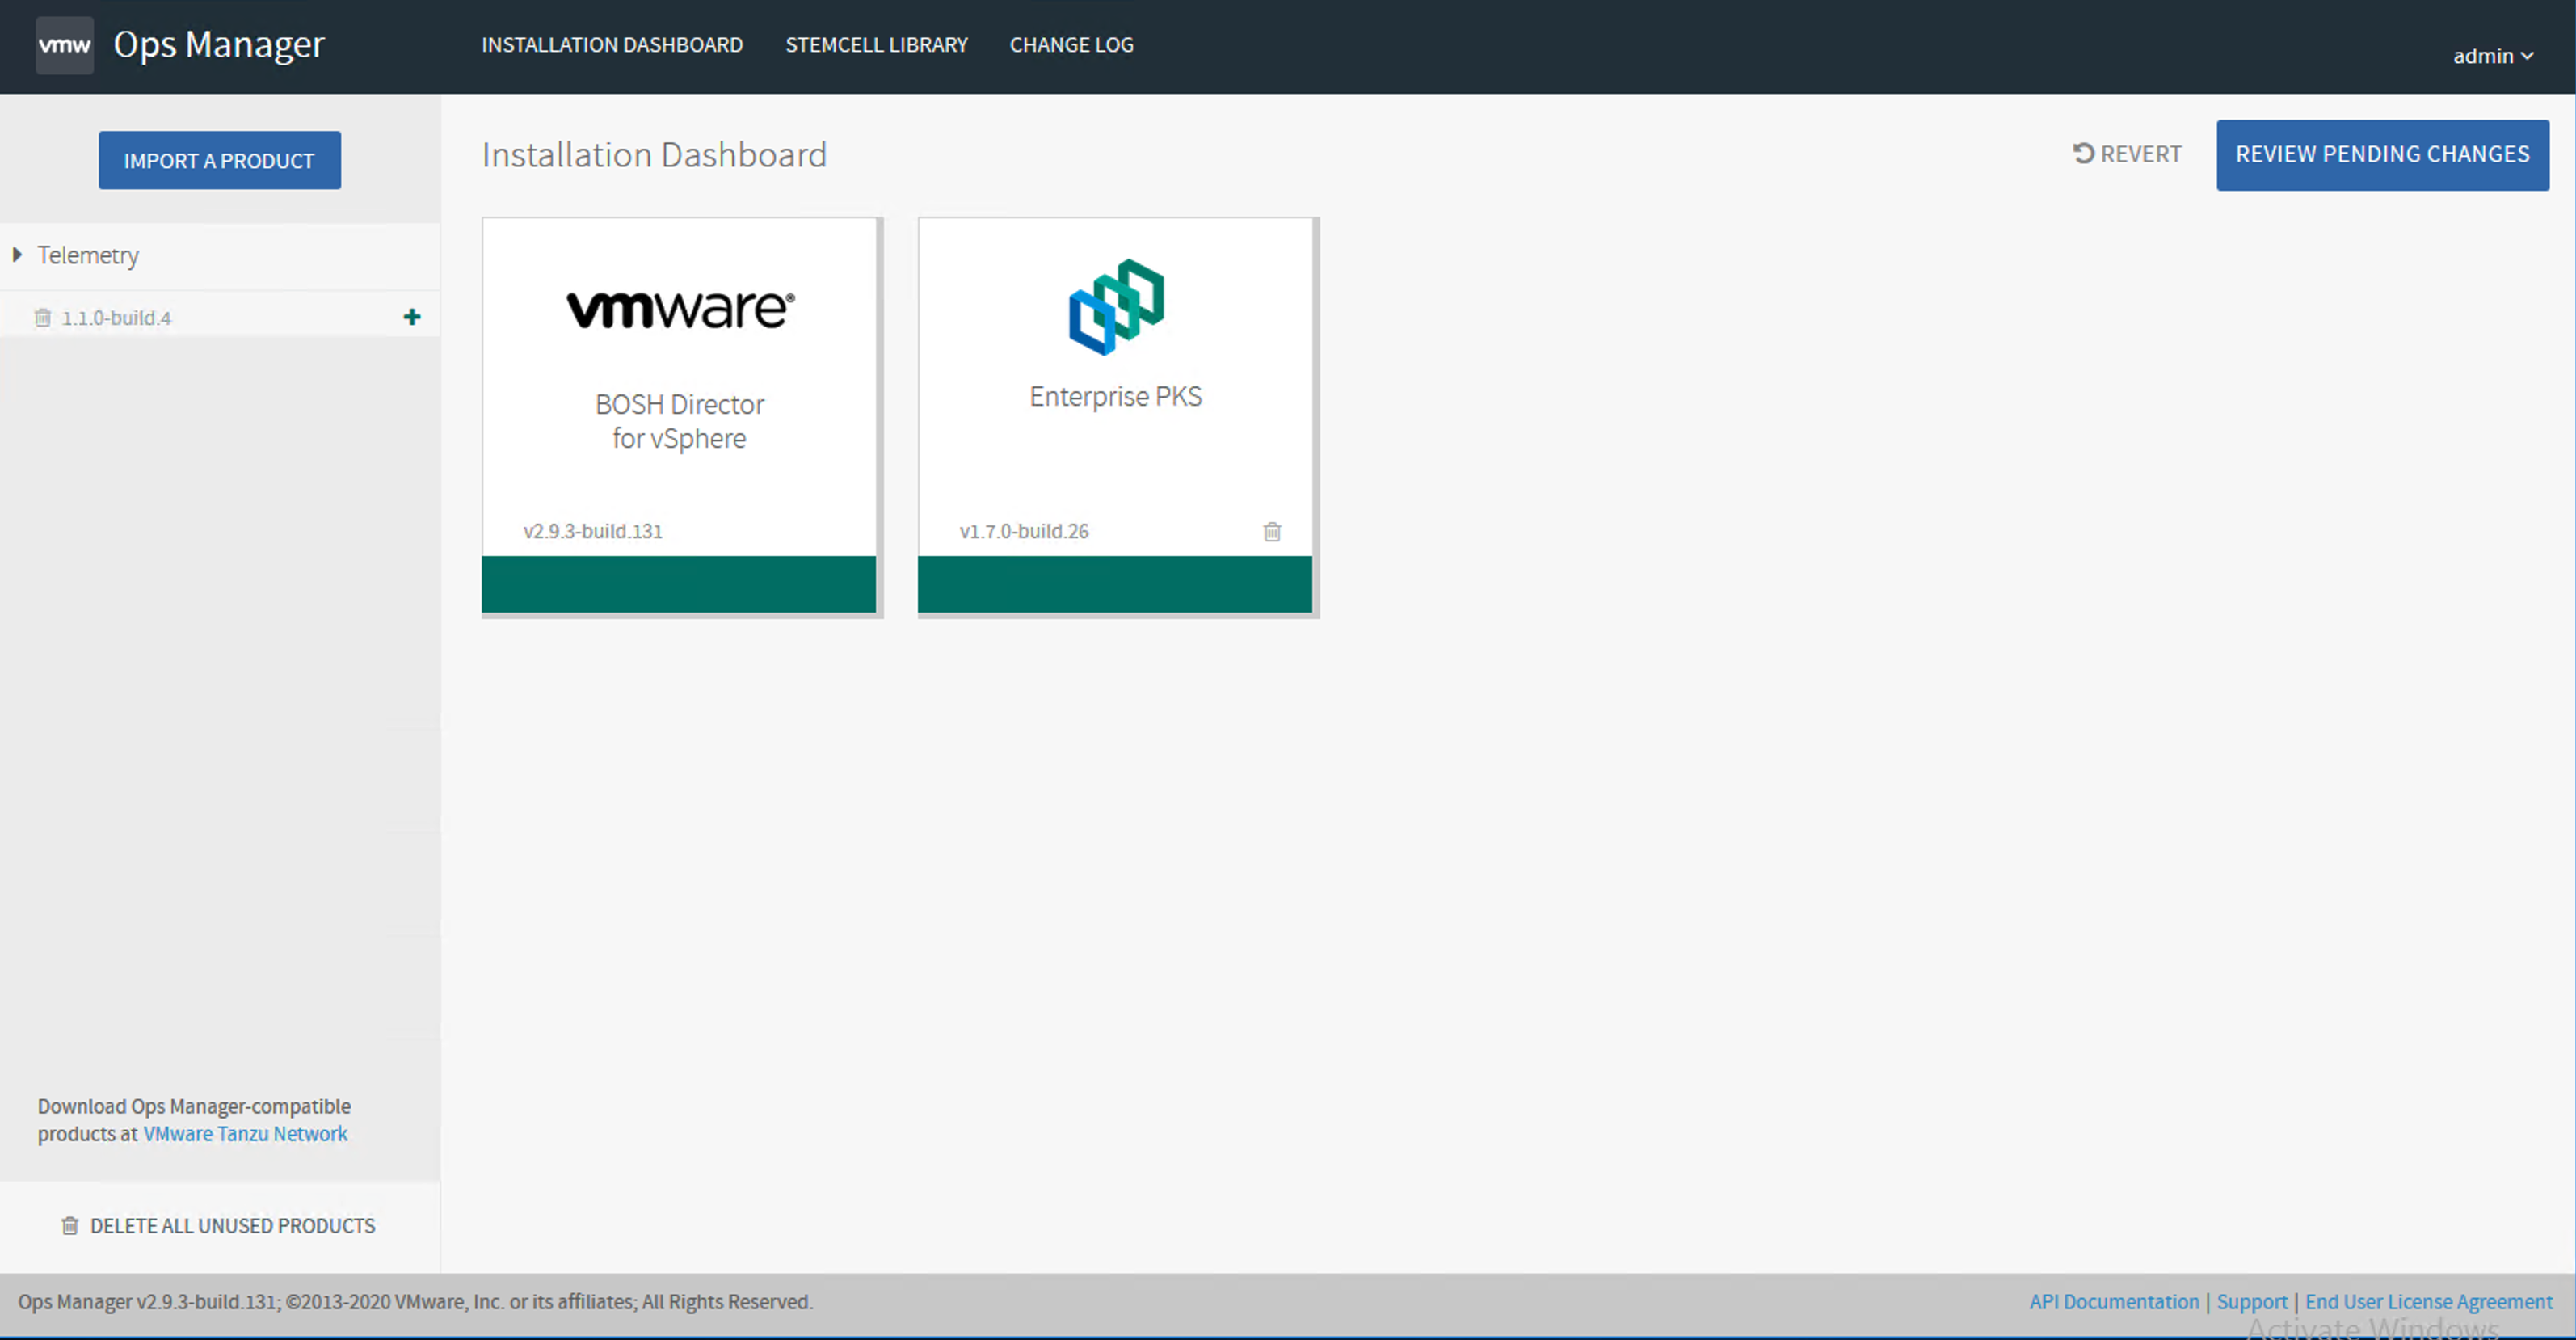
Verify that the BOSH Director for vSphere tile shows the upgrade version.
Download and Import TKGI v1.19
When you upgrade TKGI, your configuration settings typically migrate to the new version automatically. To download and import a TKGI version:
-
Download the target version of the product from Broadcom Support.
-
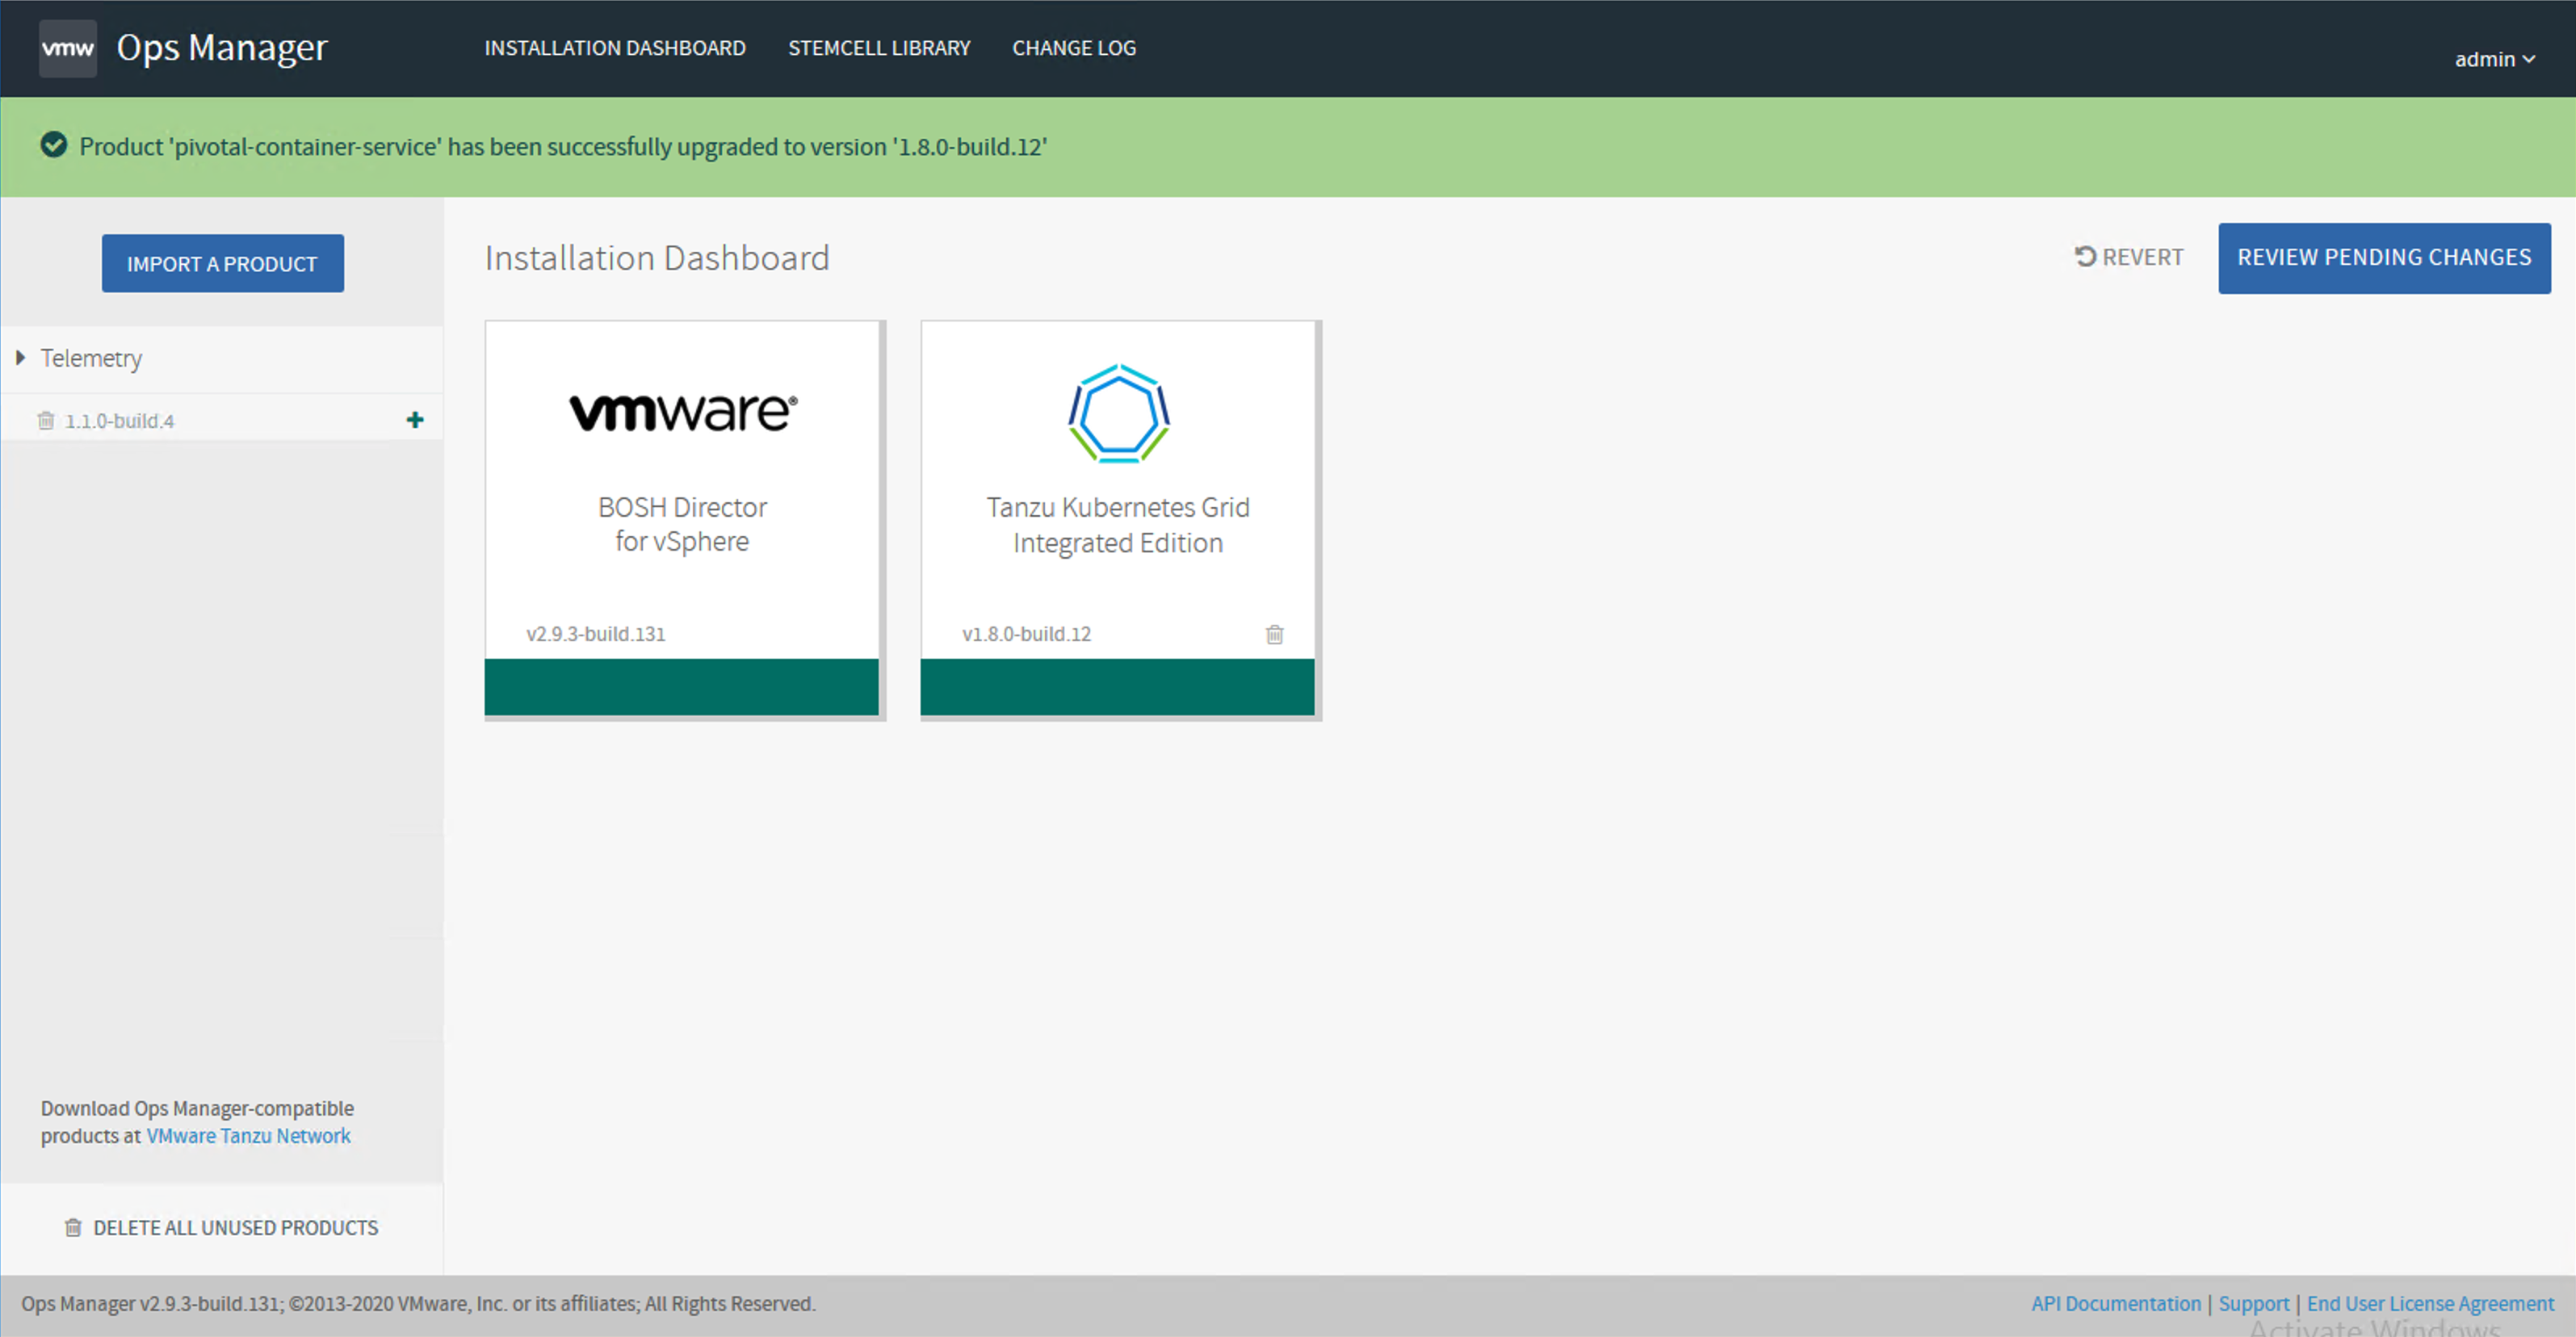
Import the target version of the TKGI tile to the Ops Manager Installation Dashboard.
-
Click Review Pending Changes.
-
Expand the Errands dropdown and activate or deactivate Upgrade all clusters errand
- See Deciding Between Full and Two-Phase Upgrade to decide whether to upgrade TKGI-provisioned Kubernetes clusters along with TKGI, or upgrade them later.
- VMware recommends that you upgrade Kubernetes clusters along with TKGI if possible.
- Activate the Upgrade all clusters errand to upgrade clusters along with TKGI.
Warning: Deactivating the Upgrade all clusters errand causes the TKGI version tagged in your Kubernetes clusters to fall behind the TKGI tile version. If you deactivate the Upgrade all clusters errand when upgrading the TKGI tile, you must upgrade all your Kubernetes clusters before the next TKGI upgrade.
-
Set the Run smoke tests errand to On. The Smoke Test errand smoke tests the TKGI upgrade by creating and deleting a test Kubernetes cluster. For more information, see Errands in Installing Tanzu Kubernetes Grid Integrated Edition on vSphere with VMware NSX.
-
(Optional) Configure the Smoke Test errand to use a network profile instead of the default configuration settings on the TKGI tile. For more information, see Errands in Installing Tanzu Kubernetes Grid Integrated Edition on vSphere with VMware NSX.
Download and Import Stemcells
TKGI requires an Ubuntu Jammy Stemcell for VMware Tanzu. A Windows 2019 Windows Stemcell for VMware Tanzu is also required if you intend to create Windows worker-based clusters. For information about Windows stemcells, see Configuring Windows Worker-Based Clusters.
Warning: If you use an automated pipeline to upgrade TKGI, see Configure Automated Ops Manager and Ubuntu Jammy Stemcell for Tanzu Downloading in Configuring the Upgrade Pipeline.
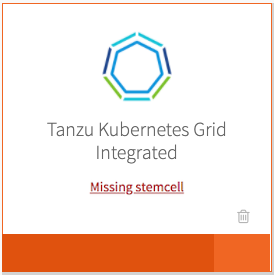
If Ops Manager does not have the Ubuntu Jammy Stemcell for VMware Tanzu required for TKGI v1.19, the TKGI tile displays the message Missing stemcell. To download and import a new Ubuntu Jammy Stemcell for VMware Tanzu, follow the steps below:
-
On the TKGI tile, click the Missing stemcell link.
-
Find the compatible stemcell versions for your TKGI version as described in Retrieve Product Version Compatibilities from the Tanzu API in the Broadcom Support KB.
-
Navigate to the Stemcells (Ubuntu Jammy) page on Broadcom Support and download the required Stemcell for VMware Tanzu version for your IaaS.
-
Return to the Installation Dashboard in Ops Manager and click Stemcell Library.
-
On the Stemcell Library page, click Import Stemcell and select the stemcell file you downloaded from Broadcom Support.
-
Select the TKGI tile and click Apply Stemcell to Products.
-
Verify that Ops Manager successfully applied the stemcell. The stemcell version you imported and applied appears in the Staged column for TKGI.
-
Return to the Installation Dashboard.
Upgrade the TKGI Tile
To complete the upgrade of the TKGI tile:
-
Return to the Installation Dashboard in Ops Manager.
-
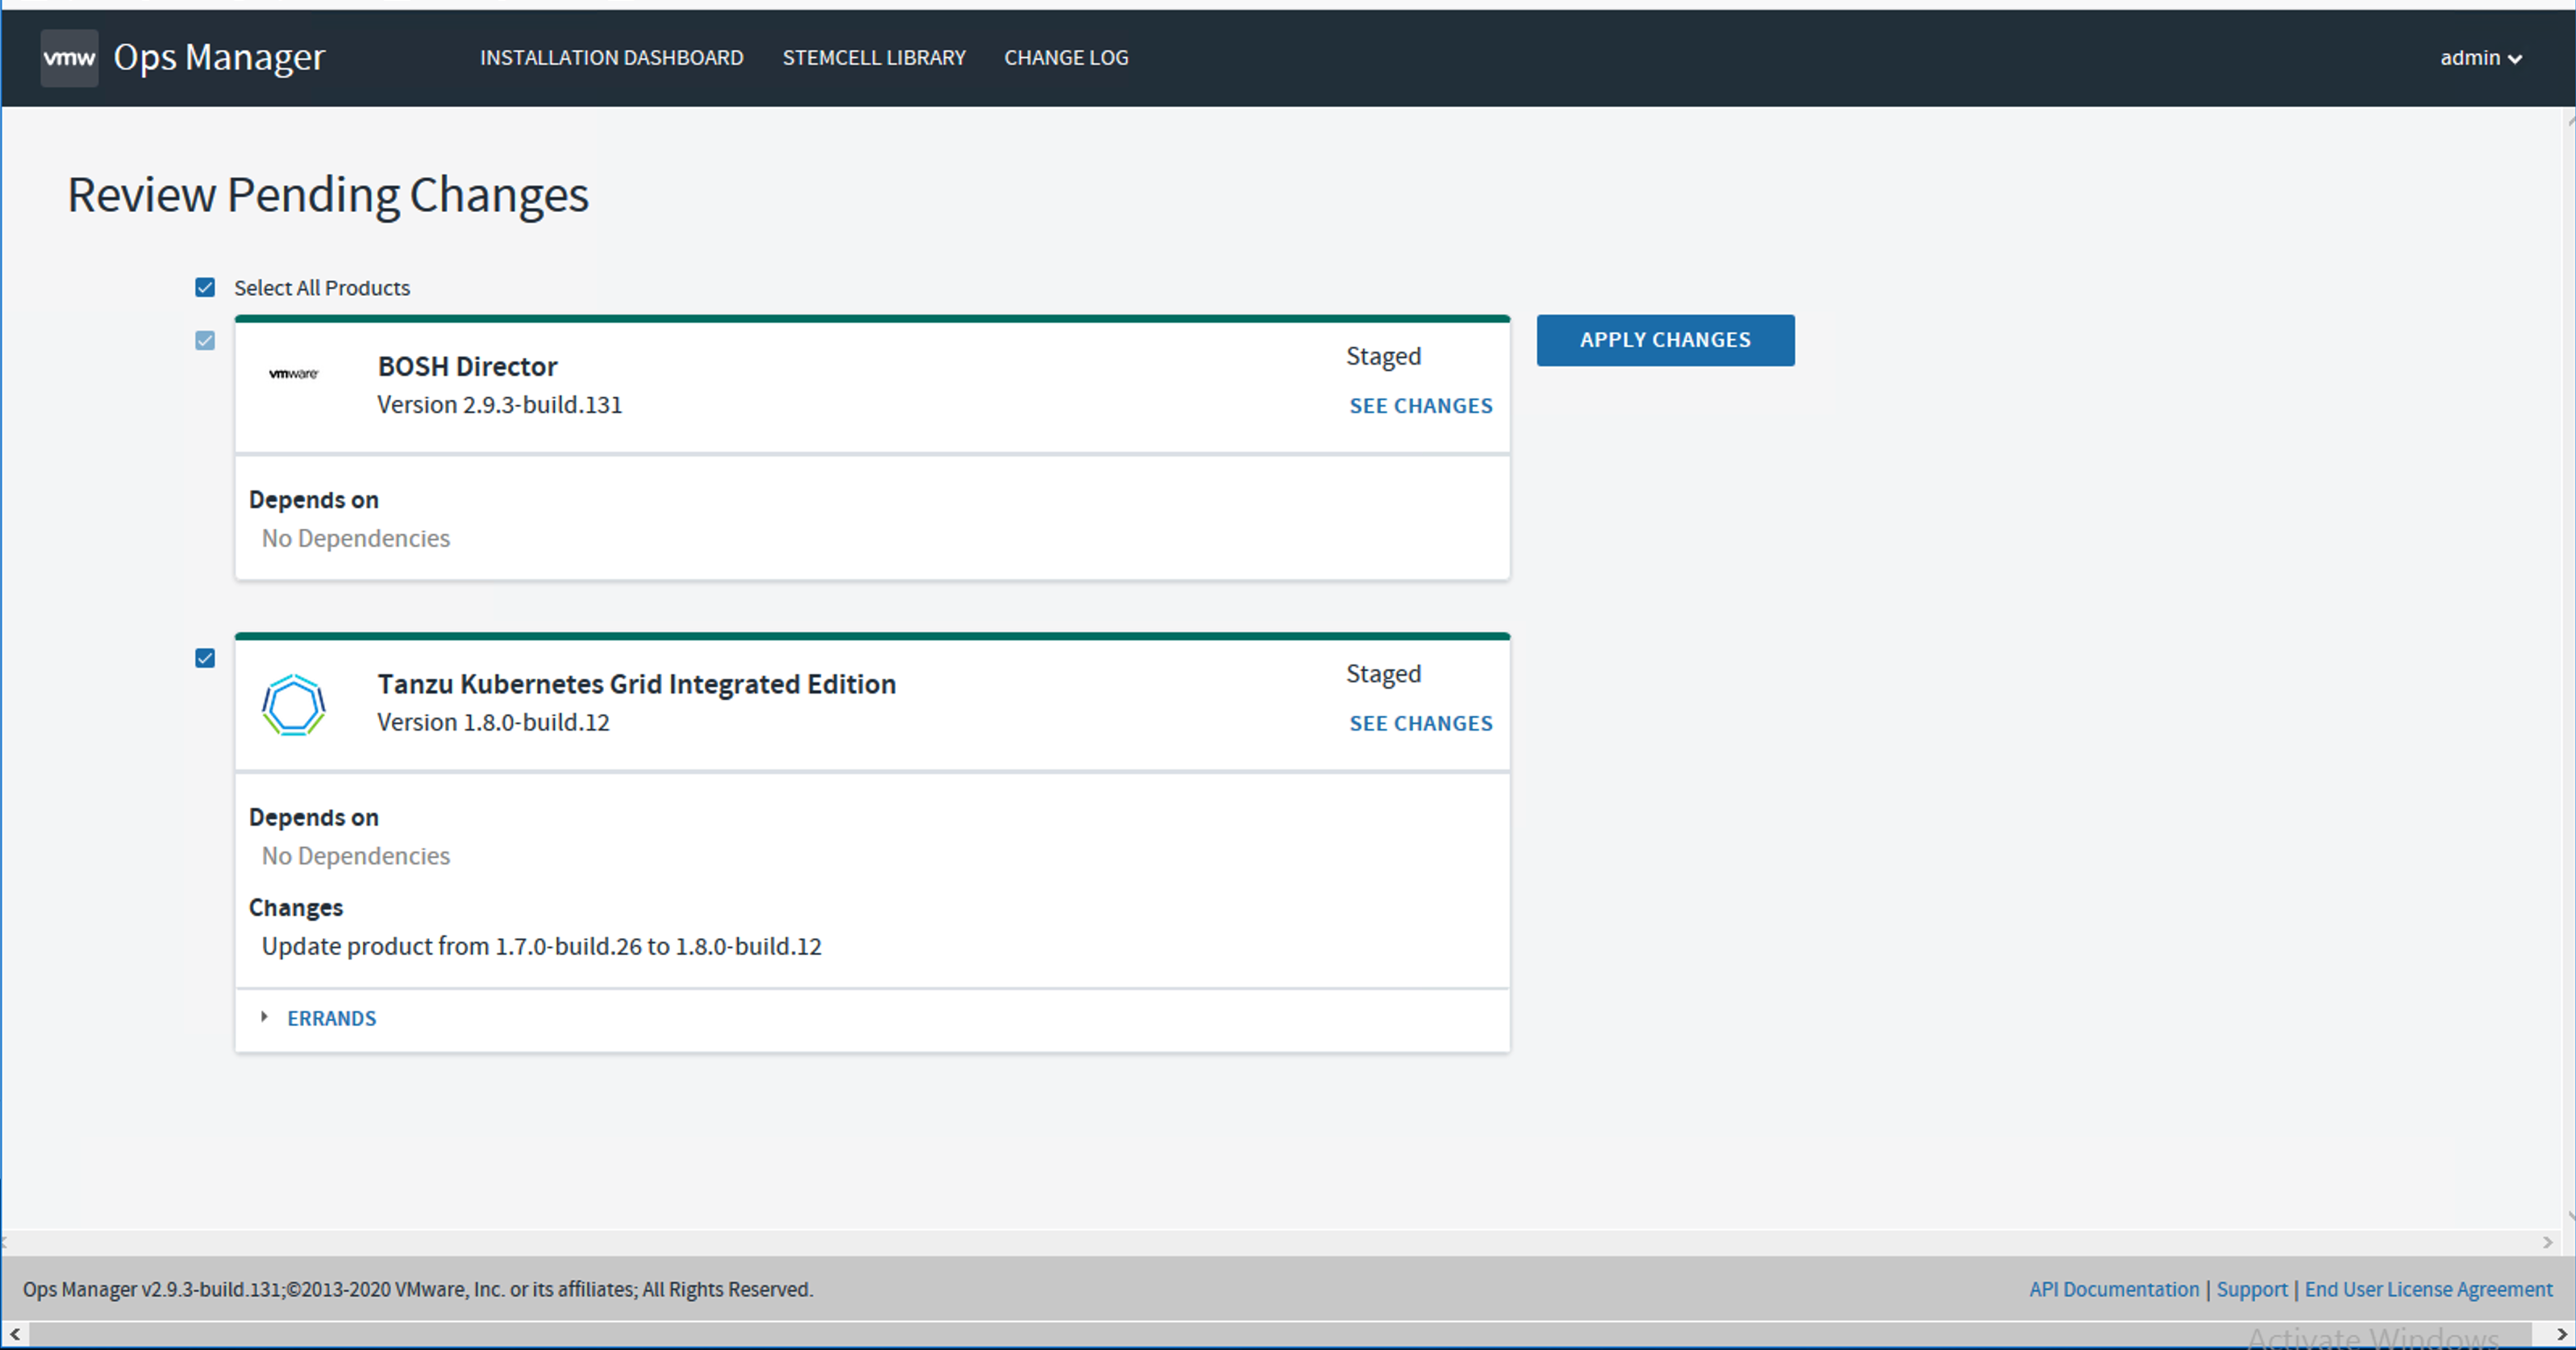
Click Review Pending Changes. For more information about this Ops Manager page, see Reviewing Pending Product Changes.
-
Click Apply Changes.
-
(Optional) If you activated the Upgrade all clusters errand, you can use the BOSH CLI to monitor its progress:
- Log in to the BOSH Director by running
bosh -e MY-ENVIRONMENT log-infrom a VM that can access your TKGI deployment. For more information, see Using BOSH Diagnostic Commands in Tanzu Kubernetes Grid Integrated Edition. - Run
bosh -e MY-ENVIRONMENT tasks. - Locate the task number for the errand in the # column of the BOSH output.
- Run
bosh task TASK-NUMBER, replacingTASK-NUMBERwith the task number you located in the previous step.
- Log in to the BOSH Director by running
-
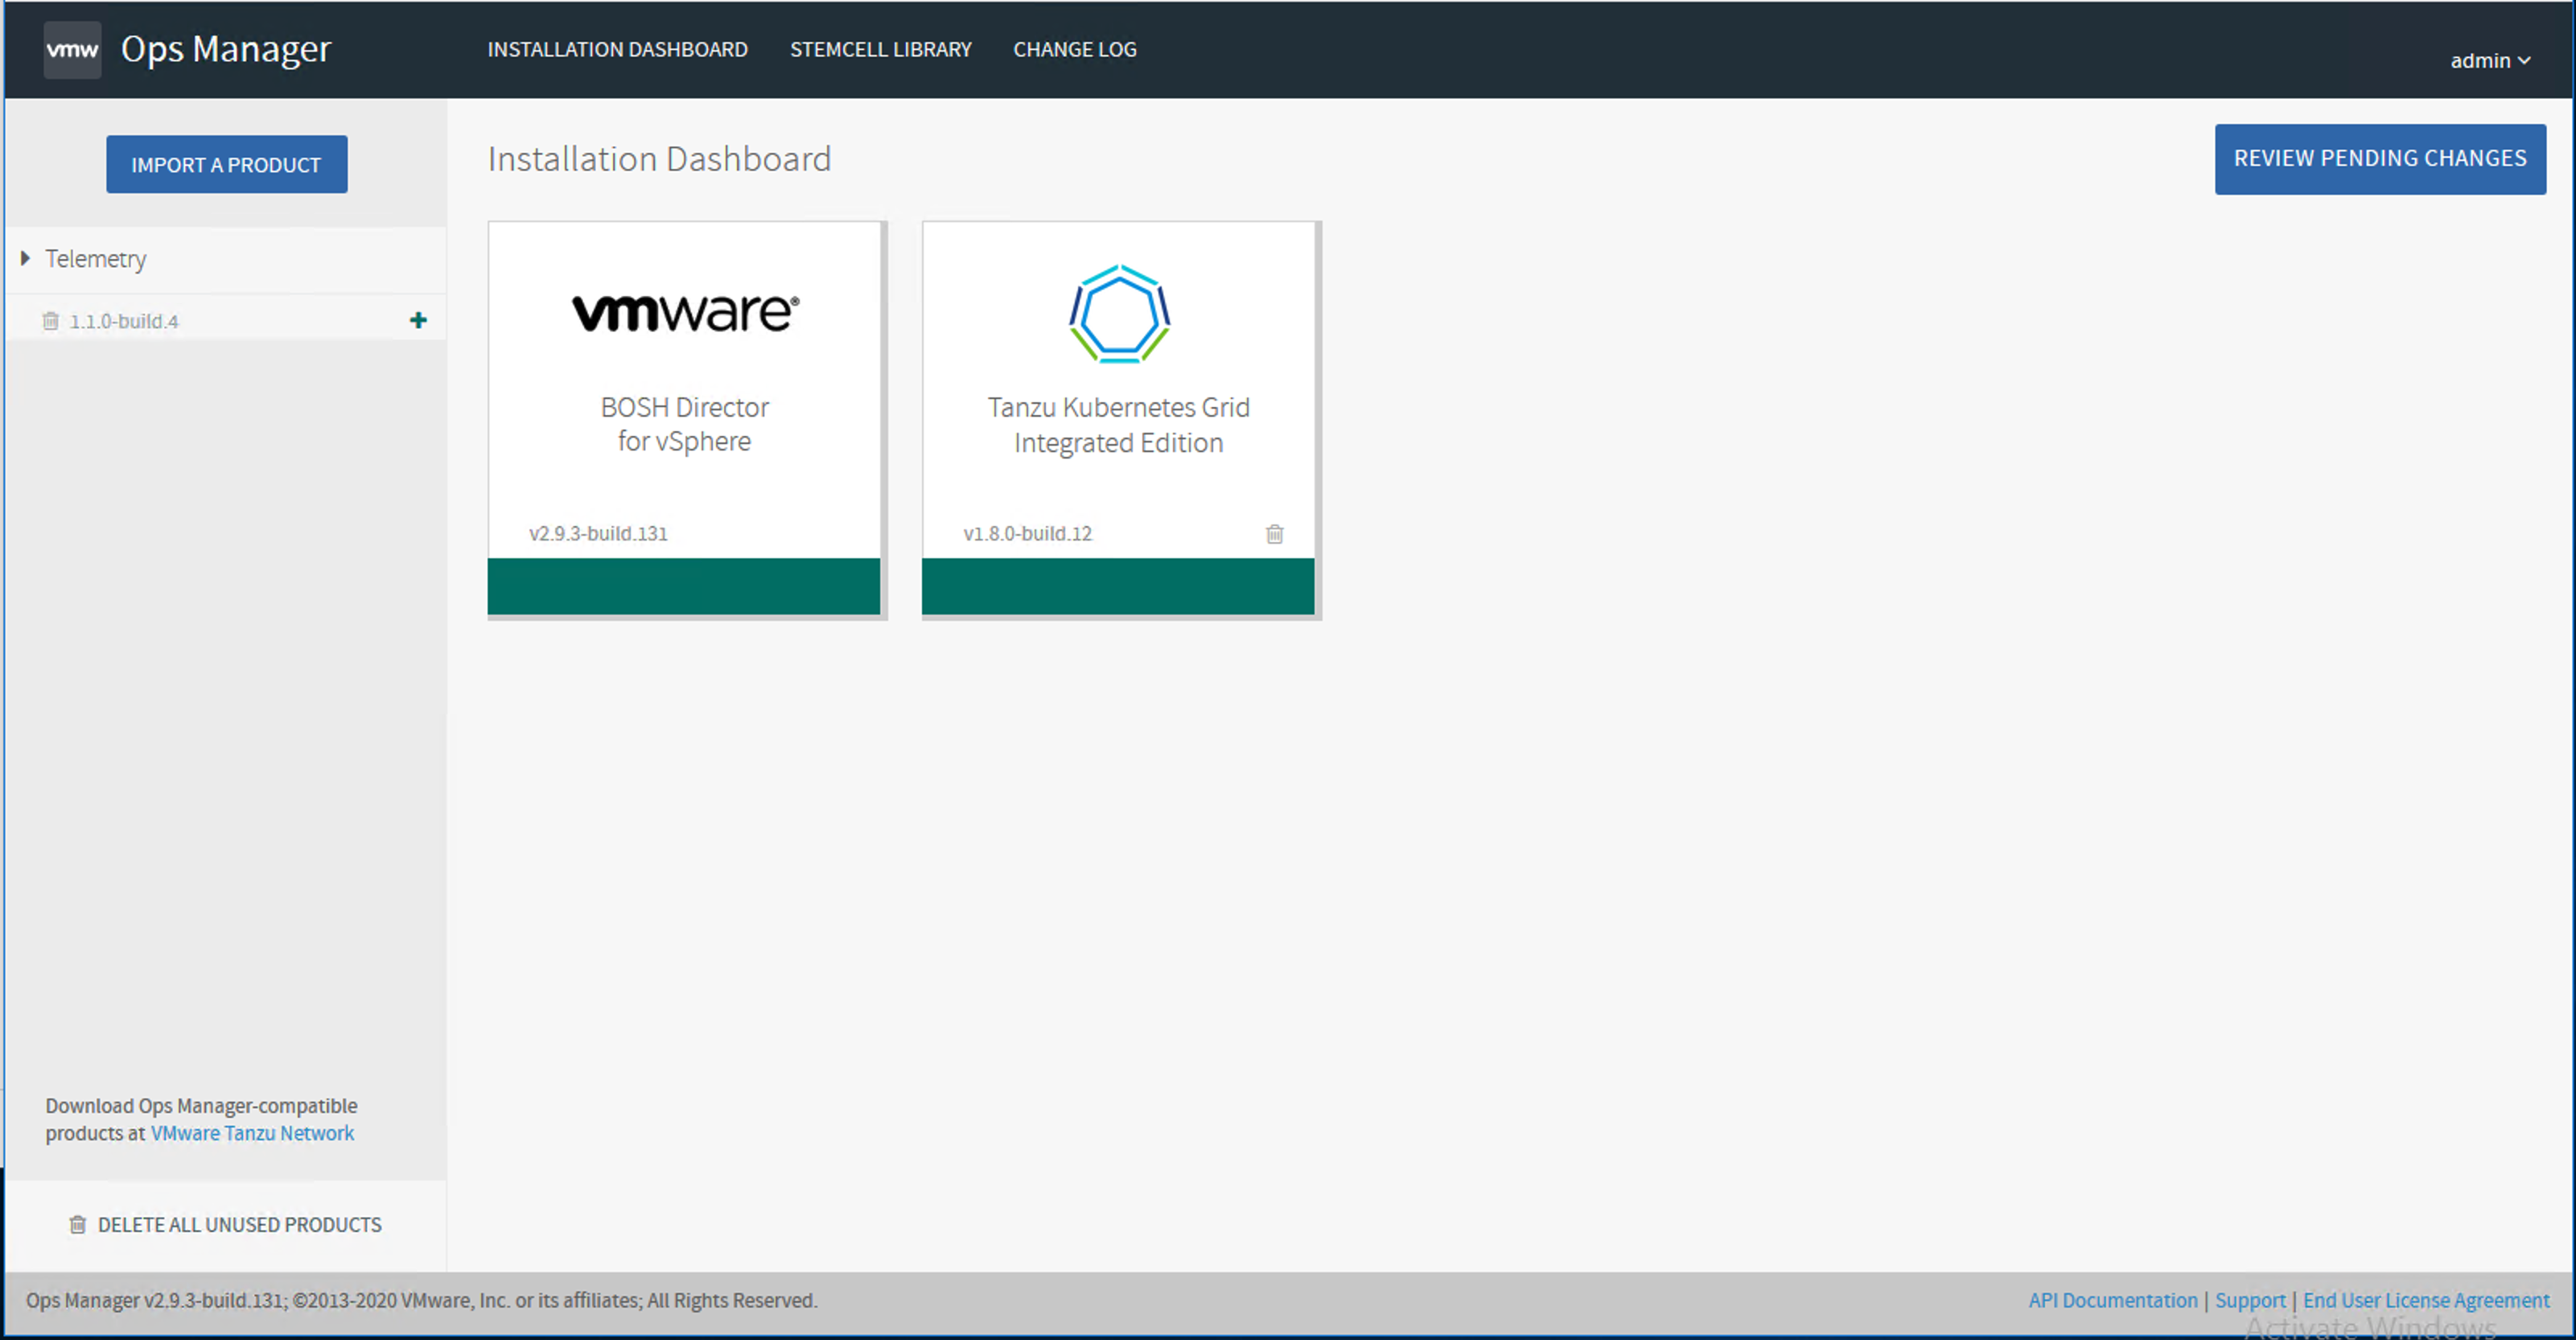
Verify that the TKGI tile shows the target version.
After the Upgrade
After you complete the upgrade to TKGI v1.19, complete the following verifications and upgrades:
- Upgrade the TKGI and Kubernetes CLIs
- Upgrade Kubernetes Clusters if Needed
- Verify TKGI Upgrade
- Upgrade NSX Data Center to NSX v3.2.3 or Later
- (Optional) Upgrade to vSphere 8
Upgrade the TKGI and Kubernetes CLIs
Upgrade the TKGI and Kubernetes CLIs on any local machine where you run commands that interact with your upgraded version of TKGI.
To upgrade the CLIs, download and re-install the TKGI and Kubernetes CLI distributions that are provided with TKGI on Broadcom Support.
For more information about installing the CLIs, see the following topics:
Upgrade Kubernetes Clusters If Needed
If you upgraded TKGI with the Upgrade all clusters errand deactivated, the next step is to upgrade the Kubernetes clusters individually using the TKGI CLI.
-
Log in to the TKGI environment using the TKGI CLI.
-
Run the command
tkgi clustersto list all Kubernetes clusters with their current versions and status:TKGI Version Name k8s Version Plan Name UUID 1.18.5 tkgi-cluster-1-small 1.27.15 small 0bea03c8-af47-48e8-b249-814c0bc407b9 1.18.5 tkgi-cluster-2-medium 1.27.15 medium 5d9f4501-70cb-460b-9d78-0afbc074cb8c 1.18.5 tkgi-cluster-3-large 1.27.15 large b448117a-bb6f-49de-bc9b-452588bd44ef -
Upgrade each cluster one-by-one using the command
tkgi upgrade-cluster CLUSTER-NAME.- You do not have to wait for each upgrade to complete before upgrading the next one.
- The advantage of running each upgrade separately is that it makes troubleshooting easier. BOSH assigns a unique task ID to each cluster upgrade.
-
When the cluster upgrades are complete, run the command
tkgi clustersand verify that they list the target version:TKGI Version Name k8s Version Plan Name UUID Status Action 1.19.2 tkgi-cluster-1-small 1.28.11 small 0bea03c8-af47-48e8-b249-814c0bc407b9 succeeded UPGRADE 1.19.2 tkgi-cluster-2-medium 1.28.11 medium 5d9f4501-70cb-460b-9d78-0afbc074cb8c succeeded UPGRADE 1.19.2 tkgi-cluster-3-large 1.28.11 large b448117a-bb6f-49de-bc9b-452588bd44ef succeeded UPGRADE
Verify TKGI Upgrade
-
To verify successful upgrade, create a test cluster:
tkgi create-cluster tkgi-cluster-4-test --external-hostname tkgi-cluster-test --plan medium --num-nodes 3Note: Use only lowercase characters when naming your cluster if you manage your clusters with Tanzu Mission Control (TMC). Clusters with names that include an uppercase character cannot be attached to TMC.
-
Run
tkgi clustersto verify that the new cluster is created with the appropriate version of TKGI and Kubernetes:$ tkgi clusters TKGI Version Name k8s Version Plan Name UUID Status Action 1.19.2 tkgi-cluster-4-test 1.28.11 medium 5d9f4501-70cb-460b-9d78-0afbc074cb8c succeeded CREATE 1.19.2 tkgi-cluster-1-small 1.28.11 small 0bea03c8-af47-48e8-b249-814c0bc407b9 succeeded UPGRADE 1.19.2 tkgi-cluster-2-medium 1.28.11 medium 5d9f4501-70cb-460b-9d78-0afbc074cb8c succeeded UPGRADE 1.19.2 tkgi-cluster-3-large 1.28.11 large b448117a-bb6f-49de-bc9b-452588bd44ef succeeded UPGRADE
(Optional) Upgrade to vSphere 8
After upgrading TKGI and its Kubernetes clusters to v1.19, you can upgrade vSphere to v8. This upgrade includes upgrading the vCenter Server Appliance and each ESXi host, in that order.
- Upgrade vCenter. Refer to Upgrading the vCenter Server Appliance in the vCenter documentation.
- Upgrade each ESXi host, one at a time.
- Put the ESXi host into maintenance mode.
- Upgrade the ESXi host. Refer to Upgrading ESXi hosts in the vSphere documentation.
- Using the NSX Manager web interface for Transport Nodes, install the vSphere 8.0 VIBS onto the ESXi host.
- Using the NSX Manage web interface, verify that the ESXi host is in a “Success” state. If it is not, click the Resolve button.
- Remove the ESXi host from maintenance mode.
- Repeat the process for each ESXi host in your vCenter cluster that is part of your TKGI domain.
Troubleshoot the Upgrade
See Verifying Deployment Health for how to verify the health of your TKGI environment and gather information for troubleshooting cluster upgrades.