


This topic tells you how to access the RabbitMQ Management UI when you are using VMware Tanzu RabbitMQ for Tanzu Application Service.
Overview
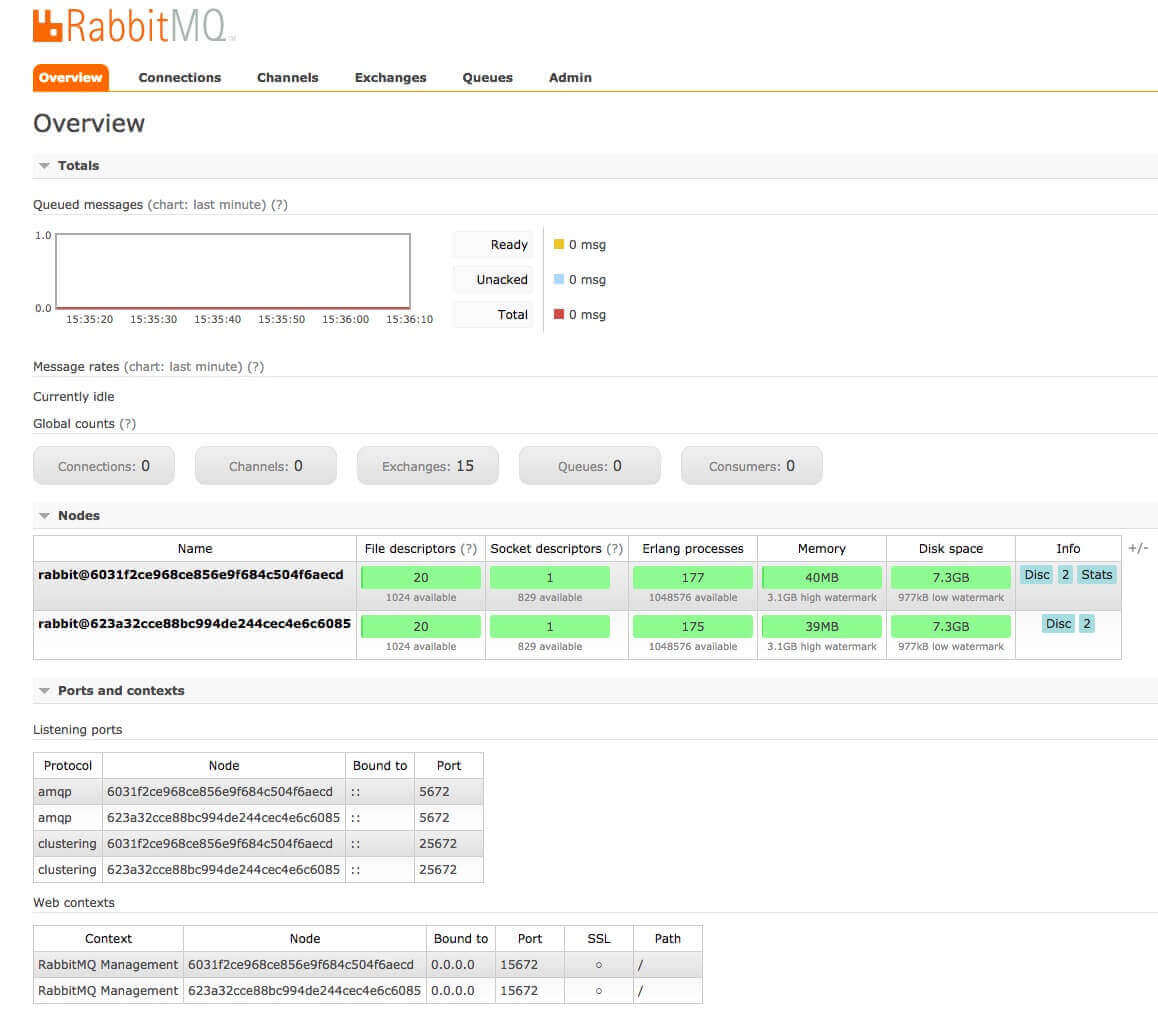
You can access the Management UI for both on-demand and pre-provisioned service instances. The image below shows an example RabbitMQ Management UI.
Access RabbitMQ Management UI for Pre-provisioned Service Instances
To access the RabbitMQ Management UI as the admin user:
-
Navigate to your VMware Tanzu Application Service for VMs tile.
-
In the Domains tab, record the value in the System Domain field.
-
Navigate to
http://pivotal-rabbitmq.SYS-DOMAIN, whereSYS-DOMAINis the value you recorded from the System Domain field. -
When prompted for credentials, enter the username and password you provided in the Tanzu RabbitMQ for Tanzu Application Service tile configuration in Ops Manager.
Access RabbitMQ Management UI for On-Demand Service Instances
The options available for accessing RabbitMQ Management UI depend on whether you have OAuth enabled.
Access RabbitMQ Management UI with OAuth Enabled
If OAuth is enabled, you can access the RabbitMQ Management UI for an on-demand service instance with your TAS for VMs credentials.
You can retrieve the URL for the RabbitMQ Management UI using Apps Manager or the Cloud Foundry Command Line Interface (cf CLI).
If using the cf CLI:
-
Navigate to the
dashboard_urlshown bycf service SERVICE-INSTANCE-NAME. -
Sign in using your TAS for VMs username and password.
If using Apps Manager:
-
Navigate to the service instance you want to manage.
-
Click Manage.
Access RabbitMQ Management UI without OAuth Enabled
If OAuth is not enabled, you can access the RabbitMQ Management UI for an on-demand service instance using Apps Manager or the cf CLI. You do so by using credentials that grant access only to a specific virtual host.
If using the cf CLI:
-
Create credentials using the cf CLI. For more information, see Create an Admin User for a Service Instance.
-
Navigate to the URL in
dashboard_urlthat you acquired during the Create an Admin User for a Service Instance procedure. -
Log in to the RabbitMQ Management UI with the username and password you acquired during the Create an Admin User for a Service Instance procedure.
If using Apps Manager:
-
In Apps Manager, navigate to the service instance you want to manage.
-
Click CREATE SERVICE KEY and give it a name of your choice.
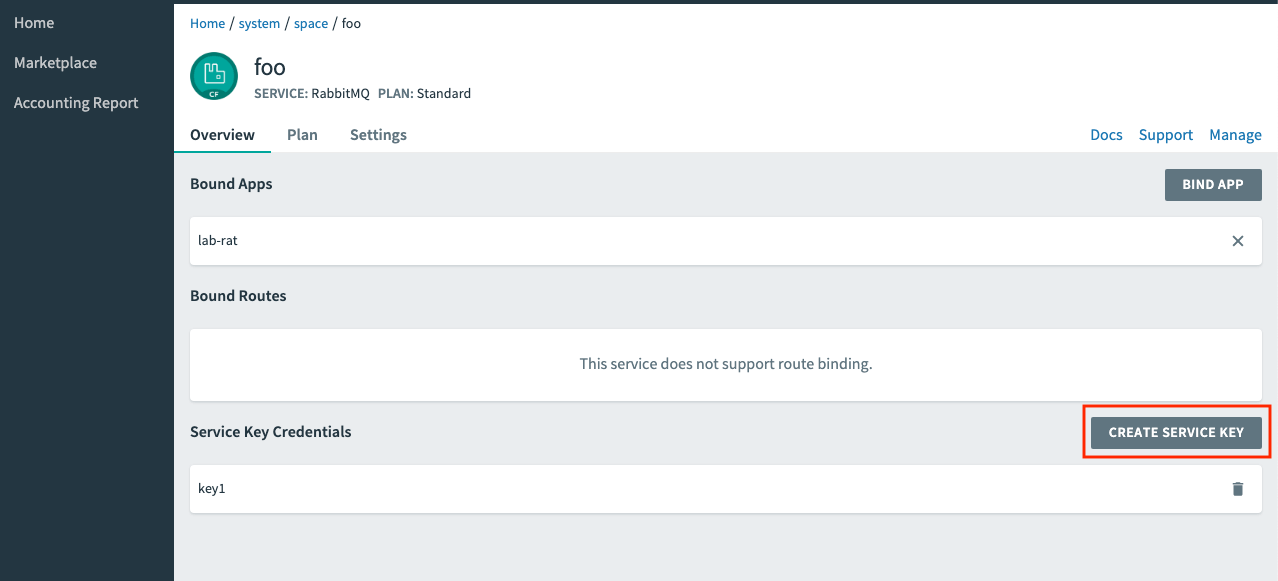
-
From the Service Key Credentials section, select the service key you just created.
-
From the information displayed, navigate to the URL in
dashboard_urland then use the username and password to log in to the RabbitMQ Management UI.
