


Connections are defined within the NOTIF Editor to access remote servers. Multiple connections may be defined and given a reference name for convenience. To add a remote server connection in the NOTIF Editor, perform the following steps:
-
Select Remote >Manage Connectionsin the NOTIF Editor. The Manage Connections dialog box appears as shown in Blank Manage Connections dialog box.
Figure 1. Blank Manage Connections dialog box 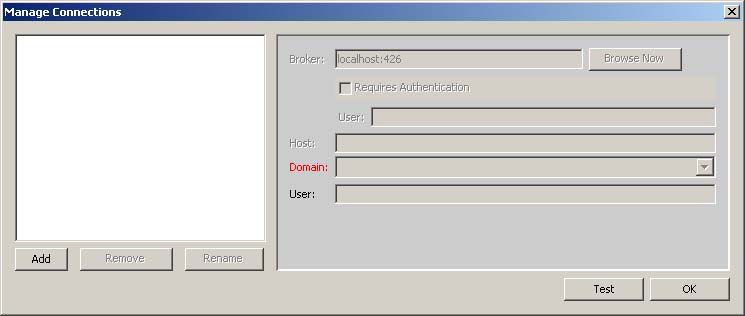
-
Click Add.
-
The Inputdialog box appears as shown in Input dialog box for remote server connection reference name. Type a connection reference name (for example, Remote NOTIF OI server) in the Inputdialog box and click OK.
Figure 2. Input dialog box for remote server connection reference name 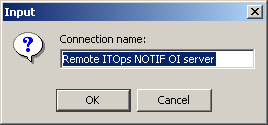
-
Fill in the new connection record in the right pane of the Manage Connections dialog box. An example is shown in Manage Connections dialog box with remote server connection reference name.
Figure 3. Manage Connections dialog box with remote server connection reference name 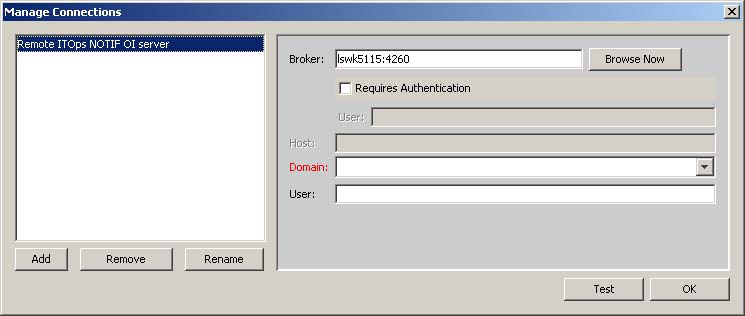
-
If you are connecting to a broker:
-
Type the broker name in the Broker:field.
-
Click Browse Nowand select a domain in the Domain: drop-down list as shown in Selecting a domain in the Manage Connections dialog box.
-
Type the username in the User: field.
Note:If you are connecting to a broker that requires authentication, select the Requires Authenticationcheckbox and type the username in the User:field below the checkbox.
-
-
-
-
If you are connecting directly to a server (that is, the Broker:field is empty):
-
Type the hostname in the Host: field.
-
Select a domain in the Domain: drop-down list.
-
Type the username in the User: field.
Figure 4. Selecting a domain in the Manage Connections dialog box 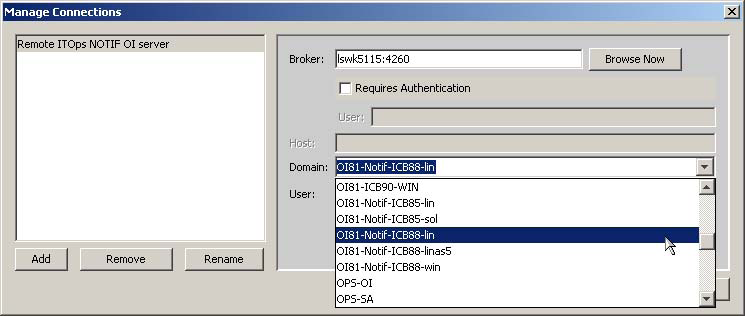
-
-
-
-
Click Testto try the remote server connection. If you are connected to the server, the Connecteddialog box appears as shown in Connection confirmation dialog box.
Figure 5. Connection confirmation dialog box 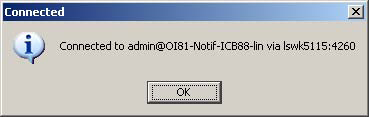
-
Save the connection setup by clicking OK. An example of a completed connection setup is shown in Completed connection setup data in the Manage Connections dialog box.
Figure 6. Completed connection setup data in the Manage Connections dialog box 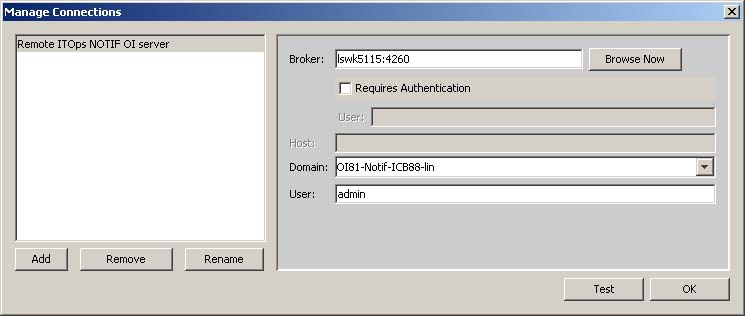 Note:
Note:Connections are stored in the user's preferences data on the local system, so the connection data is persistent.
