The NOTIF Editor allows you to manipulate the *.ncf files on a remote NOTIF server by pushing (or storing) the NOTIF Editor configuration to the remote server and optionally instructing NOTIF within that server to reload the *.ncf files. Reloading of the *.ncf files reloads all*.ncf files in the corresponding BASEDIR/smarts/local/conf/< config>directories in the remote NOTIF server.
Ensure there are no conflicting configurations within multiple *.ncf files as the order in which these files are read is undetermined. Use only one *.ncf file on a remote server.
The Push to server option saves the existing open configuration to a file on a remote NOTIF Adapter Platformor SAM server of your choice. When you select this option:
-
The Connect to a Server dialog box appears as shown in the figure. Choose the remote server where you want to store your configuration and click OK. A prompt may appear to type a password to connect to the remote server as shown in the figure.
Note:The first time you connect to a given server when you use the NOTIF Editor during a given work session, type a password when the prompt appears. After that, the prompt to type a password does appear on that server.
-
The Directorydialog box appears as shown in Directory dialog box. Choose the directory location on the remote server where you want to store your configuration and click OK.
Figure 1. Directory dialog box 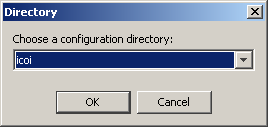
-
The Select Remote Filedialog box appears as shown in Select Remote File. This is the name of the *.ncf file that you are storing on the remote server. The *.ncf file is always stored to the BASEDIR/smarts/local/conf/< config>directory on the remote server. Select the *.ncf file you want to push to the remote server and click OK.
Figure 2. Select Remote File 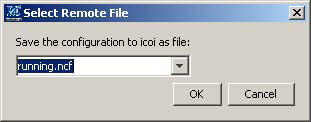 Note:
Note:If an *.ncf file already exists in the /local/conf/< config>directory on the remote server, a prompt appears to overwrite the existing *.ncf file or cancel.
-
The Push Completedialog box appears as shown in Push Complete dialog box. This dialog confirms that the *.ncf file has been pushed to the remote server and prompts you to reload the NOTIF processor on that server so that the new configuration takes effect.
Note:Reloading of the *.ncf file on a remote NOTIF server reloads all*.ncf files in the corresponding icoi/ics directories in that server. Care should be taken to ensure there are no conflicting configurations within multiple *.ncf files as the order in which these files are read is undetermined.
Figure 3. Push Complete dialog box 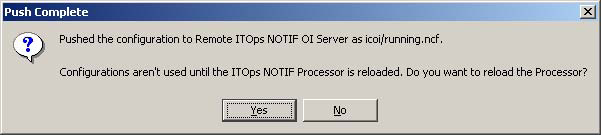
-
Click Yesto reload the NOTIF processor to make the new configuration active on the remote server.
-
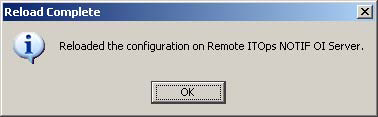
The Reload Completedialog box appears as shown in Reload Complete dialog box. This dialog box confirms that the new configuration in the *.ncf file has been reloaded and is persistent in the remote server. Click OK.
Figure 4. Reload Complete dialog box