


This section describes the procedure to create a Remediation Rule in the Operations page.
Prerequisites
Procedure
- In the Default Notification Console, filter the notification by class name and event name, right-click the notification and select Add Remediation Rule.
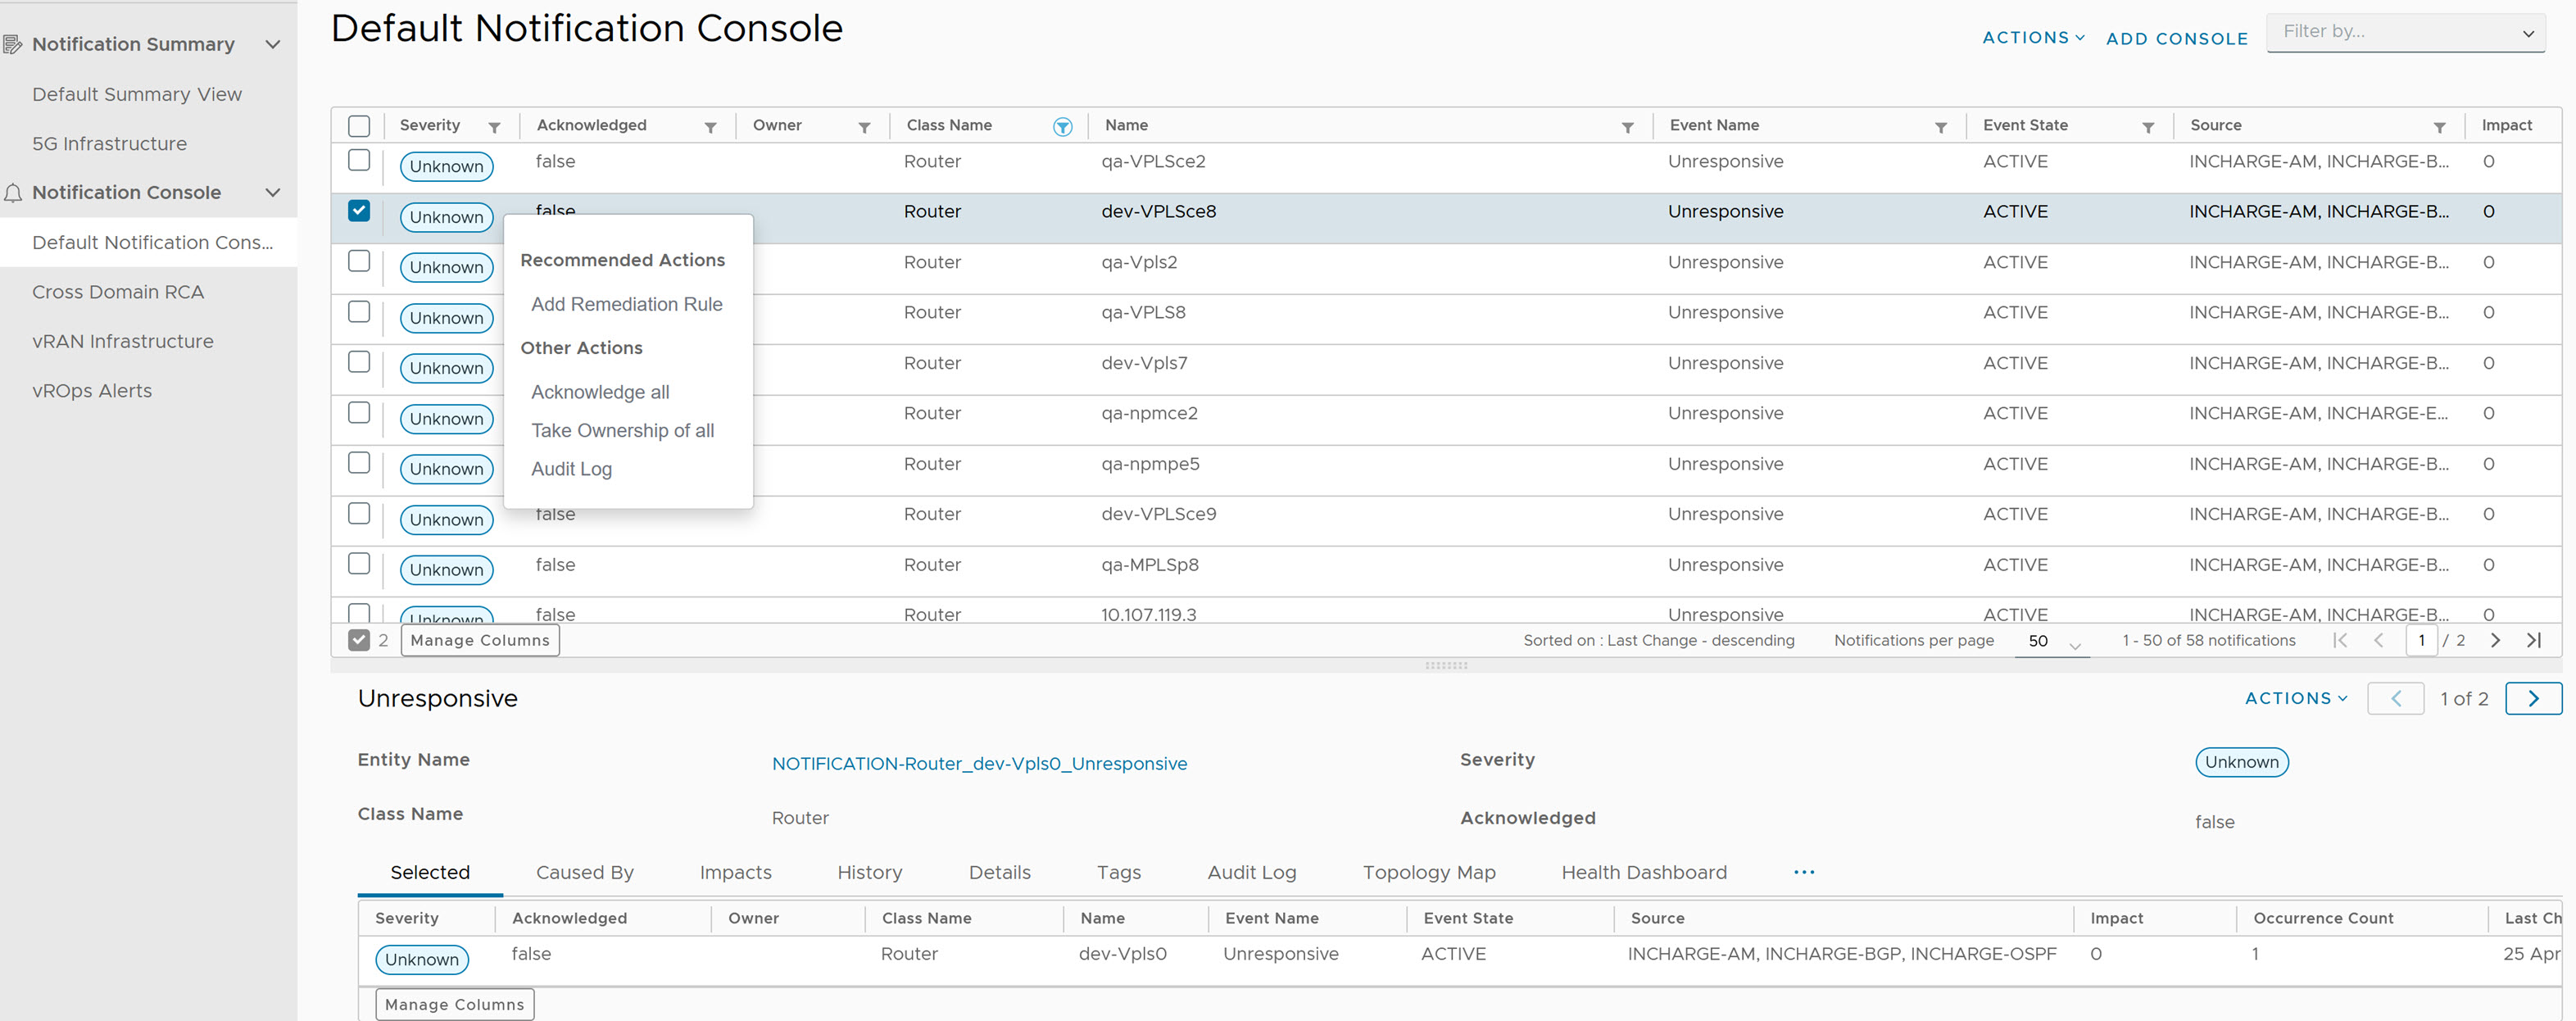 The Add Remediation Rule page appears.
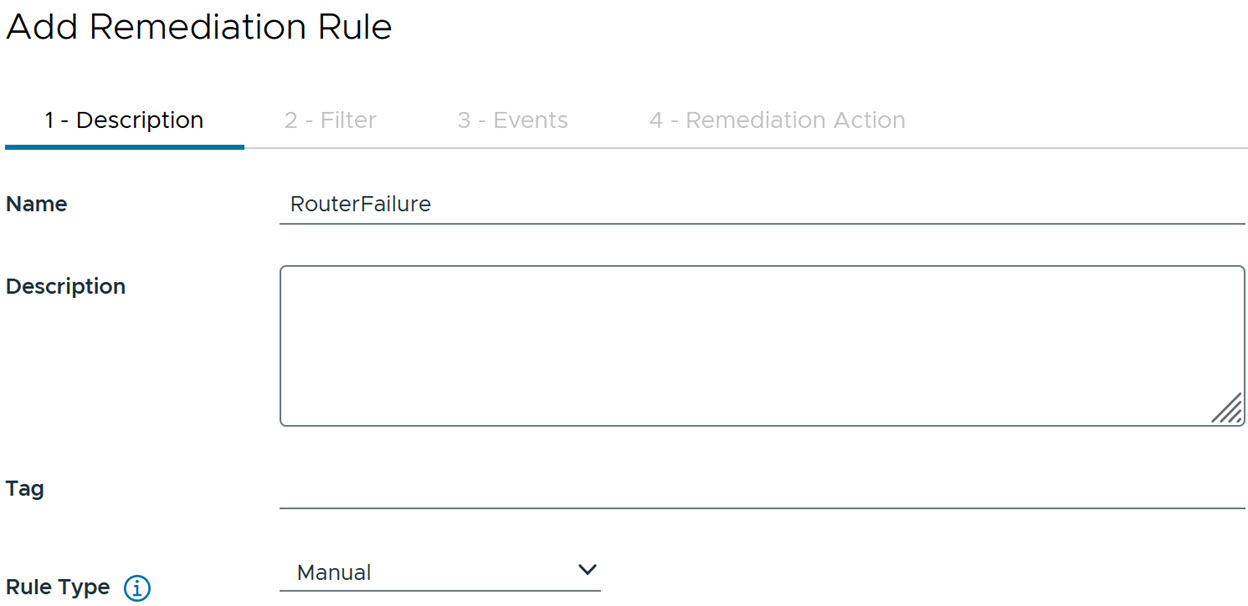
 - Under Description, update the following parameters:
- Name: Provide a name for the Remediation Rule. Only letters, numbers, hyphens, and underscores are allowed.
- Description: Provide a description for the Remediation Rule. This field is optional.
- Tag: Provide a tag name for the Remediation Rule. This field is optional.
- Rule Type: Select a rule type for the Remediation Rule. The supported values are listed in the selection drop-down menu.
- If the rule type is Manual, you can select only one event.
- If the rule type is Automated, you can select multiple events.
- For Automated rule type, under Advanced Settings, you have the Smoothing Interval. Select the smoothing interval in seconds from the drop-down list. This is an optional field.
- Click Next.
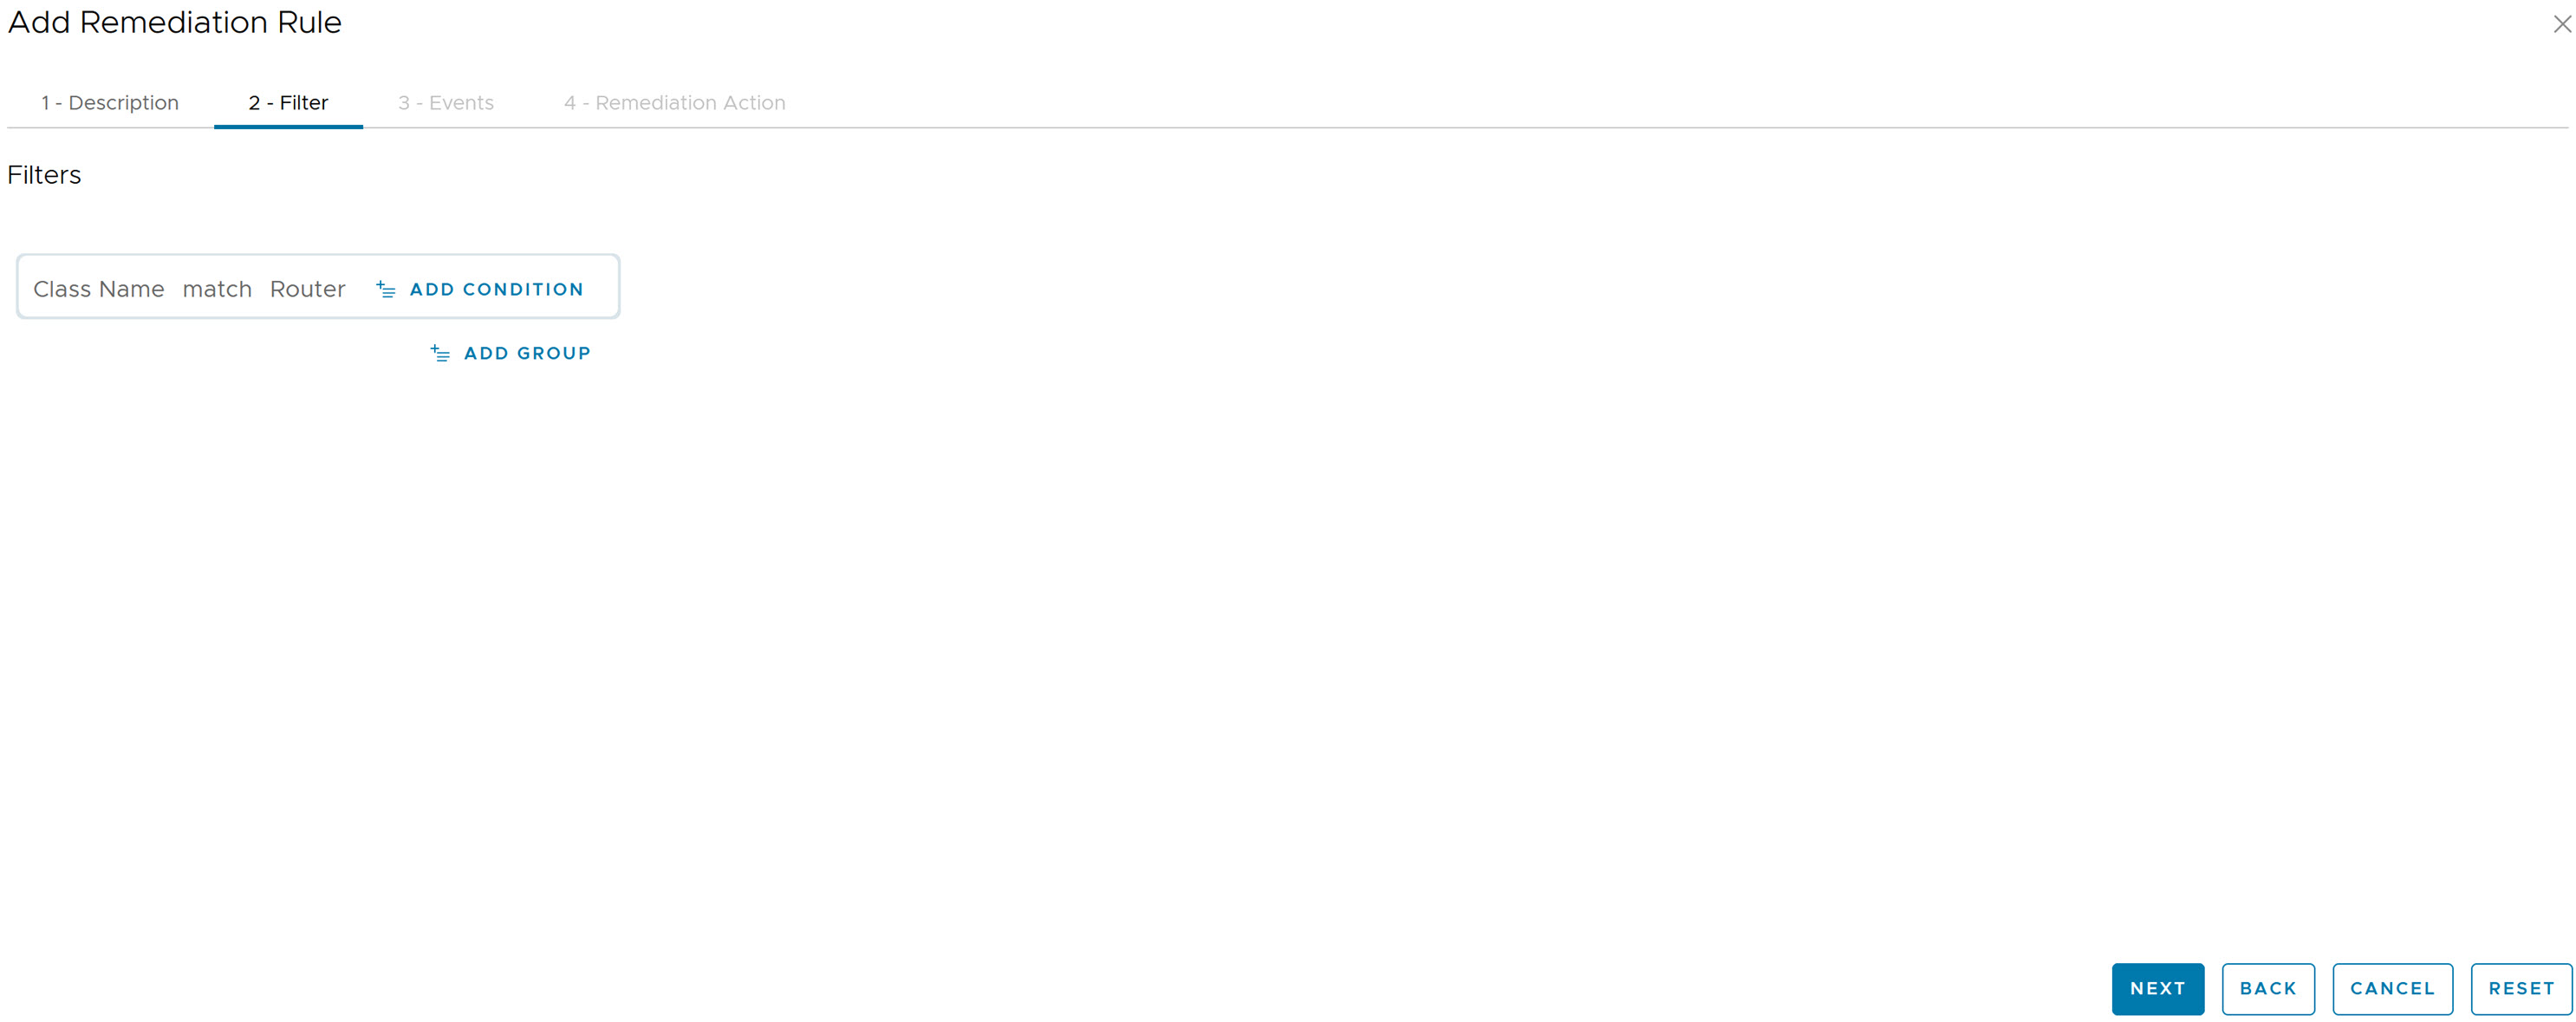
- Under Filter, for a given notification, you can see filters with pre-populated data or empty fields. If a filter is not added, you can select it through the drop-down menu. After the filter is added, click Next.
The following screenshot is an example of filter with pre-populated data.

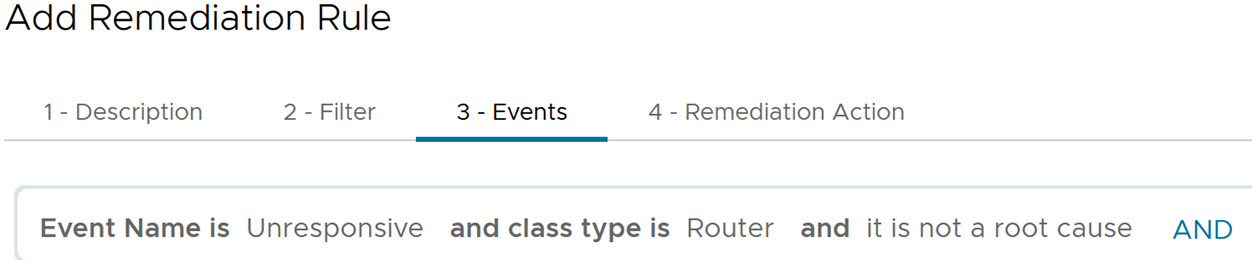
- Under Events, for the selected notification, you can see pre-populated events data. Click Next.
- Under Remediation Action:
- You can select pre-defined remediation action or add an user-defined remediation action.
- To select the pre-defined remediation action, select the required action from the list and click Save.
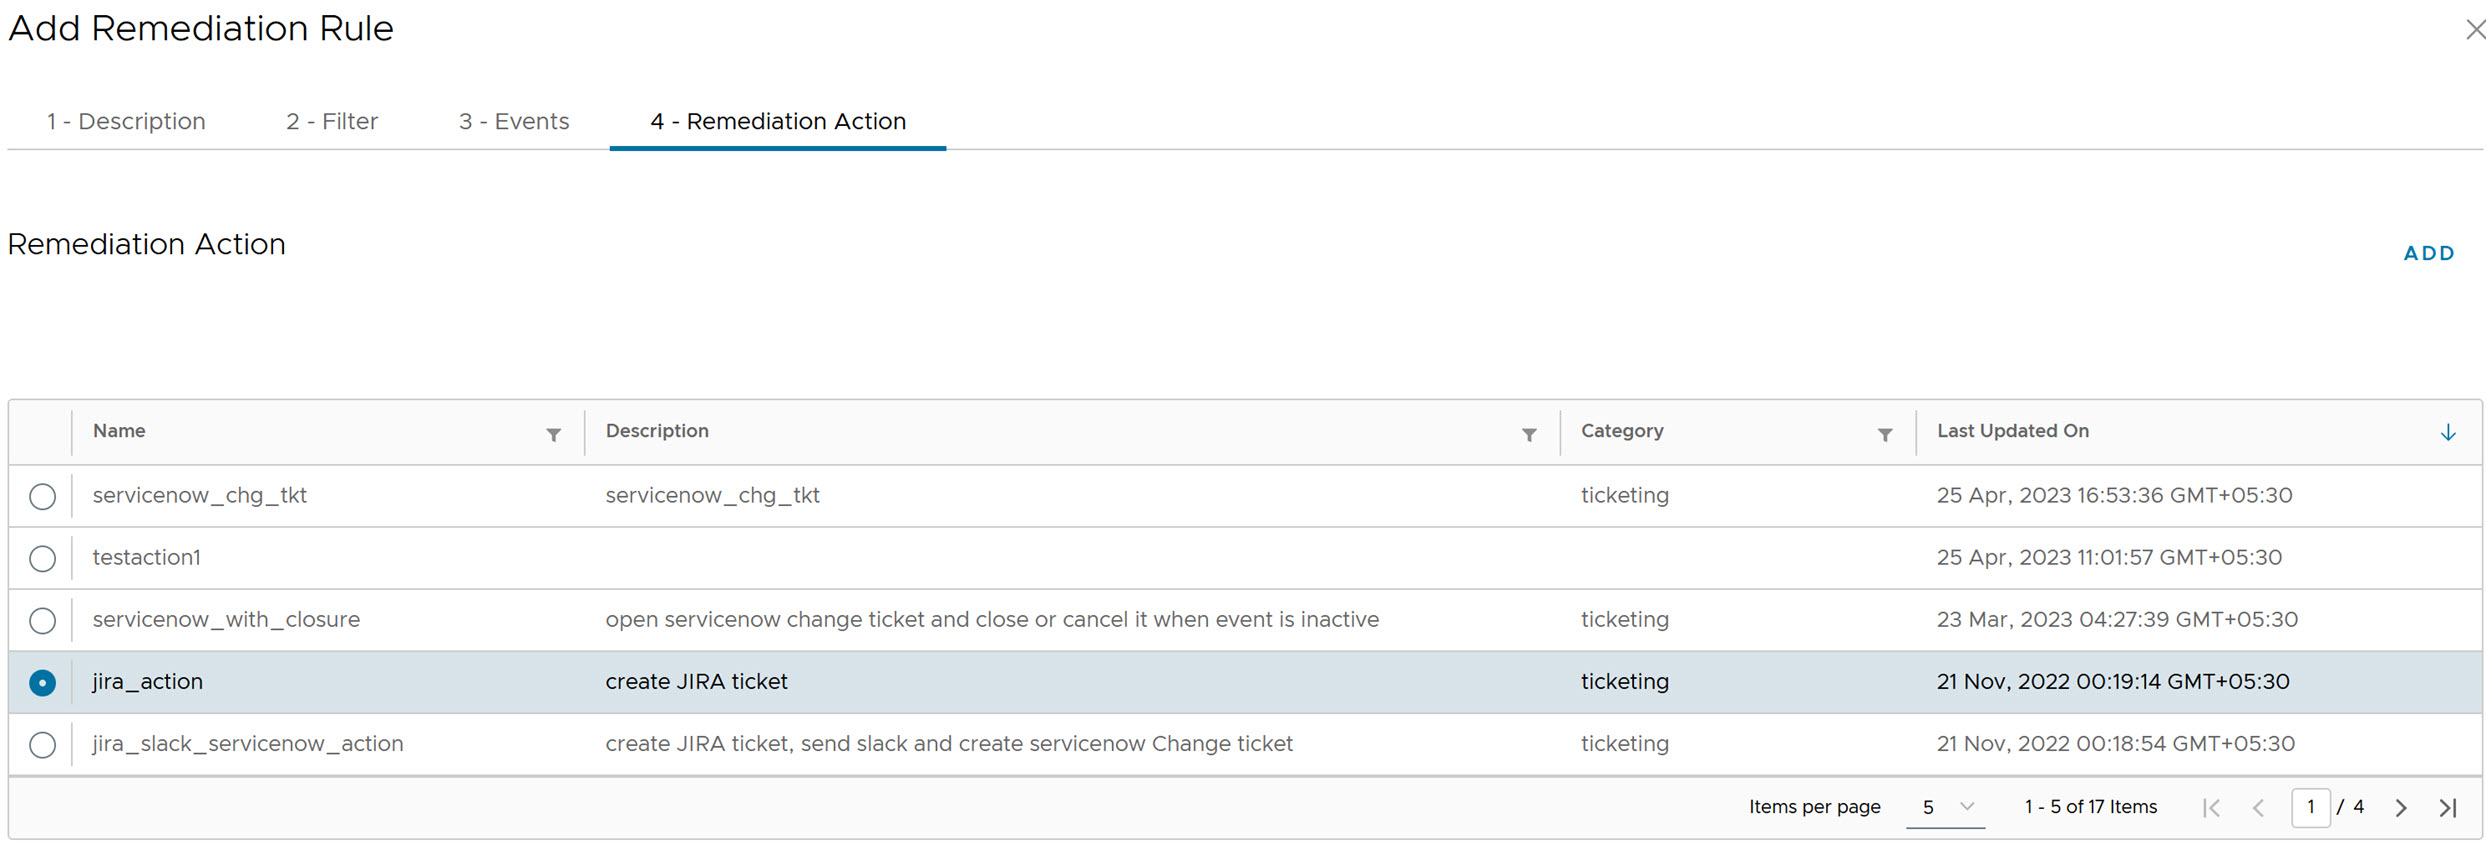
- To add a Remediation Action, click Add.
The Add Remediation Page appears.
- On the Add Remediation Action page, update the following parameters:
- Name: Provide a name for the action. Only letters, numbers, hyphens, and underscores are allowed.
- Description: Provide the description details to an action.
- Format: Select a format for an action. The supported values are YAML and Python.
- Category: The Category field helps you to categorize tickets based on your need. Select the category type from the drop-down list. You can also create a custom category.
- Under Code Preview, click Upload and upload the Python action.
- Click Save.
Once the action is created, you can select an action from the actions list.
- Click Save.
After the Remediation Rule is created, you can click the View Remediation Rule hyperlink to access the list of Remediation Rules.
To add filters through the Actions drop-down menu, perform the following steps:- Under Default Notification Console, navigate to Actions drop-down menu.
- Click Edit Console.
- Under Description, click Next.
- Under Filter, select the filter Property, Expression, and Value.
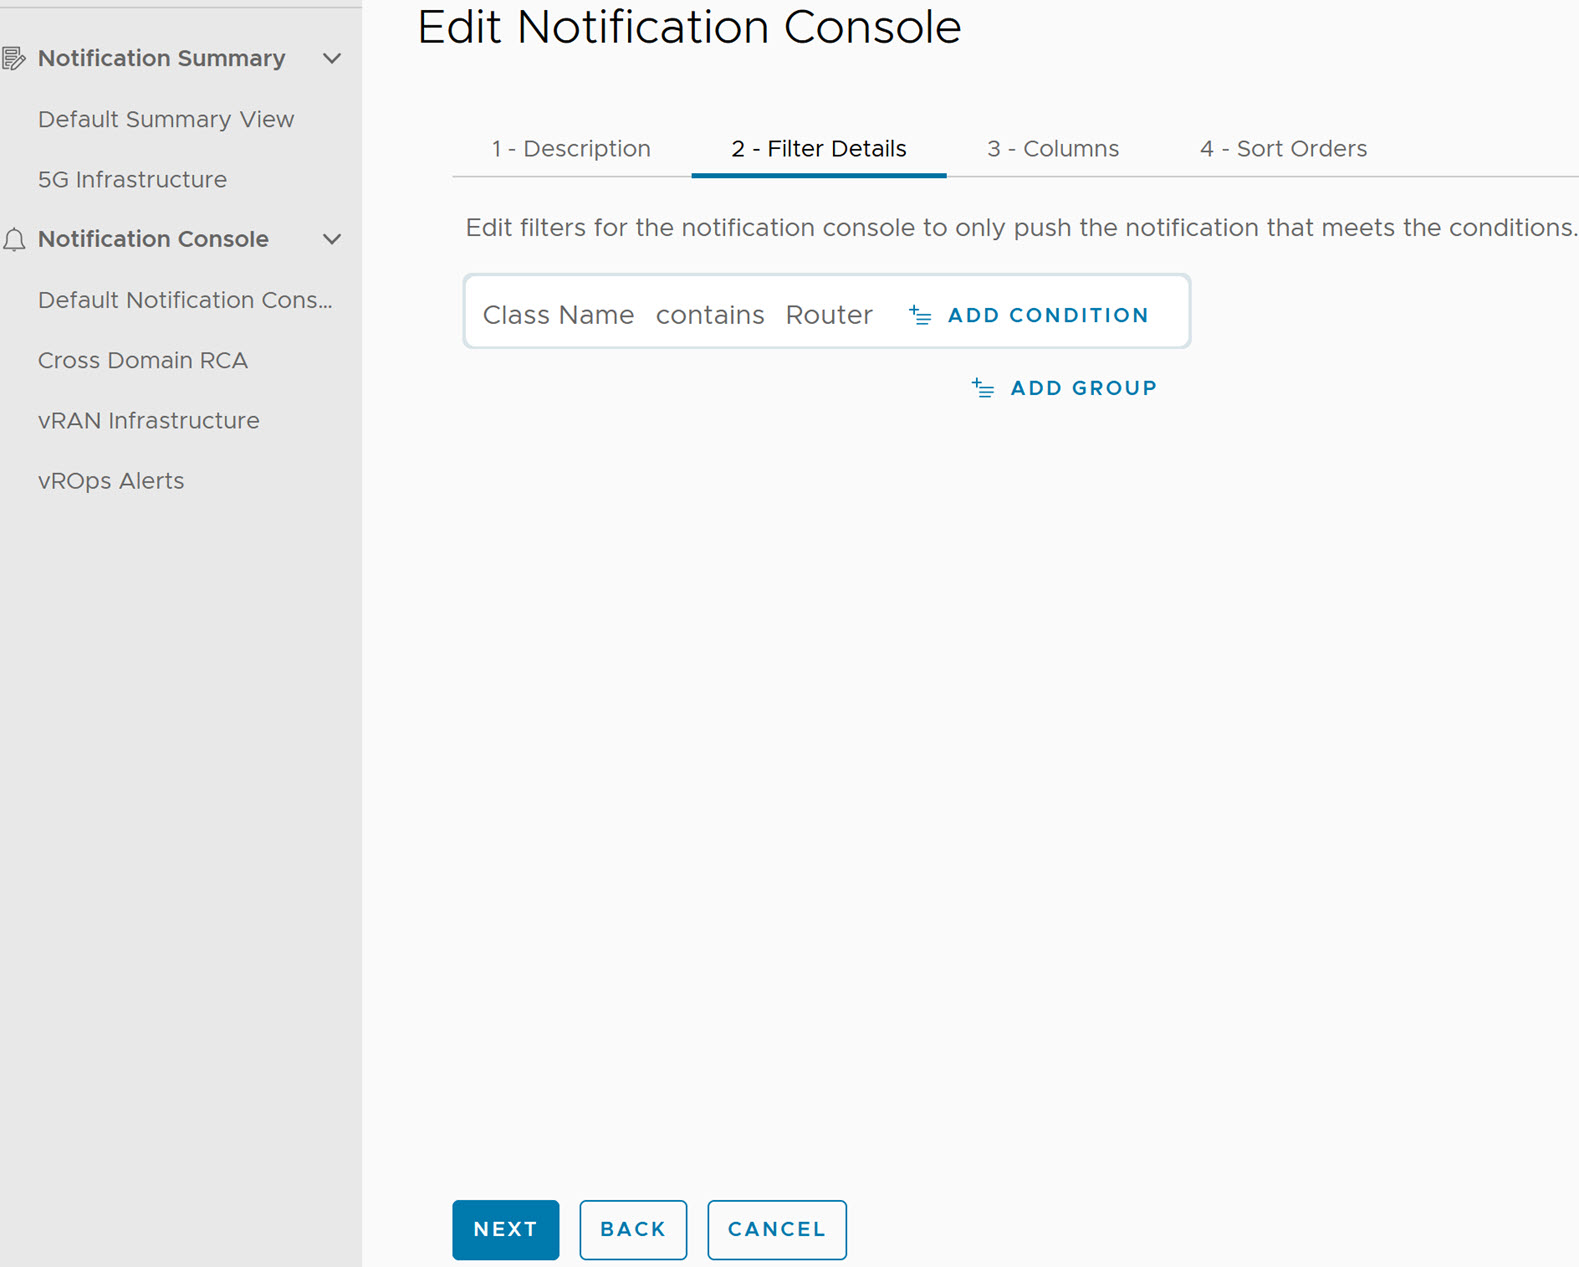
- Under Columns, click Next.
- Under Sort Orders, you can add attributes if required.
- Click Save and Close.
- If you want to create a Remediation Rule for a notification, perform the following steps:
- Select a notification which has a filter added, right-click and select Add Remediation Rule.
- Under Description, update the required fields.
- Under Filter, you can see pre-populated filter data.
- Under Events, you can see pre-populated event data.
- Under Remediation Action, select an action.
- Click Save.
