


Add the required Windows Server roles and features in the Integration Broker server.
Note: The steps in this procedure refer to the Windows Server 2016 user interface. For Windows Server 2012 R2, Windows Server 2012, and Windows Server 2008 R2, see
Add Windows Server Roles and Features (Windows Server 2012 R2, 2012, or 2008 R2).
Prerequisites
- Verify that Windows Server 2016 is installed with the latest updates.
- Create an application pool, if necessary. You can use the default application pool or create an application pool that is dedicated to Integration Broker.
Procedure
- In the Server Roles page, select the following roles.
- File and Storage Services
- Storage Services
- Web Server (IIS)
- Web Server

- Management Tools
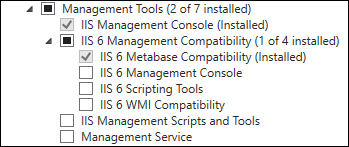
- Web Server
- File and Storage Services
- In the Features page, select the following features.
- .NET Framework 3.5 Features
- .NET Framework 3.5 (includes .NET 2.0 and 3.0)
- HTTP Activation
When you select HTTP Activation, a dialog box appears prompting you to confirm features that are required for HTTP Activation. Click Add Features.

- .NET Framework 4.6 Features
- .NET Framework 4.6
- ASP.NET 4.6
- WCF Services

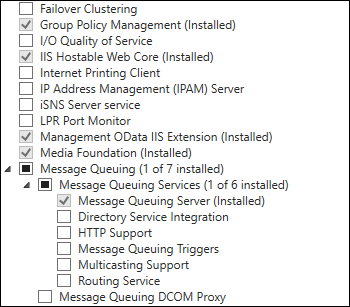
- Group Policy Management
- IIS Hostable Web Core
- Management OData IIS Extension
- Media Foundation
- Message Queueing
- Message Queuing Services
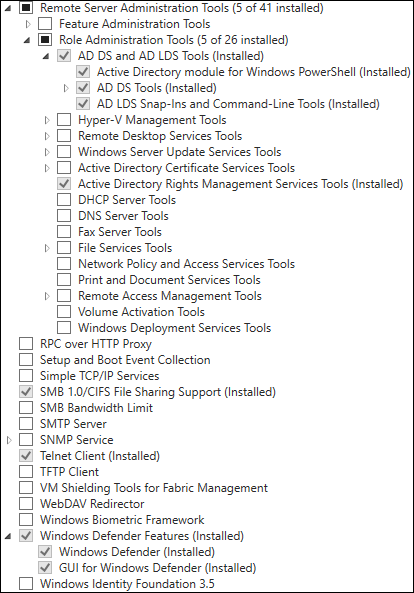
- Remote Server Administration Tools
- SMB 1.0/CIFS File Sharing Support
- Telnet Client
- Windows Defender Features
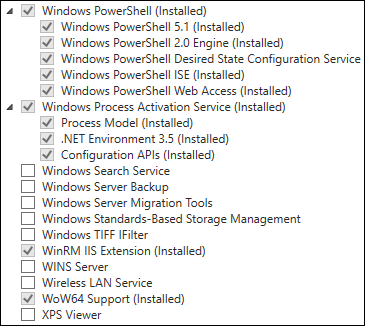
- Windows PowerShell
- Windows Process Activation Service
- WinRM IIS Extension
- Wow64 Support
- .NET Framework 3.5 Features
What to do next
Install Microsoft Visual J# 2.0 Redistributable Package, if necessary.
