


XML provisioning can collect custom attributes based on your Windows Desktop device details. You can use custom attributes to unlock product provisioning's more advanced functionality.
Procedure
- Navigate to and select as your platform.
- Complete the steps to create an XML product as mentioned in Create an XML Provisioning File. Upload the XML file and specify the download path as {installation path}\AirWatch\AgentUI\Cache\Profiles.
Results
Upon receiving the XML file, the Workspace ONE Intelligent Hub creates a custom attributes output file. During the next check-in with Workspace ONE ™ UEM, the Workspace ONE Intelligent Hub sends the output file to the UEM console.
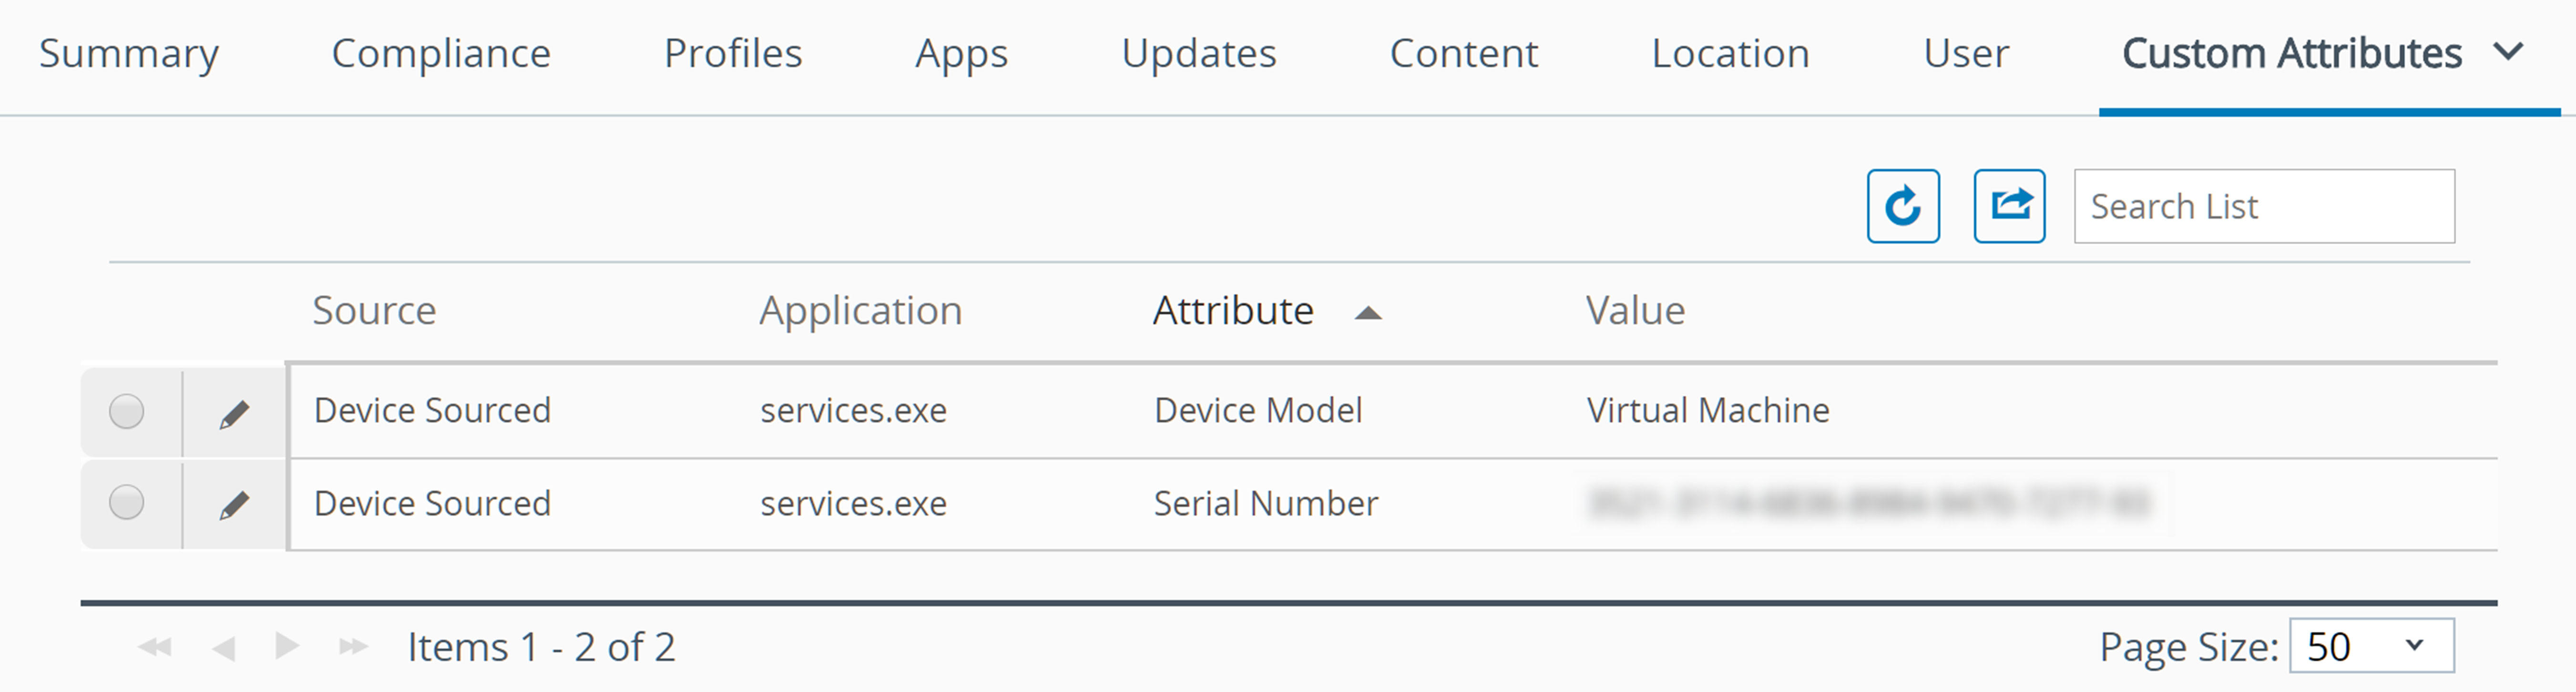
Once the XML file installs, the custom attributes requested in the file are reported to the UEM console. These values display in the console in the Device Details page under custom attributes. This page allows you to view the name of the attribute and the values returned from each device. These values can be used to create product assignment rules using the Custom Rules system.
Example: Fetching Registry Settings
A common use of custom attributes for Windows devices is to fetch registry settings with the UEM console. To do this, you must create a custom XML file and deploy it using a custom settings policy targeted to the AirWatch Unified Agent. Here is an example of the format of an XML file that can pull information from the registry on a device.
Windows Example
<xml version="1.0">
<wap-provisioningdoc name="System Info /V_1">
     <characteristic type="com.windowspc.getregistryinfo.managed">
          <reg_value custom_attribute_name="Hostname"
          key_name="SYSTEM\CurrentControlSet\Control\ComputerName\ActiveComputerName"
          value_name="ComputerName"/>
     </characteristic>
</wap-provisioningdoc>
The custom payload must be in the above format. When the correct syntax is used, the XML is parsed and the registry settings are outputted to a key value pair that are exported back to the Workspace ONE UEM console.
In the above example, the registry key name or path is “Computer\HKEY_LOCAL_MACHINE\SYSTEM\CurrentControlSet\Control\ComputerName\ActiveComputerName” and the value_name is “ComputerName”. The data corresponding to this value name retrieves and stores in the console with the label specified under the ‘custom_attribute_name’ parameter which is “Hostname” in the examples.
The final output of this configuration stores the computer name of the device in the Workspace ONE database with a key Hostname and a data value retrieved from the device. For example, Hostname -> JSMITH-PC01. This data is in the Custom Attributes tab on the Device Details view.
What to do next
You can also view existing custom attributes for all devices at a particular organization group and manually create custom attributes directly in the console. Navigate to . Any custom attribute created in this manner automatically associates with a device and its respective custom attribute value that transmits successfully to the console.
