As an alternative to running an assessment on a vulnerability policy, SaltStack SecOps Vulnerability supports importing security scans generated by a variety of third-party vendors.

Instead of running an assessment on a vulnerability policy, you can import a third-party security scan directly into SaltStack Config and remediate the security advisories it identified using SaltStack SecOps Vulnerability. See How do I run a vulnerability assessment for more information about running a standard assessment.

SaltStack SecOps Vulnerability supports third-party scans from:
  • Tenable
  • Rapid7
  • Qualys
  • Kenna Security
  • Carbon Black
You can also use a Tenable.io connector for Tenable scans.
When you import a third-party scan into a security policy, SaltStack Config matches your minions to the nodes that were identified by the scan.
Note: By default, all SaltStack Config users can access the Connectors workspace. However, permission to run Vulnerability Vendor Import, as well as a SaltStack SecOps Vulnerability license, are required for a user to successfully import vulnerabilities from a connector.
The security policy dashboard lists the advisories identified by the third-party scan, as well as whether each advisory is supported or unsupported for remediation.
Note: If the size of your export file is large, you might need to scan a smaller segment of nodes in your network with your third-party tool. Alternatively, you could import large scans using the command line interface (CLI) or API.
After importing your scan, the policy displays a summary that you can toggle between two views: Supported vulnerabilities and unsupported vulnerabilities. Supported vulnerabilities are the advisories that are available for remediation using SaltStack Config. Unsupported vulnerabilities are advisories that cannot be remediated using SaltStack Config.
Note: This toggle view by option is only available for vendor imported data. Data created using SaltStack SecOps content won't show this view by toggle field.

You can import a third-party from a file, from a connector, or by using the command line.

Prerequisites

Before you can import a third-party security scan you must configure a connector. The connector must first be configured using the third-party tool's API keys.

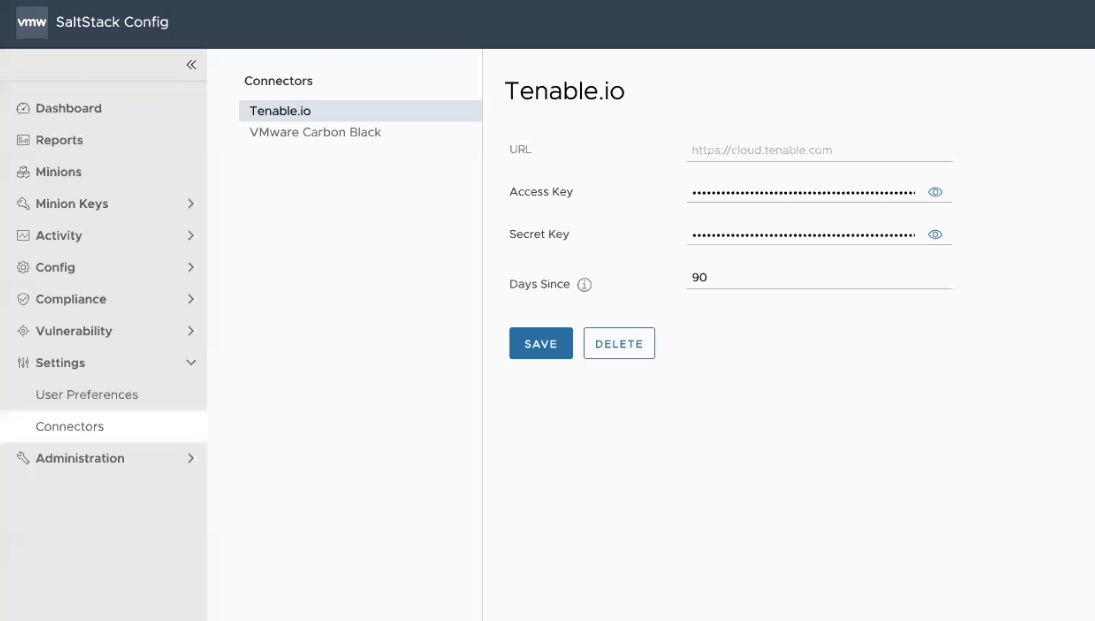
To configure a Tenable.io connector:

To configure a Tenable.io connector, navigate to Settings > Connectors > Tenable.io, enter the required details for the connector, and click Save.
Connector field Description
Secret Key and Access Key Key pair required to authenticate with the connector API. For more information on generating your keys, see the Tenable.io documentation.
URL Base URL for API requests. This defaults to https://cloud.tenable.com.
Days since Query Tenable.io scan history beginning this number of days ago. Leave blank to query an unlimited period of time. When you use a connector to import scan results, SaltStack SecOps Vulnerability uses the most recent results per node available within this period.
Note: To ensure your policy contains the latest scan data, make sure to rerun your import after each scan. SaltStack SecOps Vulnerability does not poll Tenable.io for the latest scan data automatically.

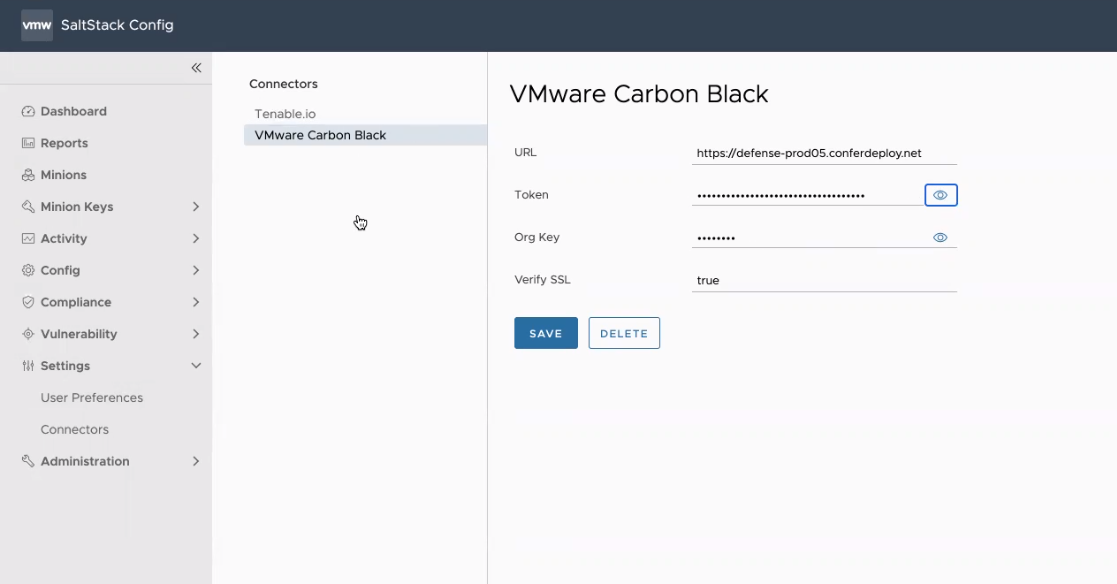
To configure a Carbon Black connector (Windows only):

To configure a Carbon Black connnector, you need to enable the Device Read permission in Carbon Black Cloud and create an API token code. For more information on creating an API token code, see Vulnerability Assessment API.
Note: SaltStack SecOps only supports connectors and scans from VMware Carbon Black Cloud. SaltStack SecOps only uses the ipv4 and Carbon Black device for matching and the risk_meter_score for display. No other information is used.

Before you can configure a Carbon Black connector, you must first set up a Windows Minion Carbon Black sensor kit environment.

To setup a Carbon Black sensor kit environment:
  1. Launch a Saltstack Config environment and deploy a Windows server.
  2. Install the Salt minion on the Windows server. For more information see, Salt Minion Installation.
  3. Accept the master keys in SaltStack Config, and the minion keys from SaltStack Config or the Salt Master.
  4. Install the Carbon Black sensor kit on the Windows minion. For more information, see Installing Sensors on VM Workloads.
  5. In SaltStack SecOps, define a policy with a target group that contains the Windows minion.
  6. After the SaltStack Config VMan ingestion is complete, sync the SaltStack Config Carbon Black module from the Salt master by running these commands: salt mywindowsminion saltutil.sync_modules saltenv=sse.
  7. On the Windows minion, set the Carbon Black device grain by running the salt mywindowsminion carbonblack.set_device_grain.
After setting up a Carbon Black sensor kit environment, you can then configure your Carbon Black connector in SaltStack Config by navigating to Settings > Connectors > VMware Carbon Black. Enter the required details for the connector, and click Save.
Connector Field Description
URL URL for API requests
Token and Org Key Key pair required to authenticate with the connector API.
Note: If you a delete a VMware Carbon Black connector, these fields are populated with 'xxxx' characters. This is to maintain the token key format of 'xxxxxxxxxxxxxxxxxxxxxxxx/xxxxxxx'
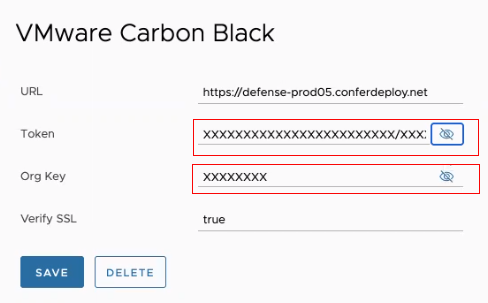
Verify SSL Default is set to true.
  1. Click Minions and select either All Minions or a specific minion for a policy target group.
  2. Click Run Command and run these commands: saltutil.sync_all, carbon_black.set_device_grain, and saltutil.refresh_grains.

Procedure

  1. In your third-party tool, run a scan and make sure to pick a scanner that is in the same network as the nodes you want to target. Then, indicate the IP addresses you want to scan. If you are importing a third-party scan from a file, export the scan in one of the supported file formats (Nessus, XML, or CSV).
  2. In SaltStack Config, make sure you have downloaded SaltStack SecOps Vulnerability content.
  3. In the SaltStack SecOps Vulnerability workspace, create a security policy targeting the same nodes that were included in the third-party scan. Ensure the nodes you scanned in your third-party tool are also included as targets in the security policy. See How do I create a vulnerability policy for more information.
    Note: After exporting your scan and creating a policy, you can import your scan by running the raas third_party_import "filepath" third_party_tool security_policy_name command. For example, raas third_party_import "/my_folder/my_tenable_scan.nessus" tenable my_security_policy. It is recommended to import your scan using the CLI if the scan file is especially large.
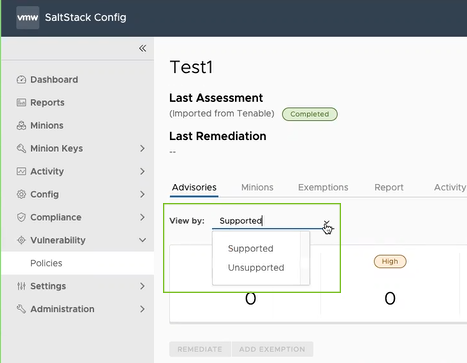
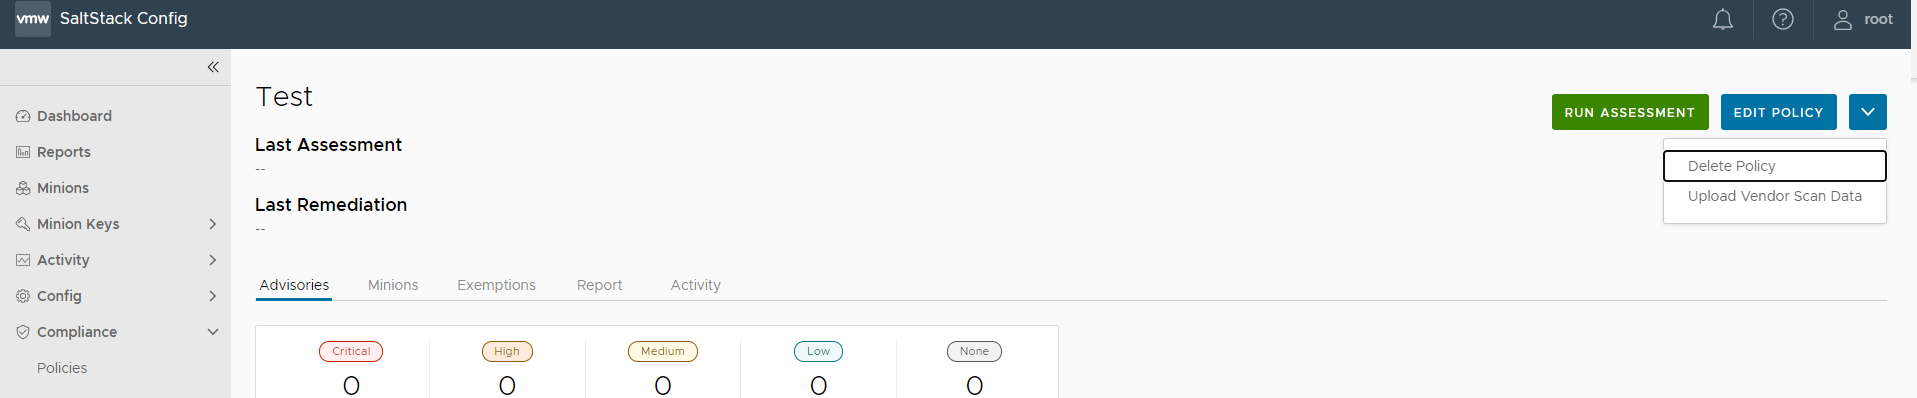
  4. In the policy dashboard, click the Policy Menu drop down arrow and select Upload Vendor Scan Data.
  5. Import your scan:
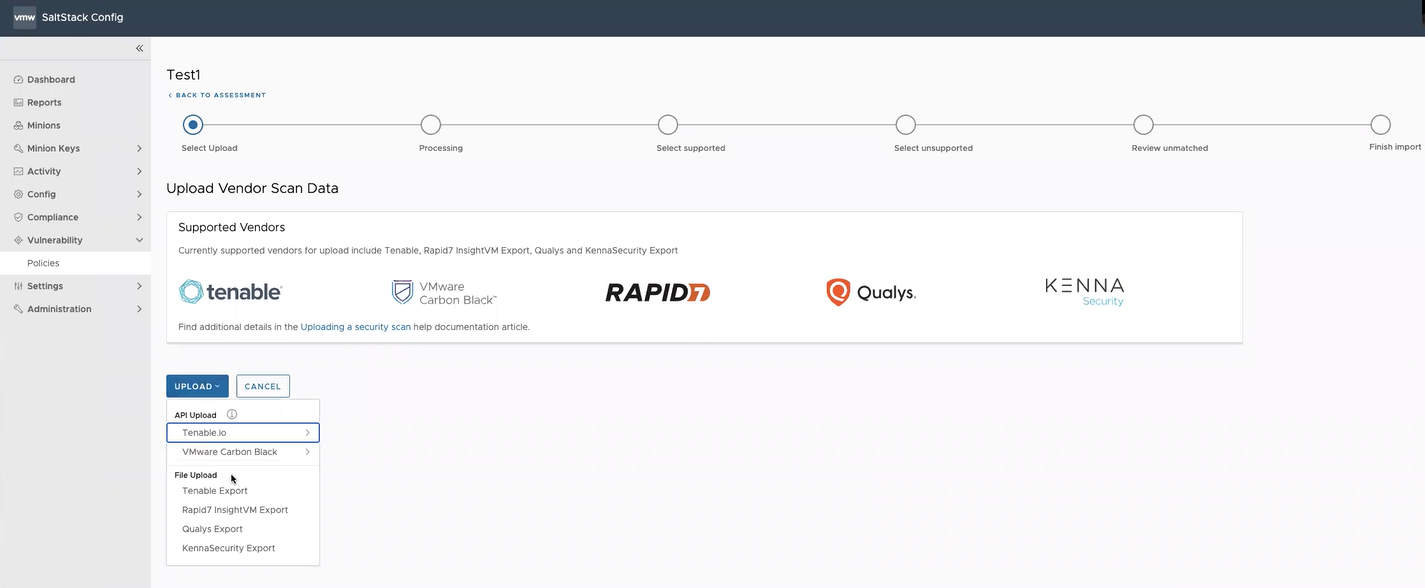
    • If importing your scan from a file, select Upload > File Import and select your third-party vendor. Then select the file to upload your third-party scan.
    • If importing your scan from a connector, select Upload > API Upload and select the third-party. If no connectors are available, the menu directs you to the connectors settings workspace.
    The import status timeline shows the status of your import as SaltStack SecOps Vulnerability maps your minions to the nodes that were identified by the scan. Depending on the number of advisories and affected nodes, this process might take some time.
  6. On the Select supported page, select the supported advisories that you want to include as part of your file import.
  7. On the Select unsupported page, select the unsupported advisories that you want to include as part of your file import.
  8. Review unmatched advisories for advisories that do not match a host or minion. As a result they cannot be remediated through SaltStack Config.
  9. Click Next and review a summary of what will be imported into the policy.
  10. Click Finish Import to import your scan.

Results

The selected advisories are imported to SaltStack SecOps Vulnerability and appear as an assessment in the policy dashboard. The policy dashboard also displays Imported from under the policy title to indicate that the latest assessment was imported from your third-party tool.
Note: Assessments are only run when the scan is imported. Imported scans assessments can not be run on a schedule.

What to do next

You can now remediate these advisories. See How do I remediate my advisories for more information.