


With the SaltStack Config Role Based Access Control (RBAC) system, you can define permission settings for multiple users at once, as permission settings for a role apply to all users included in the role. You can define these settings in the Roles workspace in the user interface.
Role permissions are additive. Users assigned to multiple roles receive access to a combination of all items granted from each role. This helps ensure users with similar backgrounds receive the same permission settings, and users with a range of responsibilities have access to everything they need.
SaltStack Config ships with a number of built-in roles that cannot be deleted. Additionally, you can create custom-defined roles for your organization’s unique needs. See Default roles and settings.
To give a role permission to complete a task, you must both define the permitted task, and also assign access to a resource or functional area. A permission is a broad category of allowed actions, whereas resource access allows you to define a specific resource (for example, a job or target) the action can be completed against. See Difference between permitted tasks and resource access.
Resource access for certain resource types and functional areas must be defined in the API (RaaS), rather than the Roles editor. See Resource access.
Creating a role
In some cases, cloning a role might be more convenient than creating a new one. You can clone an existing role, and then modify the clone as needed.
- Click Administration > Roles on the side menu.
- Click Create.
- Enter a new name for your role.
- Under Tasks, select permitted actions to grant the role. For a description of the available tasks, see Tasks.
- Click Save.
You have completed the minimum steps necessary to create a role. For more on defining the role’s settings, see Editing a role.
Cloning a role
- In the Roles workspace, select the role you want to clone.
Note: For security reasons, the built-in Superuser role cannot be cloned because it is a reserved name.
- Click Clone.
- Enter a new name for your role, and then click Save.
You have completed the minimum steps necessary to clone a role. For more on defining the role’s settings, see Editing a role.
Note: Cloned roles inherit permitted tasks from the original role by default. Cloned roles do not inherit resource access, which must be defined separately. See Assigning access to a job or target.
Editing a role
- In the Roles workspace, select the role you want to edit.
- Select any tab (from Tasks, Resource Access, Groups, or Users) and edit role settings as needed.
For more on editing each tab, see below.
- Click Save after making changes, before selecting a new tab.
Setting permitted tasks
- In the Roles workspace, select the role you want to edit.
- Under Tasks, select permitted tasks to assign the role. Tasks represent common use cases in SaltStack Config. Enabling a task gives the role all permissions required to complete the task.
For task descriptions, see Tasks.
- Click Save.
Assigning access to a job or target
- In the Roles workspace, select the role you want to edit.
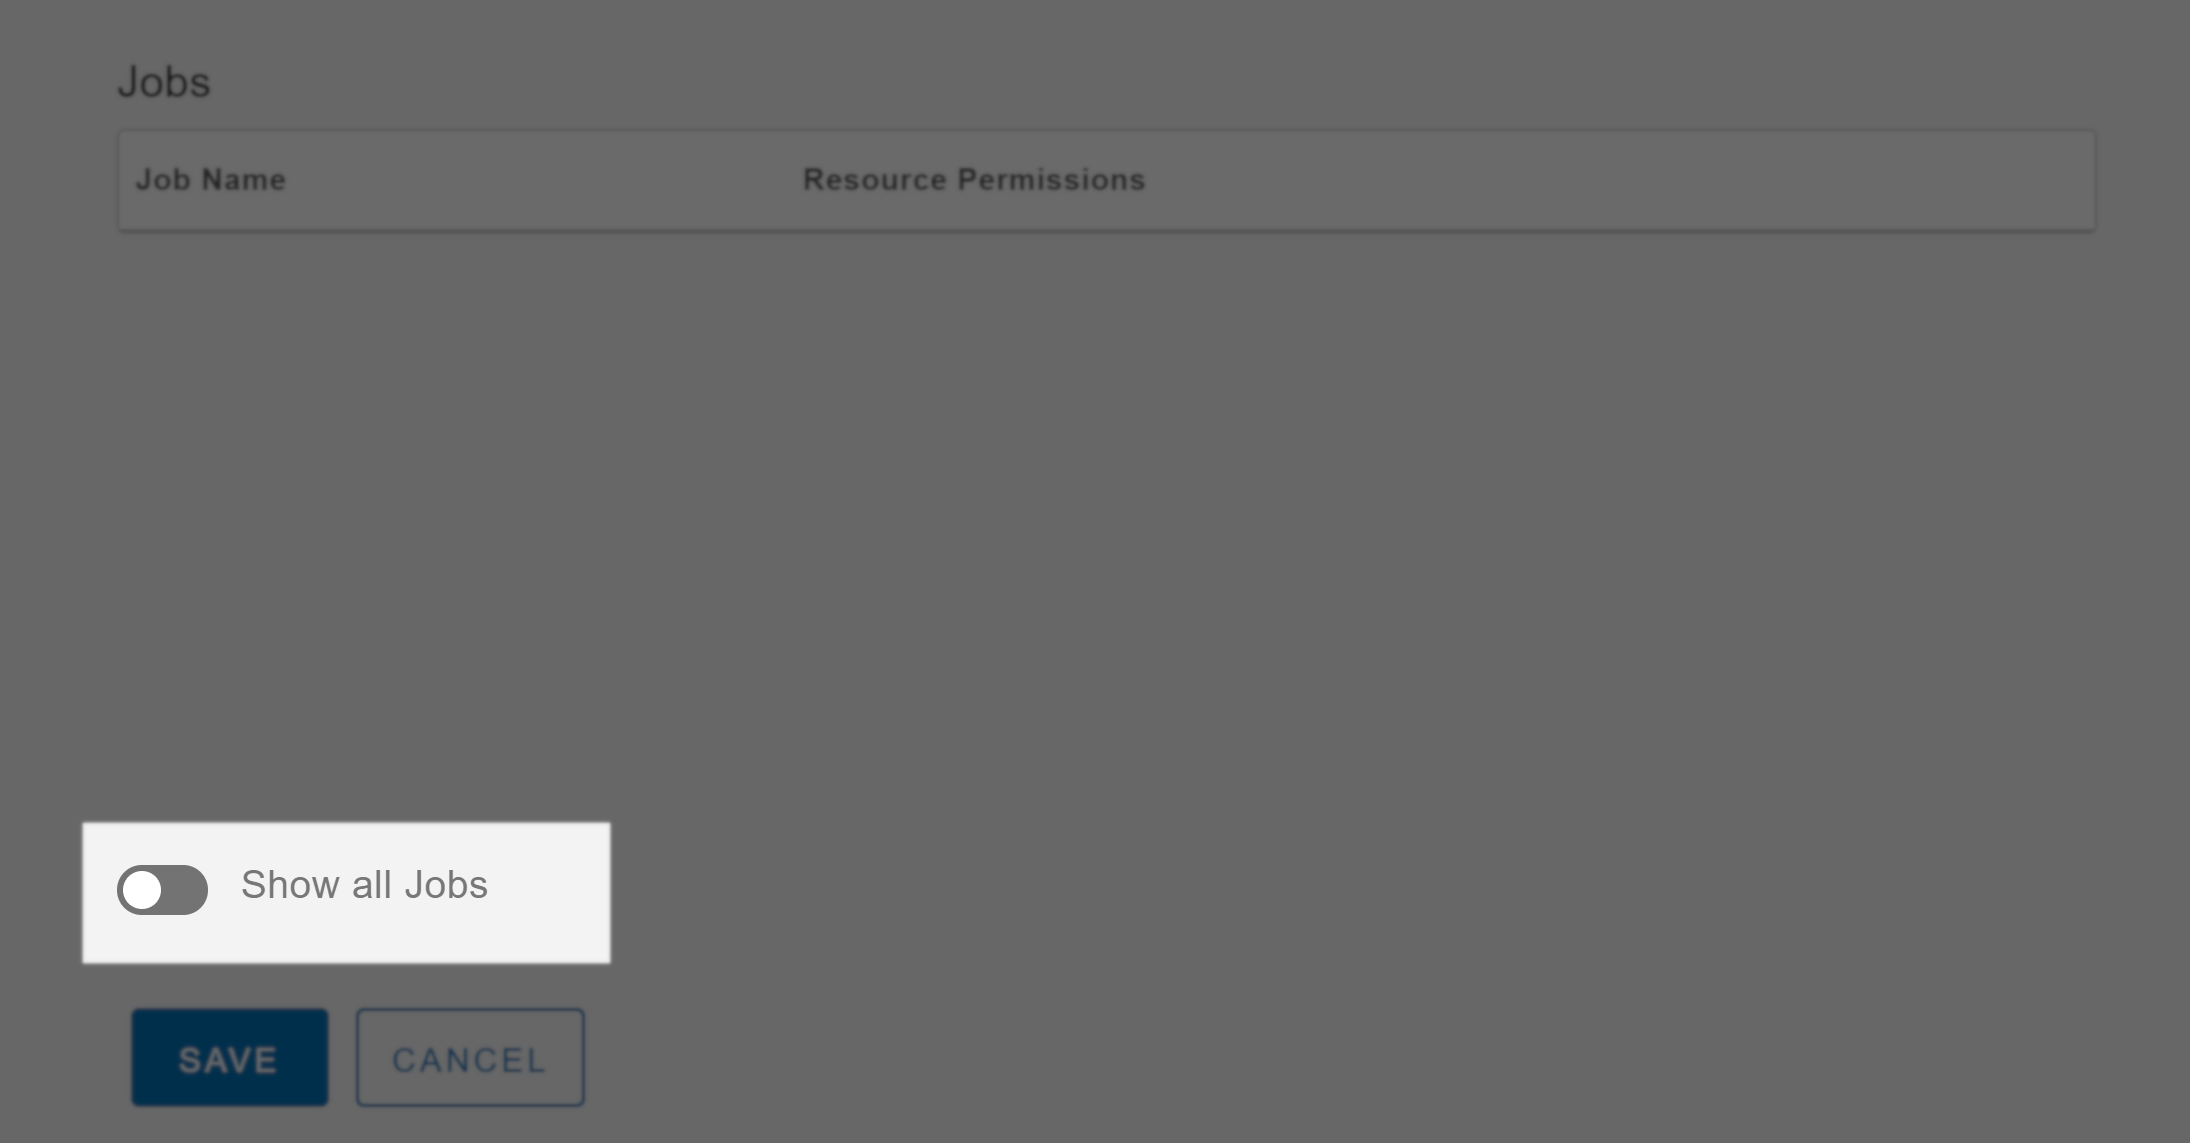
- Under Resource Access, locate the required job or target, and select the access level you want to provide. For example, to allow a role to run jobs, you would select Read/Run for the job.
If the resource you want to select is not displaying, click Show all Targets or Show all Jobs, respectively.
In SaltStack Config, both jobs and targets are considered different types of resources. For more on resource access, see Resource Access.
- Click Save.
Adding or removing groups
- In the Roles workspace, select the role you want to edit.
- Under Groups, select the groups you want to include in the role.
Groups are imported through a directory service connection. If you don’t see the group you were expecting, ensure you have added the connection and synchronized groups.
Any groups you remove from your Directory Service connection are archived. Even though they’re inactive and users can’t log in, they’re still visible in the Roles workspace.
Note: Role permissions are additive. Users in groups assigned to multiple roles receive access to a combination of all items granted from each role. - Click Save.
The selected groups, including all users in those groups, are now granted all permitted tasks and resource access defined in the role settings.
Adding or removing users
Users inherit permission settings (such as being assigned to a role) from the groups they belong to. A best practice is to avoid adding individual users to a role, but rather add the user to a group that belongs to the role. All new users are included in the User role by default. See Default roles and settings.
- In the Roles workspace, select the role you want to edit.
- Under Users, select the users you want to include in the role.
The Roles workspace allows you to manage settings for individual users included in a Directory Service group only after the user’s first login. For more information, see Authentication with LDAP.
- Click Save.
For more information
The following articles provide more in-depth information about RBAC related concepts for SaltStack Config.
