Prior to configuring the Management Pack for Dell EMC VNX in vROps, ensure the following pre-configuration tasks are completed for your VNX File or Block storage system:
- VNX File: Enable SSH on your VNX Control Station.
- VNX Block: Install the NaviSecCLI Utility
Install the NaviSecCLI Utility
Prerequisites
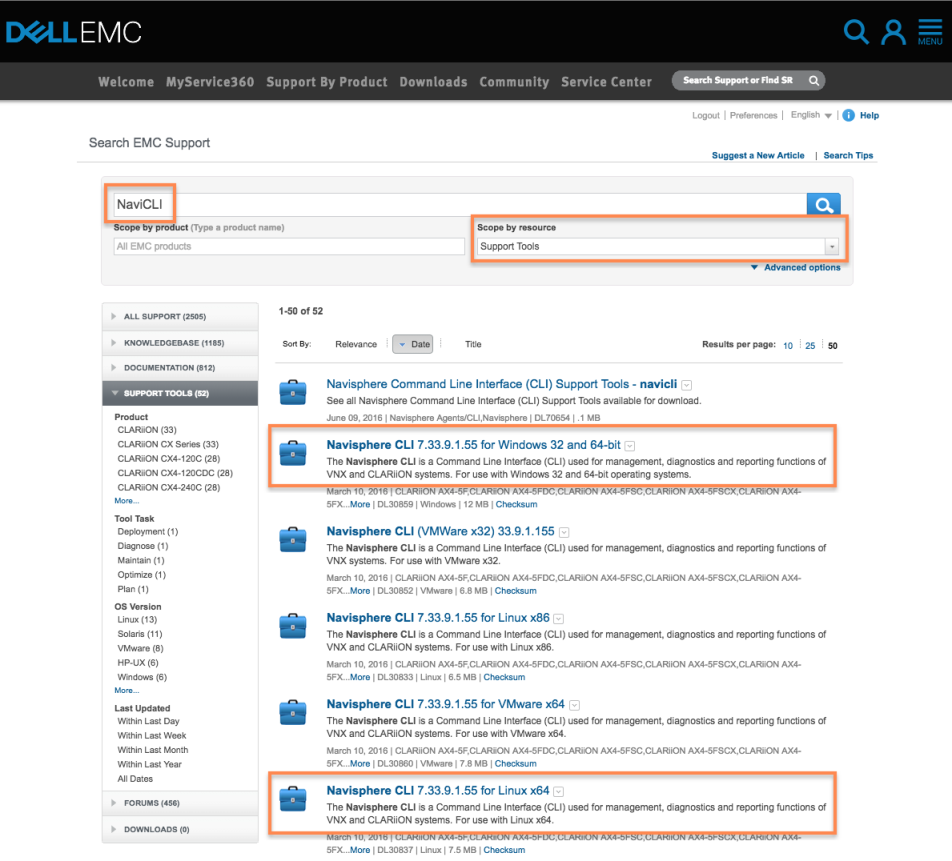
Log in to EMC’s support web site at https://support.emc.com, then search to find the latest Navisphere CLI utility download for Windows 64-bit or Linux 64-bit, depending on your vROps node operating system.

Windows-Based Systems: Download and Run the Executable File
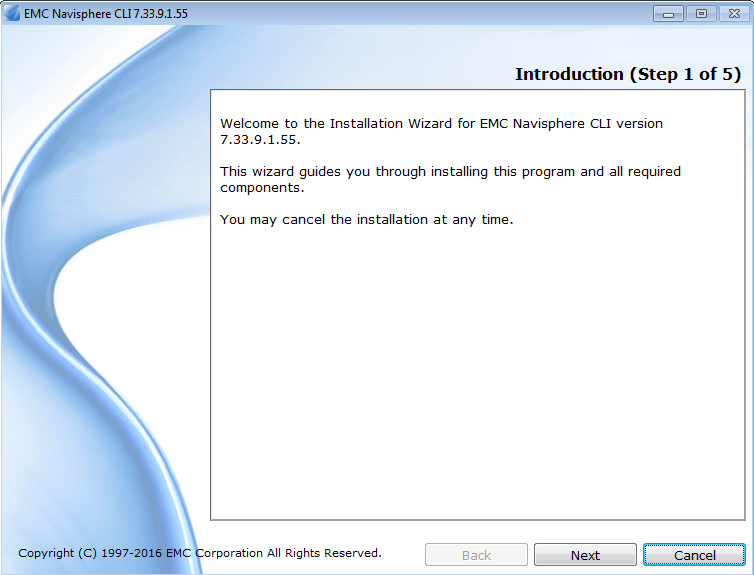
Download and run the latest “Navisphere CLI [version] for Windows 32 or 64-bit” .exe file on the vROps node, walking through the Installation Wizard.

Linux-based systems: Download and install the rpm file
- SSH into the vROps node.
-
Download the .rpm file directly to the vROps node using the following command: curl --user [email address]:[password] -O -L [rpm file URL]
Note: The [rpm file URL] can be copied by right-clicking on the “Navisphere CLI [version] for Linux x64” link. Be sure to remove any characters in the hyperlink following “.rpm” -
Install the package using the following command:
rpm -ivh *.rpm
Note: Replace * with the name of the downloaded .rpm file. -
After installation, run the following command to set the security level (to either low or medium): /opt/Navisphere/bin/setlevel_cli.sh
Note: When configuring your adapter instance for VNX Block, copy the path to NaviSecCLI that is installed on your vROps node into the Naviseccli Path field under Advanced Settings. See: Creating an Adapter Instance (VNX) for more information.