


vSphere IaaS control plane integrates with several third-party services that use the vSAN Data Persistence platform for their persistent storage needs. As a vSphere administrator, enable the services on vCenter Server. When you enable the stateful service, you first register the service with vCenter Server using the downloaded YAML file that describes the service. You then install the service on Supervisors so that your DevOps engineers can use the service in Kubernetes workloads.
Prerequisites
Required privilege:
1 Configure Persistent Storage
- vSAN Direct. To set up vSAN Direct, see Create a vSAN Direct Datastore.
Note: For the disks in vSAN Direct datastore, the volume allocation type changes are not supported. After you select the volume allocation type for the disks in the vSAN Direct datastore, you cannot change it. However, the volume allocation type change for the new disk is allowed during such operations as clone and relocate.
- Regular vSAN with SNA storage policy. For information on setting up vSAN storage, see the Administering VMware vSAN.
2 Download the Service YAML File
When you download the service YAML files from a repository, make sure to use correct service version compatible with your version of vSphere.
- On the vSAN Data Persistence Platform (vDPP) Services page, navigate to an appropriate partner link.
- Follow partner documentation to download a YAML file for the service.
3 Add the Service to vCenter Server
Use the partner service YAML file that you downloaded.
4 Install the Service on Supervisor
See Install a Supervisor Service on a Supervisor.
- Creates a namespace for this service in the Supervisor.
- Creates default storage policies and corresponding storage classes and assigned them to the namespace.
The policies are for vSAN Shared-Nothing-Architecture (SNA) and vSAN Direct datastores.
Note: The vSAN Data Persistence platform automatically creates vsan-direct and vsan-sna storage classes in the namespace after the vSphere administrator enables the service. Only applications that run on the Supervisor can use the vsan-direct and vsan-sna storage classes. These storage classes cannot be used inside a TKG cluster.In vSphere 7.0 Update 2 and later, the vSAN Direct storage policy is capability-based. If you created tag-based policies in vSphere 7.0 Update 1, they are automatically converted to capability-based after an upgrade to vSphere 7.0 Update 2 and later.
If you want to create custom storage policies and assign them to the service namespace instead of the default, see Create vSAN Direct Storage Policy and Create vSAN SNA Storage Policy.
- Creates DevOps roles, including the roles with edit and view permissions.
When the service operator is deployed, its custom CRDs are installed in the Supervisor. Users with the edit permission can CRUD resources of these CRDs in the namespace. Users with the view permission can only view resources of this CRD.
- If the third party has provided a custom UI plugin, it appears in the vSphere Client. The vSphere administrator can use the plugin to manage the service.
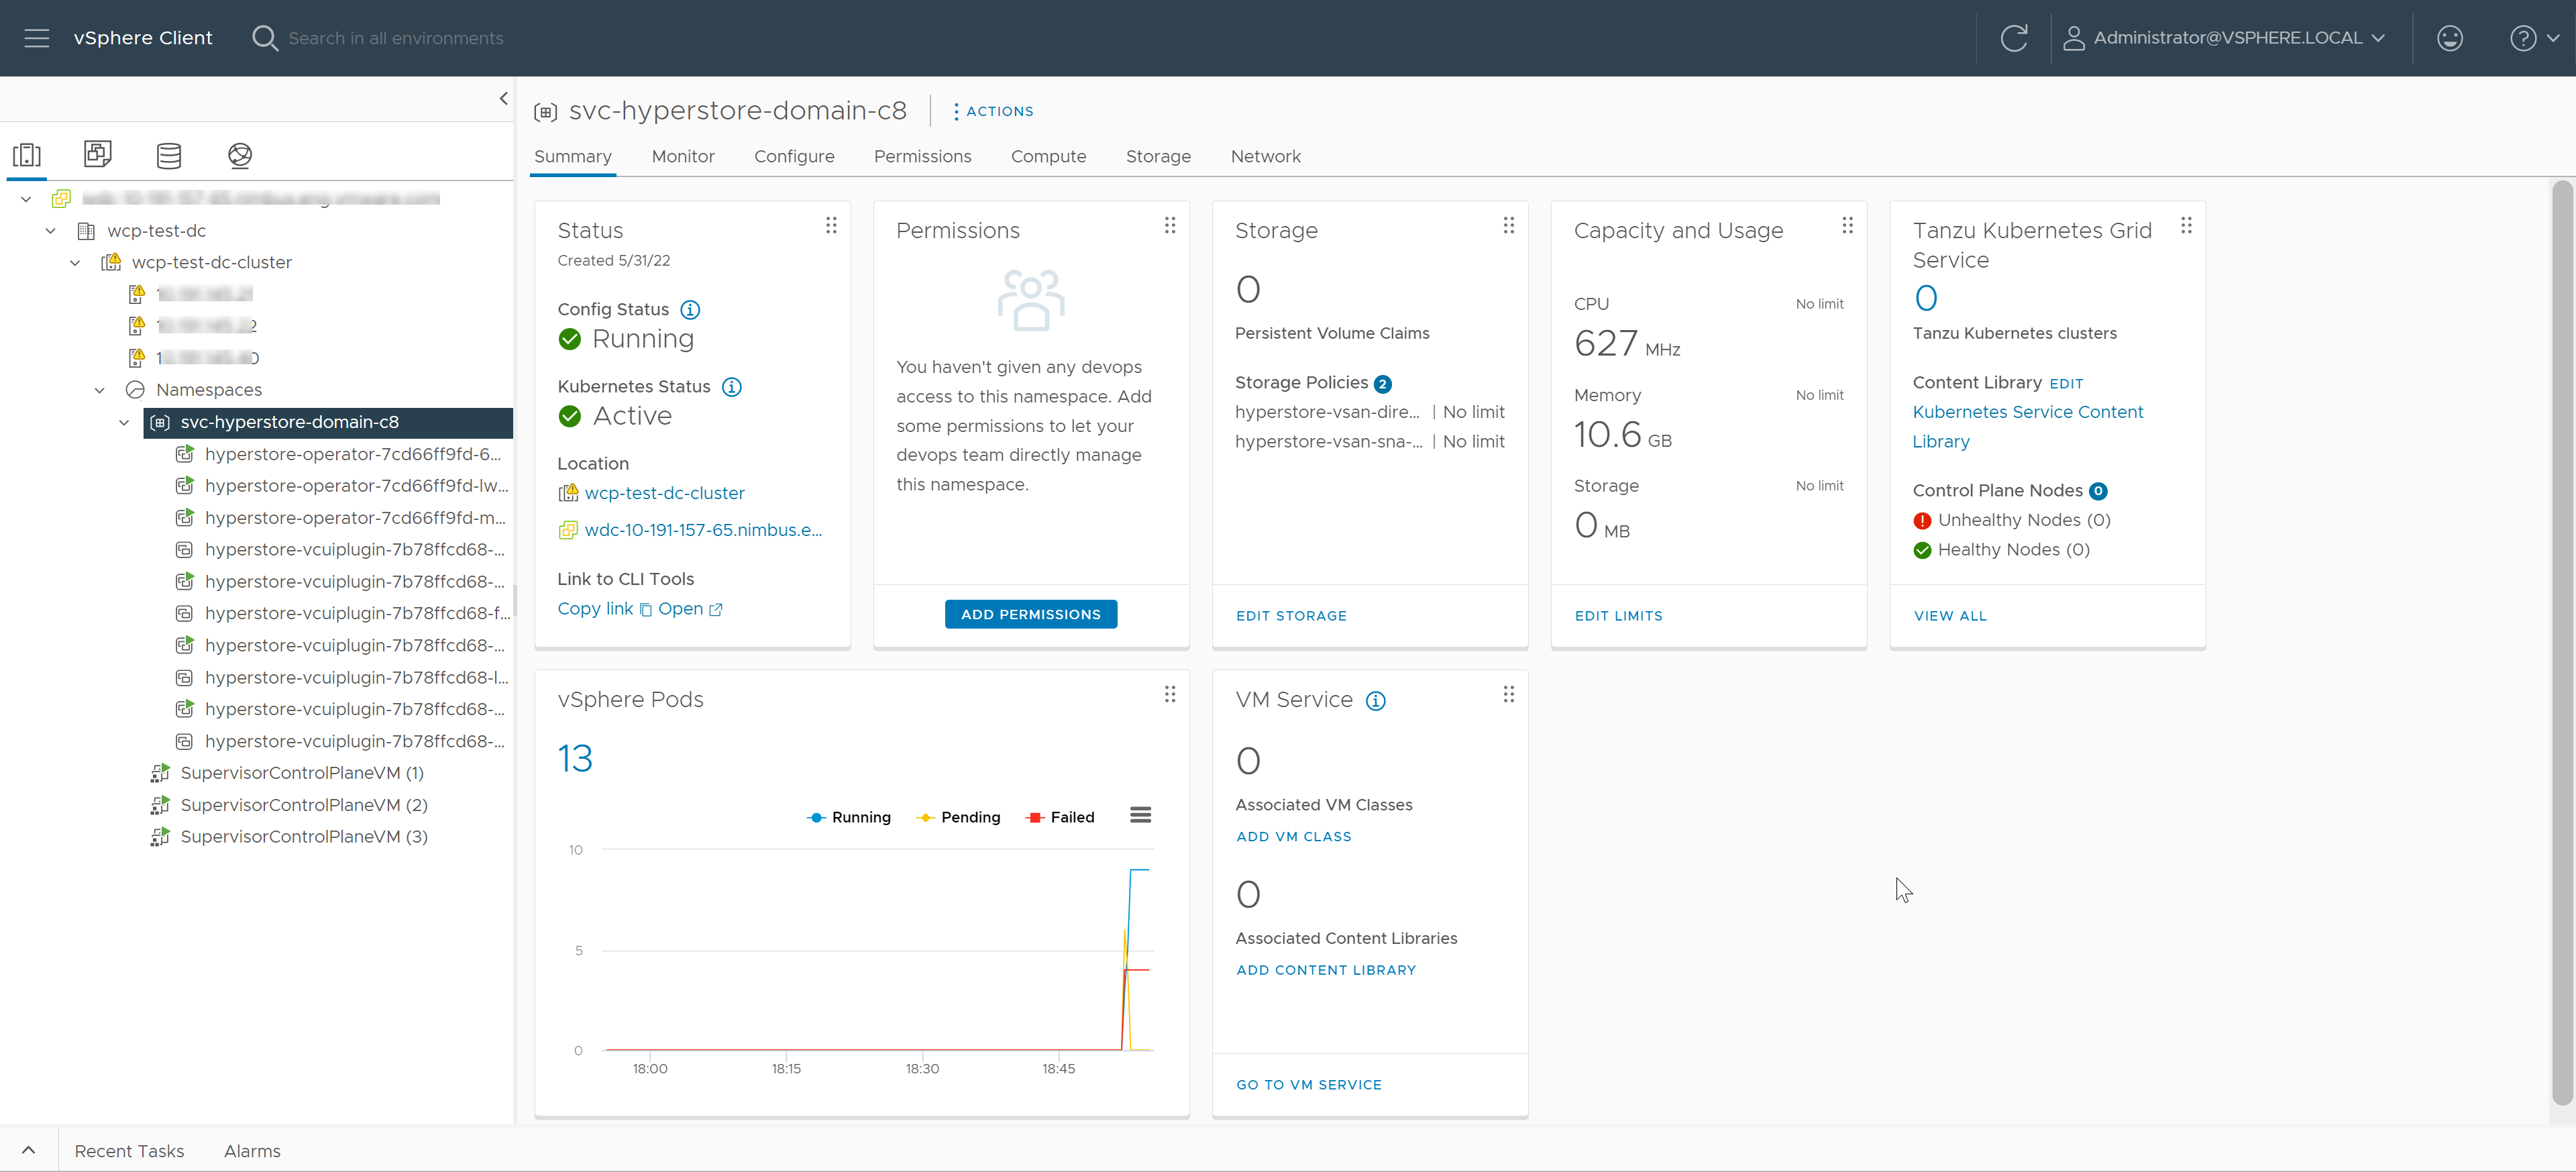
5 Verify Resources Created for the Service
The vSphere administrator can verify that all appropriate resources for the service have been created.
Navigate to the namespace created for the service and click the Summary tab.
The Summary page shows storage policies assigned to the namespace, the vSphere Pods running on the namespace, and so on.
6 Manage and Monitor the Service
- If the third party has provided a custom UI plugin, the vSphere administrator can use the plugin to manage and monitor the service.
For more information, see the third-party UI plugin documentation.
- In addition, the vSphere administrator can use the Skyline Health checks to monitor the services. See Monitor Stateful Services in vSphere IaaS Control Plane.
- If you want to create custom storage policies instead of the default, see Creating Custom Storage Policies for vSAN Data Persistence Platform.
7 Start Using the Service
The DevOps engineer uses the kubectl command to access the service namespace.
To verify that the namespace you use for stateful services has appropriate storage classes, see Check Storage Policies Available for Stateful Services.
You can use the third-party CRDs to deploy instances of the third-party application service. For more information, see the third-party documentation.
