


If you are new to vRealize Automation, the Quickstart is a great way to get started. The Quickstart helps you, the cloud administrator, set up your on-premises vCenter Server so that you can provision resources using vRealize Automation, populate the self-service catalog, and deploy your first cloud template to your vSphere instance.
Using the vCenter Server Quickstart, you do the following tasks in Cloud Assembly and Service Broker.
- Add a vCenter Server cloud account. Cloud accounts are the credentials that are used to collect data from and deploy resources to your vCenter Server instance.
- Add an NSX-T or NSX-V cloud account and associate it with the vCenter Server account. The NSX cloud accounts are the credentials that are used to create and deploy NSX network resources.
- Select a datacenter. The datacenter is added as a cloud account region.
- Create a sample machine template that you can deploy.
- Create a project. The project links your users with cloud account regions, so that they can deploy application templates with networks and storage resources to your vCenter Server instance.
- Create lease and machine naming policies. The lease policy controls how long a deployment is active. The naming policy provides a standardized naming convention for the resources.
- Add the templates to the catalog.
- Deploy a machine from the catalog.
After you run the Quickstart the first time, the Quickstart is added as a tile on the console services page. You can run it again to add new vCenter Server or Cloud Foundation instances.
Much of this terminology might be new to you. As you go through the Quickstart and the tour, we explain the new concepts in more detail. After you run the Quickstart, use the Take me on a tour of vRealize Automation to see what the Quickstart did to tour the results.
The Quickstart is not an option under the following circumstances.
- If you do not use vSphere and want to add a different type of cloud account, you can use the Guided Setup as your first-time guide to the process.
- You can only run the Quickstart once. You cannot run it a second time. Consider using the Guided Setup.
- For more about the Guided Setup, see How do I get started with Cloud Assembly using the Guided Setup.
In this procedure, we provide sample values to illustrate the workflow. Substitute these samples with values that are relevant to your environment.
Prerequisites
- Verify that you have the IP address or FQDN for the vCenter Server that you are adding as a cloud account. You must also have the credentials for a vCenter Server user account with the necessary permissions. See the vCenter Server requirements in Before you begin with Cloud Assembly.
- Verify that you have the IP address or FQDN for the NSX-V or NSX-T instance that you are adding as a cloud account. You must also have the credentials for a user account that has create, read, edit, and delete permission. See the NSX requirements in Before you begin with Cloud Assembly.
Procedure
- After you install vRealize Automation and log in for the first time, click Launch Quickstart.
- Add your vCenter Server.
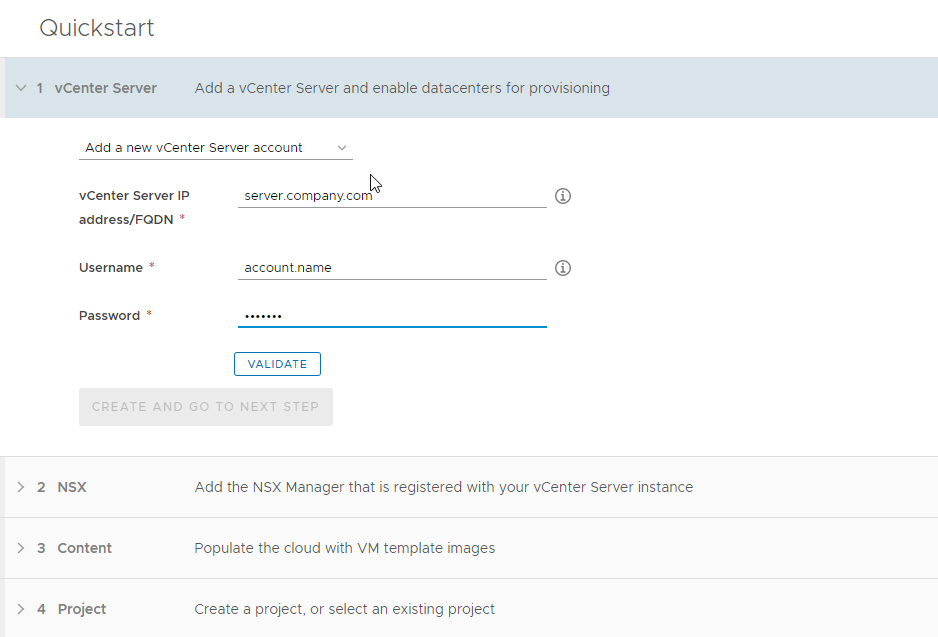
Remember that all values here are use case samples. Your account values depend on your environment.
Avoid any beginning or trailing spaces when you enter the values.
- If you are adding your first account, select Add a new vCenter Server account.
If you are adding additional accounts using the wizard, select Use an existing vCenter Server account.
- Enter the address and credentials.
- Click Validate.
If your certificates are not configured, a warning appears regarding the untrusted certificate. You can resolve the trust or you can click Accept and continue.
- After successful validation, select the data centers that you want to deploy to.
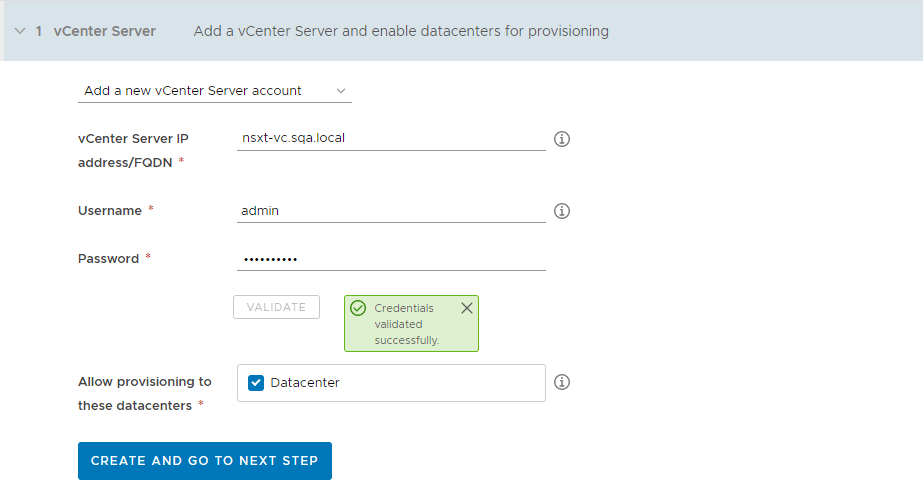 Each data center is added as an account region cloud zone in vRealize Automation.
 - Click Create and go to next step.
- If you are adding your first account, select Add a new vCenter Server account.
- Add the NSX instance that is associated with your vCenter Server.
For this example, the values are for NSX-T.
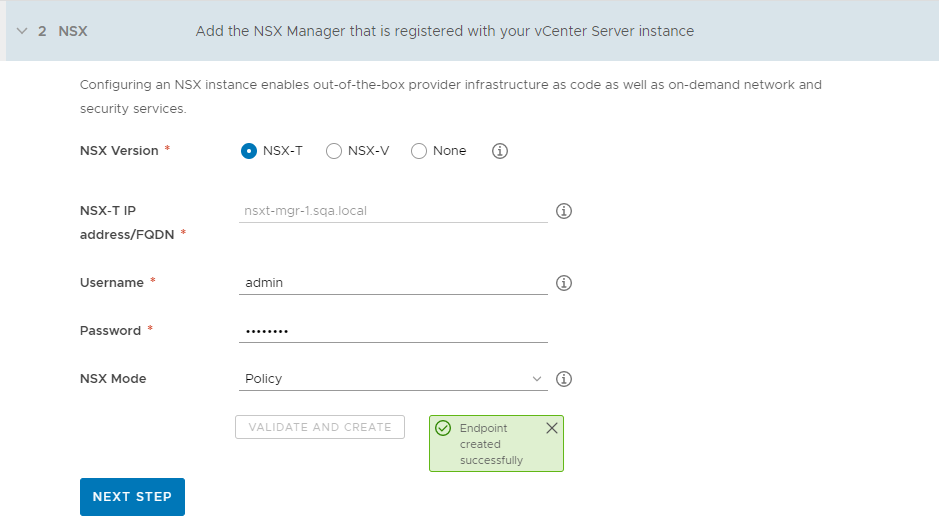
- Select the NSX version.
Select the NSX version that you use. If you do not have NSX, select None.
- Enter the address and credentials.
- Select the NSX Mode with the capabilities that you want to use to manage the endpoint.
You cannot change the mode after the account is created.
- Review the information, and then click Validate and Create.
- Click Next step.
- Select the NSX version.
- Set up the content of your first templates and where they are deployed.
This process sets up the elements in your infrastructure and creates your first VMware cloud templates that are made available in the Service Broker catalog. The terms that are used in Cloud Assembly and Service Broker are provided so that you become familiar with them and how they are used in the UI.
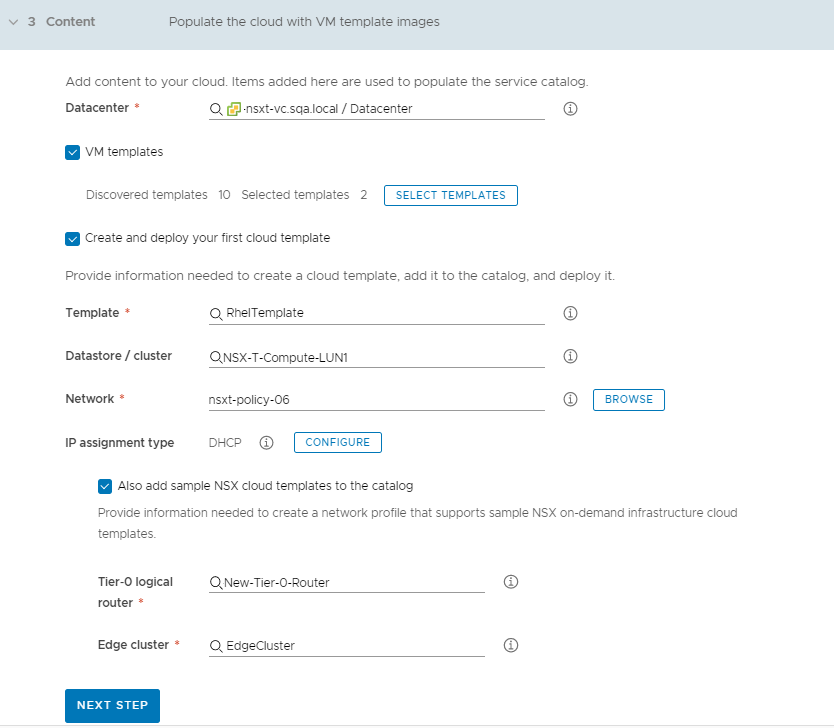
- Click in the text box to select the Datacenter.
The other possible values on this page are collected from your vCenter Server instance based on the provided credentials. This data center becomes a cloud zone in Cloud Assembly.
- To add one or more templates that exist on your vCenter Server to your catalog, select VM templates and select the templates.
These templates are virtual machine templates on your vCenter Server instance.
- To deploy a template, click Select Templates and locate the template that you want to deploy.
- Select the Datastore / cluster.
This datastore becomes a storage profile.
- To add a Network, click Browse and select the network.
If you are configuring NSX, select the NSX network, not the vCenter Server network.
This network becomes a cloud zone that supports the network profile.
- To select and configure a DHCP or static IP connection type, click Configure and provide the values specific to your environment.
The network connection that you configure becomes a network profile.
- To add NSX templates, click Also add sample NSX cloud templates to the catalog and select the Tier-0 logical router and the Edge cluster.
- Click Next Step.
As part of this configuration process, a Quickstart cloud zone is defined for you and vCenter Server templates are added as cloud templates and catalog items. - Click in the text box to select the Datacenter.
- Create a project and assign users.
Projects are used to manage people, assigned resources, cloud templates, and deployments. They can operate a business group to manage access and costs.
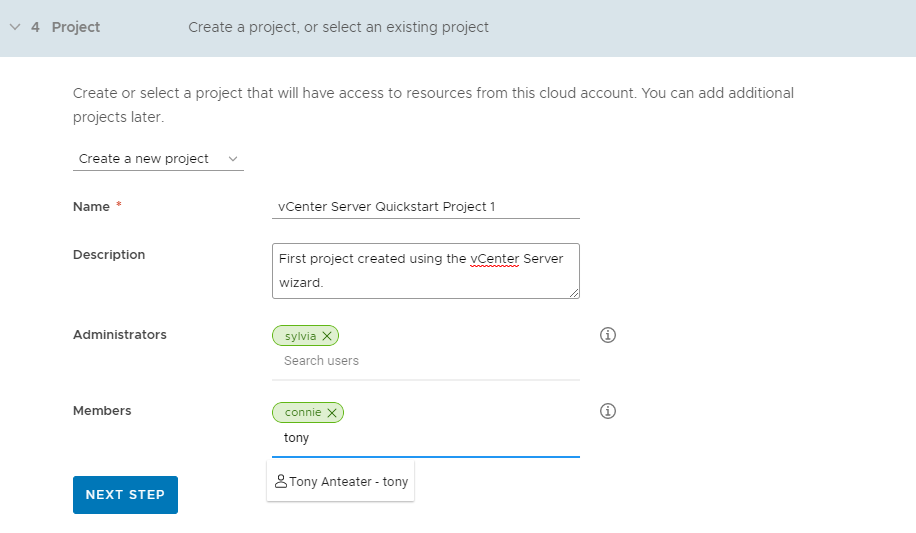
- If this is your first time using the Quickstart, select Create a new project.
If you are using the Quickstart to add more templates to a project, select Use an existing project.
- If you are making these templates available to others, add an Administrator and Members.
Administrators have more permissions than the members have.
- Click Next Step.
- If this is your first time using the Quickstart, select Create a new project.
- Provide the starting policies and a machine naming policy so that all the deployments have the same approval requirements and lease time, and so that they follow a standard naming convention.
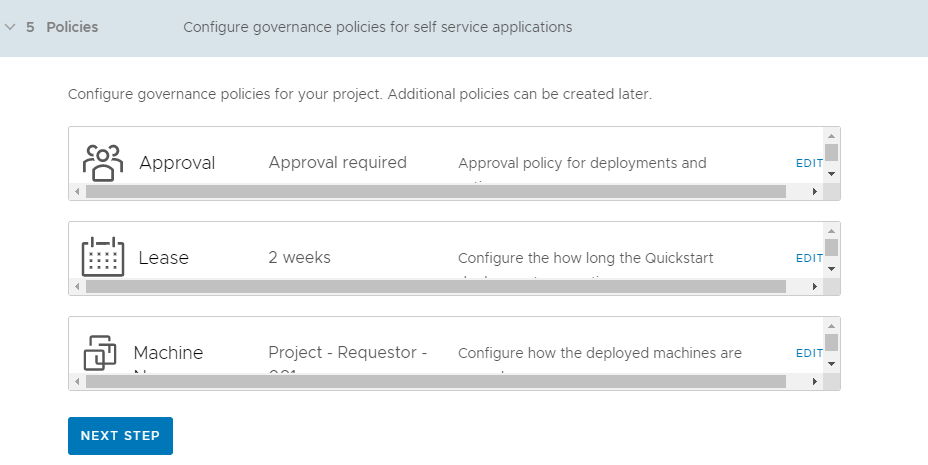
These policies are applied to deployments associated with the Quickstart project. The Quickstart creates the project for you. You define the policies.
- Edit the approval policy and assign it to yourself.
The approval policy requires the assigned user to approve the deployment request before the resources are deployed. If you assign it to someone else, you must change your custom permissions to give yourself the ability to approve the request.
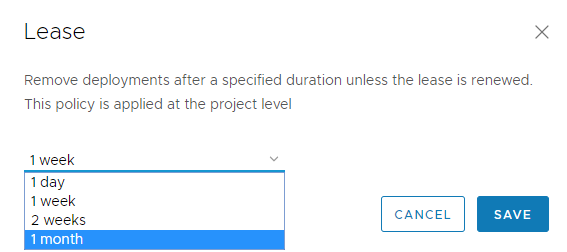
- Edit the lease and select the time after which the resources are destroyed if not renewed by the user.
- Edit the machine name and select the naming convention that you want to use.
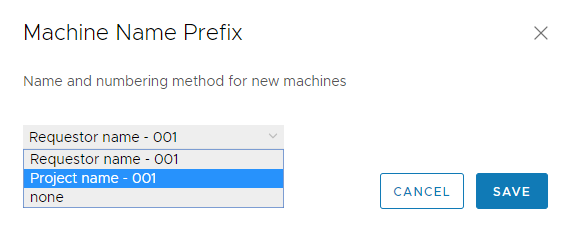
- Click Next Step.
- Edit the approval policy and assign it to yourself.
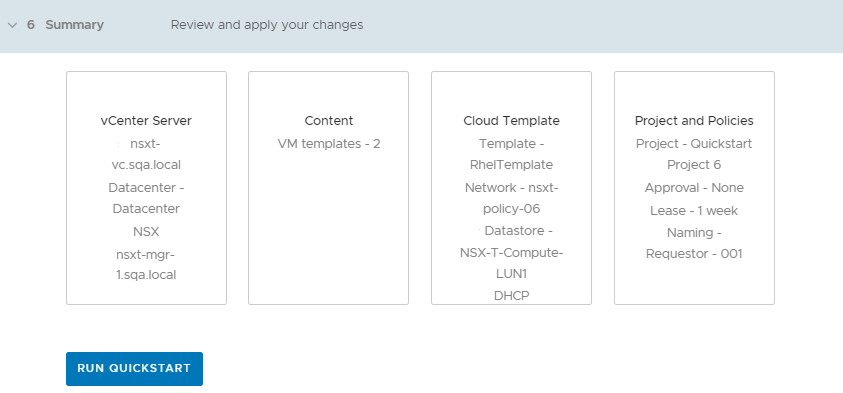
- Verify your configuration requests on the Summary page.
What to do next
Take a tour of Cloud Assembly and Service Broker to discover more about how you manage your infrastructure, create templates, and deploy and manage resources. See Take me on a tour of vRealize Automation to see what the Quickstart did.
