


This topic describes how to install and configure Aternity APM for VMware Tanzu. It also describes how to create the APM service instance so that applications can bind to it.
You only need to perform these tasks once (after an installation and after each upgrade). After you have done this, you can push and bind each application that you want to monitor with APM as described in Using APM.
VMware Tanzu Ops Manager: Importing Aternity APM for VMware Tanzu
Install the Aternity APM for VMware Tanzu tile using the Ops Manager Installation Dashboard:
-
Download the product
riverbed-appinternals-<version>.pivotalfile from the Pivotal Network. -
Navigate to the VMware Tanzu Ops Manager Installation Dashboard and click Import a Product. Specify the
.pivotalfile you downloaded in the previous step. This uploads the file to the Ops Manager and may take a couple of minutes. Note that you can install the new Aternity Tile over an existing Riverbed Tile. The functionality is the same, it is just a name change. The new tile will replace the old one, just like any other upgrade. -
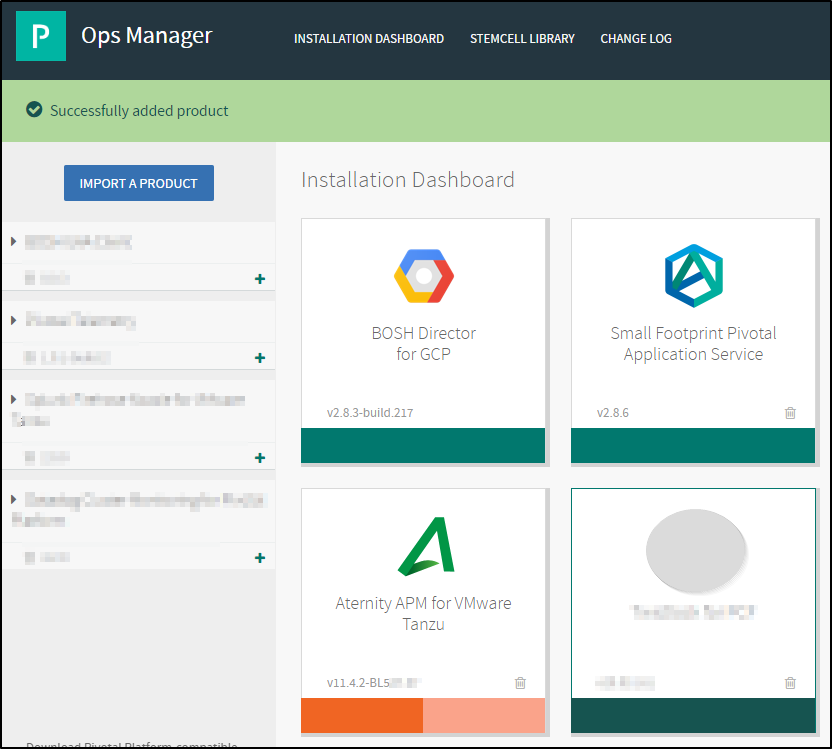
After importing the file, the Aternity tile name appears under the Import a Product button. Click + to add the tile to your staging area. The orange bar at the bottom of the tile means the tile has not been configured.
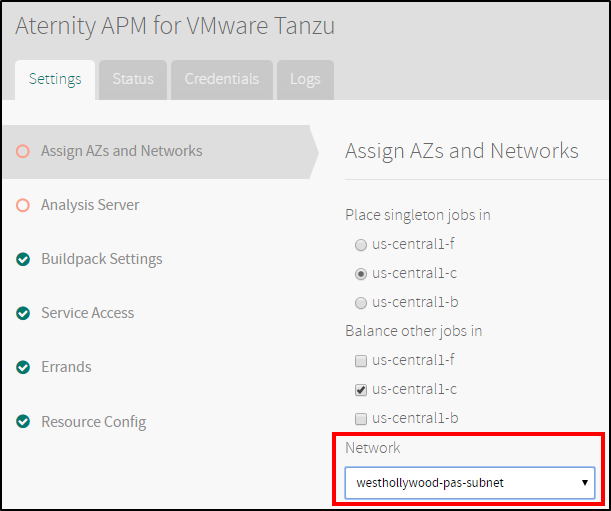
VMware Tanzu Ops Manager: Configuring Networks
When configuring networks, in the Network drop-down list,select the same network that PAS is using.
VMware Tanzu Ops Manager: Configuring Analysis Server Connection Details
The APM agents, which monitor applications, must connect to an analysis server that will store their performance data and host the user interface to analyze that data. Settings in the APM Analysis Server area specify the analysis server connection details.
-
Click the newly added Aternity APM for VMware Tanzu tile.
-
From the Settings tab, click Analysis Server.
-
If you are using an on-premises analysis server, click the On Prem button.
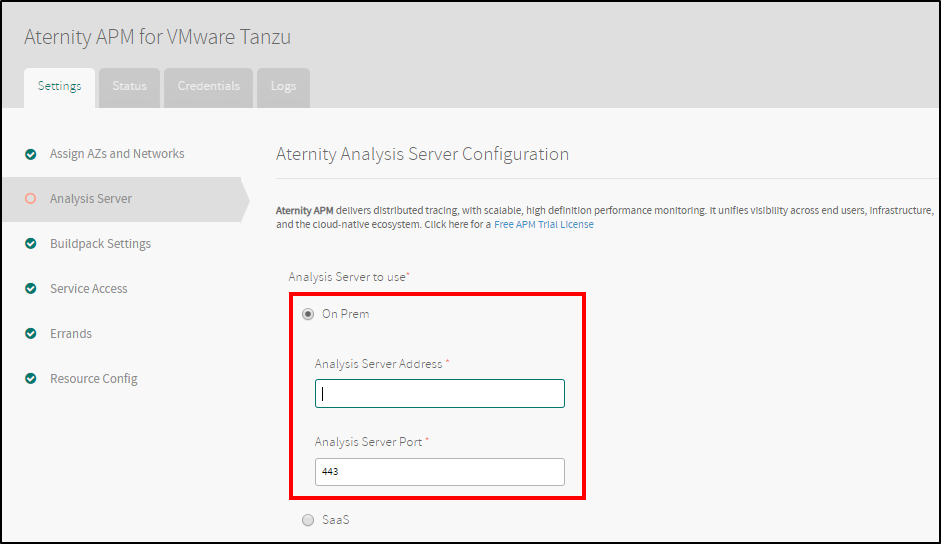
Complete these fields: * Analysis Server Address: The name or IP address of the on-premises analysis server. * Analysis Server Port: The port that the analysis server listens on. Most servers use the default option.
-
If you are using the Aternity SaaS analysis server, select the SaaS option.

Complete these fields: * Customer ID: The customer ID for your SaaS analysis server. You can find the customer ID in the Install Agents screen in the analysis server user interface. * SaaS Server Name: The name of the Aternity SaaS Server. Most servers use the default option. * SaaS Server Port: The port that the Analysis Server listens on. Most servers use the default option.
-
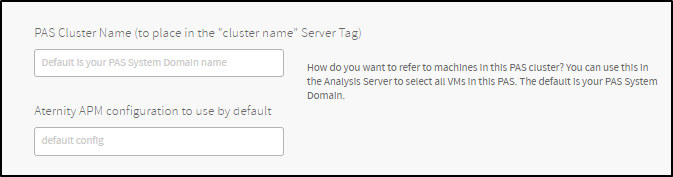
Optional Fields
- PAS Cluster Name: Use this to specify a custom name for your cluster that shows up in the Analysis Server. The default is your PAS System Domain name.
- Aternity APM configuration to use by default: Specify the default configuration for apps to use. Note, however, that this can be overridden on a per-app basis when an app is staged via the environment variable
RVBD_APP_CONFIG. Make sure the name is spelled correctly to match an existing config on the Analysis Server.
-
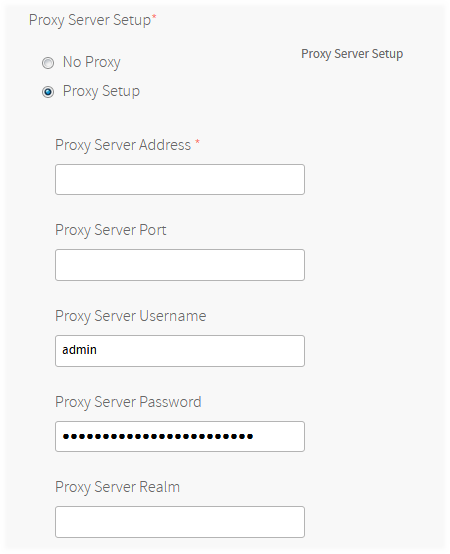
Under Proxy Server Setup, choose Proxy Setup if your Cells (VMs) need to go through a proxy server to reach the analysis server.
Supply values as necessary: * Proxy Server Address: Your proxy server name or IP. * Proxy Server Port: Your proxy server’s port.
8080is the default. * Proxy Server Username * Proxy Server Password * Proxy Server Realm
-
Click Save.
-
Return to the Ops Manager Installation Dashboard, click Review Pending Changes, and do the following:
- Select the PAS tile.
- Select the Aternity tile.
- Click Apply changes.
Warning: When doing a selective deploy, you must deploy the PAS Tile in addition to the APM Tile. Other tiles are optional.
Pivotal Apps Manager: Creating the APM Service Instance
To have APM profile your applications, create the APM service instance and bind individual applications to it. (See Binding the Application for the steps to bind specific applications to the service instance.)
Follow these steps to create the service instance:
-
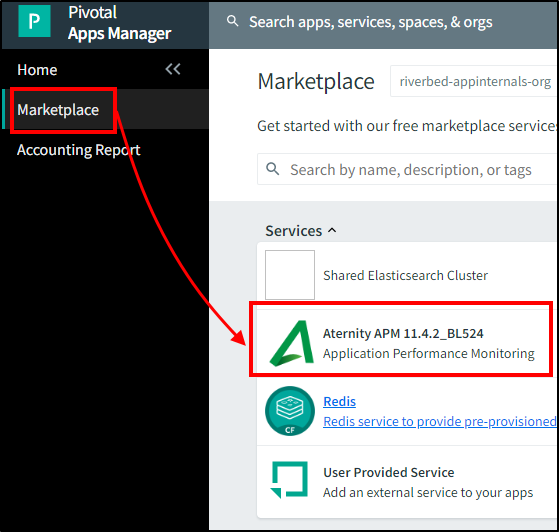
Log in to the Pivotal Apps Manager.
-
Click Marketplace.
-
Click the Aternity APM service.
-
Click SELECT THIS PLAN to accept the license, which opens the Create a new service panel.
-
In the Create a new service panel, supply a service instance name. The Instance Name value is arbitrary but in this example is
apm-service-11-4-2.
-
Click Create.

 Send Feedback