


This topic tells you how to set up Google Cloud Platform (GCP) as an identity provider for a Single Sign‑On for VMware Tanzu Application Service service plan by configuring OpenID Connect (OIDC) integration in both Single Sign‑On and GCP.
Overview
To set up the integration, follow the procedures below:
- Overview
- Generate GCP Client Credentials
- Set up the OIDC Identity Provider in <%= vars.product_short %>
Generate GCP Client Credentials
Follow the steps below to generate GCP client credentials:
-
Log in to your GCP console.
-
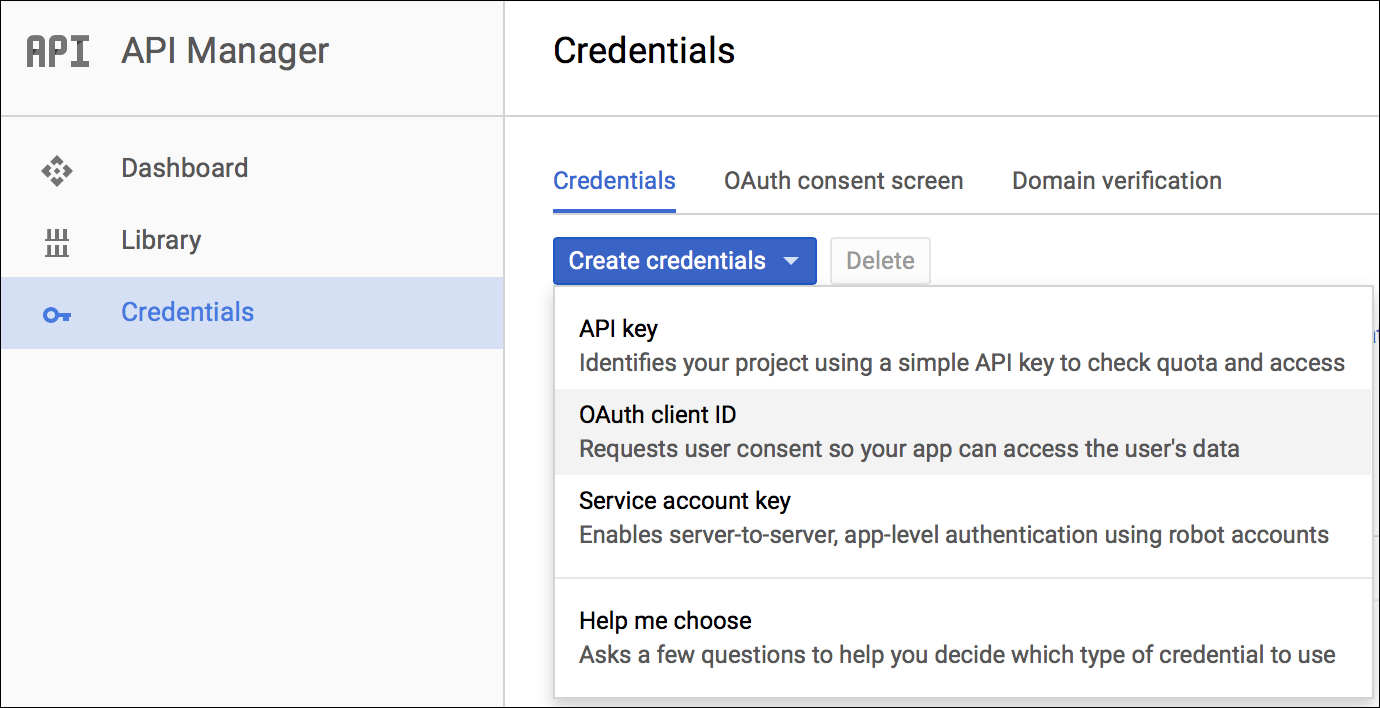
Under the Credentials tab, click Create credentials > OAuth client ID.
-
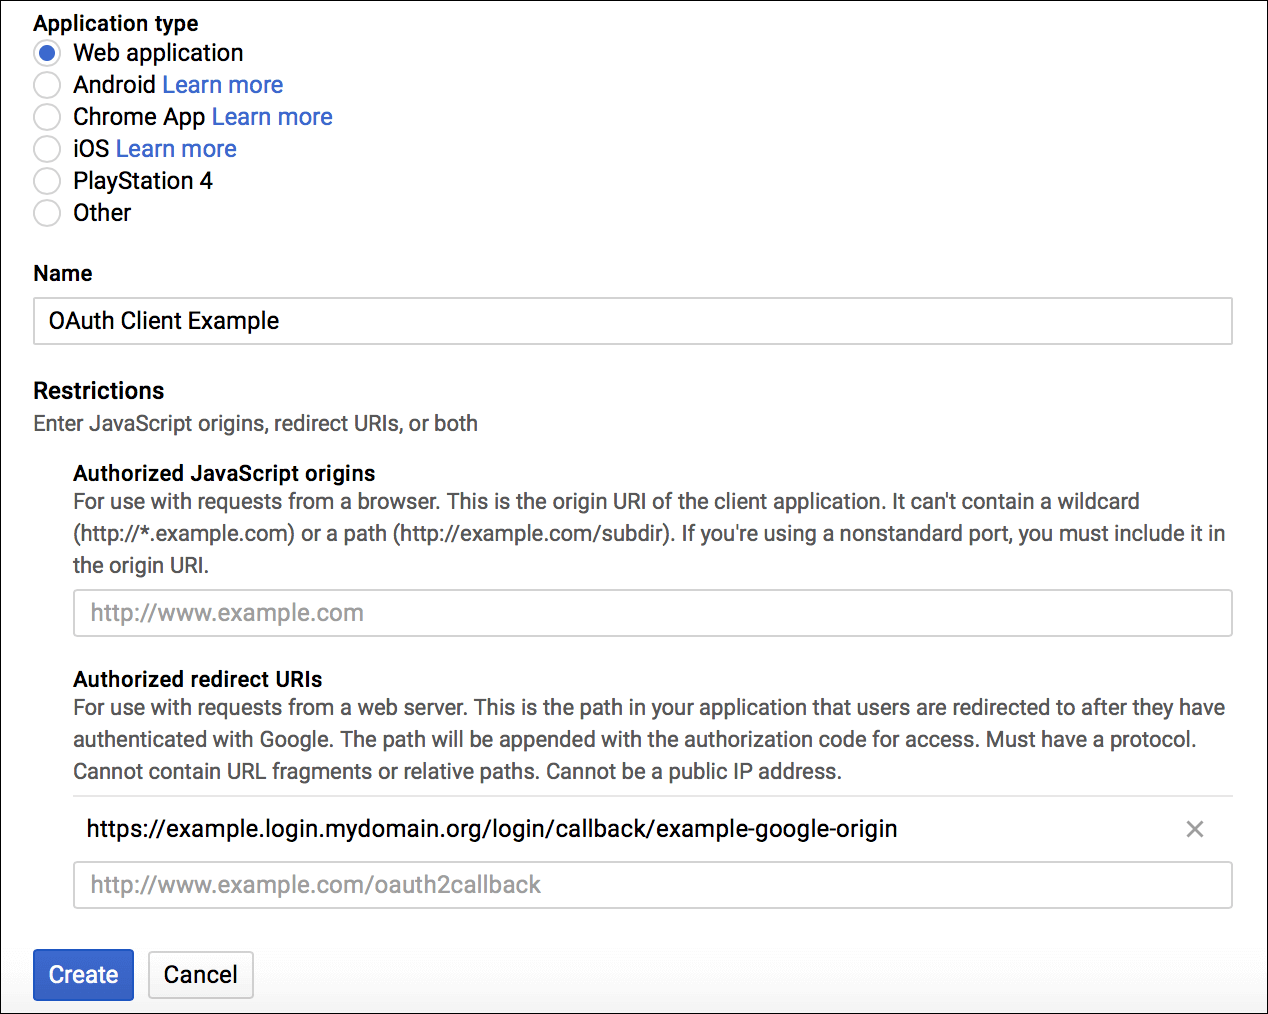
In the configuration pane that appears, select Web application under Application type and enter any Name. Under Restrictions, leave Authorized JavaScript Origins blank and for Authorized redirect URIs enter a redirect URI using the following pattern:
https://AUTH-DOMAIN.login.SYSTEM-DOMAIN/login/callback/ORIGIN-KEYWhere:
AUTH-DOMAINis the Auth Domain you entered in Create or Edit Service Plans.ORIGIN-KEYis identical to the Identity Provider Name you set later in the SSO Operator Dashboard in Set Up OIDC Identity Provider in Single Sign‑On, except that it cannot include uppercase letters or spaces.
The origin key does not change after it is assigned, even if the Identity Provider Name is modified.
-
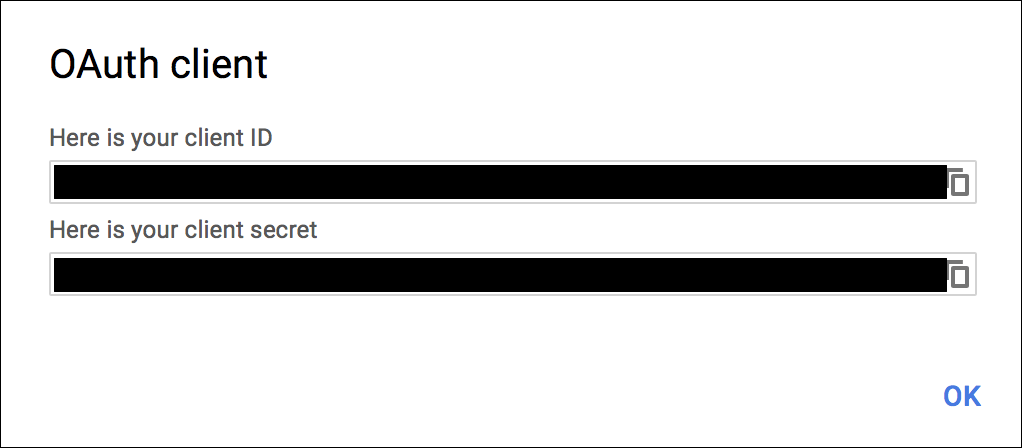
Click Create and record the client ID and client secret generated. You enter these values as your Relying Party OAuth Client ID and Relying Party OAuth Client Secret in the SSO Operator Dashboard in Set Up OIDC Identity Provider in Single Sign‑On below.
Set up the OIDC Identity Provider in Single Sign‑On
Follow the steps below to set up the OIDC identity provider in Single Sign‑On:
-
Follow steps 1–6 in Add an OIDC Provider.
-
In the Discovery Endpoint URL field, enter
https://accounts.google.com/.well-known/openid-configuration. -
Enter your Relying Party OAuth Client ID and Relying Party OAuth Client Secret from the Generate GCP Client Credentials above.
-
Click Fetch Scopes.
-
Ensure that
openidandemailare selected as scopes. You can select additional scopes if you want. -
Under Attribute & Group Mapping (Optional) > User Attributes, enter
emailas the OIDC Claim Name for the email and user_name User Schema Attributes. This enables Single Sign‑On to identify the authenticated user.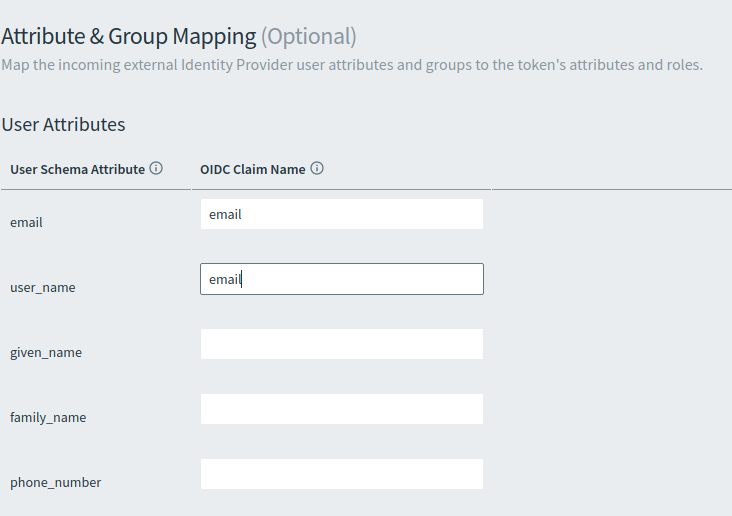
-
(Optional) Configure additional attribute mappings.
-
Click Create Identity Provider to save your settings.
-
(Optional) Enable IdP Discovery for the service plan.
