


Use this procedure to enable the SAML integration with Microsoft Azure Active Directory (Azure AD) for user authentication.
Prerequisites
Important: Open two separate browsers of the
Carbon Black Cloud in case you are unable to log in using SAML. If you are unable to log in, return to the second browser and deactivate SAML. Verify the settings or contact Carbon Black technical support.
For more information about SAML and Azure AD, see the official
Microsoft documentation.
Procedure
Configure Azure AD
Use this procedure to configure Azure AD to integrate with Carbon Black Cloud console for SAML single sign-on.
Note: To enable SSO in Azure, see
https://learn.microsoft.com/en-us/entra/identity/enterprise-apps/add-application-portal-setup-sso.
Procedure
- In a new tab, go to portal.azure.com and open Azure AD.
- Click .
- In the pane that displays:
- Provide a name to identify the application.
- Select the option for a Non-gallery application.
- Create the application.
- On the resulting page, select Single sign-on.
- Select SAML as the single sign-on method. In the new window that opens, enter the SAML configuration details.
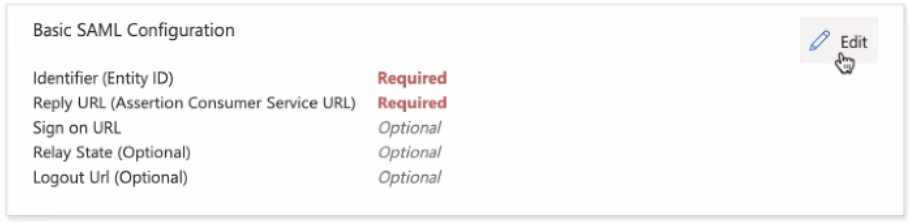
- Click Edit on the Basic SAML Configuration section.
- Click Edit on the Basic SAML Configuration section.
- Copy the Audience URL from the Carbon Black Cloud Console SAML configuration window.

- Enter the Audience URL into the mandatory Identifier and Reply URL fields.
- In the Attributes and Claims section, verify that there is a default claim row with the claim value
user.mail.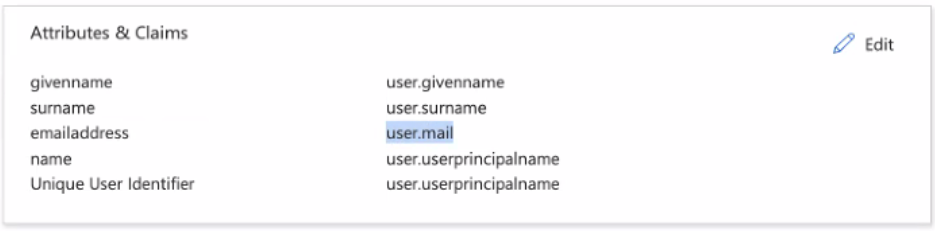
- Click Edit to open the Attributes and Claims screen. Copy the claim name and save this for later.
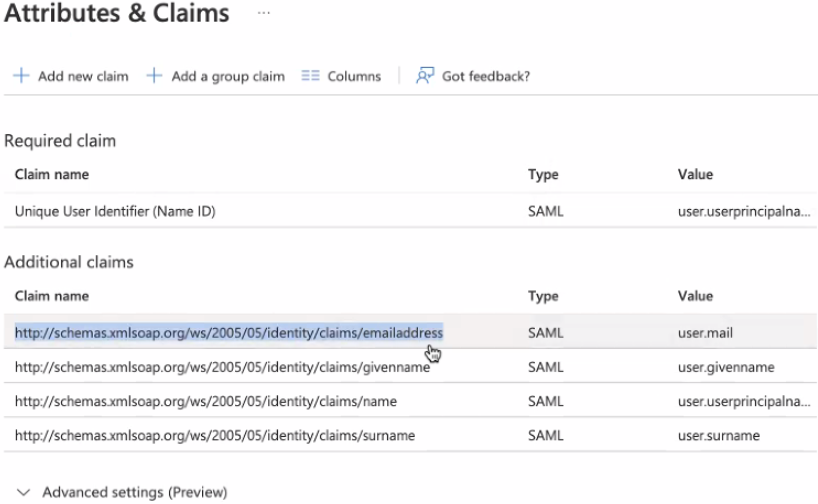 Note: If no claim with a claim value of
user.mailexists, create a claim by selecting , with a claim name of your choice and a claim value ofuser.mail. Save the claim name for later. - Return to the Set up Carbon Black Cloud page for the SAML configuration. Copy and save the Login URL.
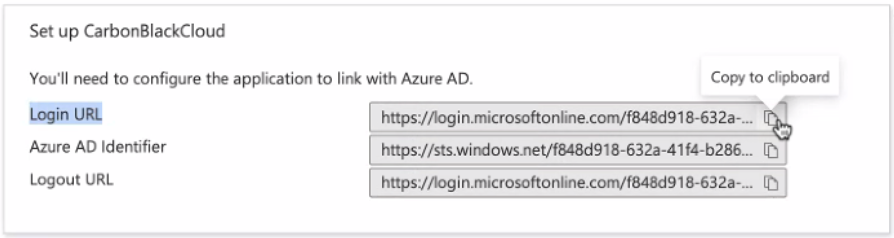
- Download the SAML Certificate in Base64 format.
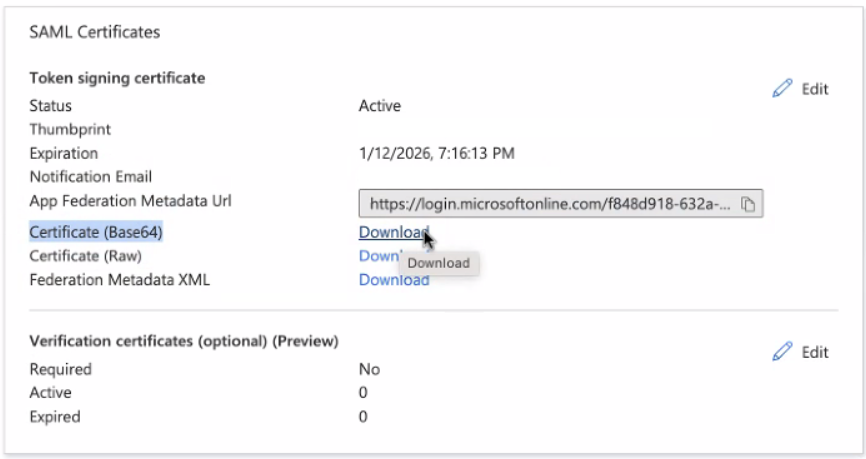
- If Verification certificates is enabled, download the latest certificate from the Carbon Black Cloud SAML configuration window.
What to do next
Enter the Values Collected from the Azure AD Console
Use this procedure to transfer the SAML configuration data from the Azure AD console to the Carbon Black Cloud console SAML configuration window.
Prerequisites
Procedure
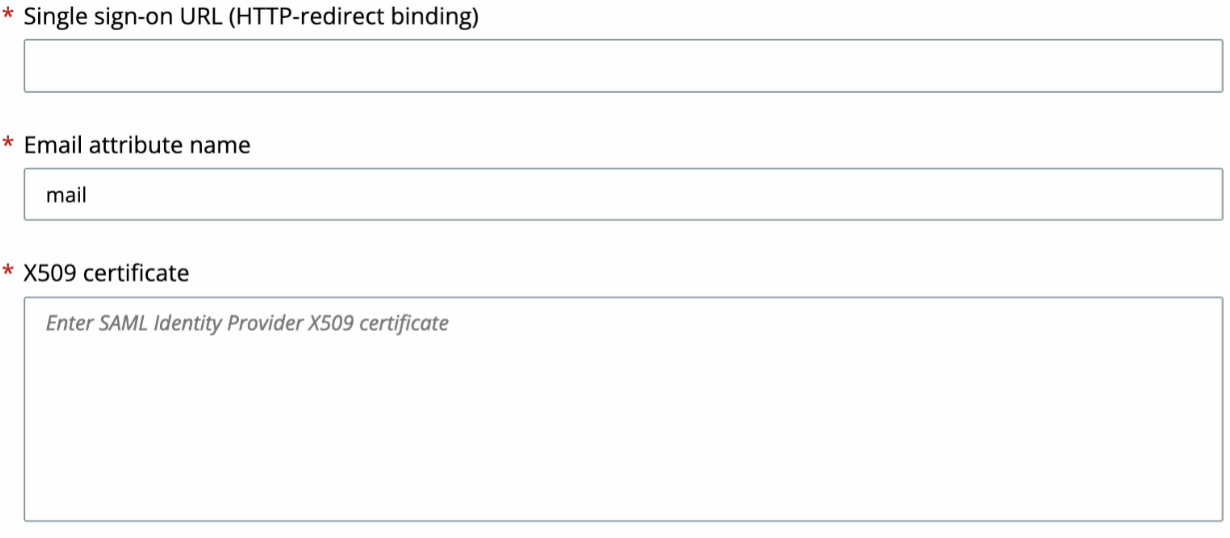
- From the downloaded certificate file, copy the SAML certificate to the X509 certificate field.
Note: Carbon Black Cloud automatically removes the begin-cert header and the end-cert footer.
What to do next
Add New Users in Azure AD
Use this procedure to add new users in Azure AD.
Prerequisites
Procedure
Results
Users can log into Carbon Black Cloud with the role you specified, using their Azure AD credentials. Users must select the Sign in via SSO option when logging into Carbon Black Cloud.
