


This topic describes how to upgrade VMware Harbor Registry Tile using VMware Tanzu Operations Manager.
Prerequisites
These instructions assume that the VMware Harbor Registry Tile is installed and configured. See Installing and Configuring the VMware Harbor Registry Tile for more information.
Import the Harbor Registry Tile to Operations Manager
- Review the Harbor Release Notes and verify the supported upgrade path.
- Download the Harbor tile from Broadcom support.
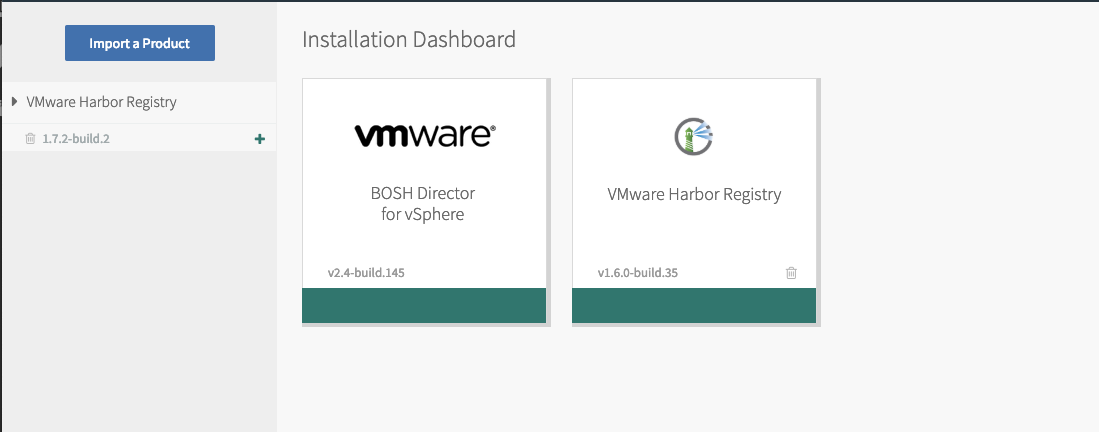
- Log in to the Ops Manager Installation Dashboard.
- Click Import a Product and upload the Harbor tile.
- Stage the uploaded Harbor tile for upgrade by clicking the + icon next to the VMware Harbor Registry version number in the left panel.
- Once staged, verify that the tile version is changed to the staged version, and that the banner at the top indicates that Harbor has been successfully upgraded to the target version.

- If necessary, update the Harbor tile configuration settings to configure the new features in 1.9.x. See Installing and Configuring Harbor for details.
- If necessary update the stemcell version used by Harbor.
- To complete the upgrade process, deploy Harbor Registry.
Import the Required Stemcell (if necessary)
The Harbor Registry Tile upgrade may require a new stemcell. If so, complete the following steps to import it.
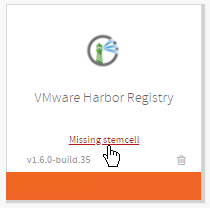
- In Ops Manager, return to the Installation Dashboard.
- In the Harbor tile, click the Missing stemcell link.
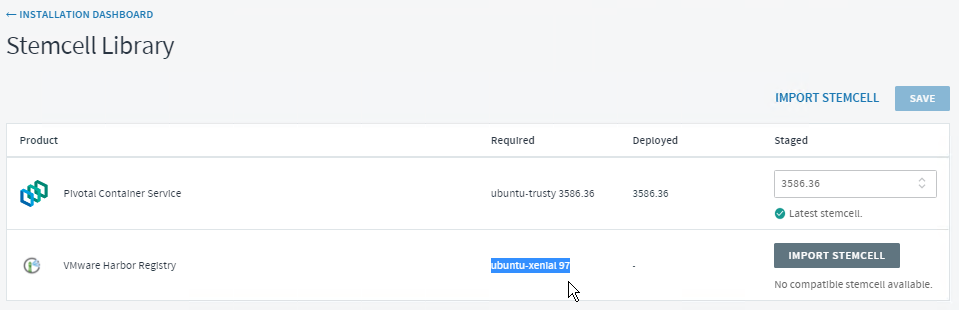
- In the Stemcell Library. record the name and version of the required stemcell for Harbor.
- Log in to Broadcom Support.
- Search for Stemcells for VMware Tanzu (Ubuntu Xenial).
- Download the required Harbor stemcell for your platform to the Ops Manager host. For example, if you are using vSphere, download the BOSH stemcell for vSphere that matches the version that you recorded in a previous step.
- In Ops Manager, return to the Installation Dashboard.
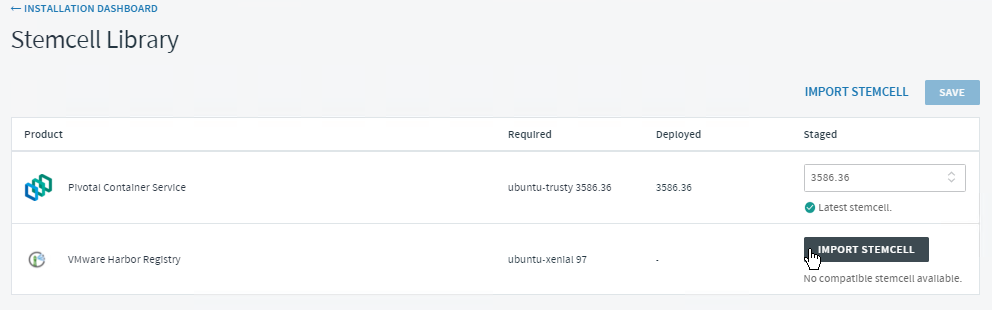
- On the Harbor tile, click the Missing stemcell link.
- Click Import Stemcell, navigate to the stemcell you downloaded, and click Open to import the stemcell.
- When prompted, apply the imported stemcell to the Harbor product.
Deploy the Harbor Registry Tile with Upgrades
To complete the Harbor upgrade, deploy the newly added Harbor tile. When an updated version of the Harbor tile is deployed, Ops Manager will create a new VM based on the required stemcell, install the Harbor software on that VM, mount the disk on it and migrate the data to the new VM.
- In Ops Manager, return to the Installation Dashboard.
- Click REVIEW PENDING CHANGES in Ops Manager and then click Apply Changes.
- Review the upgrade status from the change log section in Ops Manager.

- Click APPLY CHANGES to deploy the updated Harbor tile.
