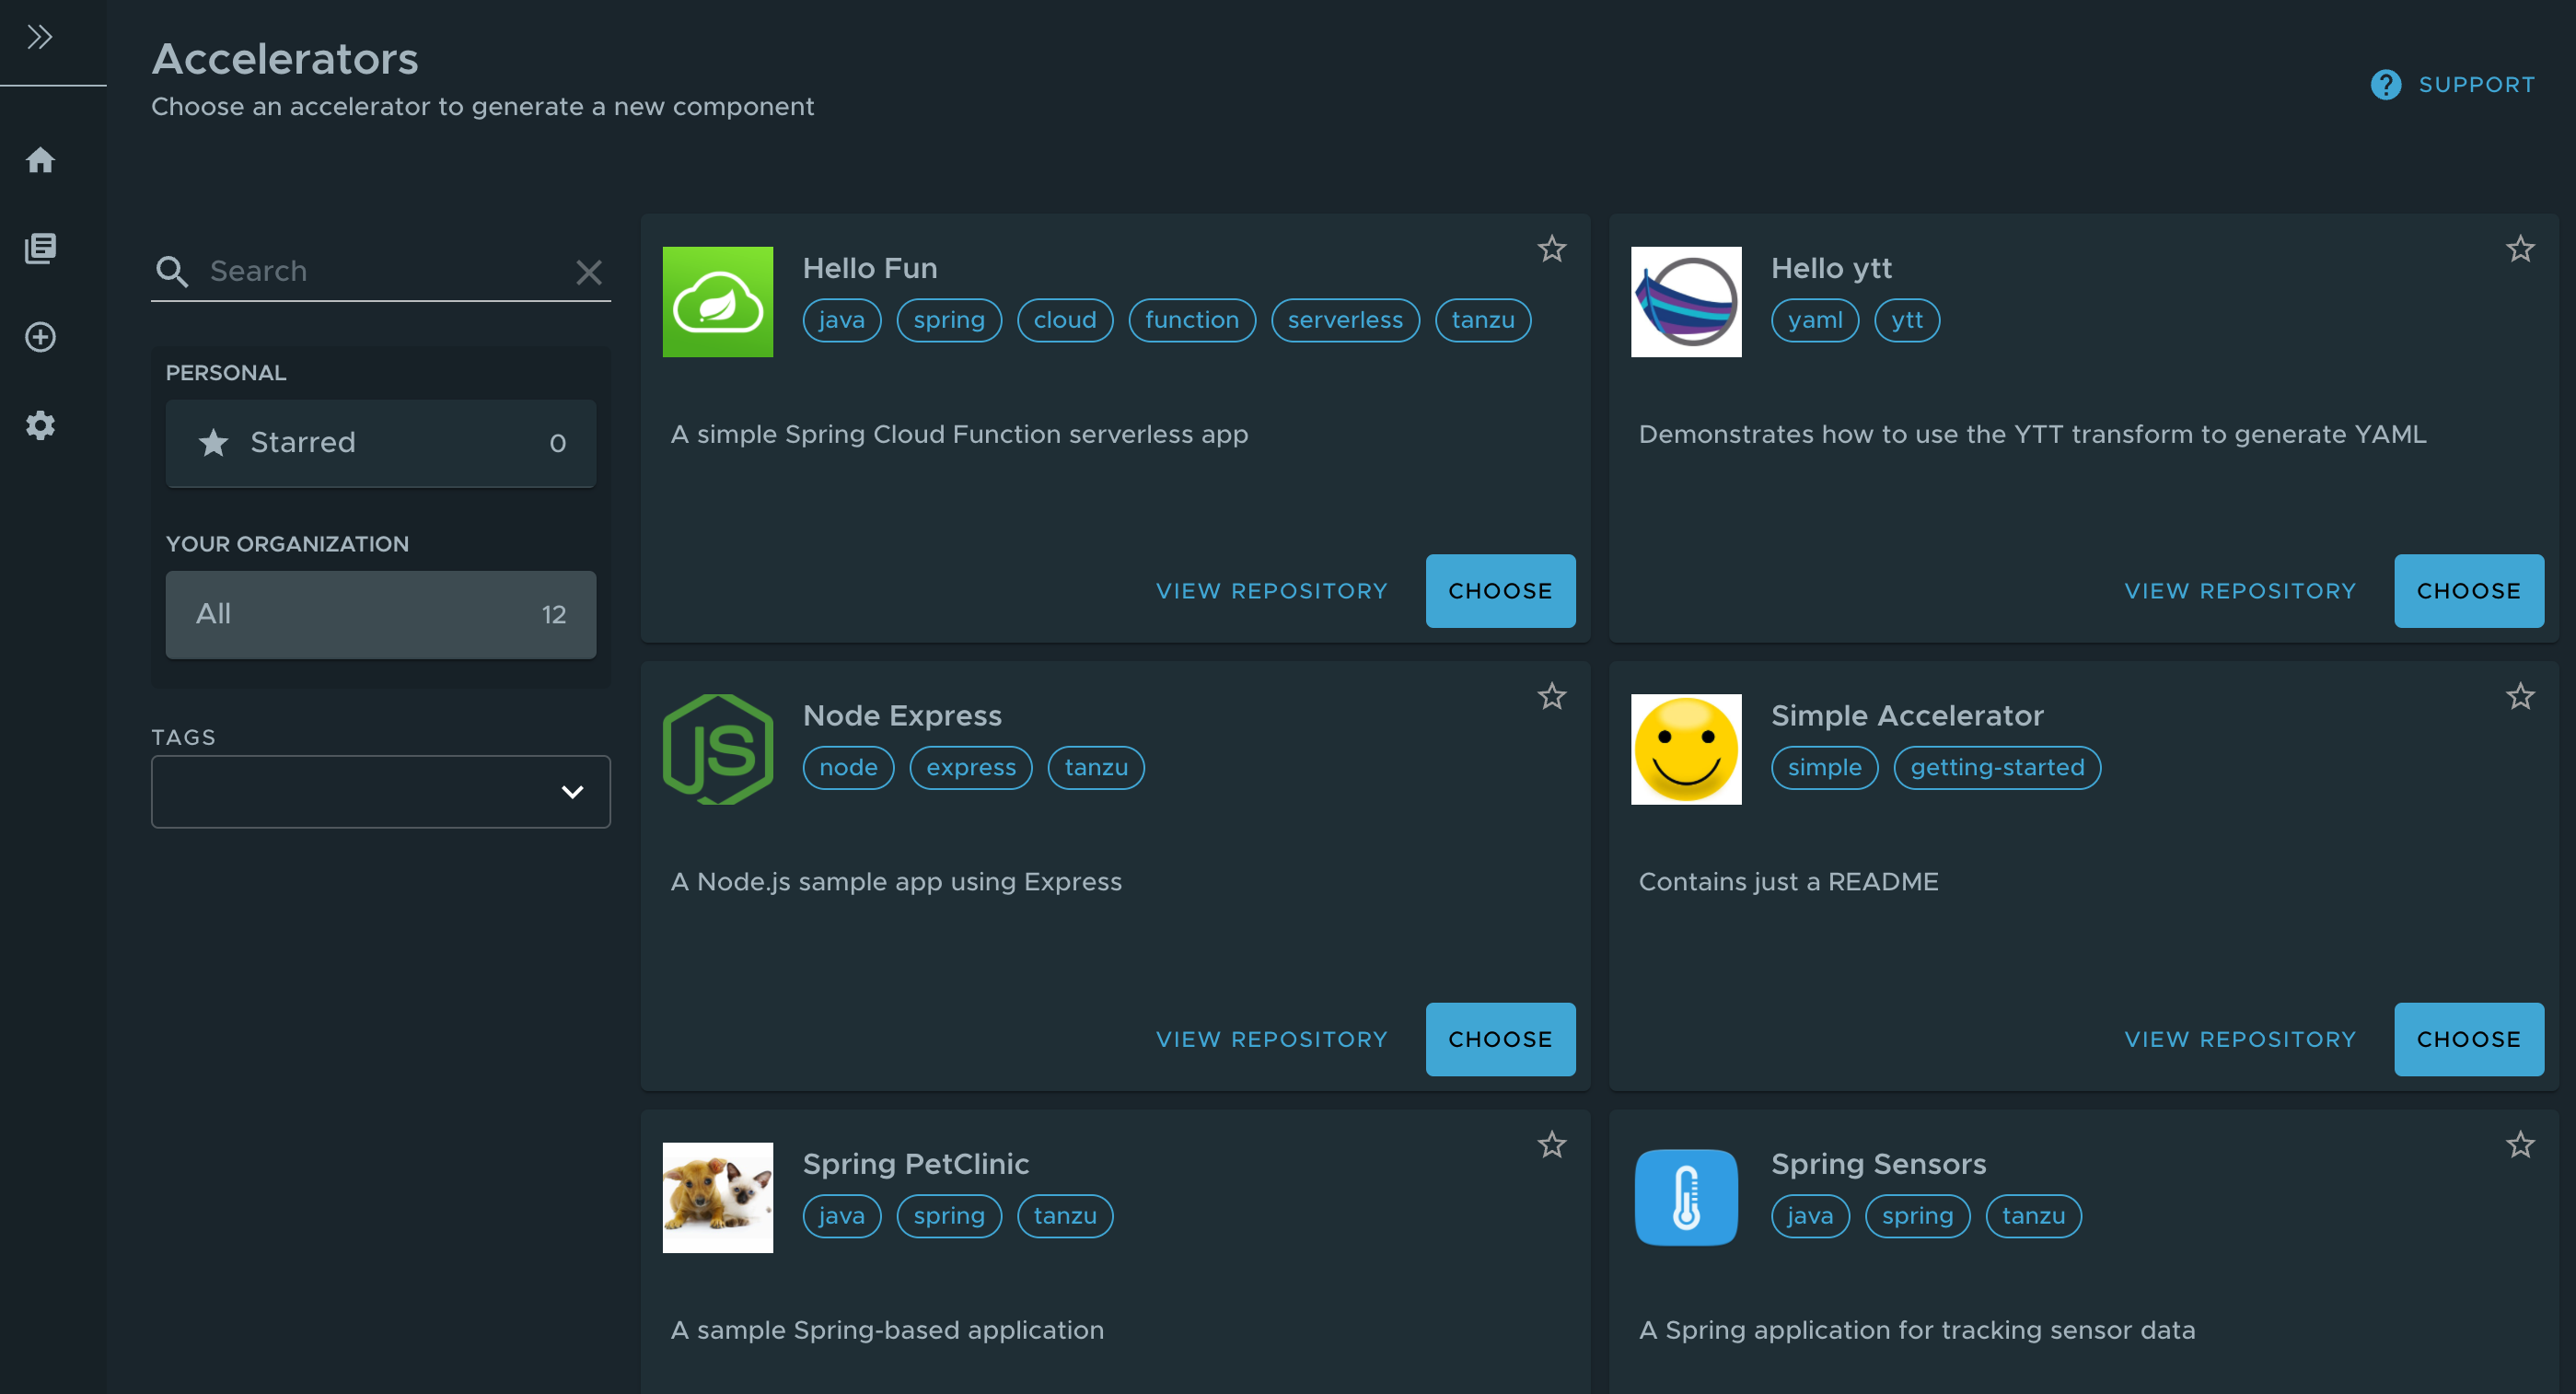
Create accelerators
This topic tells you how to create an accelerator in Tanzu Developer Portal.
An accelerator contains your conforming code and configurations that developers can use to create new projects that by default follow the standards defined in your accelerators.
Prerequisites
The following prerequisites are required to create an accelerator:
- Application Accelerator is installed. For information about installing Application Accelerator, see Installing Application Accelerator for VMware Tanzu.
- You can access Tanzu Developer Portal from a browser or use the Application Accelerator extension for VS Code.
- For more information about Tanzu Developer Portal, see Overview of Tanzu Developer Portal.
- For more information about Application Accelerator extension for VS Code, see Application Accelerator Visual Studio Code extension.
- kubectl is installed and authenticated with admin rights for your target cluster.
Getting started
You can use any Git repository to create an accelerator. You need the URL of the repository to create an accelerator.
For this example, the Git repository is public and contains a README.md file. These are options available when you create repositories on GitHub.
Use the following procedure to create an accelerator based on this Git repository:
-
Clone your Git repository.
-
Create a file named
accelerator.yamlin the root directory of this Git repository. -
Add the following content to the
accelerator.yamlfile:accelerator: displayName: Simple Accelerator description: Contains just a README iconUrl: https://images.freecreatives.com/wp-content/uploads/2015/05/smiley-559124_640.jpg tags: - simple - getting-startedYou can use a different icon if it uses a reachable URL.
-
Add the new
accelerator.yamlfile, commit this change, and push to your Git repository.
Publishing the new accelerator
-
To publish your new accelerator, run:
tanzu accelerator create simple --git-repository ${GIT_REPOSITORY_URL} --git-branch ${GIT_REPOSITORY_BRANCH}Where:
GIT-REPOSITORY-URLis the URL for your Git repository where the accelerator is located.GIT-REPOSITORY-BRANCHis the name of the branch where you pushed the newaccelerator.yamlfile.
-
Refresh Tanzu Developer Portal or the Application Accelerator extension in VS Code to reveal the newly published accelerator. It might take a few seconds to refresh the catalog and add an entry for your new accelerator.

Alternatively, use the Tanzu CLI to create a separate manifest file and apply it to the cluster.
-
Create a
simple-manifest.yamlfile and add the following content, filling in with your Git repository and branch values.apiVersion: accelerator.apps.tanzu.vmware.com/v1alpha1 kind: Accelerator metadata: name: simple namespace: accelerator-system spec: git: url: YOUR-GIT-REPOSITORY-URL ref: branch: YOUR-GIT-BRANCH -
To apply the
simple-manifest.yaml, run this command in your terminal in the directory where you created this file:tanzu accelerator apply -f simple-manifest.yaml
Using accelerator fragments
Accelerator fragments are reusable accelerator components that can provide options, files, or transforms. They can be imported from accelerators using an import entry and the transforms from the fragment can be referenced in an InvokeFragment transform in the accelerator that is declaring the import. For additional details see InvokeFragment transform.
The accelerator samples include three fragments - java-version, tap-initialize, and live-update. See vmware-tanzu/application-accelerator-samples/fragments Git repository for the content of these fragments.
To discover what fragments are available to use, run:
tanzu accelerator fragment list
Look a the java-version fragment as an example. It contains the following accelerator.yaml file:
accelerator:
  options:
  - name: javaVersion
    inputType: select
    label: Java version to use
    choices:
    - value: "1.8"
      text: Java 8
    - value: "11"
      text: Java 11
    - value: "17"
      text: Java 17
    defaultValue: "11"
    required: true
engine {
  Include({"pom.xml"}).ReplaceText({pattern: "<java.version>.*<", with:  `<java.version>#{#javaVersion}<'`}})
  Include({"build.gradle"}).ReplaceText({{pattern: "sourceCompatibility = .*", with:  `sourceCompatibility = #{#javaVersion}`}})
  Include({"config/workload.yaml"}).ReplaceText({{pattern: "spec: ", with:  "'spec:\n  build:\n    env:\n    - name: BP_JVM_VERSION\n      value: \"17\"'"}})
}
This fragment contributes the following to any accelerator that imports it:
- An option named
javaVersionwith three choicesJava 8,Java 11, andJava 17 - Three
ReplaceTexttransforms:- If the accelerator has a
pom.xmlfile, then what is specified for<java.version>is replaced with the chosen version. - If the accelerator has a
build.gradlefile, then what is specified forsourceCompatibilityis replaced with the chosen version. - If the accelerator has a
config/workload.yamlfile, and the user selected “Java 17” then a build environment entry of BP_JVM_VERSION is inserted into thespec:section.
- If the accelerator has a
Deploying accelerator fragments
To deploy new fragments to the accelerator system, use the new tanzu accelerator fragment create CLI command or apply a custom resource manifest file with either kubectl apply or the tanzu accelerator apply commands.
The resource manifest for the java-version fragment looks like this:
apiVersion: accelerator.apps.tanzu.vmware.com/v1alpha1
kind: Fragment
metadata:
  name: java-version
  namespace: accelerator-system
spec:
  displayName: Select Java Version
  git:
    ref:
      tag: GIT_TAG_VERSION
    url: https://github.com/vmware-tanzu/application-accelerator-samples.git
    subPath: fragments/java-version
Where GIT-TAG-VERSION is the Git tag of the java-version fragment. For example, tap-1.4.0 is a valid Git tag for the java-version fragment.
To create the fragment, save the above manifest in a java-version.yaml file) and run:
tanzu accelerator apply -f ./java-version.yaml
NoteThe
accelerator applycommand can be used to apply both Accelerator and Fragment resources.
To avoid having to create a separate manifest file, run:
tanzu accelerator fragment create java-version \
  --git-repo https://github.com/vmware-tanzu/application-accelerator-samples.git \
  --git-tag ${GIT_TAG_VERSION} \
  --git-sub-path fragments/java-version
Where GIT-TAG-VERSION is the Git tag of the java-version fragment. For example,tap-1.4.0 is a valid Git tag for the java-version fragment.
Now you can use this java-version fragment in an accelerator:
accelerator:
  displayName: Hello Fragment
  description: A sample app
  tags:
  - java
  - spring
  - cloud
  - tanzu

  imports:
  - name: java-version

engine:
  merge:
    - include: ["**/*"]
    - type: InvokeFragment
      reference: java-version
The earlier accelerator imports the java-version which, as seen earlier, provides an option to select the Java version to use for the project. It then instructs the engine to run the transforms provided in the fragment that updates the Java version used in pom.xml or build.gradle files from the accelerator.
For more detail on the use of fragments, see InvokeFragment transform.
Next steps
Learn how to:
- Write an accelerator.yaml.
- Configure accelerators with Accelerator Custom Resources.
- Manipulate files using Transforms.
- Use SpEL in the accelerator.yaml file.